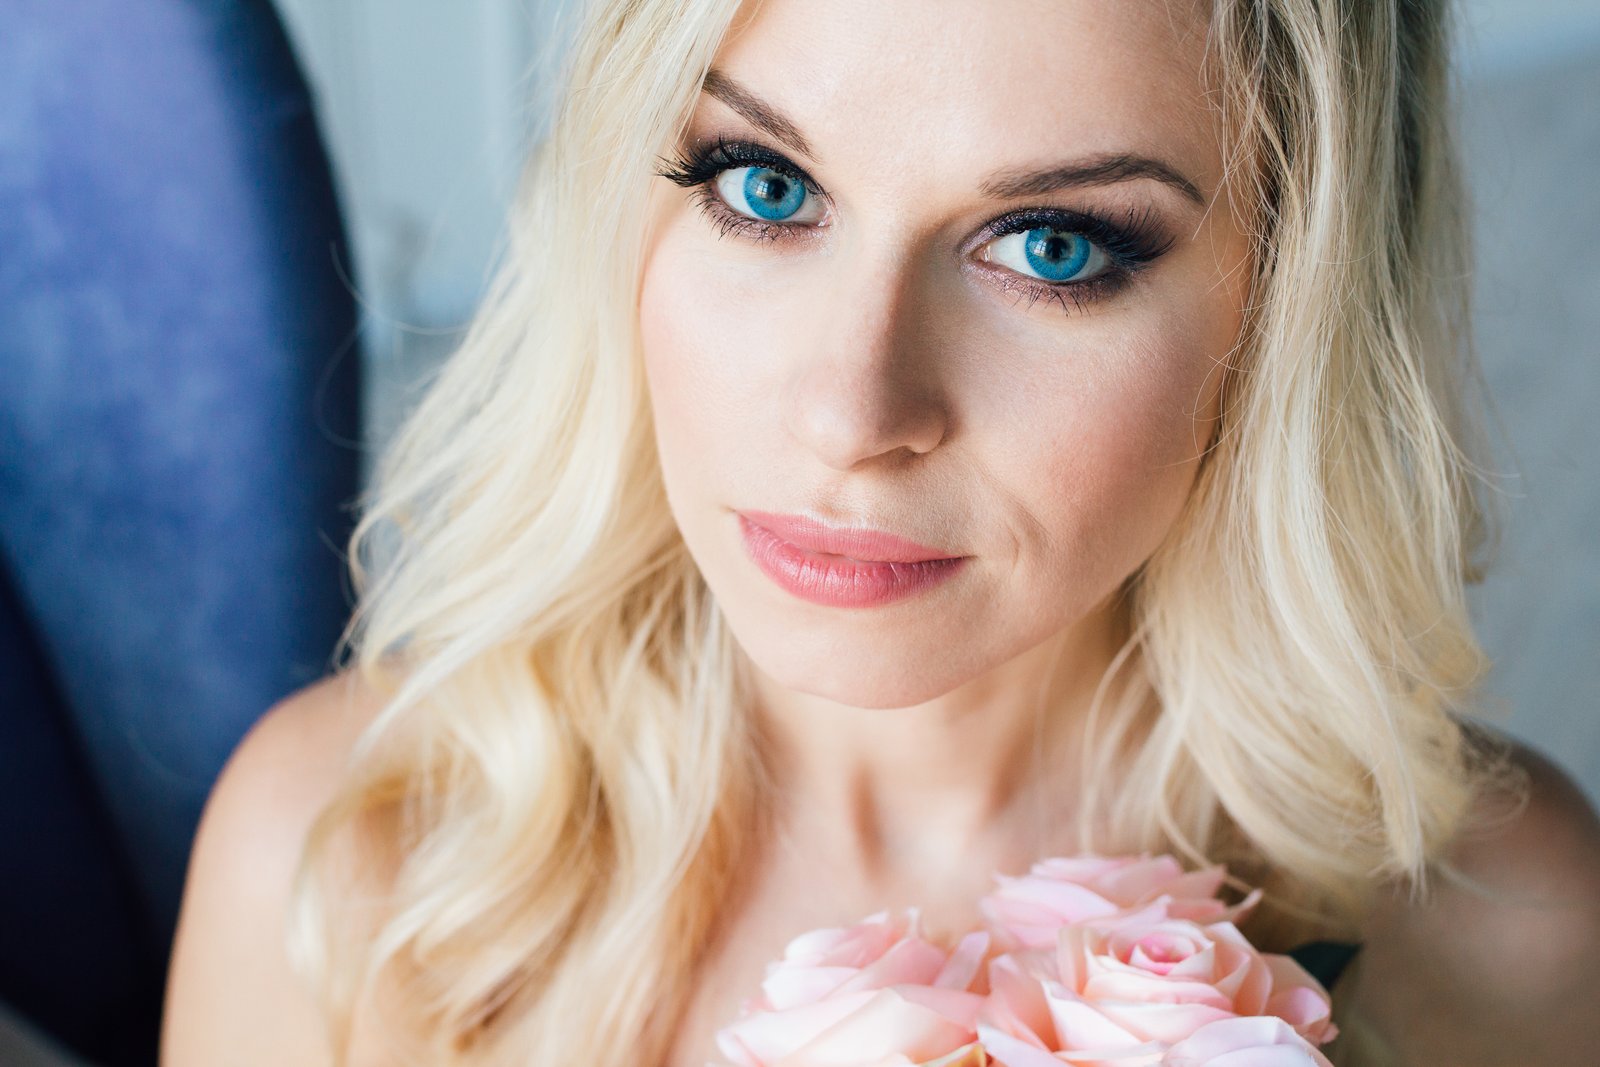
The file came in at 47 megabytes, shot on a Canon R5, and the skin looked like a topographic map. Not unusual. What was unusual was the turnaround: four hours, twelve portraits, ready for the brand’s Instagram and a full-page print ad. Same edit, two very different output demands. That’s the situation I’m in about twice a month, and it’s exactly why I’ve built a portrait cleanup workflow that works fast without cutting corners.
Portrait cleanup is not the same as heavy retouching. It’s the foundation layer, the thing you do before frequency separation, before dodging and burning, before you even think about color grading. If you get this part wrong, everything built on top of it looks wrong too.
Why Skin Problems Look Worse in Photos Than in Real Life
Your eye is remarkably good at discounting blemishes in person. It moves constantly, integrates information over time, and is helped along by three-dimensional depth cues. A camera does none of that. It freezes a single moment under whatever light happened to be hitting the subject, and a beauty dish at 45 degrees will find every pore, every texture inconsistency, every shadow cast by a small bump.
This is why “she looked fine in person” is something photographers say before they’ve opened the raw file. The camera isn’t lying. It’s just paying attention in a way human eyes aren’t designed to. Our job as retouchers is to reconcile what the camera captured with what the eye would actually perceive in real life. That’s a meaningful distinction. We’re not making people look fake. We’re correcting for what the camera exaggerates.
The Cleanup Order That Saves You from Redoing Everything
Sequence matters enormously here. I work in this order every single time, and deviating from it costs me cleanup time later.
First, remove distractions. I’m talking stray hairs crossing the face, lint on clothing, anything in the background that pulls the eye. I do this on a stamped visible layer (Ctrl+Shift+Alt+E on PC, Cmd+Shift+Option+E on Mac) and use the Clone Stamp tool at 100% opacity, current layer only. Distractions first, because every subsequent step will be affected by what you leave behind.
Second, address temporary blemishes only. Pimples, under-eye bags heavier than the subject’s baseline, fresh redness. I use the Healing Brush, not the Spot Healing Brush, because I want to control my source point. Sample from a nearby area at similar tone and texture, set the brush to about 90% of the blemish size, and click once. If I need more than one click per blemish, the source area isn’t right and I need to resample.
Third, even out skin tone in gross strokes. I’m not doing fine work here. I duplicate the cleanup layer, run Gaussian Blur at a radius between 8 and 12 pixels (depending on resolution, I’ll explain below), and mask it to the skin only. Set the layer blend mode to Normal, drop opacity to between 20 and 35 percent. This takes the edge off uneven redness and blotchiness without touching texture. It’s a temporary step I’ll often replace later with frequency separation, but in a time-crunch workflow it earns its keep.
Gaussian Blur Radius and Why Resolution Changes Everything
The number I use for that blur radius is not arbitrary. On a file at 300 PPI intended for print, I use a radius of 12 pixels. On a 72 PPI web-only file, I use 3 to 4 pixels. The rule of thumb I was taught, and have tested extensively: your blur radius should be roughly 4 percent of your image’s long edge divided by 10. For a 3000-pixel-wide image, that works out to about 12 pixels. Scale accordingly.
Getting this wrong in either direction causes problems. Too low and the blur does nothing useful. Too high and you’re killing the micro-texture that makes skin look real, which pushes you straight into the plastic, waxy territory that no client ever actually asks for, even when they think they do.
The Mistake I Made That I Still Think About
Early in my retouching career, I had a client call my work “plastic-looking.” That feedback landed hard. I had been so focused on removing every imperfection I could see that I had also removed every sign that the person had actual human skin. I had blurred away pores. I had smoothed transitions that should have had texture. I had worked at 50% zoom, which hid all of my mistakes until the file went to print.
I still keep that file. It’s in a folder called “Before I Knew Better” and I open it occasionally, not to feel bad, but to remember that over-retouching is not a skill problem. It’s a perception problem. The fix wasn’t learning a new technique. It was learning to zoom to 100%, step back from the screen every 15 minutes, and ask myself whether the skin in front of me looked like skin or like a texture filter applied to a photograph.
That single habit, working at 100% zoom for detail work, probably improved my output more than any tutorial I’ve ever taken.
When to Stop Touching the Skin
There is a moment in every portrait cleanup when you have done enough. It comes before you think it does. A useful test: flatten your cleanup layers to a single comp, then toggle it on and off while looking at the eyes. If the eyes still look like they belong to the same person before and after, you’re probably in good shape. If they start to look like they’re floating in a face that belongs to someone else, you’ve gone too far.
Portrait cleanup is not about perfection. It’s about removing what distracts without removing what makes the person recognizable. Everything else, the fine skin work, the luminosity, the color, is built on that foundation. Get the foundation clean and honest and the rest of the edit will feel significantly easier.
Comments (1)
Been doing this wrong for years apparently. Thanks for the wake-up call.
Leave a Comment