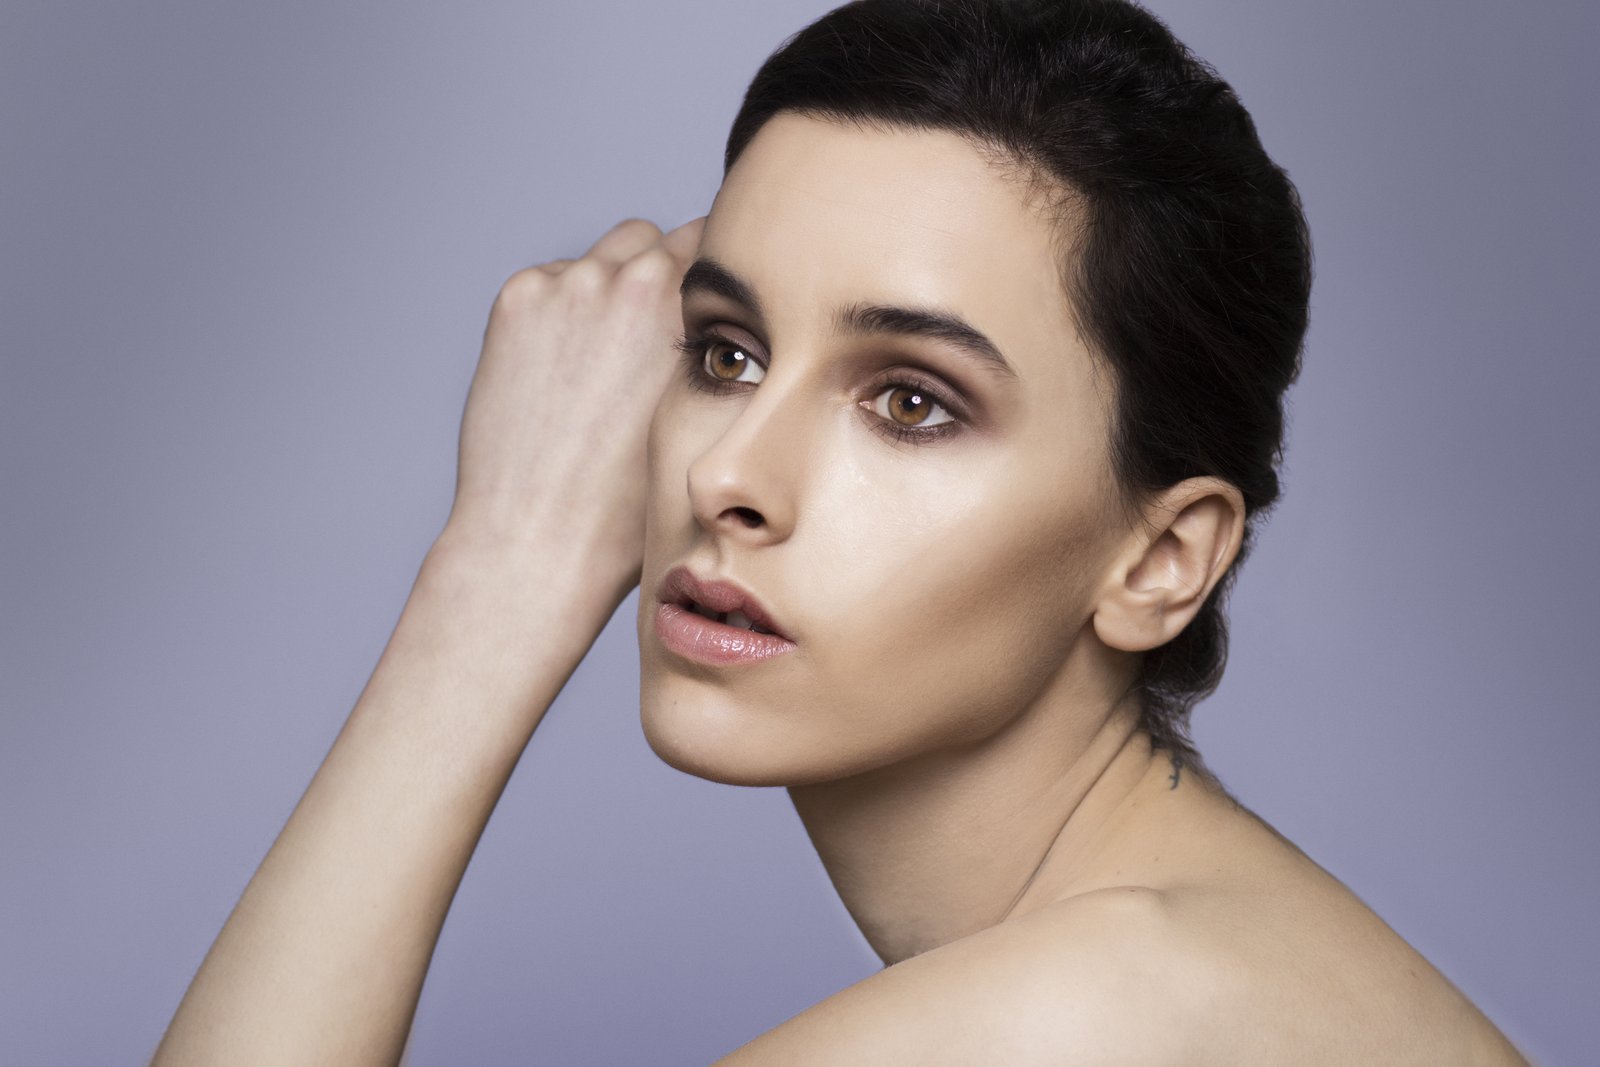
A few years into my retouching career, a client sent me a single-line email that I still think about: “She looks like a doll. Can you make her look like a person again?” The image in question was a beauty shot I had spent three hours on. The foundation looked airbrushed in the worst possible sense. The blush gradient had been smoothed into a flat wash of color. The highlighter on her cheekbones, which had been this gorgeous, dimensional thing in the original file, was completely gone.
I had worked hard on that image. I had also worked on entirely the wrong things.
What’s Actually Happening When Makeup Retouching Goes Wrong
The problem with most makeup retouching isn’t heavy-handedness, exactly. It’s that we treat the skin and the makeup as the same layer of information when they aren’t. Skin has two distinct components: texture (the pores, fine lines, and surface grain) and tone (the color and luminosity beneath it). Makeup lives mostly in the tone layer. When we heal or clone or blur to fix a skin issue, we inadvertently drag the makeup with it. A beautifully applied gradient of blush becomes a smear. The precise edge of a lip liner softens into mush.
This is why smoothing tools, applied globally, are so destructive to beauty work specifically. A headshot retouch can sometimes survive a little Gaussian blur or an aggressive healing pass. A beauty image almost never will, because the whole point of that image is the makeup itself.
The Frequency Separation Setup That’s Worth the Ten Minutes to Build
Frequency separation solves this by splitting texture and tone onto separate layers so you can edit them independently. Here’s how I set it up in Photoshop for beauty work specifically.
Duplicate your background layer twice. Name the bottom copy “Color” and the top copy “Texture.” Select the Color layer and run Filter > Blur > Gaussian Blur at a radius of 3-4 pixels for most beauty files shot at medium distance. For extreme close-ups, I’ll go up to 6 pixels. The goal is to blur just enough that individual pores disappear but the shape of the blush, shadow, and liner remain readable.
Now select the Texture layer. Go to Image > Apply Image. Set the layer to “Color,” the blending mode to Subtract, the scale to 2, and the offset to 128. Set your channel to RGB. Click OK. Change the Texture layer’s blending mode to Linear Light.
What you now have is a file where every edit to the Color layer affects tone and makeup placement without disturbing the skin’s grain, and every edit to the Texture layer handles surface detail without shifting color. Save this as a Photoshop Action so you’re not rebuilding it every session. I named mine “The Godfather.” Don’t ask.
Retouching Makeup on the Color Layer Without Losing Its Dimension
On the Color layer, I use a low-opacity brush, usually 10-15%, with hardness at 0%, and I sample colors directly from the image using Alt-click rather than inventing new tones. This is the most important habit I can pass on for makeup work. The color you need almost always already exists somewhere in the frame.
For uneven foundation, I’ll sample from a patch where the skin looks balanced and paint gently over areas that are too red, too yellow, or too dark. For blush that’s lost its gradient in the original application, I’ll map the existing fade by picking from the center of the blush and feathering outward in the direction it should travel.
Highlighter and gloss are luminosity problems, not color problems. For those I’ll add a Curves adjustment clipped to the Color layer and lift just the highlights in the area I want to restore, masking everything else out. A 10-point lift on the RGB curve, masked to a 200-pixel feathered selection over the cheekbone, is often enough to bring back dimension that looked blown out.
The One Mistake I Made That Taught Me to Leave Texture Alone
Early on, I spent an embarrassing amount of time on the Texture layer trying to “clean up” the skin. I was smoothing irregularities in the grain, painting over pores I found distracting, essentially doing the same things I’d always done but on a different layer. The resulting images were technically sharper than my old work but still had that hollow, unreal quality.
The Texture layer is not a smoothing tool. It’s a preservation tool. The goal is to touch it as little as possible. When I do work on it, I’m using the Clone Stamp at 100% opacity, source-aligned, to transplant actual skin texture from a nearby area into one that’s damaged, scarred, or catching light strangely. I’m not painting. I’m transplanting. That distinction took me longer to internalize than I’d like to admit, and I keep my first retouching attempts from that period specifically to remind myself how seductive the wrong approach can feel when you’re in the middle of it.
How to Handle Lip and Eye Makeup Without Destroying the Edge
Lips and eyes are where even solid retouchers tend to get sloppy, because the shapes are complex and the margin for error is small. For lips, I work on the Color layer with a brush no larger than 15 pixels for most images, and I never go within 8-10 pixels of the lip line itself without zooming to at least 200%. The liner edge is structural. The moment it softens, the whole mouth loses its definition.
For eyeshadow blending that looks patchy in camera, I’ll use a Hue/Saturation adjustment layer clipped to a hand-painted mask and shift the saturation down 10-15 points in the muddy zone before repainting the transition with sampled color on the Color layer. This two-step approach, desaturating first and then reintroducing color, gives you control that painting alone doesn’t.
The real work of makeup retouching is resisting the urge to remake what the makeup artist already built and instead learning to see what was actually there, preserve what’s working, and fix only what the camera distorted. Serve the makeup, and the image will take care of itself.
Comments
Leave a Comment