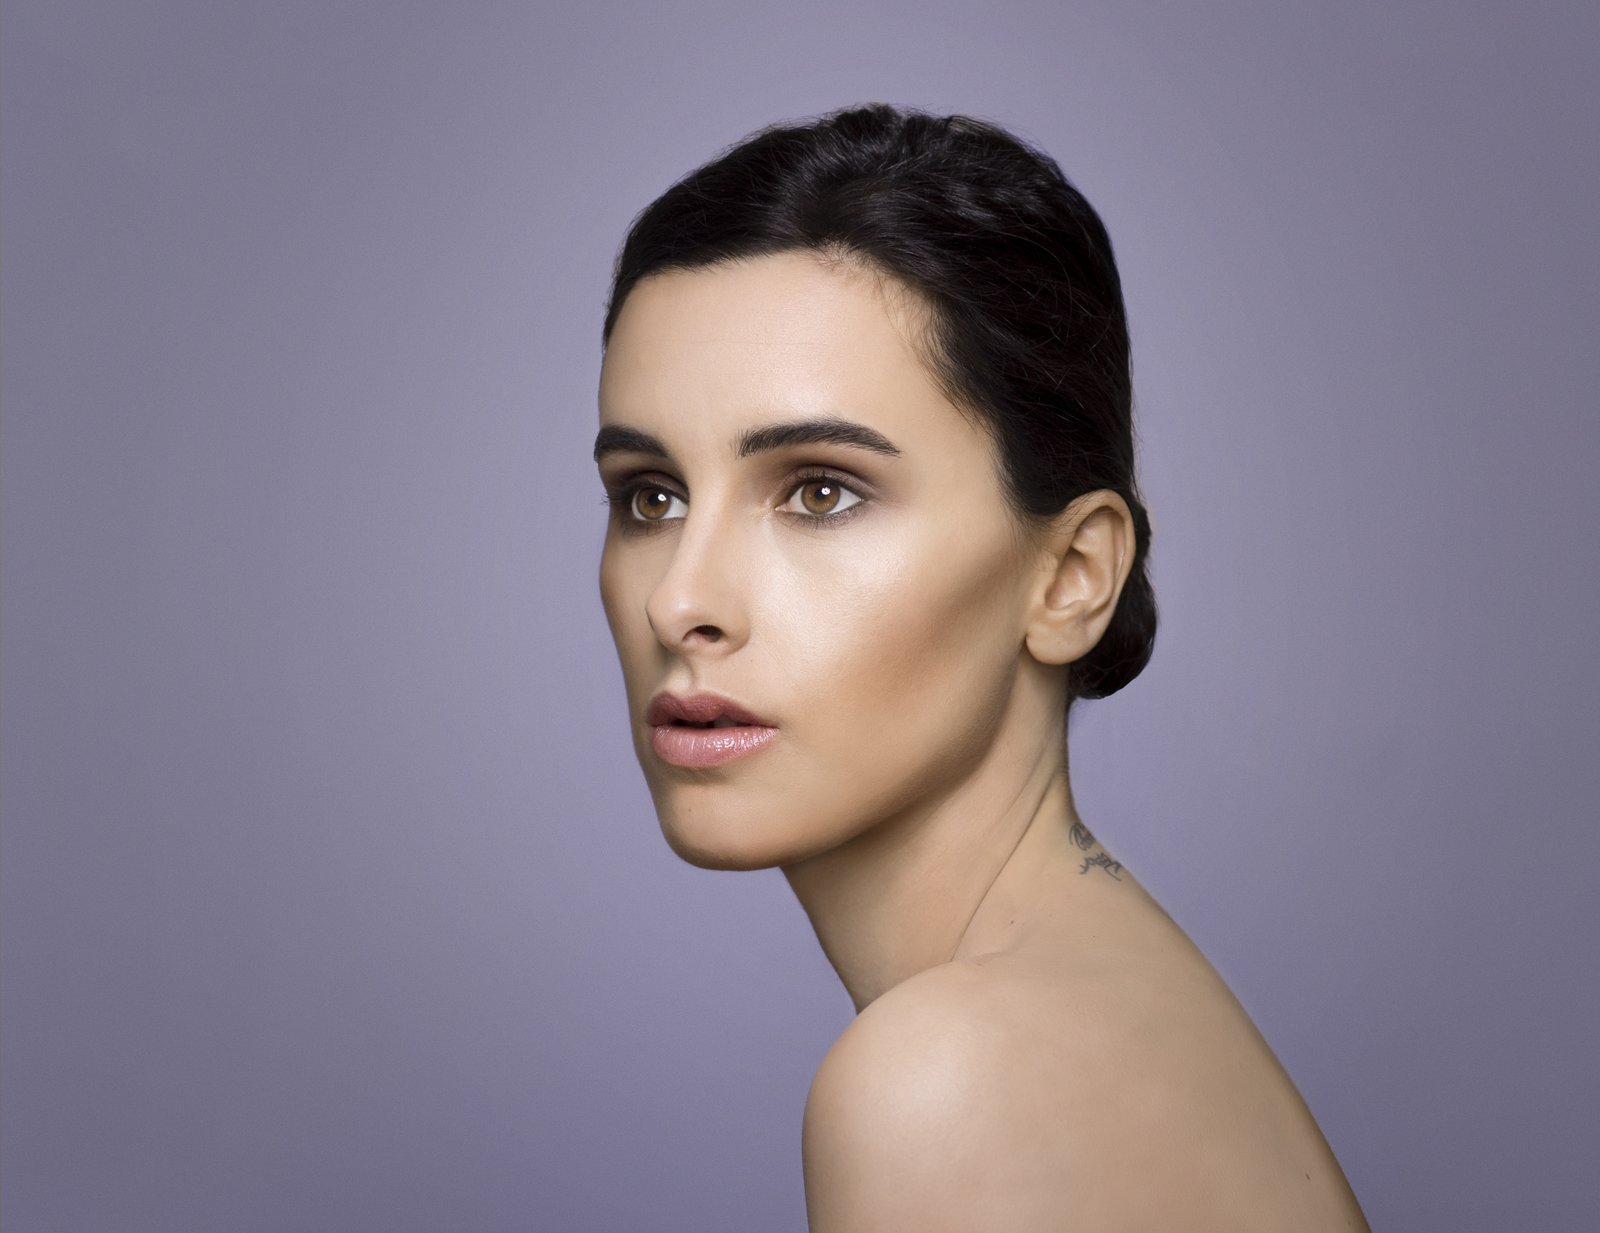
The first time a client told me my retouching looked “plastic,” I was sitting in my car in a Trader Joe’s parking lot reading the email on my phone. I had spent three hours on that image. The skin was smooth, the shadows were clean, and I thought it looked polished. What I hadn’t realized was that I’d treated the hair the same way I treated the skin, painting over it with a heavy hand and zero understanding of what makes hair look real. Skin has pores. Hair has individual strands, light catching on different planes, and a kind of controlled chaos that absolutely cannot survive a clone stamp at 80% opacity.
That lesson cost me a client. It also sent me down a two-year rabbit hole that completely changed the way I work.
What Makes Hair So Much Harder Than Skin
Hair is a texture problem masquerading as a color problem. Most retouchers go straight for hue-saturation or selective color when they see brassiness or uneven tone, and those tools have their place, but they don’t address the structural issues underneath. Hair is made up of thousands of overlapping strands, each one catching light slightly differently depending on its angle, the curl pattern, and how much product the subject was wearing on set. When we retouch it badly, we’re usually destroying one of those three things without realizing it.
The two most common disasters I see in submitted work during my workshops are flyaways handled with the Spot Healing Brush and density loss from overly aggressive dodging. The Spot Healing Brush is brilliant for skin. For hair, it samples surrounding pixels and creates a smeared, uniform patch that reads as completely wrong to the human eye, even when viewers can’t articulate why. Our brains are wired to recognize hair texture, and a single 40-pixel smear will undermine an otherwise excellent retouch.
The Flyaway Workflow That Actually Holds Up
For flyaways, I work on a new blank layer set to Darken blend mode for dark hair or Lighten for light hair. Then I use the Clone Stamp tool at 10 to 15% opacity with a 1 to 3 pixel soft brush, sampling from a clean area of background or hair that’s close in tone. The Darken or Lighten blend mode means the stamp will only affect pixels that are lighter or darker than the sample, so I’m not painting over good hair, I’m only touching the strands that are visibly out of place.
The key setting most people miss is turning on Aligned in the Clone Stamp options bar. With Aligned off, every new stroke resamples from the same origin point, which creates repetition. With it on, the sample point moves with my brush, which keeps the background texture natural across a longer stroke.
For blonde hair against a light background, this whole layer approach goes out the window and I switch to the Patch tool instead, drawing a loose selection around the flyaway, dragging it to clean background, and immediately stepping back with Edit - Fade Patch Tool at around 85%. That fade step is non-negotiable. Without it, the patch is always too clean.
Rebuilding Density Without Destroying Texture
When hair looks flat or thin, the instinct is to dodge the highlights and burn the shadows. The problem is that standard Dodge and Burn, even on a gray overlay layer, tends to blow out the fine detail in highlights and muddy the shadow strands. I use a different approach: a Curves adjustment layer clipped to a rough luminosity mask.
I create the luminosity mask by going to the Channels panel, Command-clicking the RGB composite channel to load a selection based on brightness, then inverting it with Command-Shift-I to select the darker tones. I refine the edge by 1.5 pixels, add a Curves layer from that selection, and pull the midpoint of the curve up just slightly, usually about 8 to 10 points on the output value. This brightens the internal volume of the hair without touching the surface highlights where texture lives.
For the actual highlight pop, I add a second Curves layer, this time loaded from the straight luminosity selection (no invert), and add a very gentle S-curve. I’m talking an input of 180 moved to an output of 190. Subtle. The hair starts to look like it has depth again rather than looking like a helmet.
Fixing Color Without Losing Dimension
Brassiness and uneven color are usually the last thing I address, after the structural work is done. A Selective Color adjustment layer targeting Reds and Yellows gives me the most control for warm tones. For brunettes going brassy, I’ll pull the Yellow slider in the Reds range back by about minus 12 to minus 18 and reduce Cyan in Yellows by around minus 8. That combination cools the mid-tone warmth without turning the hair ashy.
For blondes, I almost always use a Color Balance layer instead, making small adjustments in the Midtones range only, nudging toward blue or green by no more than plus 5 to plus 7 on any single slider. Color Balance is blunt, which is exactly why I keep the numbers tiny.
The mask on every color correction layer gets a 3-pixel Gaussian blur applied after painting, so the correction bleeds slightly into the skin at the hairline rather than creating a hard edge.
The Single Thing That Changes Hair Retouching Permanently
Every tool in this workflow is serving one goal: preserving the evidence that these are individual strands of hair affected by real light. The moment a hair retouch looks seamless in the wrong way, where you can’t see any strand variation or light falloff, it crosses from “polished” into “synthetic.” The difference between those two things is not a filter or a plugin. It’s the decision to work in smaller increments, on more layers, with lower opacity than feels necessary, until the edit disappears into the image rather than sitting on top of it.
Comments
Leave a Comment