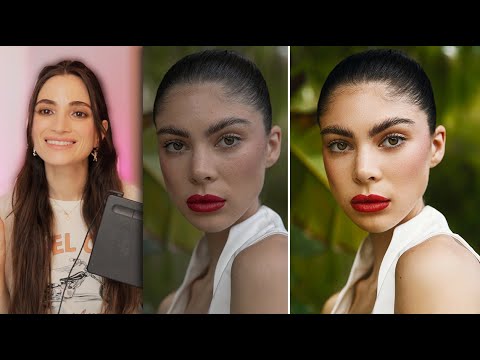
There’s a specific kind of client email that used to send me into a spiral. It would arrive two days after delivery, and it would say something like: “These look great, but can you make the skin look a little more… natural?” I knew exactly what it meant. I had over-processed again. My highlights were blown, my skin tones were plastic, and somewhere between Camera Raw and my seventeenth Photoshop layer, I had lost the person entirely. That was years ago, back when I was still figuring out that good retouching is mostly about restraint, not effort. It’s why I keep coming back to tutorials from photographers who actually shoot their own subjects, because their retouching decisions stay connected to the image in a way that pure post-production tutorials sometimes miss.
Watch the full tutorial on YouTube
In this Jessica Kobeissi tutorial, she works through a close-up portrait of a friend, handling skin retouching and color grading in real time, with no pre-planned “look” locked in before she starts. That last part matters. She admits on camera that she has no idea where the edit is going, which sounds casual but is actually a very honest description of how a lot of professional retouching works. You react to what the image gives you. Watching her do that, and seeing how quickly she makes decisions in Camera Raw before moving into Photoshop, gave me a useful checklist I’ve been leaning on ever since. Here’s how the workflow breaks down.
Step 1: Set the Foundation in Camera Raw Before You Touch Photoshop
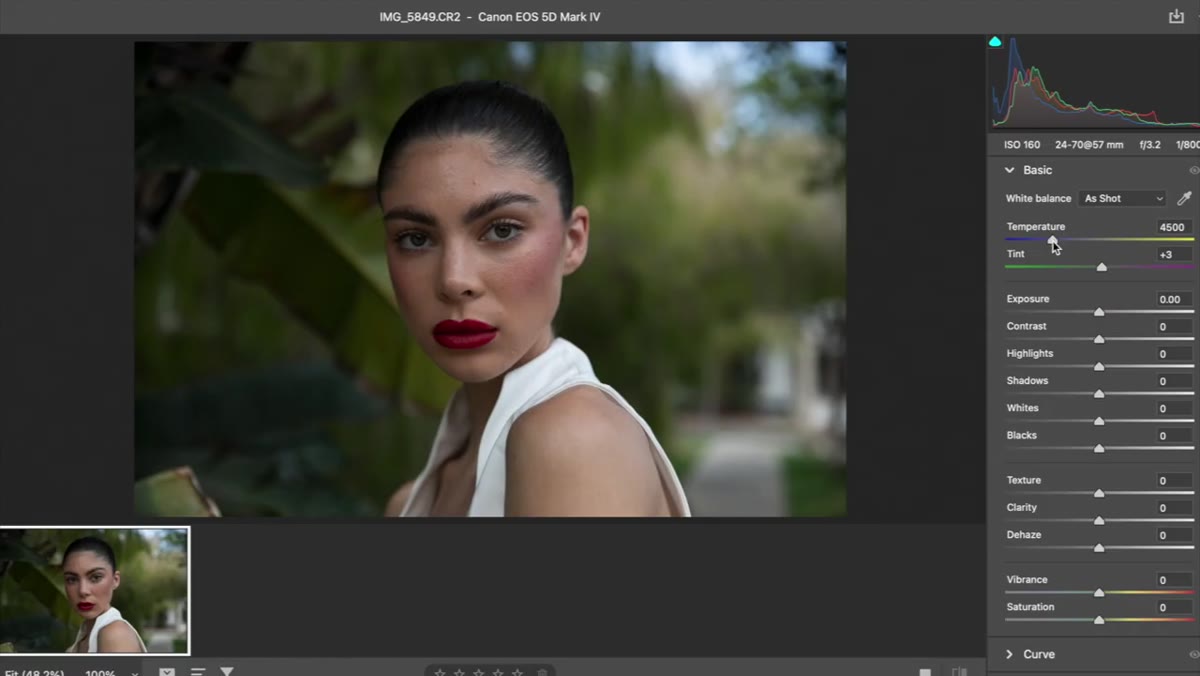 Camera Raw interface open with portrait loaded
The first thing Jessica does is open the image in Camera Raw, and she keeps it intentionally light. She dials back the contrast, lifts the shadows, and brings the blacks up slightly so the darker tones in the image don’t compete with the skin. The goal here is not a finished look. It’s a clean, workable base that gives Photoshop something honest to work with.
Camera Raw interface open with portrait loaded
The first thing Jessica does is open the image in Camera Raw, and she keeps it intentionally light. She dials back the contrast, lifts the shadows, and brings the blacks up slightly so the darker tones in the image don’t compete with the skin. The goal here is not a finished look. It’s a clean, workable base that gives Photoshop something honest to work with.
This is a discipline worth building early. I used to skip Camera Raw almost entirely, opening straight into Photoshop because that’s where the “real work” felt like it happened. What I’ve learned is that every bad decision in Camera Raw costs you double the time later. Lifting blacks slightly, for example, saves you from destructive shadow recovery on the skin when you’re deep into frequency separation. Spend five minutes here and you’ll spend fewer frustrated minutes undoing things on layer 30.
Step 2: Move Into Photoshop and Start Evaluating the Skin
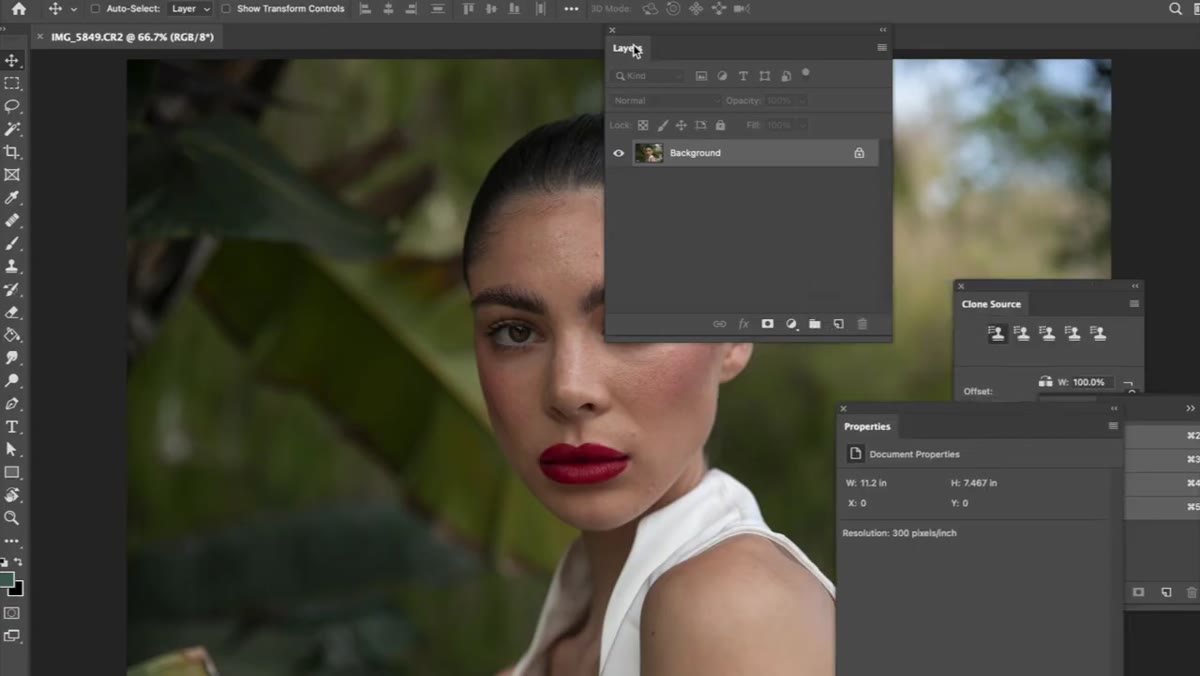 Image open in Photoshop after Camera Raw adjustments
Once she moves into Photoshop, Jessica takes a beat to look at the image before reaching for any tools. This is easy to overlook in a tutorial because it’s not a “step” you can see, but it’s one of the most important habits in portrait retouching. Where are the problem areas? What does the skin texture actually look like at 100% zoom? Is this a job for healing tools, or does the texture need frequency separation?
Image open in Photoshop after Camera Raw adjustments
Once she moves into Photoshop, Jessica takes a beat to look at the image before reaching for any tools. This is easy to overlook in a tutorial because it’s not a “step” you can see, but it’s one of the most important habits in portrait retouching. Where are the problem areas? What does the skin texture actually look like at 100% zoom? Is this a job for healing tools, or does the texture need frequency separation?
At full resolution on a close-up portrait, you’ll often find the skin issues fall into two categories: tone irregularities like redness or uneven patches, and texture issues like pores, fine lines, or blemishes. Knowing which one you’re dealing with before you start tells you which tools to reach for. Treating a texture problem with a tone-based fix is one of the fastest ways to end up with that plastic look nobody wants.
Step 3: Work Through Skin Retouching Systematically
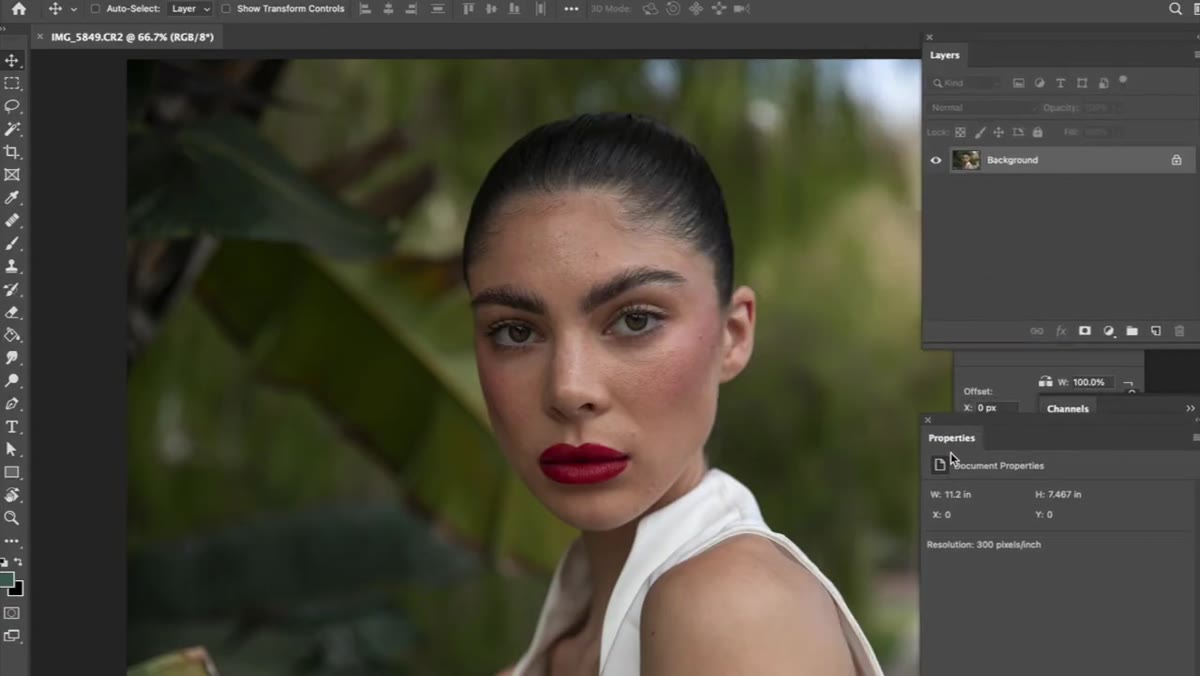 Retouching tools active on skin area in Photoshop
Jessica’s skin retouching process focuses on working through the face in a deliberate order rather than jumping around wherever something catches her eye. She addresses the bigger tonal issues first, using healing and cloning tools on a separate layer so nothing is baked into the original pixels. Working non-destructively from the start isn’t just good practice for revisions. It also lets you dial back the intensity of any fix by simply lowering the layer opacity.
Retouching tools active on skin area in Photoshop
Jessica’s skin retouching process focuses on working through the face in a deliberate order rather than jumping around wherever something catches her eye. She addresses the bigger tonal issues first, using healing and cloning tools on a separate layer so nothing is baked into the original pixels. Working non-destructively from the start isn’t just good practice for revisions. It also lets you dial back the intensity of any fix by simply lowering the layer opacity.
For blemishes and isolated spots, the Spot Healing Brush set to Content-Aware on a new blank layer is still one of the fastest tools available, and it holds up well on skin that has consistent surrounding texture. For larger areas of uneven tone, the Clone Stamp at a low opacity (20 to 30 percent) gives you more control than healing, because you’re blending rather than replacing. Sample close to the problem area, and alt-click often to keep the source fresh.
Step 4: Refine the Skin Tone with Selective Color or Hue-Saturation Adjustments
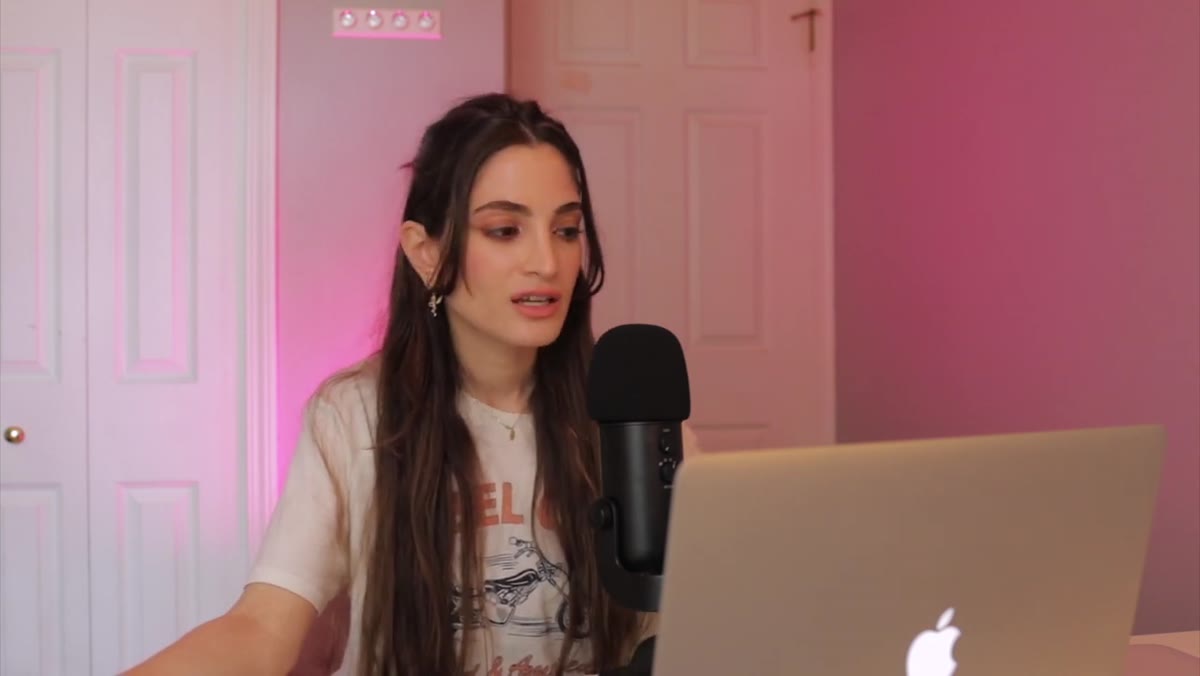 Color grading adjustments applied to portrait
After the structural skin work is done, Jessica moves into color. This is where the edit starts to develop its personality. She works on the overall skin tone, adjusting warmth and saturation in a way that feels additive rather than corrective. The image already has good bones from the Camera Raw work. Now she’s shaping the mood.
Color grading adjustments applied to portrait
After the structural skin work is done, Jessica moves into color. This is where the edit starts to develop its personality. She works on the overall skin tone, adjusting warmth and saturation in a way that feels additive rather than corrective. The image already has good bones from the Camera Raw work. Now she’s shaping the mood.
A Hue/Saturation adjustment layer targeting the reds and yellows in the skin is one of the most precise ways to handle this without affecting the whole image. Pulling the saturation of the reds down by 5 to 10 points can eliminate a blotchy look without touching the rest of the palette. If the skin reads too yellow, shift the hue of the yellows a degree or two toward orange. These are small moves, but they’re the difference between a skin tone that looks treated and one that just looks good.
Step 5: Add Your Color Grade as the Final Layer
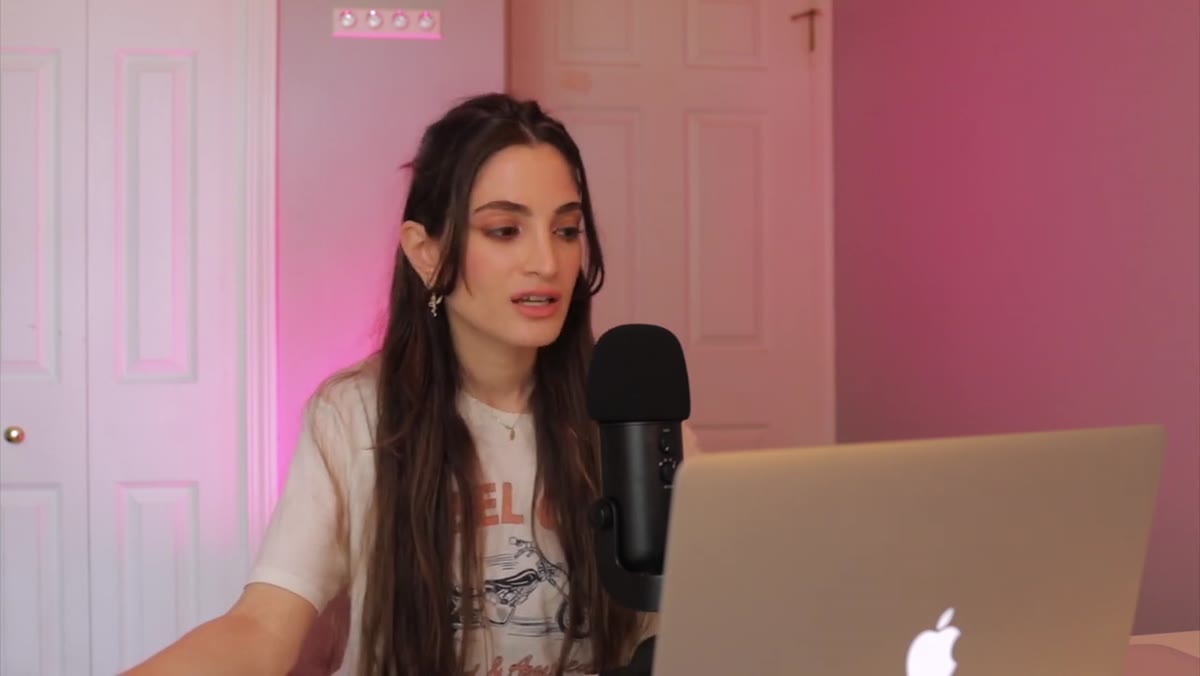 Final color and tone adjustments visible across the image
The last major move Jessica makes is applying her overall color grade, which ties the skin work and the background together into a cohesive image. She builds this on top of everything else so it reads as a decision, not a correction. Common tools for this stage include Color Lookup adjustment layers, Curves with targeted color channel work, or a subtle Color Balance layer that nudges the shadows and highlights in complementary directions.
Final color and tone adjustments visible across the image
The last major move Jessica makes is applying her overall color grade, which ties the skin work and the background together into a cohesive image. She builds this on top of everything else so it reads as a decision, not a correction. Common tools for this stage include Color Lookup adjustment layers, Curves with targeted color channel work, or a subtle Color Balance layer that nudges the shadows and highlights in complementary directions.
Keep the opacity on your grade layer lower than feels right. My usual instinct is to land around 60 to 70 percent and then walk away from the screen for five minutes. When I come back, I almost always pull it down another 10 points.
What I’d Add to This Workflow
One thing the tutorial doesn’t linger on, but that has become non-negotiable in my own process, is a final dodge and burn pass specifically for the skin. After all the retouching and color work is done, a very low-opacity Curves layer set to lighten, clipped with a black mask, lets you paint light back into the high points of the face with a soft white brush. A matching layer set to darken handles the shadow shaping. Done subtly, this step is what separates a retouch that looks “fixed” from one that looks dimensional. It takes maybe ten minutes and it changes everything about how the final image reads.
The biggest thing Jessica’s workflow reinforced for me is that a great portrait retouch is mostly a series of small, confident decisions rather than one dramatic transformation. Start clean in Camera Raw, protect your pixels by working non-destructively, address tone and texture as separate problems, and grade last. Follow that sequence and the image almost always tells you what it needs.
Watch the full tutorial on YouTube to see Jessica work through the full edit in real time. Seeing the pacing of her decisions is as instructive as the techniques themselves.
Comments (1)
I keep coming back to this article. It's that useful.
Leave a Comment