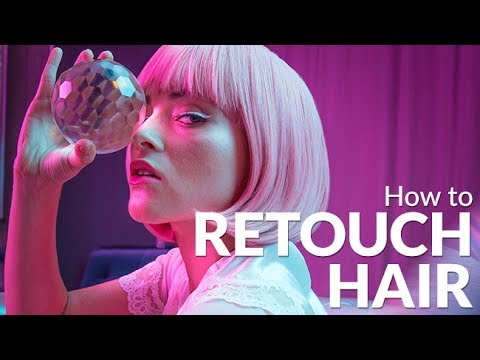
Hair is the thing that will make or break a beauty retouch. I learned this the hard way early in my retouching career, when a client sent back a set of edits with a note that the skin looked “plastic.” I had spent all my time on the face and basically ignored the flyaways and ragged edges around the hair. The result was this uncanny valley effect: impossibly smooth skin surrounded by chaotic, untouched hair. The contrast between the two made both look worse. Since then, hair has always been one of the first things I zoom into when I open a new file.
That is why when I came across this tutorial by Aaron Nace over at PHLEARN, I kept coming back to it. He breaks the problem into three distinct phases, each one handling a different type of hair issue, and the progression is logical in a way that matches how I actually work. Watch the full tutorial on YouTube if you want to follow along with the original footage. Below, I have broken the workflow down into steps you can follow on your own images.
The example image Aaron uses is a pink wig photographed for a neon-themed shoot, but every technique he demonstrates applies equally to natural hair. Straight hair, curly hair, fine hair, thick hair – the tools are the same. You just adjust your brush size and your patience level accordingly.
Step 1: Create a New Blank Layer Before You Touch Anything
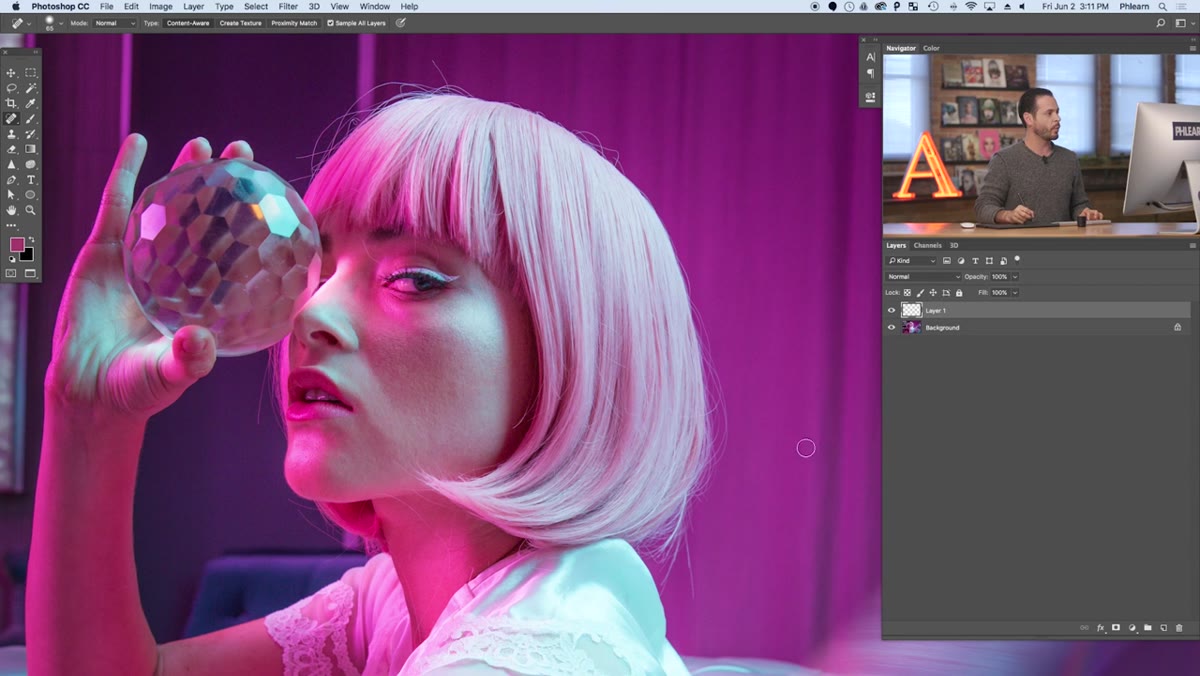 New layer created above background in Layers panel
Before reaching for any tool, create a new empty layer above your image. This is non-negotiable. Working on a dedicated layer means every brush stroke is isolated and reversible. If the spot healing brush does something strange – and it will sometimes – you erase just that stroke and try again, without touching the original pixels underneath. It keeps your file clean and your options open.
New layer created above background in Layers panel
Before reaching for any tool, create a new empty layer above your image. This is non-negotiable. Working on a dedicated layer means every brush stroke is isolated and reversible. If the spot healing brush does something strange – and it will sometimes – you erase just that stroke and try again, without touching the original pixels underneath. It keeps your file clean and your options open.
Step 2: Remove Stray Hairs with the Spot Healing Brush (Content Aware)
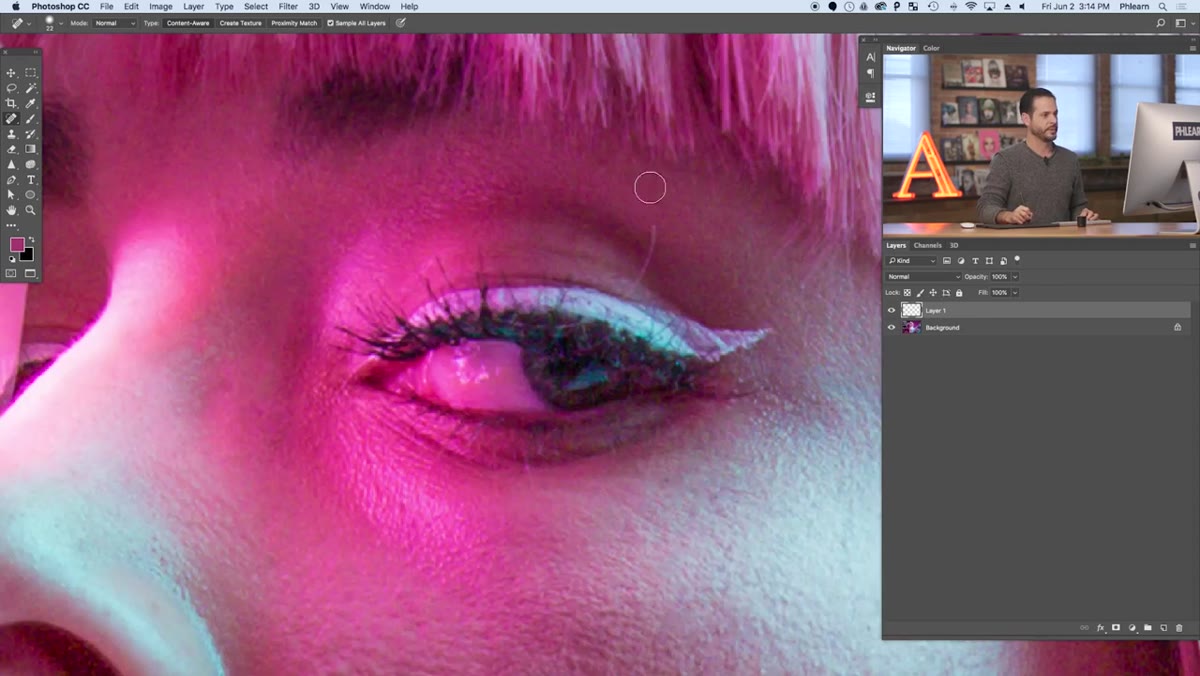
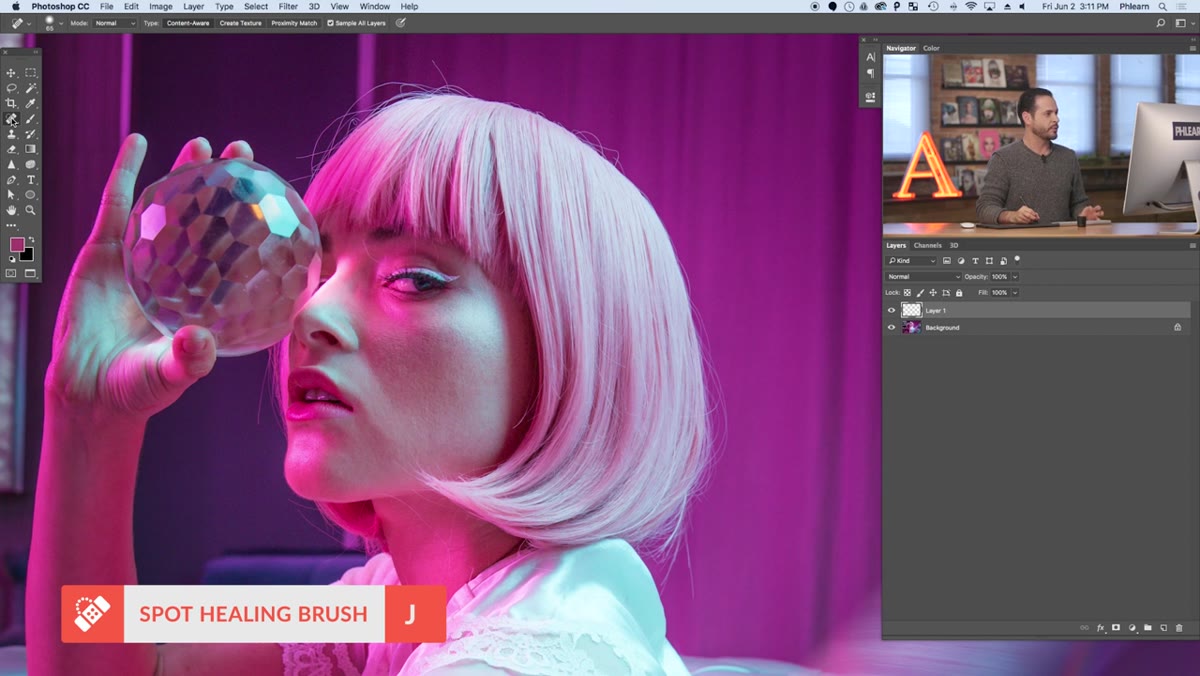 Spot Healing Brush selected in toolbar, Content Aware type checked
Select the Spot Healing Brush from the toolbar. In the options bar at the top, set the Type to “Content Aware” and make sure “Sample All Layers” is checked. That second checkbox is what allows the tool to see through to your background layer even though you are painting on an empty one above it.
Spot Healing Brush selected in toolbar, Content Aware type checked
Select the Spot Healing Brush from the toolbar. In the options bar at the top, set the Type to “Content Aware” and make sure “Sample All Layers” is checked. That second checkbox is what allows the tool to see through to your background layer even though you are painting on an empty one above it.
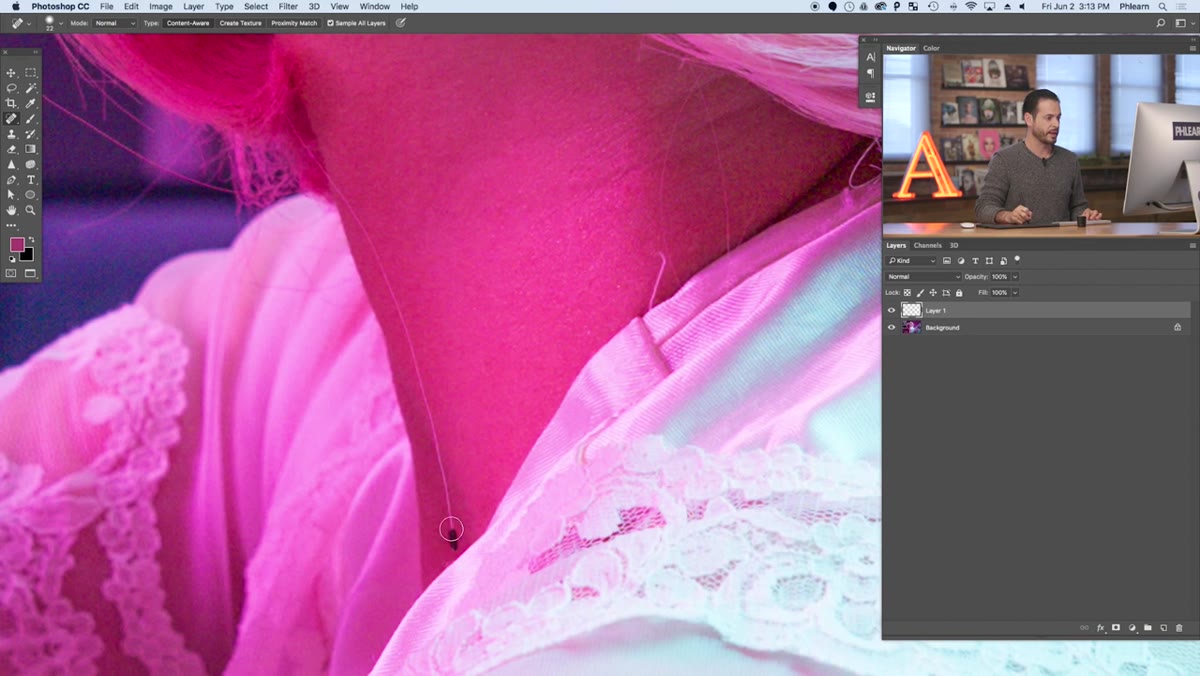
Zoom in to around 100 percent or more – Aaron emphasizes this and he is right. Hair problems are invisible at a glance and obvious up close. Now paint over individual stray hairs using short strokes rather than one long drag across the entire strand. Aaron tests the long-stroke approach on screen and shows exactly why it creates that tell-tale Photoshop smear. Short, segmented strokes give the algorithm a smaller area to analyze, which means cleaner, more believable results. Work around the perimeter of the hair first, where strays are most visible against skin or background, then move inward.
Step 3: Use the Clone Stamp for Strays the Healing Brush Struggles With
 Clone Stamp tool active, sampling nearby hair texture
Some stray hairs sit in areas where the Content Aware fill just cannot find enough clean surrounding texture to work with – usually near the hairline or against a complex background. For those, switch to the Clone Stamp tool. Hold Alt (Option on Mac) to click a clean sample point near the problem area, then paint over the stray. The key is choosing a sample point that matches the direction and tone of the surrounding hair. A clone stamp source that is even slightly off in angle or brightness will create a patch that reads as wrong immediately.
Clone Stamp tool active, sampling nearby hair texture
Some stray hairs sit in areas where the Content Aware fill just cannot find enough clean surrounding texture to work with – usually near the hairline or against a complex background. For those, switch to the Clone Stamp tool. Hold Alt (Option on Mac) to click a clean sample point near the problem area, then paint over the stray. The key is choosing a sample point that matches the direction and tone of the surrounding hair. A clone stamp source that is even slightly off in angle or brightness will create a patch that reads as wrong immediately.
Keep your brush size just slightly larger than the strand you are removing. Going too large picks up too much surrounding texture and muddies the result.
Step 4: Define the Hair’s Edge Using the Pen Tool
 Pen tool drawing a path along the outer edge of the hair
Once the obvious strays are gone, the next problem is the overall silhouette of the hair. Wigs and certain hair types develop an irregular, fuzzy edge that does not read as intentional volume – it just looks unkempt. Aaron’s solution is to use the Pen tool to draw a precise path along where the hair edge should be.
Pen tool drawing a path along the outer edge of the hair
Once the obvious strays are gone, the next problem is the overall silhouette of the hair. Wigs and certain hair types develop an irregular, fuzzy edge that does not read as intentional volume – it just looks unkempt. Aaron’s solution is to use the Pen tool to draw a precise path along where the hair edge should be.
Zoom in and trace the intended boundary of the hair with the Pen tool, following the natural line of the style. Use as few anchor points as you can while still capturing the shape – too many points creates a rigid, synthetic-looking edge. The goal is a smooth, believable curve that represents where the hair genuinely wants to be. Once the path is complete, you will use it to mask or clean up everything outside that boundary.
Step 5: Fill Gaps and Uneven Areas to Unify the Hair’s Interior
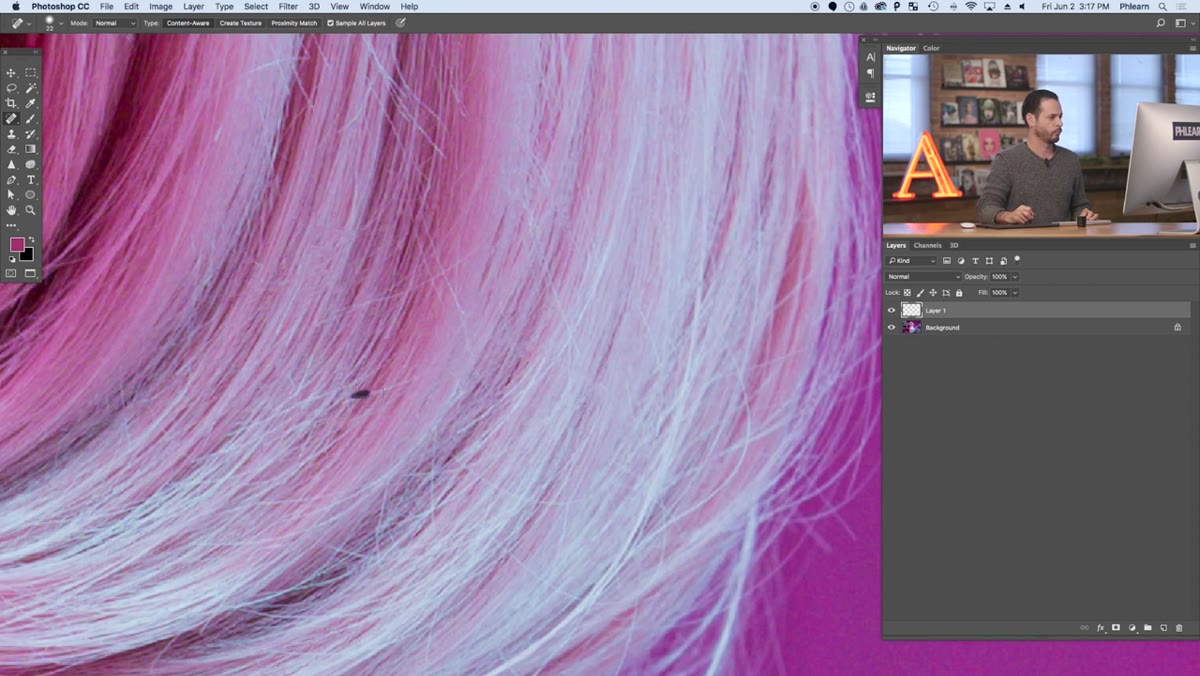 Filling interior gaps to create uniform hair texture
Even after removing strays, the body of the hair often has gaps, thin patches, or areas where the texture breaks down. Aaron addresses this by using the defined path and a combination of cloning and healing to fill those interior areas, pulling texture from denser parts of the hair and painting it into the thin spots.
Filling interior gaps to create uniform hair texture
Even after removing strays, the body of the hair often has gaps, thin patches, or areas where the texture breaks down. Aaron addresses this by using the defined path and a combination of cloning and healing to fill those interior areas, pulling texture from denser parts of the hair and painting it into the thin spots.
The direction of your strokes matters here just as much as anywhere else. Hair has a flow. Painting perpendicular to that flow immediately looks wrong. Sample from an area where the hair is running in the same direction as the spot you are fixing, and keep your brush opacity lower – around 50 to 70 percent – so you are building up coverage gradually rather than stamping in a hard block of texture.
A Note on Curly and Textured Hair
Aaron briefly mentions in the tutorial that curly hair requires adapting these techniques, and I want to expand on that because it trips up a lot of people. With curly or coily hair, the “flow” of each strand changes direction constantly, sometimes within a single inch. Short spot healing strokes become even more important, and the Clone Stamp source point needs to match not just tone and brightness but the specific curve of the strand you are working near. I often drop my Clone Stamp opacity down to around 40 percent for curly textures and build up several passes. It takes longer, but a rushed result on curly hair looks far worse than a rushed result on straight hair because the pattern is so complex that any discontinuity is immediately obvious.
The single biggest thing I took away from Aaron’s approach is the separation of problems into phases: strays first, silhouette second, interior texture third. Trying to do all three at once is how you end up with a muddy, overworked file and a result that somehow looks messier than when you started. Work in order, work on separate layers, and zoom in more than feels necessary.
Watch the full tutorial on YouTube to see Aaron demonstrate each of these steps in real time – seeing the before and after on each individual stroke is genuinely useful for calibrating your own expectations.
Comments
Leave a Comment