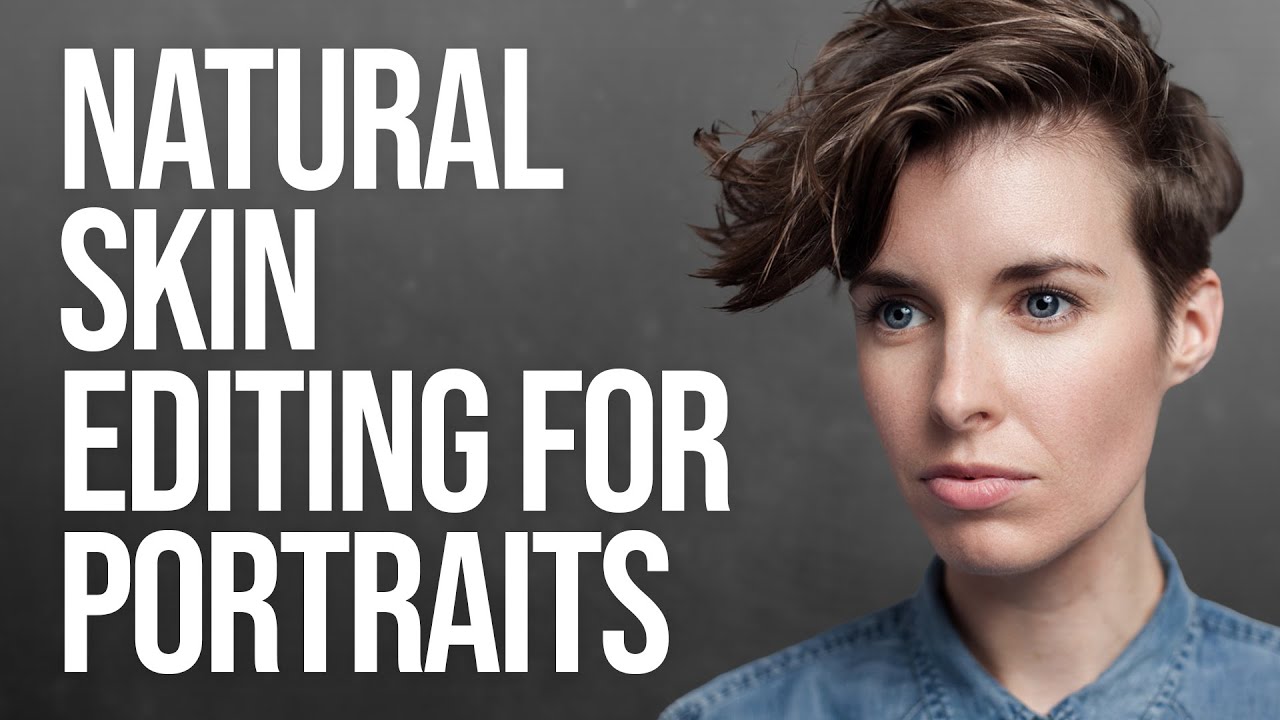
There’s a specific kind of dread that comes with opening a portrait file and knowing the skin needs work. Early in my retouching career, I leaned hard on every technique I could find, and the results looked exactly like what they were: over-processed, waxy, and unconvincing. A client once described my edits as “plastic-looking,” and honestly, she wasn’t wrong. That moment sent me down a long road of figuring out how to clean up skin without erasing the person underneath.
Which is why I keep coming back to the philosophy Sean Tucker lays out in his natural skin editing tutorial. Watch the full tutorial on YouTube before or after reading this walkthrough. Tucker’s approach isn’t about achieving a beauty-campaign finish. It’s about removing what doesn’t belong while keeping everything that makes a face interesting. For those of us who retouch real people rather than editorial concepts, that distinction matters enormously.
Tucker’s guiding principle is simple but surprisingly clarifying in practice: if something on the face wouldn’t be there in two weeks, it’s fair to remove it. Pimples go. Freckles and moles stay. That single rule cuts through a lot of the ambiguity that trips up newer retouchers who aren’t sure where the line is.
Step 1: Set Your Retouching Philosophy Before You Open a Tool
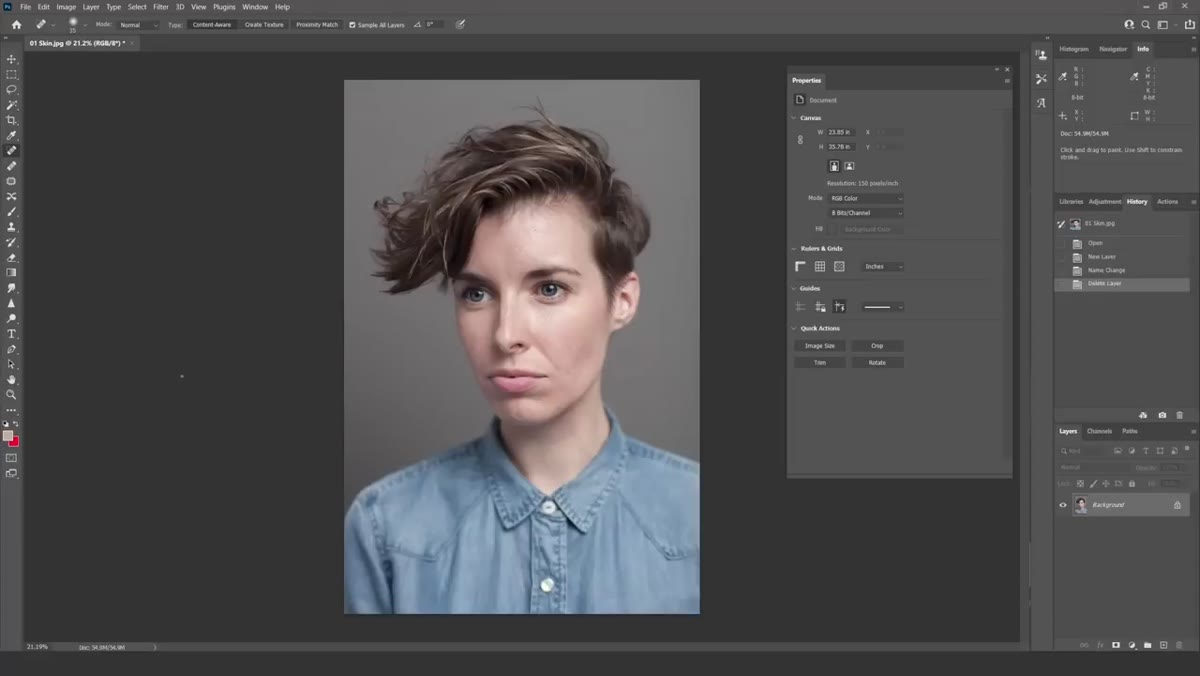 Tucker explaining the two-week rule for skin blemishes
Before touching a single slider or brush, Tucker establishes the mindset that shapes every decision that follows. Temporary blemishes, redness from a cold day, a breakout that appeared the morning of the shoot, these are fair targets. Permanent features like freckles, moles, visible pores, and fine lines that define a person’s face are not. This isn’t just an ethical stance; it’s a practical one. Edits that respect a person’s underlying texture read as natural. Edits that sand everything smooth look like a mask.
Tucker explaining the two-week rule for skin blemishes
Before touching a single slider or brush, Tucker establishes the mindset that shapes every decision that follows. Temporary blemishes, redness from a cold day, a breakout that appeared the morning of the shoot, these are fair targets. Permanent features like freckles, moles, visible pores, and fine lines that define a person’s face are not. This isn’t just an ethical stance; it’s a practical one. Edits that respect a person’s underlying texture read as natural. Edits that sand everything smooth look like a mask.
Write this rule somewhere you’ll see it during a session. When you’re two hours deep in a retouch and your eye starts catching every pore as a problem to fix, having an explicit boundary pulls you back before you cross it.
Step 2: Set Up a Non-Destructive Workspace in Photoshop
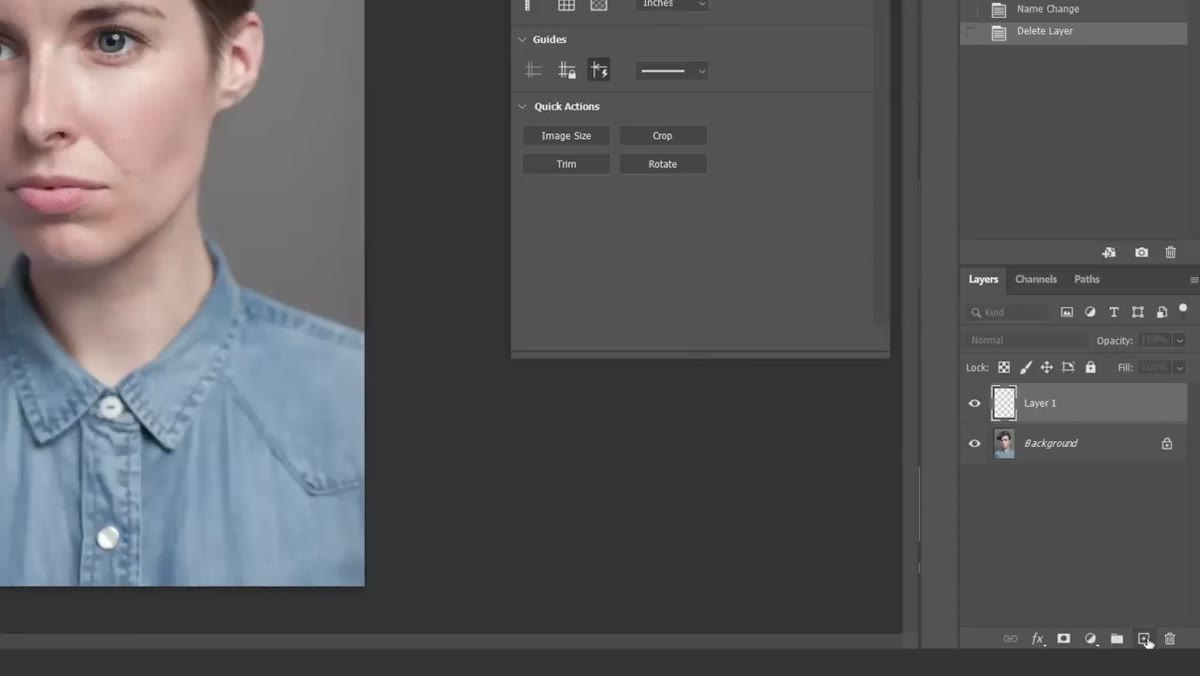
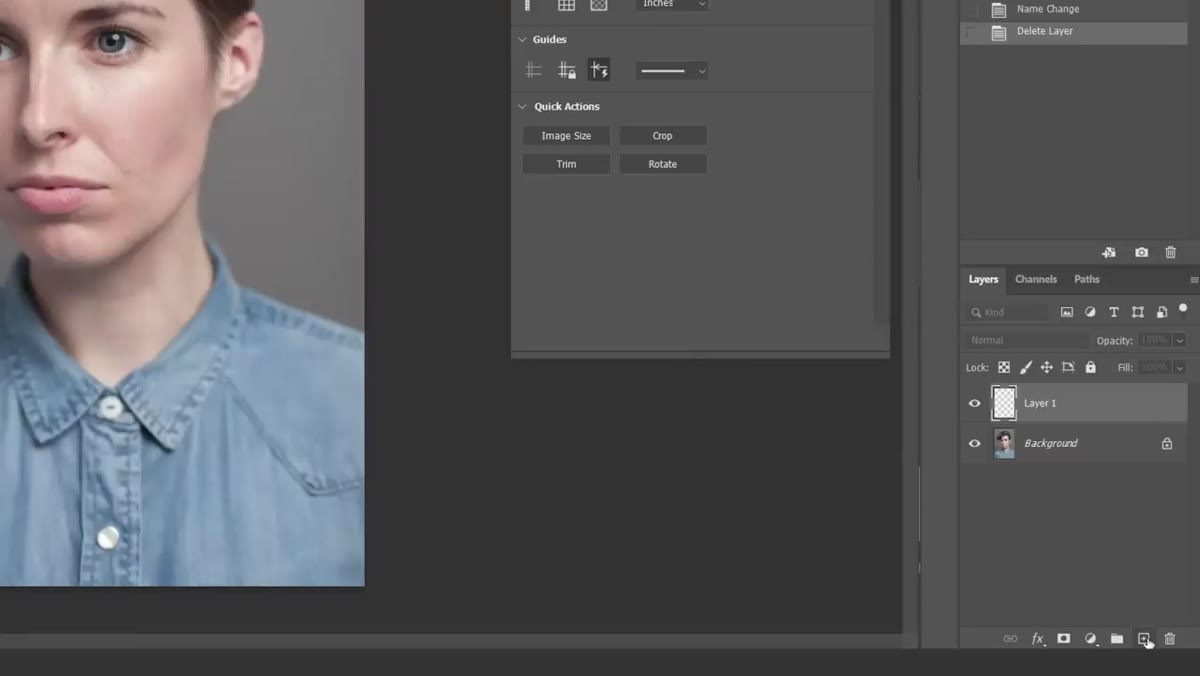
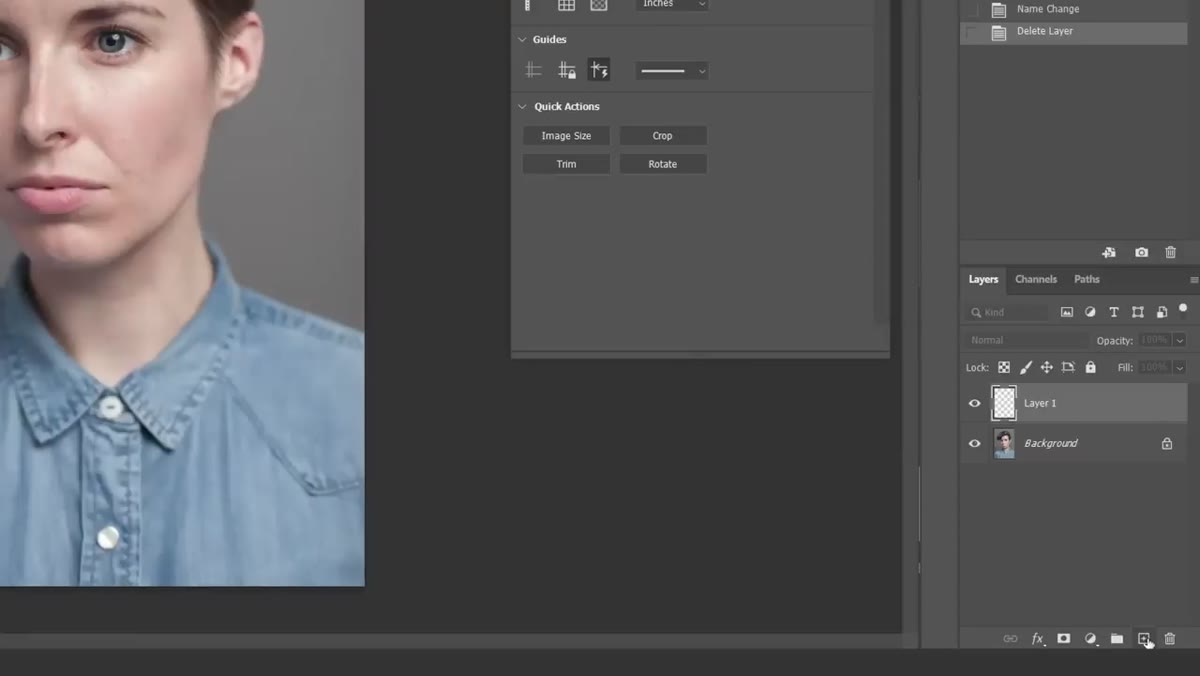 Tucker at the bottom-right panel of Photoshop setting up layers
Tucker works non-destructively from the start, which means all corrections happen on layers above the original image, never directly on the background pixel layer. Duplicate your background layer before doing anything else (Cmd/Ctrl + J), and name it something you’ll recognize later. If you’re building out a fuller retouch workflow, this is also the moment to set up a layer structure so that skin work, dodging and burning, and color corrections all live in separate, clearly labeled groups.
Tucker at the bottom-right panel of Photoshop setting up layers
Tucker works non-destructively from the start, which means all corrections happen on layers above the original image, never directly on the background pixel layer. Duplicate your background layer before doing anything else (Cmd/Ctrl + J), and name it something you’ll recognize later. If you’re building out a fuller retouch workflow, this is also the moment to set up a layer structure so that skin work, dodging and burning, and color corrections all live in separate, clearly labeled groups.
Working this way means you can dial back any single step without undoing everything that came after it. For client work especially, the ability to say “yes, I can reduce that by 50%” without starting over is not a small thing.
Step 3: Use the Spot Healing Brush for Quick Blemish Removal
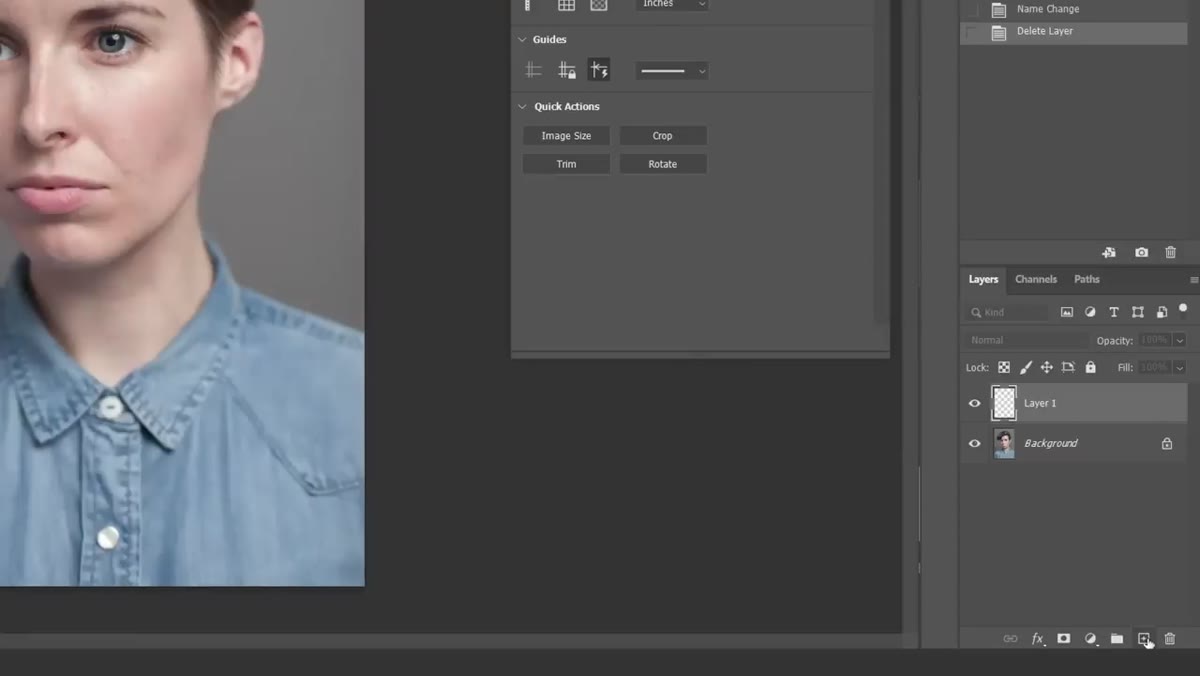 Tucker selecting healing tool from the Photoshop toolbar
The Spot Healing Brush is Tucker’s first tool of choice for removing blemishes, and it works best on a blank new layer with the “Sample All Layers” option checked in the top toolbar. Create a new empty layer above your duplicated background, name it something like “Spot Heal,” and make sure that Sample All Layers box is ticked. This lets the brush pull texture from the layers below while depositing corrections onto its own isolated layer.
Tucker selecting healing tool from the Photoshop toolbar
The Spot Healing Brush is Tucker’s first tool of choice for removing blemishes, and it works best on a blank new layer with the “Sample All Layers” option checked in the top toolbar. Create a new empty layer above your duplicated background, name it something like “Spot Heal,” and make sure that Sample All Layers box is ticked. This lets the brush pull texture from the layers below while depositing corrections onto its own isolated layer.
Keep the brush size just slightly larger than the blemish you’re targeting. Too small and Photoshop doesn’t have enough information to blend well; too large and it starts grabbing texture from areas with different tonal values, which creates obvious patches. Work at 100% zoom so you can see exactly what you’re removing, and click rather than paint when possible. Single clicks on isolated blemishes give Photoshop the cleanest sample to work with.
Step 4: Switch to the Healing Brush for Trickier Areas
 Tucker demonstrating healing on a close-up area of the portrait
The Spot Healing Brush is automatic, which is its strength and its limitation. In areas near edges, near the hairline, at the border of the lips or eyes, it can blend incorrectly because it pulls from the wrong region. This is where the regular Healing Brush gives you back control. Hold Alt/Option and click to manually set your sample point, choosing an area of skin close in tone and texture to the spot you’re fixing, then paint over the problem area.
Tucker demonstrating healing on a close-up area of the portrait
The Spot Healing Brush is automatic, which is its strength and its limitation. In areas near edges, near the hairline, at the border of the lips or eyes, it can blend incorrectly because it pulls from the wrong region. This is where the regular Healing Brush gives you back control. Hold Alt/Option and click to manually set your sample point, choosing an area of skin close in tone and texture to the spot you’re fixing, then paint over the problem area.
Change your sample point often. Retouchers who set one sample point and use it across the whole face end up with a smeared, repetitive texture that’s easy to spot. Think of it as painting with a patch of skin rather than a color, and that patch needs to be a close neighbor of wherever you’re working.
Step 5: Check Your Work with a Zoom-Out
 Tucker pulling back to full image view to assess edits
After working at high zoom for any length of time, your eye stops registering what looks normal. Tucker’s practice of regularly zooming back to full-image view or even smaller, around 25 to 33 percent, lets you catch two problems: edits that look obvious at a distance, and areas you may have over-corrected. What looks seamless at 100% sometimes reads as a flat, textureless patch when you see the whole face.
Tucker pulling back to full image view to assess edits
After working at high zoom for any length of time, your eye stops registering what looks normal. Tucker’s practice of regularly zooming back to full-image view or even smaller, around 25 to 33 percent, lets you catch two problems: edits that look obvious at a distance, and areas you may have over-corrected. What looks seamless at 100% sometimes reads as a flat, textureless patch when you see the whole face.
A useful habit is to toggle your healing layer’s visibility on and off at full-image zoom. If you can’t see the difference with the layer hidden versus visible, your edits are natural. If the skin suddenly looks smoother and more uniform with the layer on, you’ve likely gone too far.
A Note From My Own Practice: Less Time on Skin, More Time on Light
I spent years treating skin retouching as the main event of a portrait retouch. Tucker’s tutorial helped me recalibrate that. The techniques above should take 10 to 20 minutes on most portraits, not hours. The places where a portrait really comes alive, the shaping of light across a face, the depth in the eyes, the relationship between subject and background, those are where your time pays off.
When I started setting a loose time limit on skin work, my edits actually improved. Constraints force selectivity. You remove what genuinely needs to go and move on, which almost always produces a more natural result than an open-ended session where you’re chasing diminishing returns.
One practical addition I make for client work: I keep a “before” snapshot saved in Photoshop’s History panel before I start any skin work. If a client asks to see the original alongside the finished file, it takes two seconds to export. It also keeps me honest about how much I’ve actually changed.
Tucker’s core lesson here is that restraint is a skill, and it’s harder to develop than any Photoshop technique. The goal is a portrait that looks like the person had great skin that day, not a portrait that looks retouched. Keep the texture, lose the blemishes, and zoom out often.
Watch the full tutorial on YouTube to see Tucker’s hand on the brush and hear his reasoning in his own words. The transcript above covers the opening philosophy and setup, and the full video continues into additional steps in his portrait workflow series.
Comments (1)
Finally someone explains this in a way that actually makes sense.
Leave a Comment