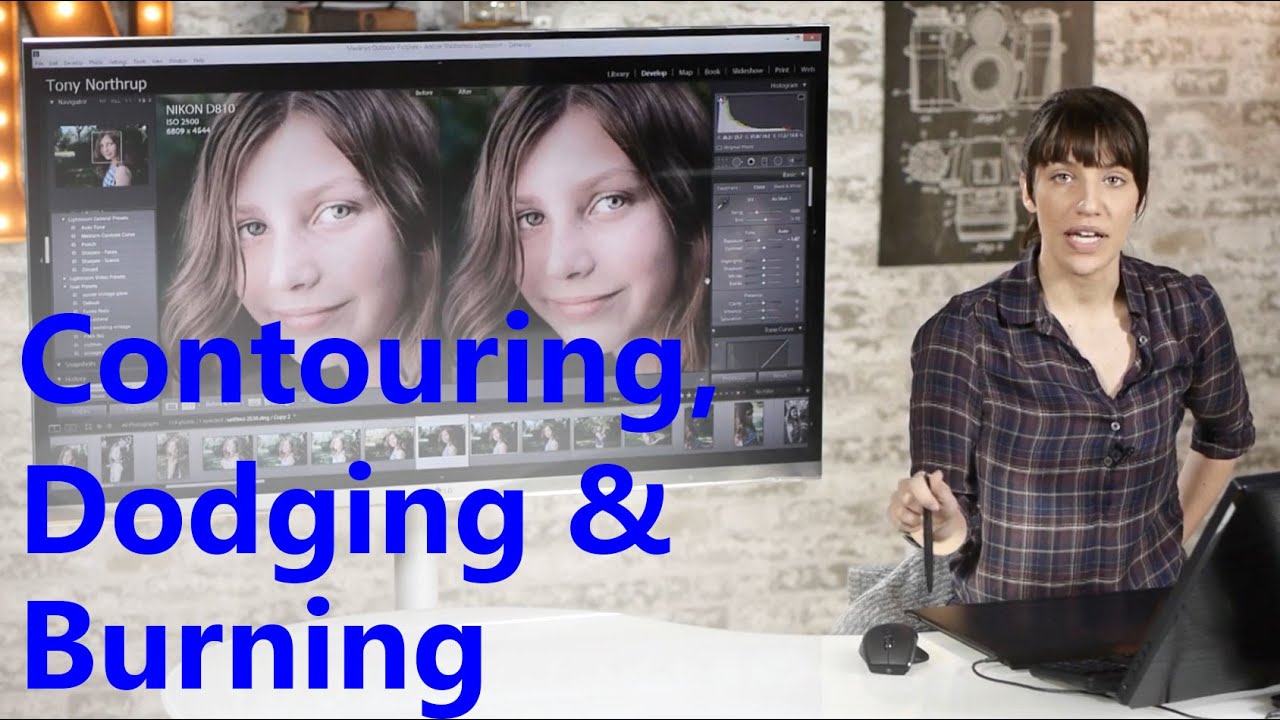
There is a specific kind of client feedback that stays with you. Early in my retouching career, someone described my skin edits as “plastic-looking,” and I spent the next several months trying to figure out exactly what I had done wrong. The answer, it turned out, was that I had been treating exposure as a global problem. I would lift or lower the whole image and call it a day. What I was missing was the understanding that light shapes a face the same way a makeup artist does, and that Lightroom’s adjustment brush gives us the precision to do that shaping ourselves, one brushstroke at a time.
That is why I keep coming back to this kind of foundational tutorial. In this Tony & Chelsea Northrup tutorial on dodging and burning in Lightroom, Chelsea walks through retouching a child’s portrait using techniques that map directly onto makeup contouring principles. The subject has lovely, natural skin, which actually makes this a harder edit in some ways. There is no obvious flaw to fix. The goal is subtlety: warmer tones, more dimensionality, and light that feels intentional rather than flat. These are the hardest improvements to see in isolation and the most obvious when they are missing.
What follows is a step-by-step breakdown you can work through on your own portrait. The values and settings are pulled directly from what Chelsea demonstrates, and I have added context from my own retouching practice where it helps.
Step 1: Start With a Slightly Underexposed Base
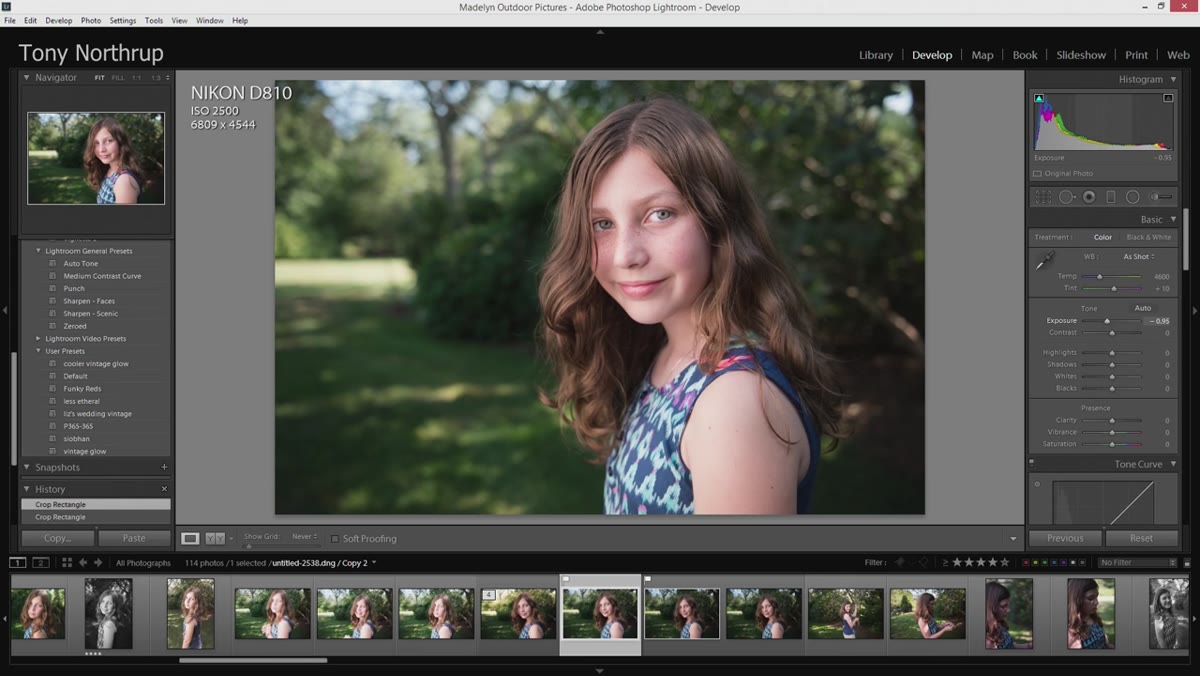 Exposure slider lowered slightly in the Develop module
Before you touch the adjustment brush, lower your global exposure just a little, enough that the skin reads as slightly too dark. This feels counterintuitive, but it is deliberate. You are creating room to paint light back in selectively, which will give you far more control over where brightness lives on the face. If you start at the correct exposure and then try to dodge, you will inevitably blow out highlights in areas that did not need them.
Exposure slider lowered slightly in the Develop module
Before you touch the adjustment brush, lower your global exposure just a little, enough that the skin reads as slightly too dark. This feels counterintuitive, but it is deliberate. You are creating room to paint light back in selectively, which will give you far more control over where brightness lives on the face. If you start at the correct exposure and then try to dodge, you will inevitably blow out highlights in areas that did not need them.
Think of this the way a painter builds a canvas: start a touch darker than your target, then bring the light forward where you want the viewer’s eye to go.
Step 2: Apply a Light Skin Smoothing Brush
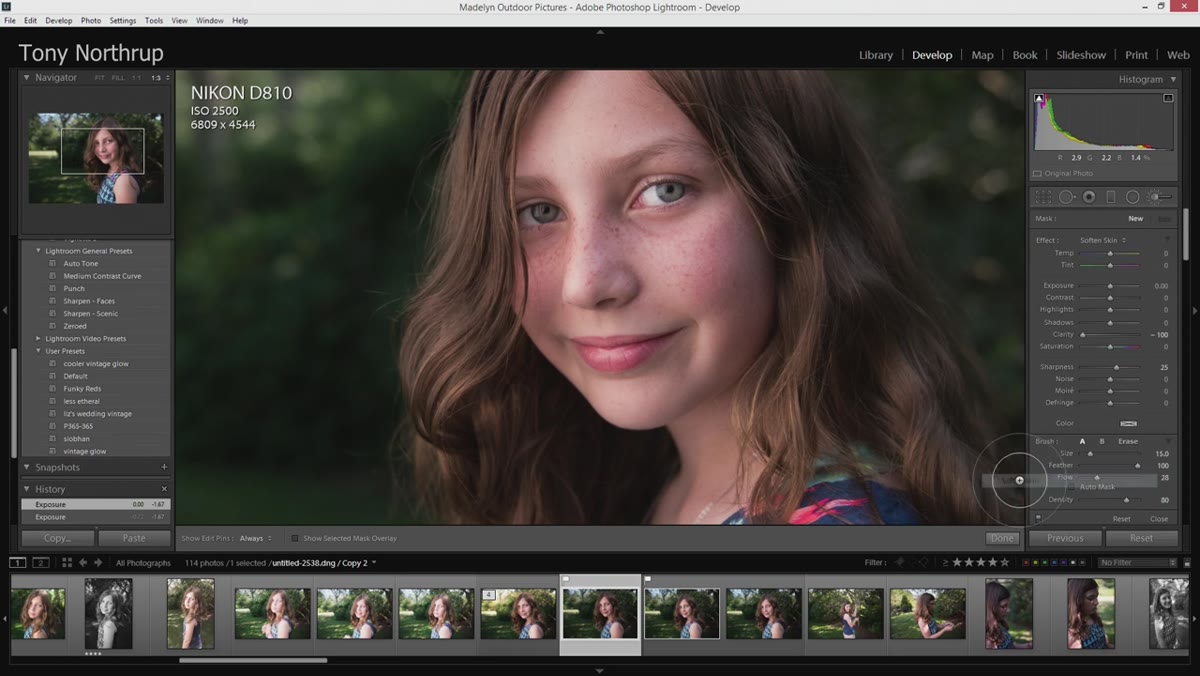 Soften Skin preset selected in adjustment brush panel
Create a new adjustment brush and select the Soften Skin preset as your starting point. Press O to see your mask overlay and paint across the skin, avoiding the eyes, eyebrows, lips, and hairline. These areas need to retain their sharpness, and over-softening them is exactly what produces that plastic look I was warned about years ago.
Soften Skin preset selected in adjustment brush panel
Create a new adjustment brush and select the Soften Skin preset as your starting point. Press O to see your mask overlay and paint across the skin, avoiding the eyes, eyebrows, lips, and hairline. These areas need to retain their sharpness, and over-softening them is exactly what produces that plastic look I was warned about years ago.
Once you have your mask laid in, dial the Clarity slider down to around -43 and Sharpness to approximately 8. These numbers are gentler than the preset defaults. The goal is smoothing without erasure. You want the skin to read as clean, not as a surface that has been processed. If you are working on a subject who was shot at high ISO, as Chelsea was, the grain in the image actually helps here. It gives the skin some texture to hold onto even after the smoothing is applied.
Step 3: Remove Specific Blemishes With the Heal Tool
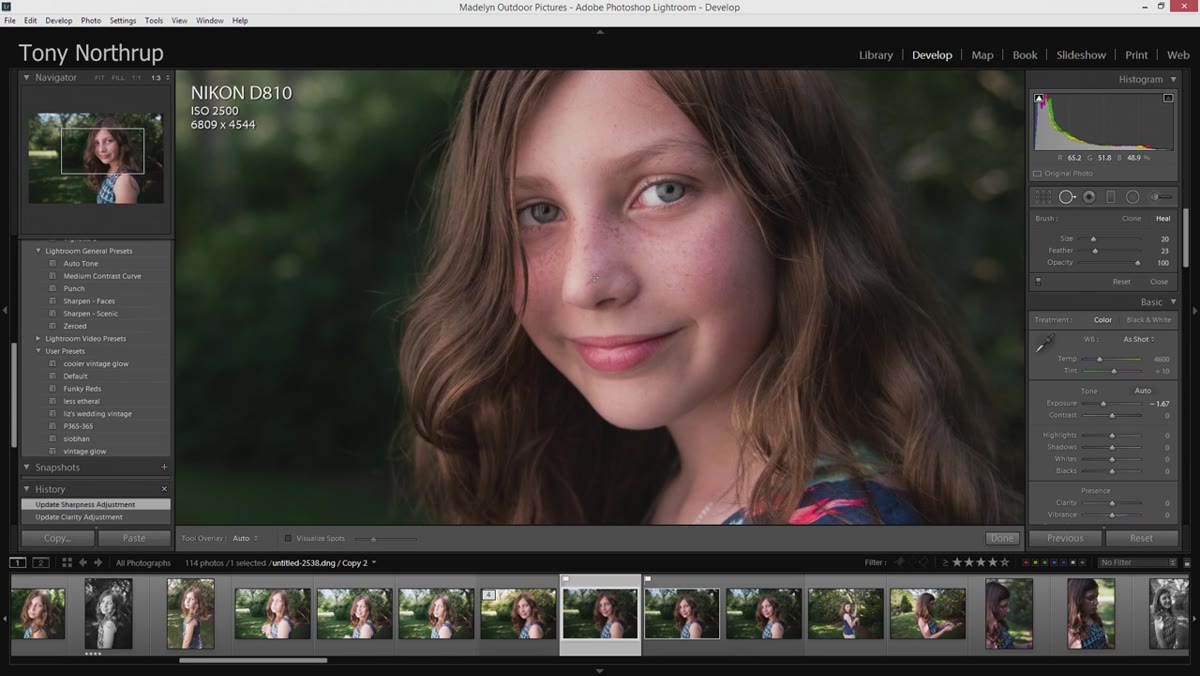 Heal tool being used to remove small blemishes
Before moving into the dodge and burn work, switch to the Heal tool and address any specific spots or distractions on the skin. Keep this targeted. You are not trying to resurface the skin entirely; you are just removing things that would otherwise catch the eye and undercut the more refined light work you are about to do. A few clicks go a long way here.
Heal tool being used to remove small blemishes
Before moving into the dodge and burn work, switch to the Heal tool and address any specific spots or distractions on the skin. Keep this targeted. You are not trying to resurface the skin entirely; you are just removing things that would otherwise catch the eye and undercut the more refined light work you are about to do. A few clicks go a long way here.
Step 4: Dodge the Face and Neck
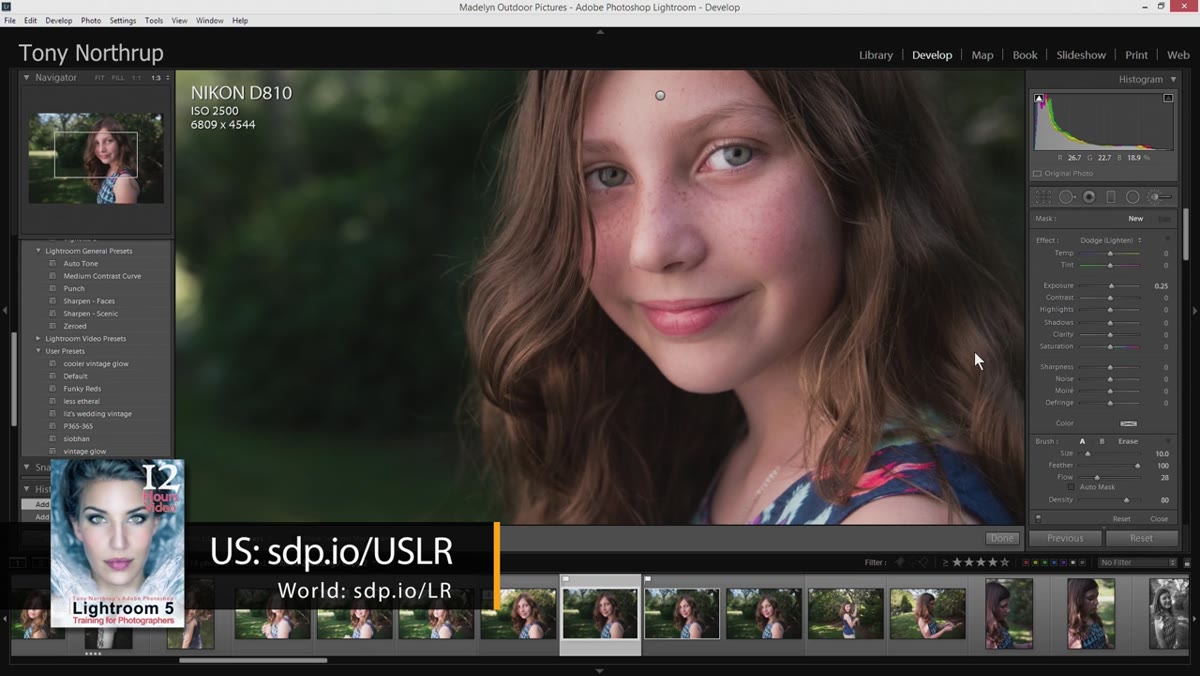 Dodge preset applied via adjustment brush across full face
Create a new adjustment brush and load the Dodge preset from the Effects menu. Press O to see your mask, and paint across the full face and neck. Then, before you commit to the exposure value, try cranking the exposure all the way up temporarily. This makes it easy to see where your mask has gaps or uneven coverage. Patch those areas, then bring the exposure back down to a natural-looking value.
Dodge preset applied via adjustment brush across full face
Create a new adjustment brush and load the Dodge preset from the Effects menu. Press O to see your mask, and paint across the full face and neck. Then, before you commit to the exposure value, try cranking the exposure all the way up temporarily. This makes it easy to see where your mask has gaps or uneven coverage. Patch those areas, then bring the exposure back down to a natural-looking value.
This step is about establishing your light base, not creating drama. You are lifting the face as a whole so that the burning you do next has something to contrast against.
Step 5: Burn the Shadow Areas Using Makeup Contouring Logic
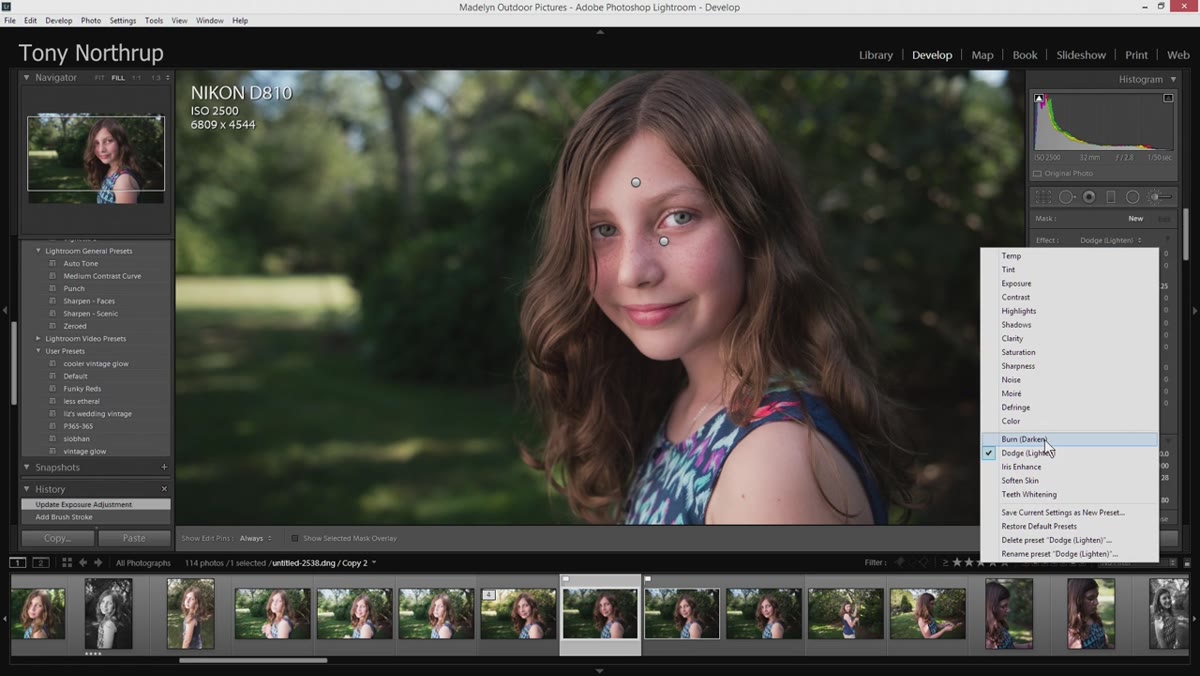 Burn brush applied under cheekbones and along jawline
Create another new adjustment brush and select the Burn preset. This is where the makeup parallel becomes genuinely useful. The areas you want to burn are the same areas a makeup artist would apply contour powder: below the cheekbones, along the sides of the nose, into the hairline, and under the jawline where the face meets the neck. Burning these zones creates the appearance of shadow where light naturally falls away, giving the face more three-dimensional structure.
Burn brush applied under cheekbones and along jawline
Create another new adjustment brush and select the Burn preset. This is where the makeup parallel becomes genuinely useful. The areas you want to burn are the same areas a makeup artist would apply contour powder: below the cheekbones, along the sides of the nose, into the hairline, and under the jawline where the face meets the neck. Burning these zones creates the appearance of shadow where light naturally falls away, giving the face more three-dimensional structure.
Keep your flow low throughout this step. The transitions between your light and shadow areas should be so gradual that no one can point to where one ends and the other begins. Hard edges only work if the original lighting was hard to begin with. In a soft, natural-light portrait like the one Chelsea is working on, any harsh burn line will read as a mistake.
Step 6: Clean the Edges With the Erase Tool
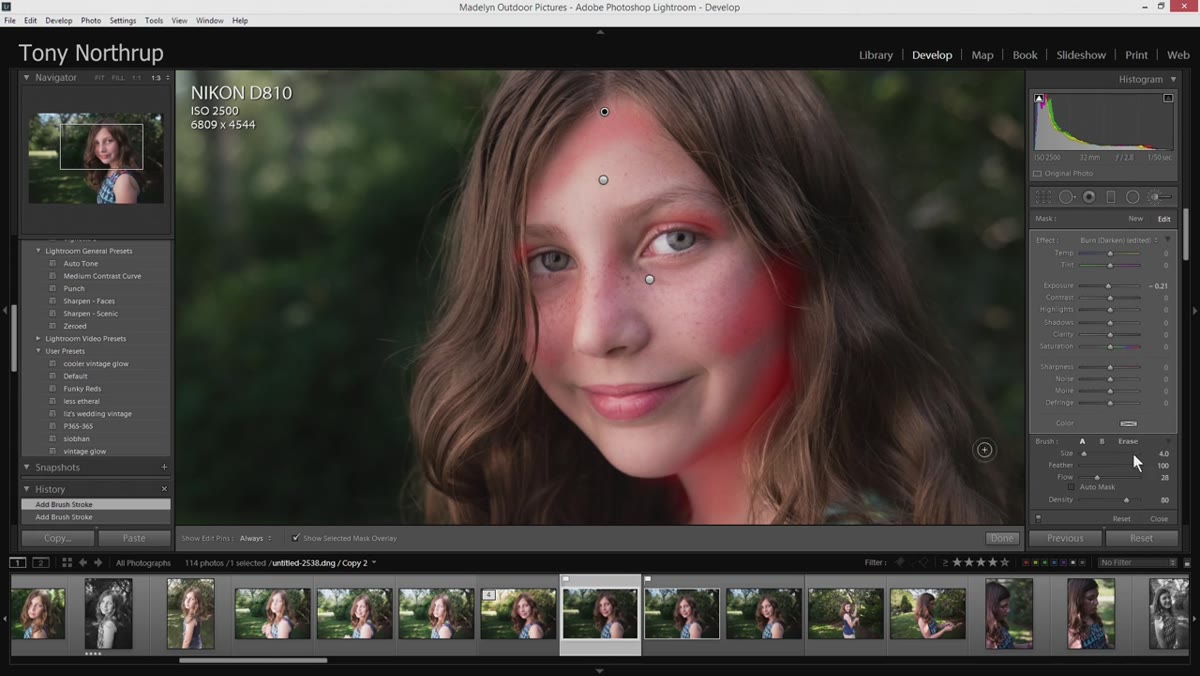 Erase tool softening the burn mask edges
Once your burn mask is painted in, switch to the Erase tool within the same adjustment brush and lower the flow significantly. Run the eraser along the outer edges of your burn areas, especially anywhere the burn has crept into the hair or crossed a boundary that should stay light. You want the darkening to feel like it belongs to the image’s natural shadow structure, not like something that was added afterward.
Erase tool softening the burn mask edges
Once your burn mask is painted in, switch to the Erase tool within the same adjustment brush and lower the flow significantly. Run the eraser along the outer edges of your burn areas, especially anywhere the burn has crept into the hair or crossed a boundary that should stay light. You want the darkening to feel like it belongs to the image’s natural shadow structure, not like something that was added afterward.
Work slowly here. This cleanup pass is often what separates a convincing contour from one that looks retouched.
One Thing I Do Differently
The technique Chelsea demonstrates works beautifully in Lightroom, and I use it exactly as she describes for quick turnaround edits. Where I extend it in my own work is in the final calibration pass. After all the dodging and burning is done, I go back through every adjustment brush and reduce its effect by roughly 20 percent across the board. It sounds like it would undo the work, but what it actually does is keep the edits from accumulating into something that feels heavy. Retouching has a compounding effect: each individual brush seems reasonable, but together they can push past what looks natural. That 20 percent pullback is my reset valve.
The single most important idea in this whole workflow is that dodging and burning is not about fixing exposure. It is about sculpting light. When you approach the adjustment brush the way a makeup artist approaches a contour brush, thinking about where shadow creates definition and where brightness draws attention, your portraits stop looking corrected and start looking intentional.
Watch the full tutorial on YouTube to see Chelsea work through the complete edit in real time. Watching the brush strokes build up across the face is worth as much as any description.
Comments
Leave a Comment