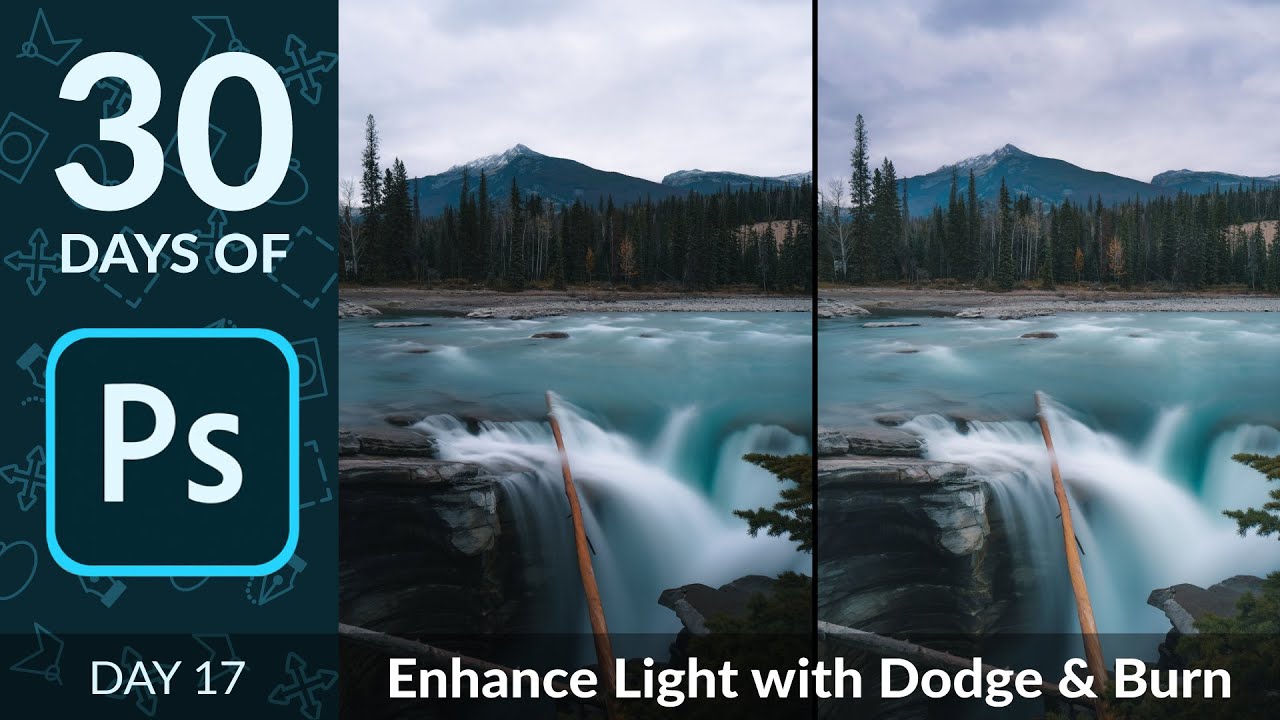
There’s a version of my early retouching work that I keep buried in a hard drive somewhere as a reminder. Flat skin, blown-out highlights, shadows crushed into muddy gray. I thought I was fixing photos. I was actually just smashing the light out of them. The turning point wasn’t one big revelation - it was learning that dodging and burning didn’t have to be permanent, and that you could teach Photoshop to apply tonal changes only where they actually made sense.
In this Aaron Nace (PHLEARN) tutorial on dodging and burning, Watch the full tutorial on YouTube, Aaron walks through a technique I now use almost every day in my beauty retouching work. The core idea is simple: use Curves adjustment layers as your dodge and burn tool, then use Blend If to restrict those changes to either the highlights or the shadows. No destructive brush strokes on the actual pixels. No starting over because you went too heavy-handed on the first pass.
What makes this approach so useful for portrait and beauty work is the same thing that makes it great for landscapes. Skin isn’t flat. It has zones of light and shadow, and when you dodge or burn with no tonal restrictions, you often brighten areas that should stay dark, or deepen areas that should hold light. The Blend If workaround fixes that elegantly.
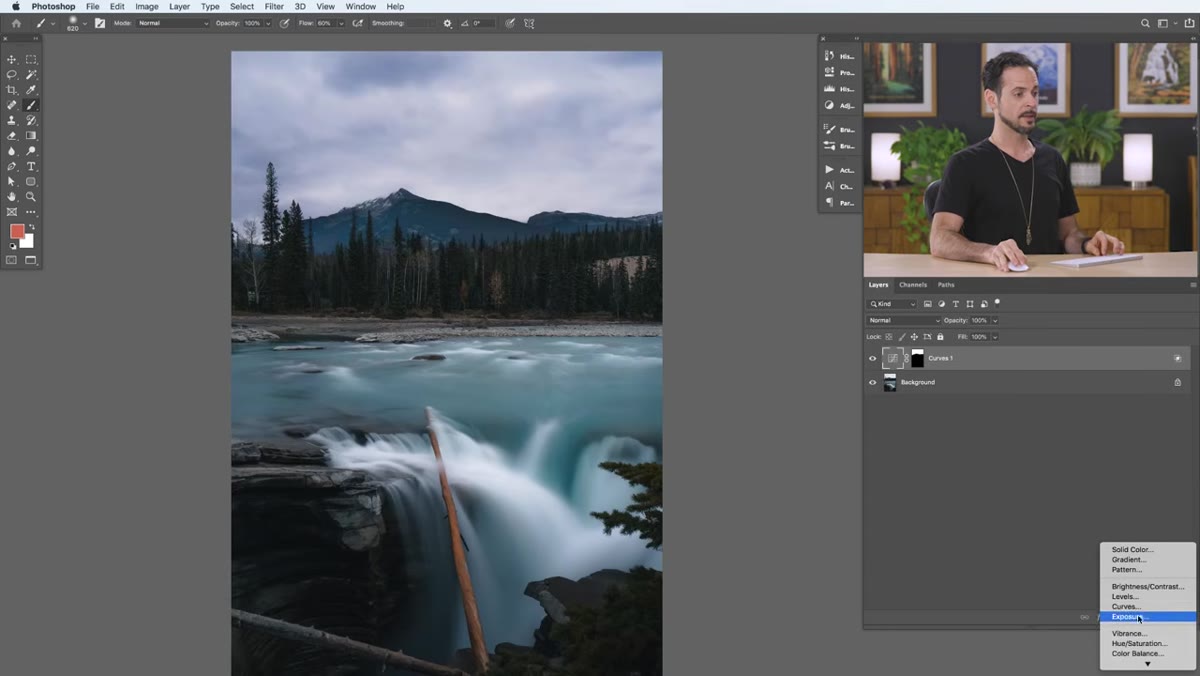
Step 1: Set Up a Curves Adjustment Layer for Your Burn
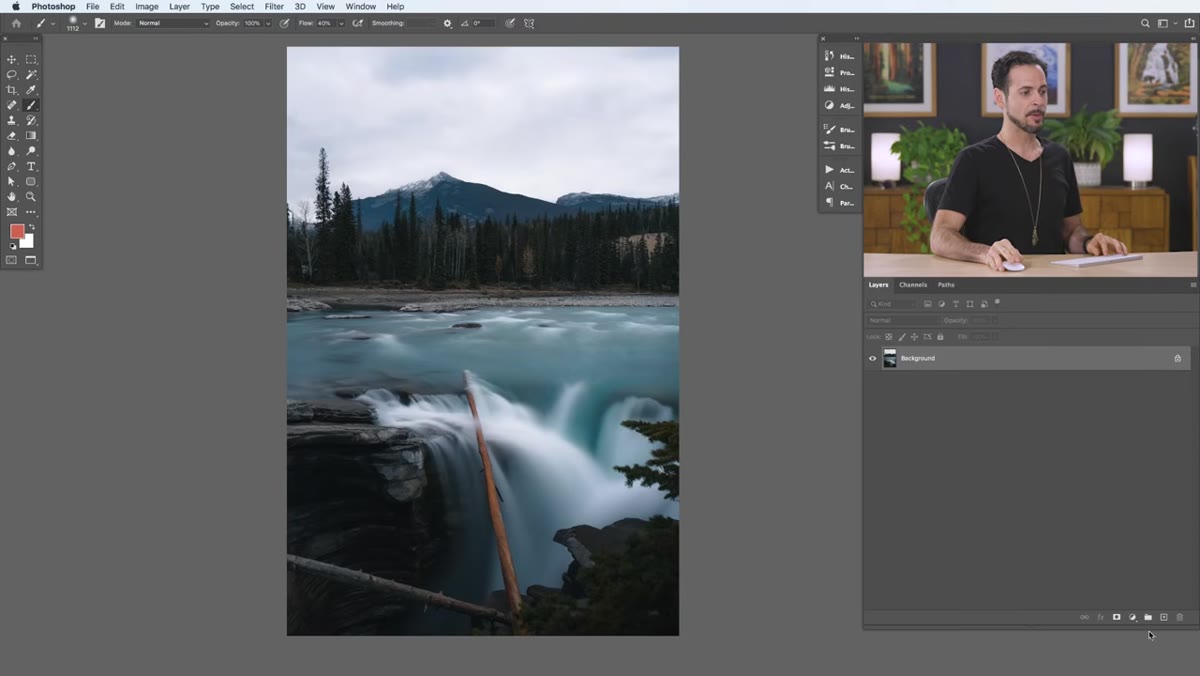 Curves adjustment layer panel with darkened tone curve applied
Start by clicking the Curves adjustment layer icon in your Layers panel. Don’t touch the brush yet. First, pull the curve down to darken the image - Aaron brings the upper-right point of the curve down slightly, then pulls the midpoint down as well. You’re creating a darkening effect that will eventually live only in your sky or your highlight areas. The exact amount you pull depends on your image, but aim for a noticeable darkening without going so far you lose detail in the lightest tones.
Curves adjustment layer panel with darkened tone curve applied
Start by clicking the Curves adjustment layer icon in your Layers panel. Don’t touch the brush yet. First, pull the curve down to darken the image - Aaron brings the upper-right point of the curve down slightly, then pulls the midpoint down as well. You’re creating a darkening effect that will eventually live only in your sky or your highlight areas. The exact amount you pull depends on your image, but aim for a noticeable darkening without going so far you lose detail in the lightest tones.
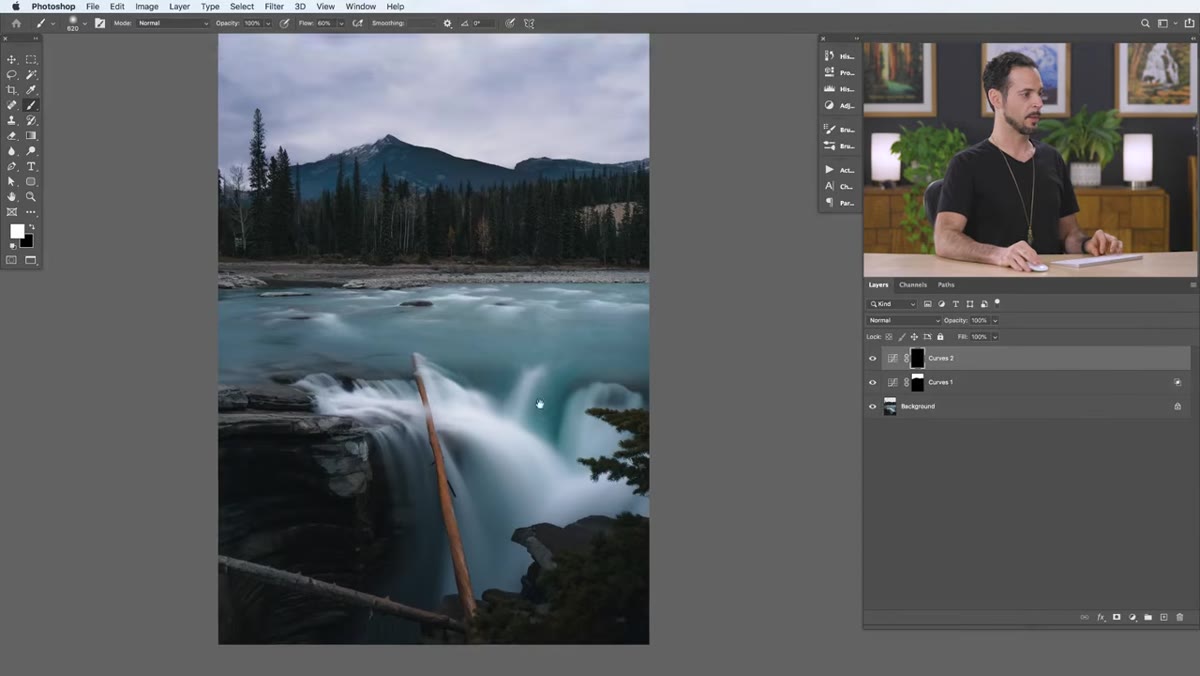
Step 2: Invert the Layer Mask and Paint White to Reveal
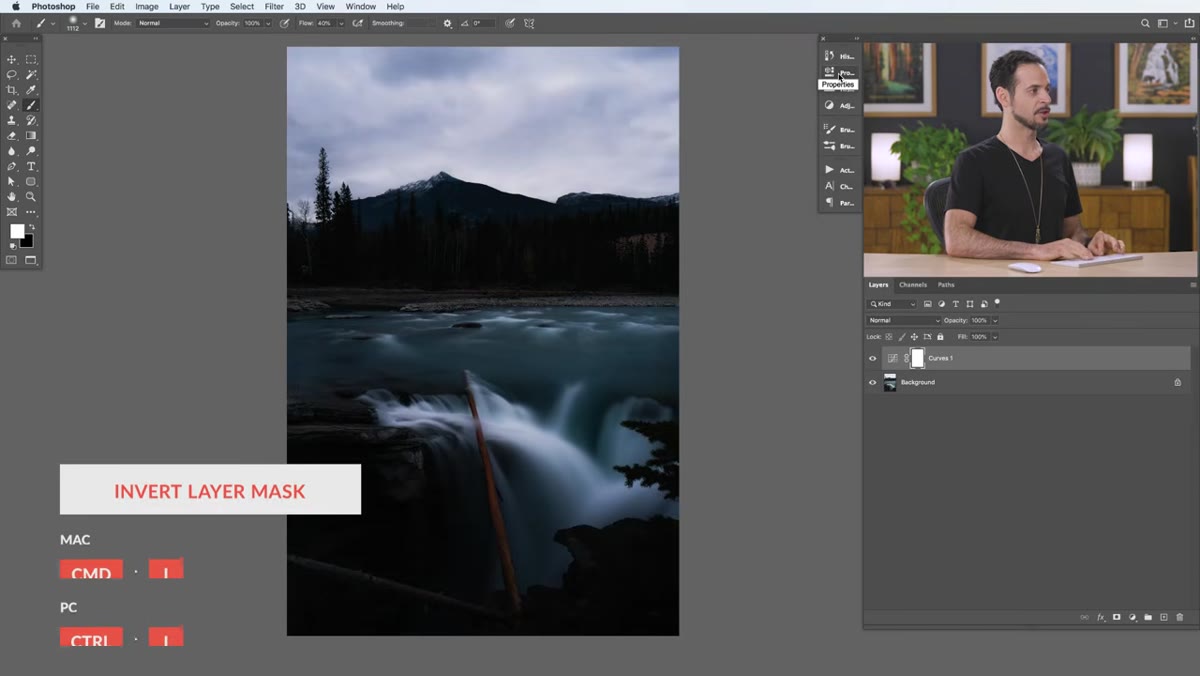 Black layer mask on Curves layer with white brush stroke over sky
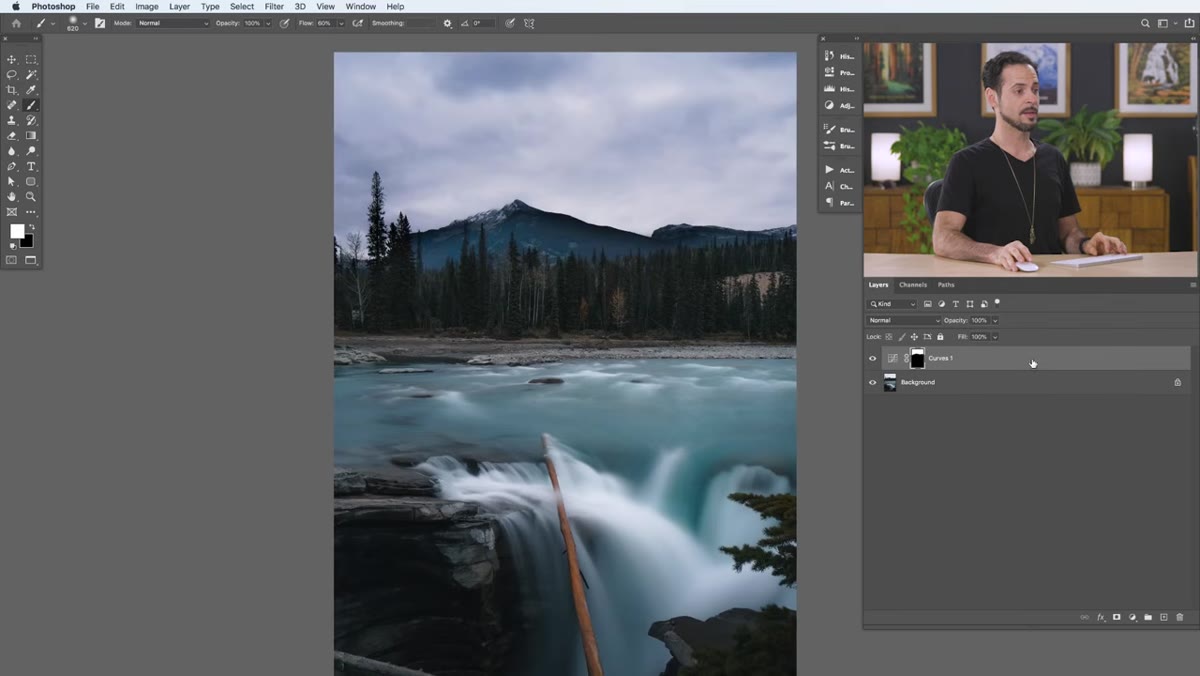
Once the Curves layer is set, click on its mask thumbnail and press Ctrl+I (or Command+I on Mac) to invert it. This fills the mask with black, which hides the darkening effect everywhere. Now grab your Brush tool, set your foreground color to white, choose a soft round brush, and paint over the areas where you want the darkening to appear. For a sky, paint across the entire sky area in broad strokes. The effect reappears only where your white brush marks go. This is the non-destructive heart of the technique - you’re revealing, not applying.
Black layer mask on Curves layer with white brush stroke over sky
Once the Curves layer is set, click on its mask thumbnail and press Ctrl+I (or Command+I on Mac) to invert it. This fills the mask with black, which hides the darkening effect everywhere. Now grab your Brush tool, set your foreground color to white, choose a soft round brush, and paint over the areas where you want the darkening to appear. For a sky, paint across the entire sky area in broad strokes. The effect reappears only where your white brush marks go. This is the non-destructive heart of the technique - you’re revealing, not applying.
Step 3: Use Blend If to Restrict the Effect to Highlights Only
 Layer Style dialog open showing Blend If sliders under This Layer
Here’s where the technique gets genuinely powerful. Double-click on the Curves layer thumbnail (not the mask) to open Layer Style. Look for the Blend If section near the bottom of the dialog. You’ll see two gradient bars labeled “This Layer” and “Underlying Layer.” Focus on the Underlying Layer bar. The left slider controls where the effect disappears in the shadows, and the right slider controls where it disappears in the highlights.
Layer Style dialog open showing Blend If sliders under This Layer
Here’s where the technique gets genuinely powerful. Double-click on the Curves layer thumbnail (not the mask) to open Layer Style. Look for the Blend If section near the bottom of the dialog. You’ll see two gradient bars labeled “This Layer” and “Underlying Layer.” Focus on the Underlying Layer bar. The left slider controls where the effect disappears in the shadows, and the right slider controls where it disappears in the highlights.
To darken only your sky and not the darker mountains beneath it, you’ll push the left shadow slider to the right - but here’s the critical detail Aaron emphasizes: hold Alt (or Option on Mac) before you click and drag. This splits the slider in two, which creates a gradual feathered transition instead of a hard, choppy edge. Drag the left half of that shadow slider toward the middle and watch the darkening effect fade out of your dark tones while staying strong in the bright sky. Without the Alt/Option hold, the transition looks artificial. With it, the blend is seamless.
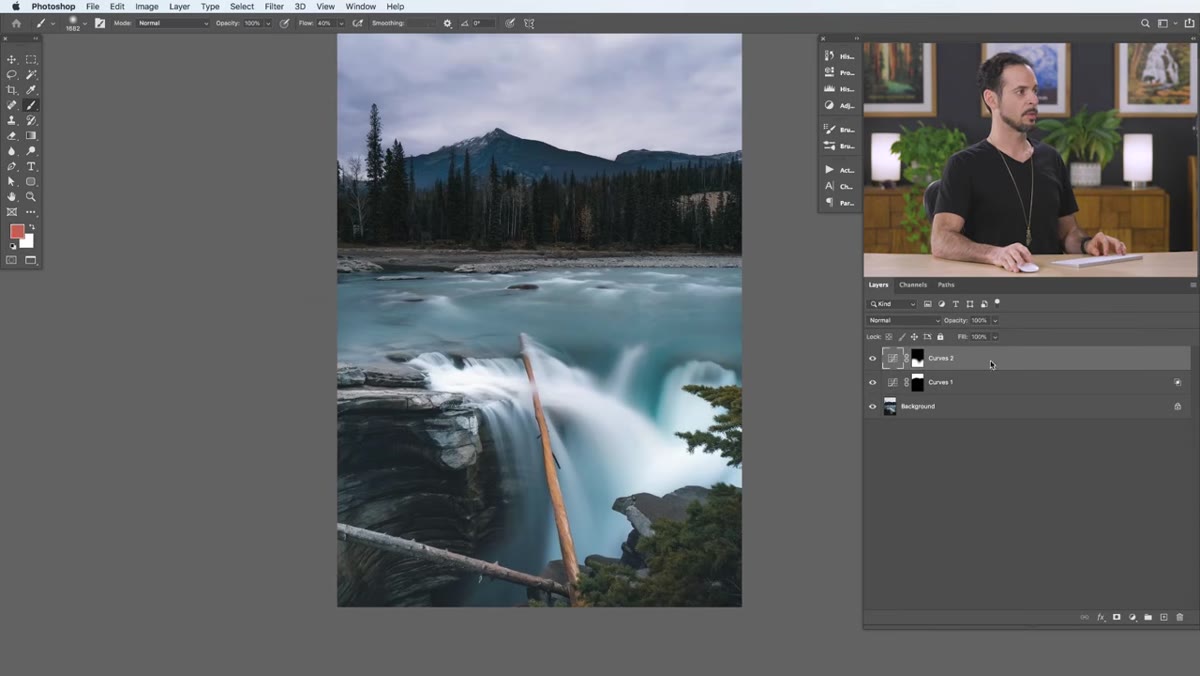
Step 4: Add a Second Curves Layer to Lighten Shadow Areas
 New Curves layer pulled upward to brighten, mask still black
Now apply the same workflow in reverse for areas that need lifting out of shadow. Create a new Curves adjustment layer and this time pull the curve upward to brighten. Invert the mask to black again, then paint white over the dark foreground areas, tree lines, or anywhere you want to recover shadow detail. The brush reveals the brightening only where you paint.
New Curves layer pulled upward to brighten, mask still black
Now apply the same workflow in reverse for areas that need lifting out of shadow. Create a new Curves adjustment layer and this time pull the curve upward to brighten. Invert the mask to black again, then paint white over the dark foreground areas, tree lines, or anywhere you want to recover shadow detail. The brush reveals the brightening only where you paint.
Step 5: Restrict the Brightening to Shadows Using Blend If
 Blend If sliders adjusted to hide brightening in highlight tones
Open the Layer Style dialog on this brightening Curves layer the same way. This time you’re doing the opposite of Step 3. You want the lightening to live in the shadow tones, not bleed into the already-bright highlights. On the Underlying Layer bar, hold Alt/Option and drag the right-side highlight slider to the left. This hides the brightening effect in the light areas and keeps it contained to the darker zones where you actually need detail recovery. The result is a lift that feels natural because it respects the original tonal structure of the image.
Blend If sliders adjusted to hide brightening in highlight tones
Open the Layer Style dialog on this brightening Curves layer the same way. This time you’re doing the opposite of Step 3. You want the lightening to live in the shadow tones, not bleed into the already-bright highlights. On the Underlying Layer bar, hold Alt/Option and drag the right-side highlight slider to the left. This hides the brightening effect in the light areas and keeps it contained to the darker zones where you actually need detail recovery. The result is a lift that feels natural because it respects the original tonal structure of the image.
Step 6: Refine and Adjust at Any Point
 Curves panel open mid-edit showing live adjustment to brightness value
Because everything here lives on adjustment layers with editable masks, nothing is locked in. Go back into any Curves layer and nudge the curve up or down. Lower your brush opacity and re-paint a section of the mask if you over-revealed an area. Toggle the layer’s visibility on and off to compare before and after. This kind of flexibility is the whole argument for working non-destructively - you’re not committing to anything until you export.
Curves panel open mid-edit showing live adjustment to brightness value
Because everything here lives on adjustment layers with editable masks, nothing is locked in. Go back into any Curves layer and nudge the curve up or down. Lower your brush opacity and re-paint a section of the mask if you over-revealed an area. Toggle the layer’s visibility on and off to compare before and after. This kind of flexibility is the whole argument for working non-destructively - you’re not committing to anything until you export.
How I Adapt This for Skin Retouching
Landscapes are a clean way to learn this technique, but the place I reach for it most often is skin retouching for beauty clients. Instead of skies and tree lines, I’m working with facial planes - the forehead, the sides of the nose, the under-eye hollows. I use separate Curves layers for dodging and burning specific zones, and Blend If lets me make sure a brightening pass on a highlight-catching cheekbone doesn’t spill into the naturally darker eye socket beside it.
One thing I do differently from the landscape approach: I keep my Curves adjustments extremely subtle for skin work. A tiny pull - barely a whisper on the curve - applied through a soft brush at 10 to 20 percent opacity. Multiple light passes build dimension without tipping into that heavy-handed, sculpted look. The non-destructive setup means I can strip it back entirely if a client wants a different direction, which has saved me more than once.
The single most important thing this tutorial taught me is that where an effect lands tonally matters just as much as how strong it is. Blend If isn’t just a cleanup tool - it’s how you teach your edits to follow the logic of light. Spend time with the sliders and notice how splitting them with Alt/Option changes everything about how the transition reads.
Watch the full tutorial on YouTube to see Aaron walk through each step in real time - seeing the Blend If sliders move live makes the concept click faster than any written description can.
Comments (2)
Simple but effective. Sometimes that's all you need.
Great article! I actually covered something related on my site — the landscape angle is really complementary to this.
Leave a Comment