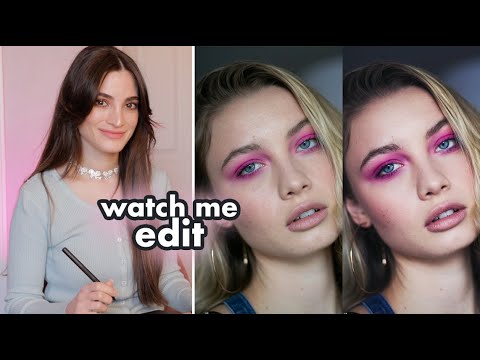
For a long time, dodge and burn was the technique I kept meaning to learn. I’d open Photoshop, get three minutes in, and quietly close the layer panel and go back to frequency separation. Sound familiar? The problem wasn’t motivation. It was that most tutorials either skipped the setup or assumed you already had an intuition for how light sculpts a face. I didn’t, not really, and every attempt left my subjects looking like they’d been buffed with a floor polisher.
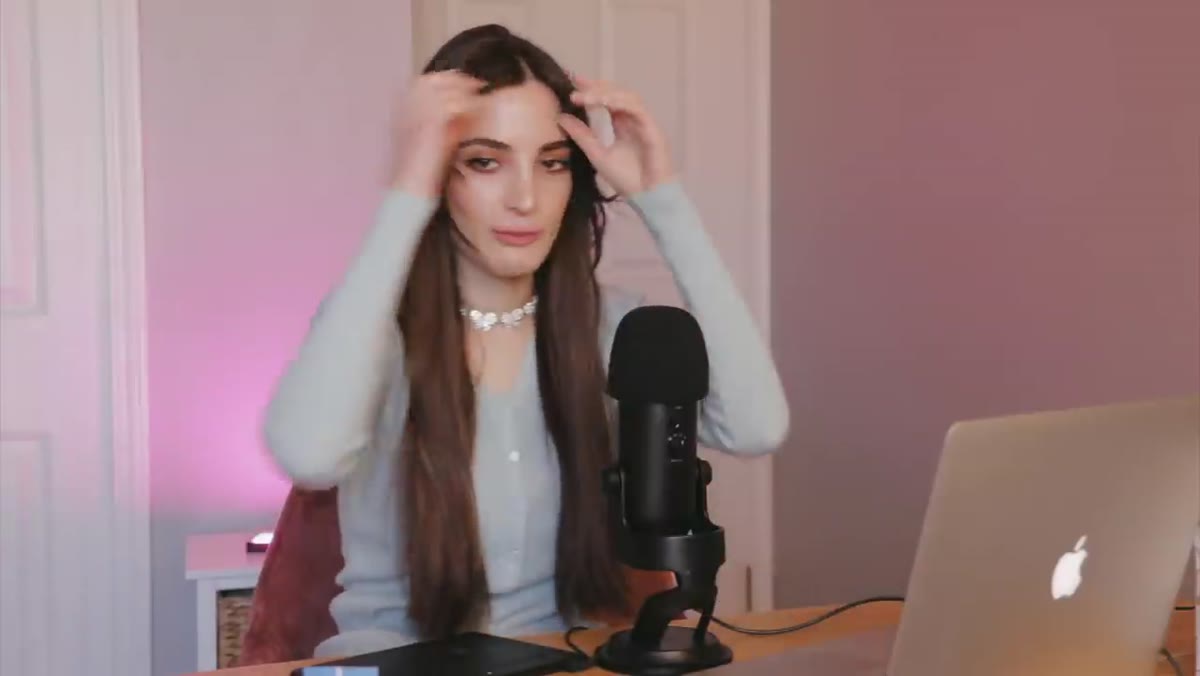
That changed when I sat down with Watch the full tutorial on YouTube - Jessica Kobeissi’s Retouch & Chill Episode 3. What I appreciate about Jessica’s approach is that she’s genuinely learning in real time here. She’d just taken a one-on-one lesson the day before filming, and that honesty shows. She catches her own rookie mistakes on camera, corrects them, and keeps moving. For those of us who’ve spent years avoiding this technique, watching someone skilled and a little nervous work through it is more useful than watching a polished performance. The workflow she demonstrates is nondestructive, layered, and repeatable, which is exactly what a freelance retoucher needs when a beauty client sends a 47-shot delivery on a Tuesday afternoon.
Here’s how the technique works, broken down into steps you can follow without pausing the video every thirty seconds.
Step 1: Set Up Your Gray Dodge and Burn Layer
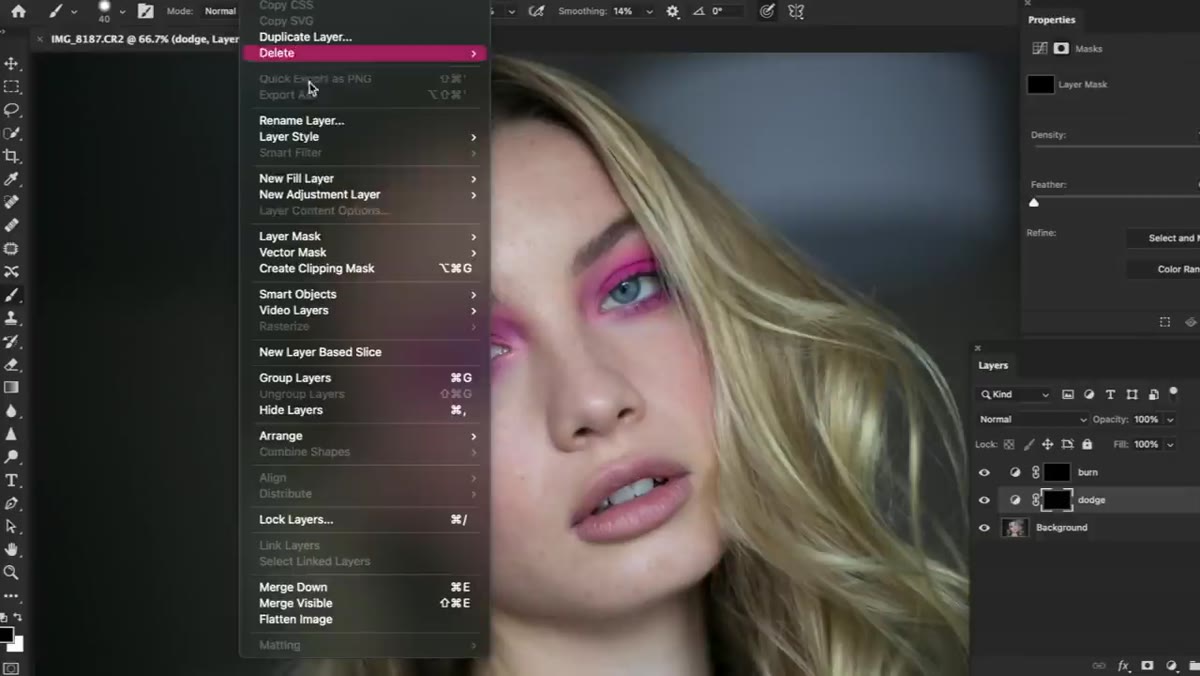 Blank gray layer being created above the portrait
Before you touch a single pixel of your subject’s skin, you need a dedicated working layer. Create a new layer, fill it with 50% gray (Edit > Fill > 50% Gray), and set its blend mode to Overlay. This is the foundation of a nondestructive dodge and burn workflow. The gray disappears visually in Overlay mode, but any lighter or darker paint you add on top of it will interact with the image below, brightening or darkening the skin without permanently altering your original pixels.
Blank gray layer being created above the portrait
Before you touch a single pixel of your subject’s skin, you need a dedicated working layer. Create a new layer, fill it with 50% gray (Edit > Fill > 50% Gray), and set its blend mode to Overlay. This is the foundation of a nondestructive dodge and burn workflow. The gray disappears visually in Overlay mode, but any lighter or darker paint you add on top of it will interact with the image below, brightening or darkening the skin without permanently altering your original pixels.
This is the step Jessica nearly skips, and she catches herself just in time. The instinct to jump straight to painting is real, but if you skip the gray fill, you’re painting directly on your image and losing all the flexibility that makes this method worth learning in the first place.
Step 2: Add a Curves Layer for Contrast Control
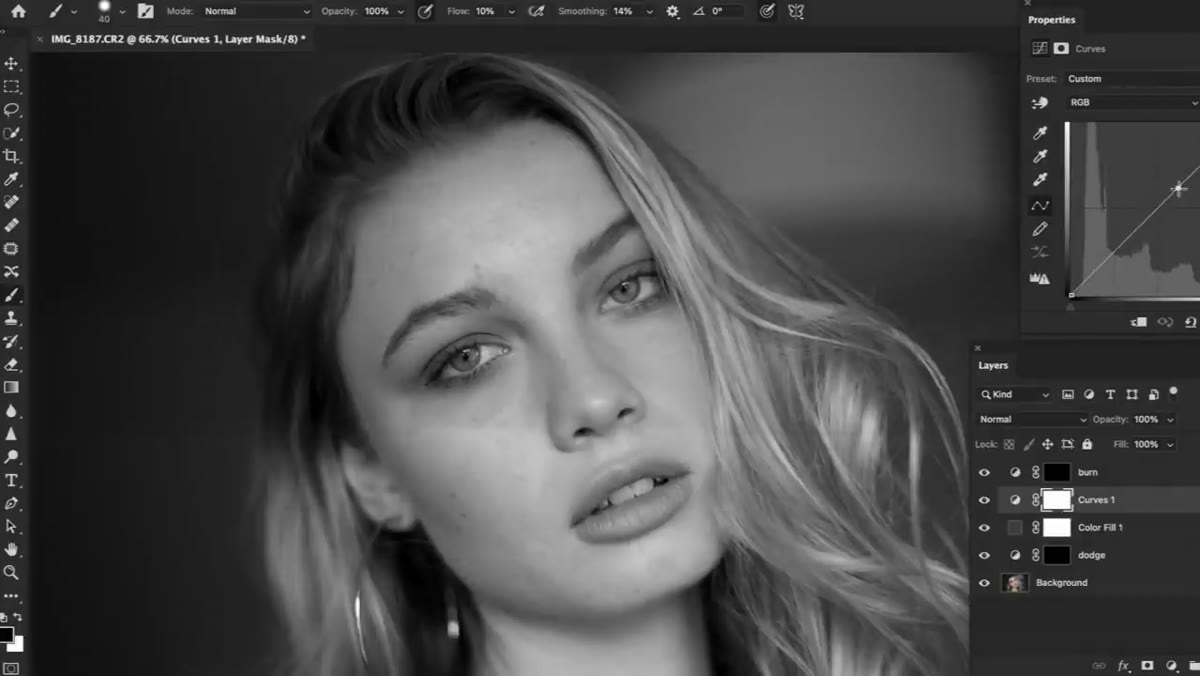 Curves adjustment layer panel open above the gray layer
Directly above the gray Overlay layer, add a Curves adjustment layer. You don’t need to make a dramatic adjustment here. A gentle S-curve, or simply a slight lift in the midtones, gives you a reference point for how the light and shadow you’re about to paint will read against the final contrast of the image.
Curves adjustment layer panel open above the gray layer
Directly above the gray Overlay layer, add a Curves adjustment layer. You don’t need to make a dramatic adjustment here. A gentle S-curve, or simply a slight lift in the midtones, gives you a reference point for how the light and shadow you’re about to paint will read against the final contrast of the image.
Think of this Curves layer as your safety check. It lets you see whether the sculpting you’re doing actually reads as natural light, or whether it starts to look like heavy contouring. You can toggle it on and off as you work to compare, and adjust the curve later if your dodge and burn ends up too subtle or too aggressive.
Step 3: Configure Your Brush for Soft, Buildable Strokes
 Custom brush settings panel with low opacity visible
Jessica sets up a custom brush before she begins painting, and this is not a step to rush. Use a soft round brush with 0% hardness, opacity around 10-15%, and flow somewhere in the same range. Low opacity is the whole game here. You want to build up tone in multiple passes, not commit to a value in one stroke.
Custom brush settings panel with low opacity visible
Jessica sets up a custom brush before she begins painting, and this is not a step to rush. Use a soft round brush with 0% hardness, opacity around 10-15%, and flow somewhere in the same range. Low opacity is the whole game here. You want to build up tone in multiple passes, not commit to a value in one stroke.
Set your foreground color to white for dodging (lightening) and black for burning (darkening). Work at a zoom level where you can see the whole face, not just a pore-level view. Zooming in too close is one of the most common reasons dodge and burn ends up looking patchy, because you lose the sense of how the light falls across the whole face.
Step 4: Identify the Light and Shadow Map of the Face
 Portrait on screen showing natural highlights and shadow areas
Before your brush touches the canvas, spend sixty seconds studying where the light is already hitting your subject. Look for the natural highlights: typically the forehead, the bridge of the nose, the tops of the cheekbones, the cupid’s bow, and the center of the chin. The shadow areas sit in the hollows under the cheekbones, the sides of the nose, the under-eye area, and the edges of the face.
Portrait on screen showing natural highlights and shadow areas
Before your brush touches the canvas, spend sixty seconds studying where the light is already hitting your subject. Look for the natural highlights: typically the forehead, the bridge of the nose, the tops of the cheekbones, the cupid’s bow, and the center of the chin. The shadow areas sit in the hollows under the cheekbones, the sides of the nose, the under-eye area, and the edges of the face.
Your job is not to invent new light. Your job is to gently reinforce the light that is already there. Dodging the highlights makes them pop. Burning the shadows deepens them. When it works, the face looks more three-dimensional without any obvious sign of retouching. When it doesn’t work, you’ve relit someone’s face in a way that conflicts with the original photograph, and it looks exactly as strange as that sounds.
Step 5: Paint in Multiple Thin Passes
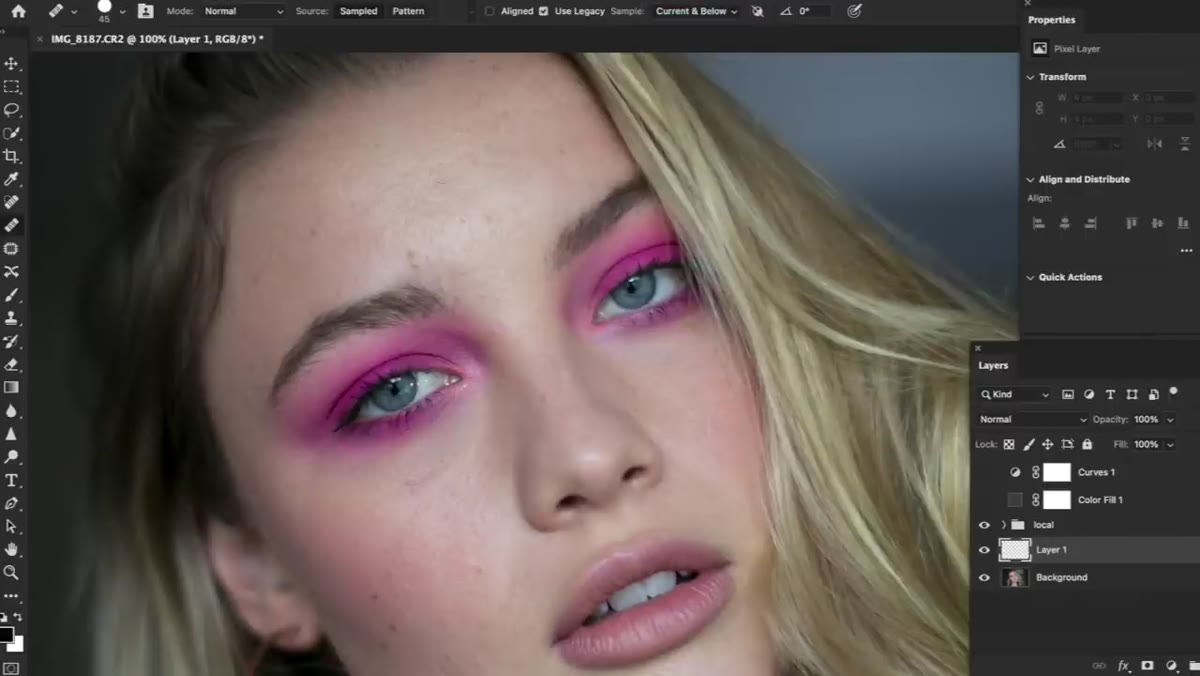 Brush strokes being applied gradually over the gray layer
Start with the dodge (white) strokes on the highlight areas, using that low-opacity brush and long, smooth strokes that follow the contour of the face. Do the same with the burn (black) strokes in the shadow areas. Then step back and look. Do another pass. Step back again.
Brush strokes being applied gradually over the gray layer
Start with the dodge (white) strokes on the highlight areas, using that low-opacity brush and long, smooth strokes that follow the contour of the face. Do the same with the burn (black) strokes in the shadow areas. Then step back and look. Do another pass. Step back again.
The temptation is to keep going until you can really see the work. Resist that. If you can clearly see the dodge and burn, you’ve gone too far. The goal is a result that looks like the subject simply has beautiful skin and excellent bone structure, not like they’ve been retouched. Jessica mentions that she’s been working toward getting this technique right for years, and I think that time frame is actually reassuring. This is a skill that compounds with practice.
Step 6: Use a Raster Layer Set to “Current and Below” for Spot Work
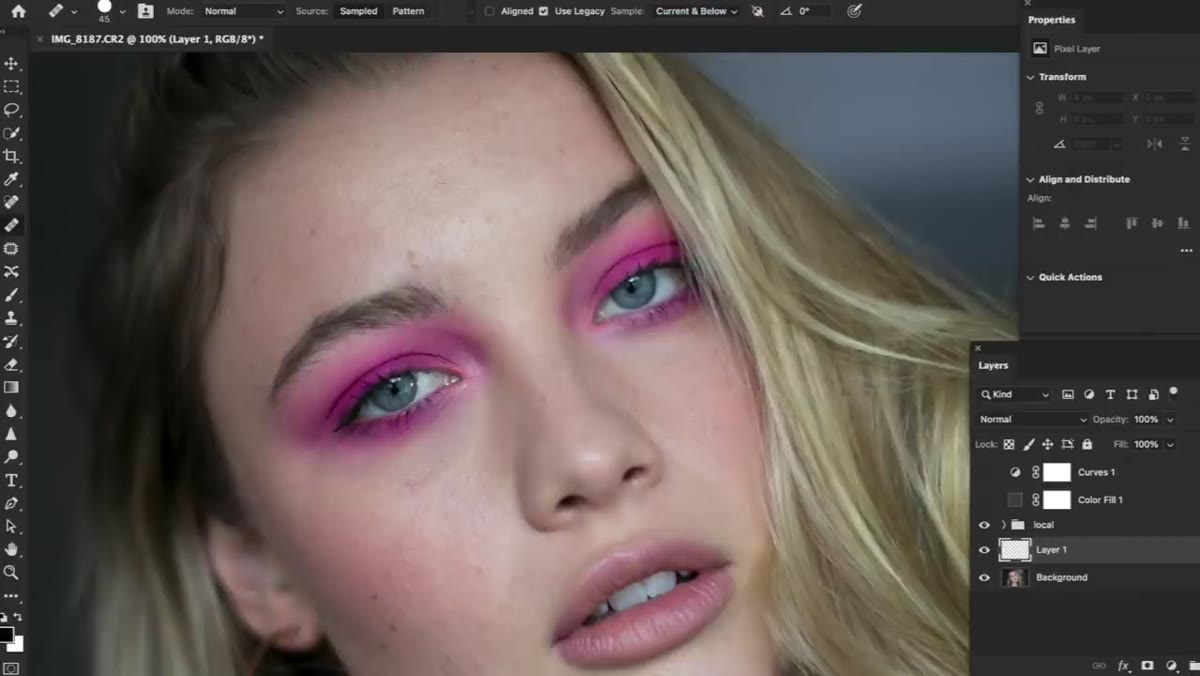
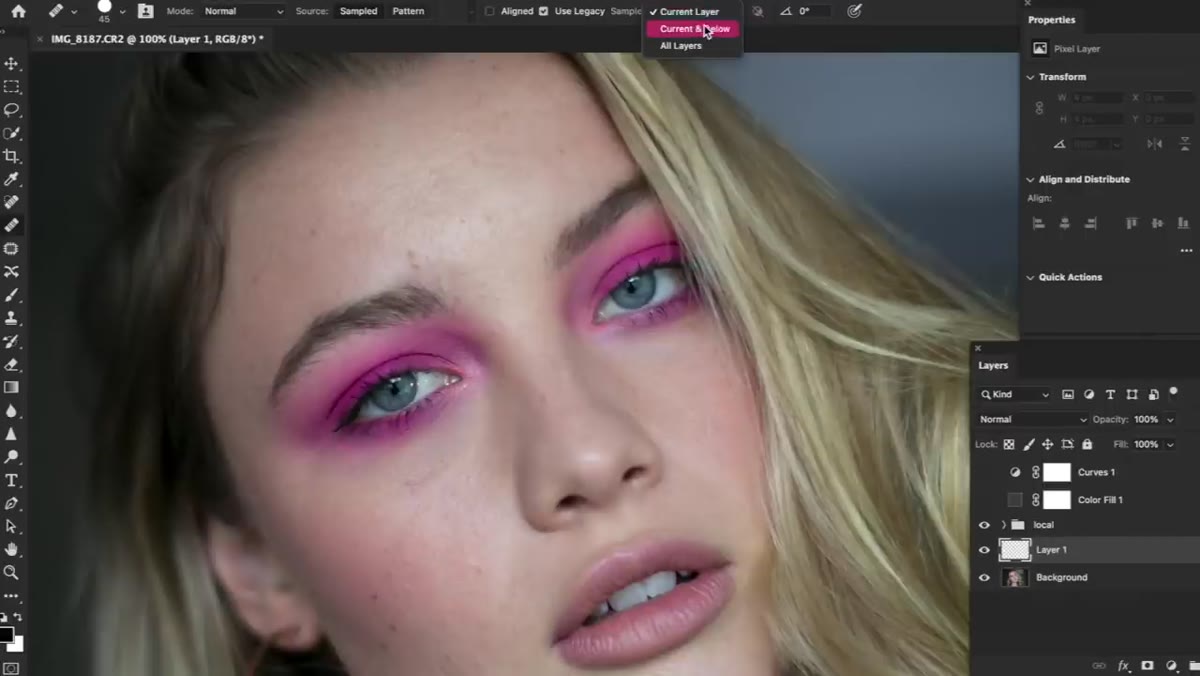 New raster layer created with sample setting shown in toolbar
For any targeted cleanup work alongside the dodge and burn, Jessica creates a separate raster layer and sets the healing or clone stamp tool to sample Current and Below. This keeps your texture work on its own layer, separate from the tonal sculpting you’re doing on the gray layer, so you can adjust or discard each element independently.
New raster layer created with sample setting shown in toolbar
For any targeted cleanup work alongside the dodge and burn, Jessica creates a separate raster layer and sets the healing or clone stamp tool to sample Current and Below. This keeps your texture work on its own layer, separate from the tonal sculpting you’re doing on the gray layer, so you can adjust or discard each element independently.
Keeping these layers separate is what makes the workflow client-proof. If someone asks you to pull back the skin smoothing but keep the contouring, you can do that in thirty seconds because nothing is baked together.
What I’d Add From My Own Experience
The single adjustment I make on top of this workflow is adding a second gray Overlay layer specifically for the under-eye area. That zone needs a lighter touch than the rest of the face, and having a dedicated layer means I can reduce its opacity independently if I’ve overdone the brightening. I learned that the hard way after a client told me a portrait looked “too airbrushed,” which is the beauty retouching equivalent of a one-star review. Keeping granular control over each region of the face has saved more than a few jobs since then.
Dodge and burn is slower than frequency separation, and the learning curve is real. But the results hold up better in print, they look more natural at large sizes, and they translate well across different skin tones in ways that heavy texture-smoothing sometimes doesn’t. If this technique has been on your list as long as it was on mine, Jessica’s session is the most honest and useful entry point I’ve found.
Watch the full tutorial on YouTube and try the gray layer method on your next portrait. Give yourself permission to go slowly, build up in passes, and accept that the first few attempts will be part of the learning, not evidence that the technique doesn’t work.
Comments (2)
Just used this on a wedding shoot edit. Client was thrilled.
This is fantastic. I've been recommending this approach to my readers too.
Leave a Comment