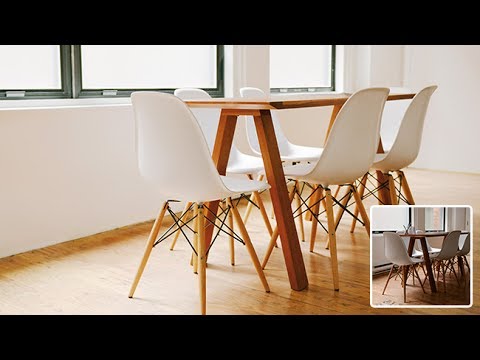
Most of my retouching work lives on faces. Skin texture, brow shaping, flyaways, the usual. But every so often a client sends me a lifestyle or product shot where the subject looks great and the background looks like someone’s cluttered spare bedroom. That’s the moment I realize environment retouching is its own skill set, and one I hadn’t taken nearly as seriously as I should have.
That’s exactly why this Aaron Nace tutorial from PHLEARN stopped me mid-green-tea one afternoon. Watch the full tutorial on YouTube — it’s built around a real interior photo with real-world clutter: wall hooks, cords, objects on a table, a bulky heating unit, and a clear window that needs to read as frosted. The kind of image that looks fine at a glance but falls apart the moment a client studies it. Aaron walks through which tools belong to which problems, and that tool-matching logic is what makes the tutorial worth your time even if you’ve been using Photoshop for years.
What clicked for me watching this was how much environment retouching borrows from portrait work — the instinct to identify distractions before you touch a single tool, the layered approach, the patience with edges. The techniques are transferable. You’re just retouching walls instead of skin.
Step 1: Mark Your Distractions Before You Start Editing
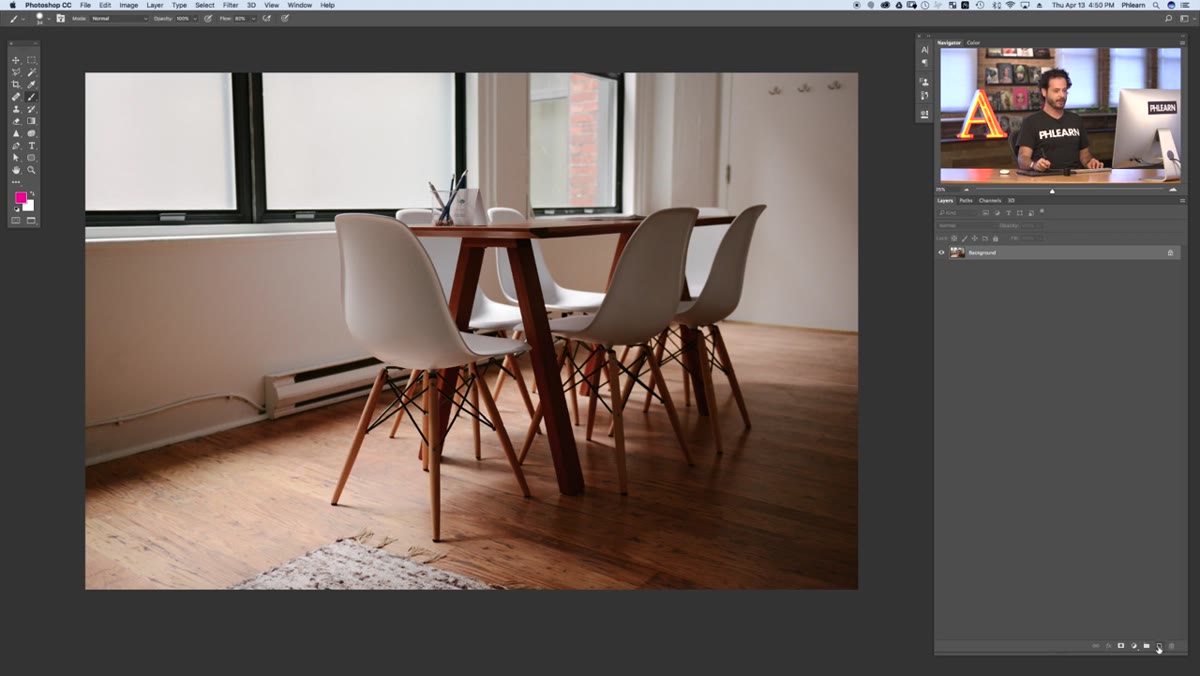 caption: Pink brush circles marking distractions on wall and table
Before opening a single tool, create a new blank layer and grab the brush. Set it to a bright color — Aaron uses pink — and loosely circle every distraction in the frame. Hooks on the wall, cords, clutter on surfaces, anything that pulls the eye away from the subject of the image. This sounds almost too simple, but it’s genuinely useful. Once you’re deep in a retouch, it’s easy to lose track of what you planned to fix. This marked-up reference layer acts like a checklist. You can toggle its visibility on and off as you work, and you’ll always know what’s left to do.
caption: Pink brush circles marking distractions on wall and table
Before opening a single tool, create a new blank layer and grab the brush. Set it to a bright color — Aaron uses pink — and loosely circle every distraction in the frame. Hooks on the wall, cords, clutter on surfaces, anything that pulls the eye away from the subject of the image. This sounds almost too simple, but it’s genuinely useful. Once you’re deep in a retouch, it’s easy to lose track of what you planned to fix. This marked-up reference layer acts like a checklist. You can toggle its visibility on and off as you work, and you’ll always know what’s left to do.
Think of it as the retouching equivalent of editing a draft with a red pen before you start rewriting. You’re not fixing anything yet. You’re just seeing the image clearly.
Step 2: Use the Spot Healing Brush for Isolated Objects on Uniform Backgrounds
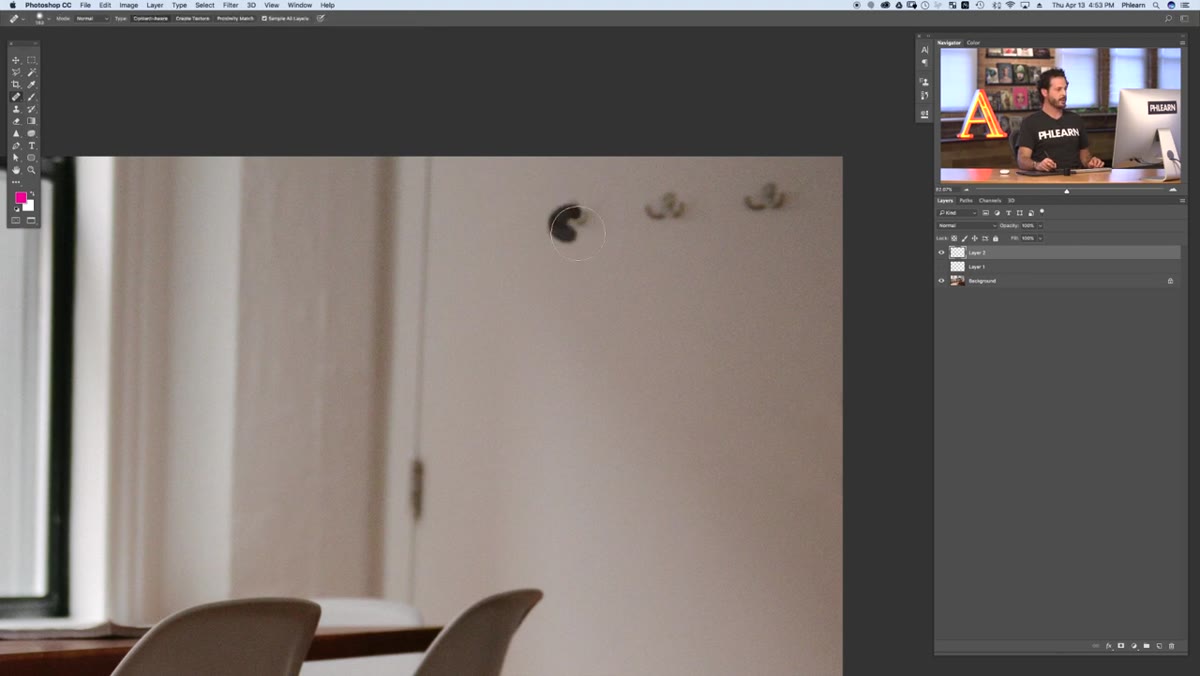 caption: Spot healing brush painting over wall hooks
For objects sitting against a relatively consistent background — like small hooks or hardware against a painted wall — reach for the Spot Healing Brush first. It’s the fastest tool for this job because Photoshop samples the surrounding area automatically and blends the patch for you. Paint directly over the distraction with a brush sized just slightly larger than the object, and let Photoshop do the matching.
caption: Spot healing brush painting over wall hooks
For objects sitting against a relatively consistent background — like small hooks or hardware against a painted wall — reach for the Spot Healing Brush first. It’s the fastest tool for this job because Photoshop samples the surrounding area automatically and blends the patch for you. Paint directly over the distraction with a brush sized just slightly larger than the object, and let Photoshop do the matching.
Work on a separate layer so you’re never touching the original pixels. If the first pass looks off, undo and try a slightly different brush size or direction. The Spot Healing Brush struggles most when the object sits near an edge or where the background has visible texture variation. In those cases, switch to the regular Healing Brush, hold Alt (Option on Mac) to manually sample a clean area nearby, and paint over the problem. You’re telling Photoshop exactly where to look instead of letting it guess.
Step 3: Address Small Hardware and Hinges the Same Way
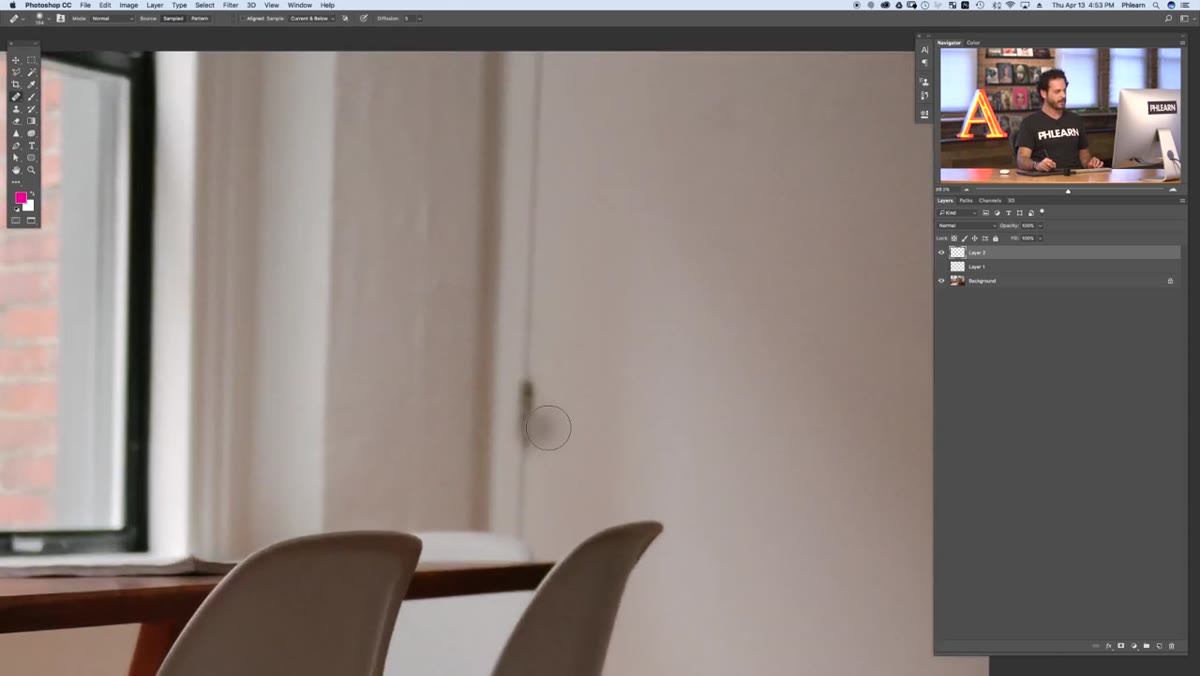 caption: Healing brush tool removing door hinge close-up
Small hinges, screws, and similar hardware get the same treatment as the hooks. Zoom in close enough that you can work with precision. The healing brush remains the right tool here because these elements tend to sit against surfaces with some grain or pattern, and the healing blend handles that more gracefully than the clone stamp would.
caption: Healing brush tool removing door hinge close-up
Small hinges, screws, and similar hardware get the same treatment as the hooks. Zoom in close enough that you can work with precision. The healing brush remains the right tool here because these elements tend to sit against surfaces with some grain or pattern, and the healing blend handles that more gracefully than the clone stamp would.
If you find the healing tool creating a smeared or blurry patch, it usually means you sampled too far from the target. Re-sample from an area that’s close in tone and texture to the spot you’re correcting.
Step 4: Plan Complex Removals Before You Execute Them
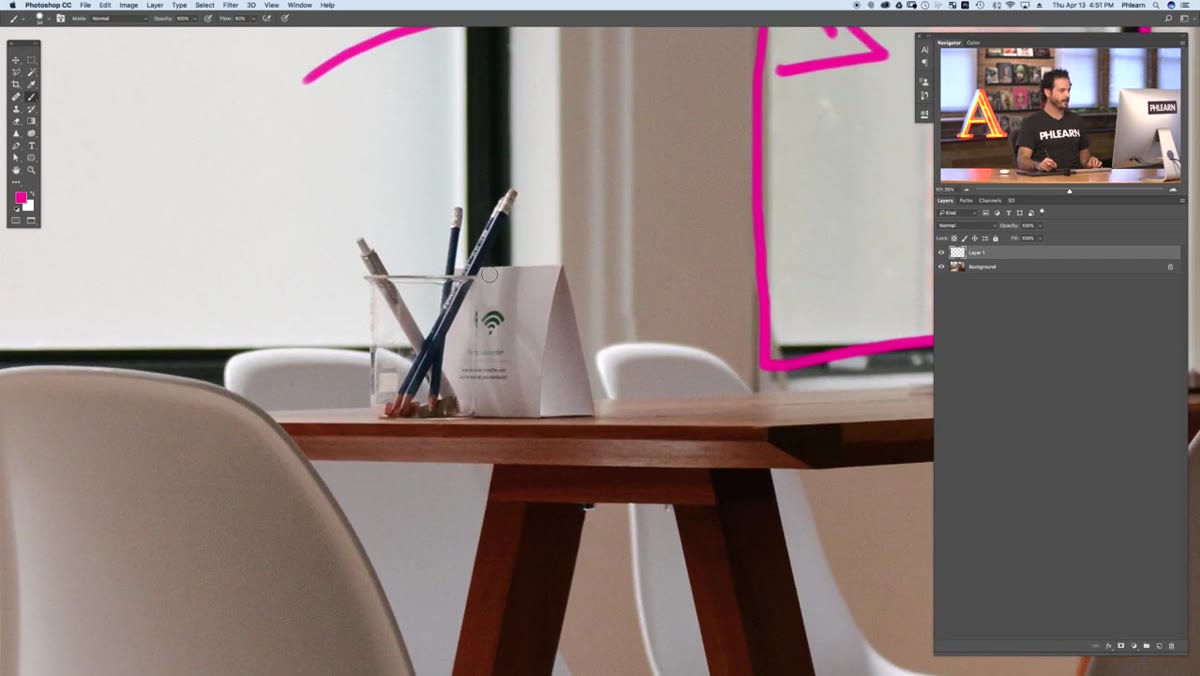 caption: Items on table circled including WiFi sign and pencils
Not every distraction is a quick brush-over fix. Table clutter is harder because there’s often something else visible underneath or behind it. In this tutorial, the table has a WiFi sign, pencils, and other objects sitting in front of a chair. Removing them means you also have to reconstruct the table surface and parts of the chair that were hidden behind the objects.
caption: Items on table circled including WiFi sign and pencils
Not every distraction is a quick brush-over fix. Table clutter is harder because there’s often something else visible underneath or behind it. In this tutorial, the table has a WiFi sign, pencils, and other objects sitting in front of a chair. Removing them means you also have to reconstruct the table surface and parts of the chair that were hidden behind the objects.
Before you paint anything, study the image and ask: what do I need to rebuild, and what information already exists in the frame that I can borrow? Look for clean sections of the same surface elsewhere in the photo. You’ll use those as clone sources. The goal at this planning stage is to understand the scope of the repair so you’re not surprised halfway through.
Step 5: Use the Clone Stamp for Surface Reconstruction
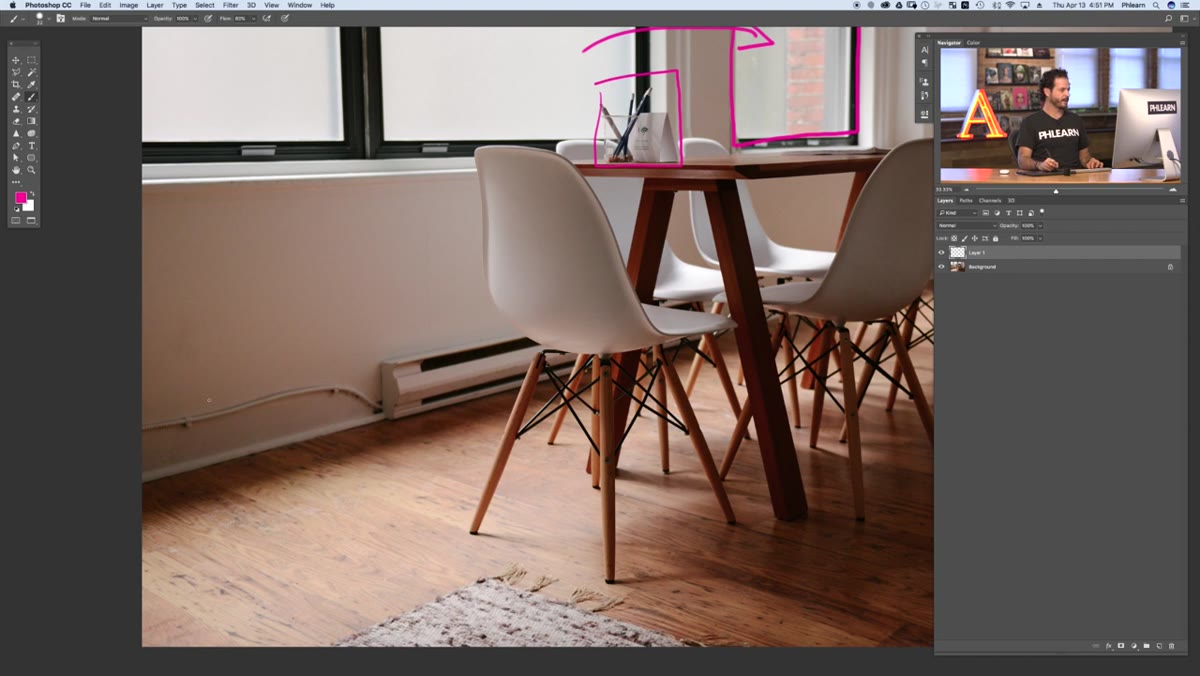 caption: Clone stamp rebuilding table surface area
When you need to rebuild a surface rather than just remove a small object, the Clone Stamp is more reliable than the Healing Brush. The Healing Brush blends edges, which is great for small spots but can create muddy results over large areas. The Clone Stamp copies pixels exactly, giving you direct control over what replaces what.
caption: Clone stamp rebuilding table surface area
When you need to rebuild a surface rather than just remove a small object, the Clone Stamp is more reliable than the Healing Brush. The Healing Brush blends edges, which is great for small spots but can create muddy results over large areas. The Clone Stamp copies pixels exactly, giving you direct control over what replaces what.
Sample from a clean section of the same surface — the table in this case — and carefully paint across the area where the clutter was. Work in overlapping strokes and re-sample frequently to avoid a repeated pattern. If the surface has a gradient (lighter near the window, darker toward the edge), sample from a spot that matches the brightness of the area you’re repairing.
Step 6: Convert a Clear Window to Frosted Glass Using a Selection and Blur
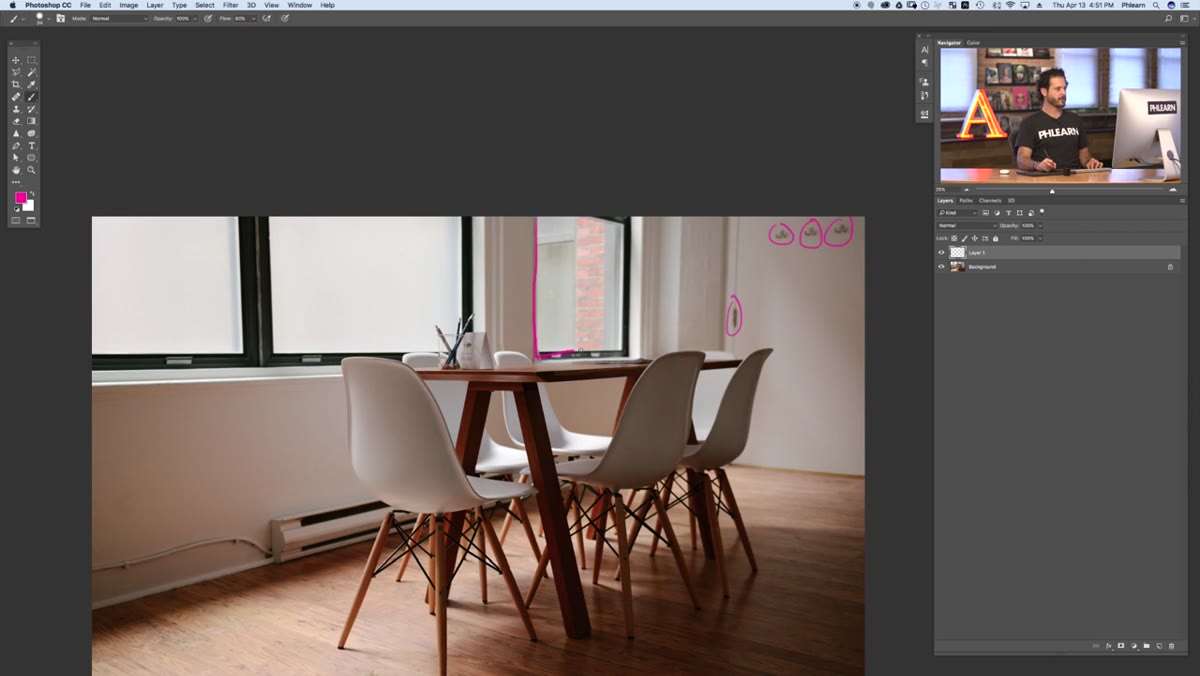 caption: Clear window beside frosted window, both visible
This is the most creative step in the tutorial and the one I’d never thought to try on an environmental retouch. The image has two windows side by side. One is frosted, one is clear. The clear window reads as a distraction because it’s inconsistent with the other. The fix: select the clear window with a precise selection tool like the Pen Tool or Lasso, then process the selection to match the frosted appearance of the neighboring window.
caption: Clear window beside frosted window, both visible
This is the most creative step in the tutorial and the one I’d never thought to try on an environmental retouch. The image has two windows side by side. One is frosted, one is clear. The clear window reads as a distraction because it’s inconsistent with the other. The fix: select the clear window with a precise selection tool like the Pen Tool or Lasso, then process the selection to match the frosted appearance of the neighboring window.
The Pen Tool gives you the cleanest edge on a geometric shape like a window frame. Trace the pane, close the path, and convert it to a selection. From there, you can sample color and texture from the frosted window and apply a blur or overlay to make the clear pane match. The result is a cohesive background where both windows read the same way.
What I’d Add From My Own Experience
Working on beauty and lifestyle images, I’ve learned that environment retouching rewards patience more than speed. The instinct to rush through “background stuff” and get back to the face is real, but a distracting background will undermine even excellent skin work. Clients notice.
One habit I’d add to Aaron’s workflow: after you finish the retouch, zoom out to 50% and look at the image for thirty seconds without touching anything. Your eye will catch problems your brain was ignoring while you worked. It’s the same principle as reading your own writing aloud — distance reveals things proximity hides. I also keep environment-specific actions saved separately from my portrait actions. Keeping that distinction clean has saved me from applying the wrong process to the wrong type of image more than once.
The single most transferable idea from this tutorial is the distraction-mapping step at the beginning. It costs you two minutes and saves you from finishing a retouch only to realize you missed something obvious. Mark first, fix second, and you’ll always know where you stand.
Watch the full tutorial on YouTube to see Aaron demonstrate each of these steps live, including the table reconstruction and the frosted window technique, which are both much easier to follow once you see the tool movements in real time.
Comments
Leave a Comment