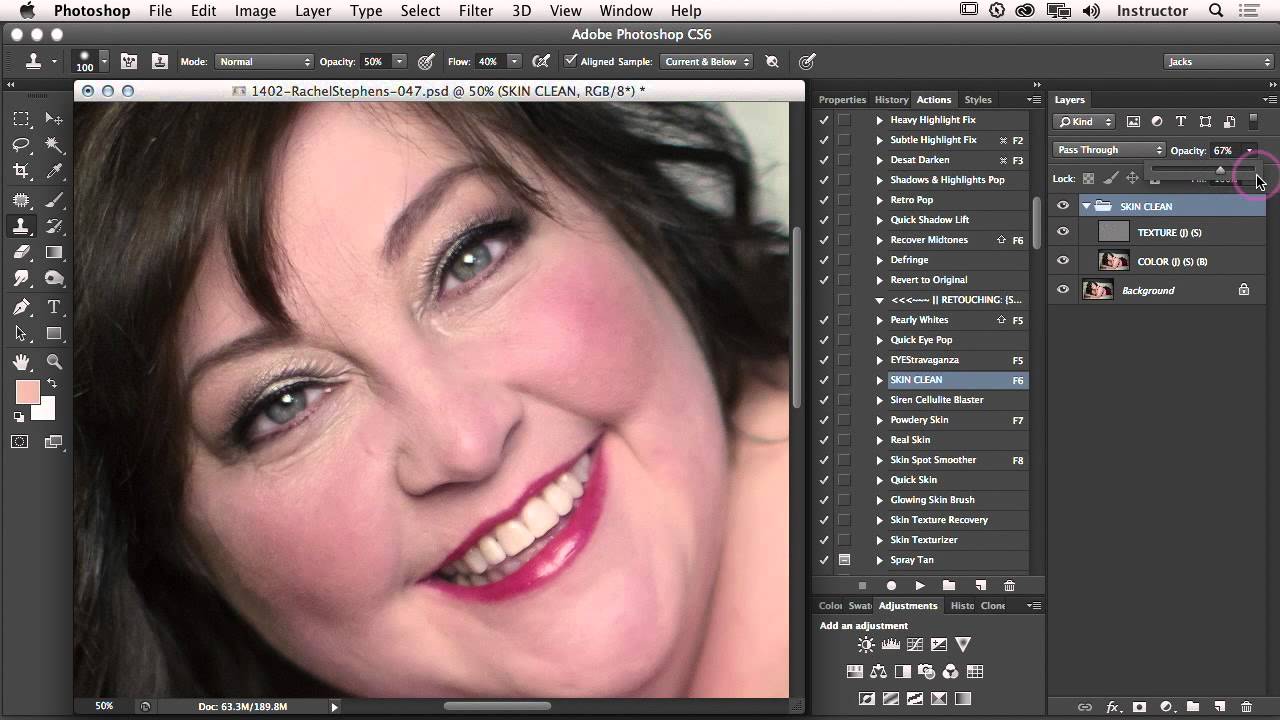
There’s a specific kind of dread that comes from zooming out on a retouch you’ve spent forty minutes on, only to realize your subject now looks like they’re made of wax. I know that feeling intimately. Early in my retouching career, I leaned hard on the clone stamp and healing brush, smoothing and patching until every pore, every shadow, every bit of character was gone. A client once told me my edits looked “plastic.” She wasn’t wrong. That feedback sent me down a long road of learning, and the technique that finally changed everything was frequency separation.
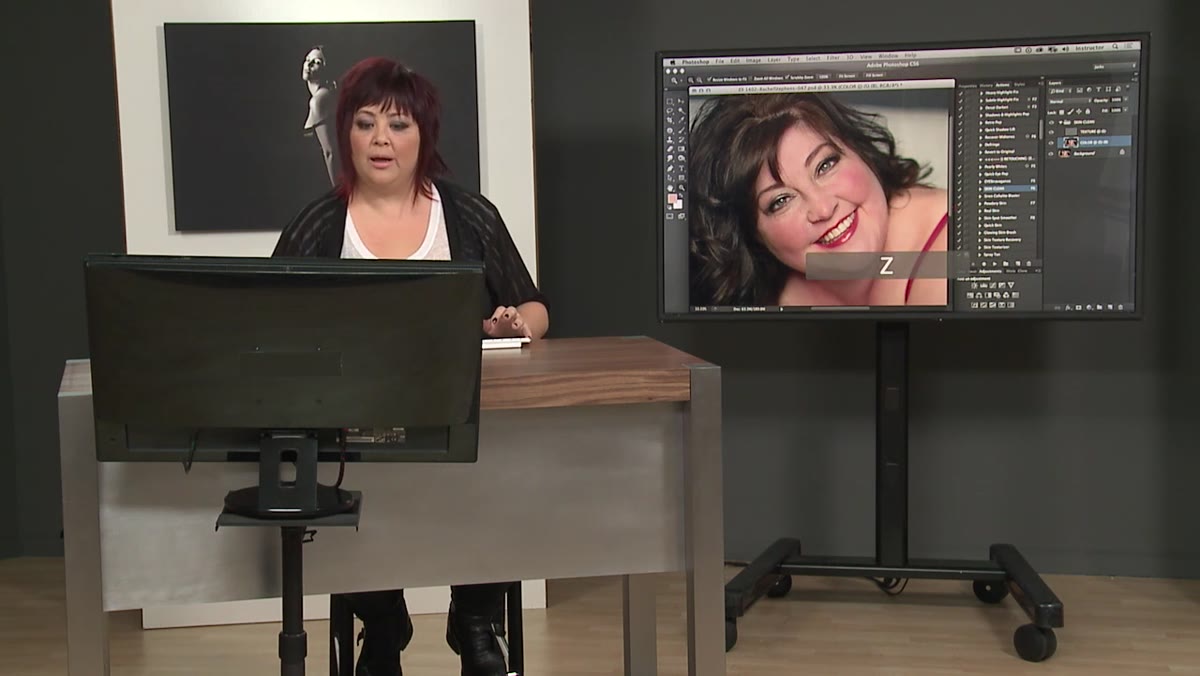
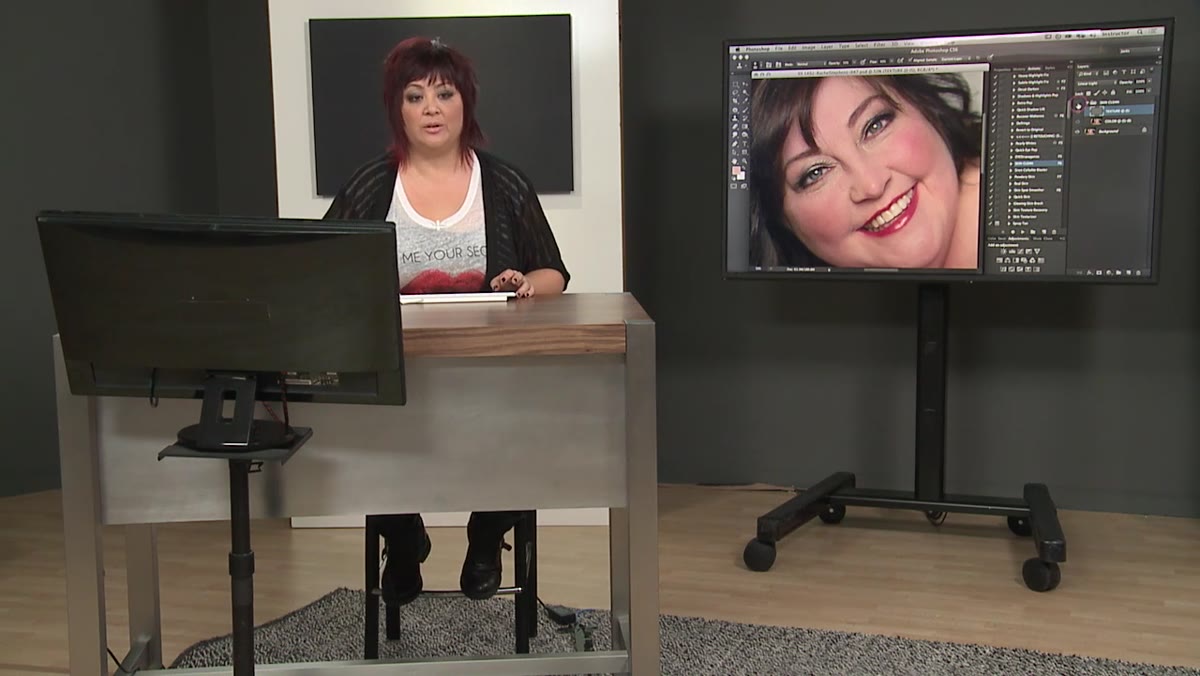
So when I came across this CreativeLive tutorial featuring photographer and retoucher Rachel Stephens working through boudoir skin retouching, I wanted to break it down here because she demonstrates something most beginners miss: the real power of frequency separation isn’t just in the separation itself, it’s in how you use each layer strategically and with restraint. Watch the full tutorial on YouTube and follow along with the steps below.
Boudoir work is particularly unforgiving. Your subject is often close to camera, lighting is dramatic, and skin is frequently the focal point of the entire frame. You cannot afford to over-retouch, and you cannot afford to leave distracting blotchiness either. Frequency separation gives us a way to walk that line, and Rachel’s workflow shows exactly how.
Step 1: Understand What Frequency Separation Actually Does
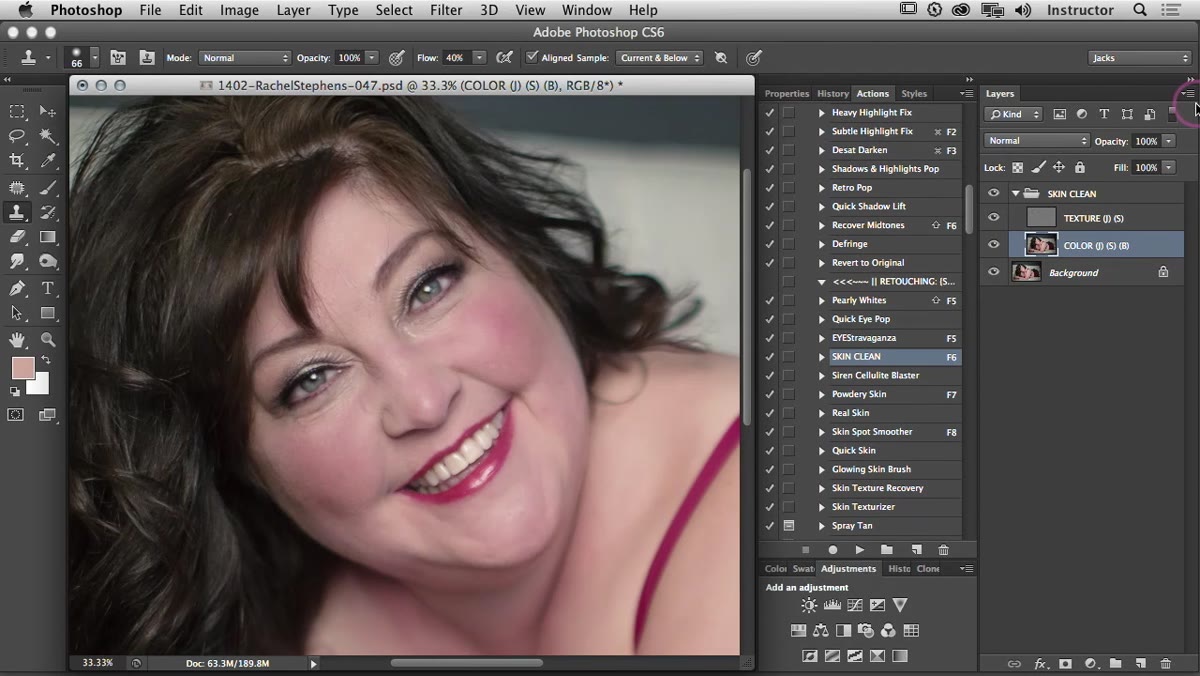 Frequency separation concept explained, two separate layers visible
Before touching a single tool, it helps to understand the logic. Frequency separation splits your image into two distinct layers: one that holds the color and tonal information (the low frequency layer), and one that holds all the fine texture detail like pores and hair (the high frequency layer). When you retouch on the color layer, you’re affecting tone and evenness without disturbing the texture sitting above it. This is the core reason skin retouched this way still looks like skin when you’re done.
Frequency separation concept explained, two separate layers visible
Before touching a single tool, it helps to understand the logic. Frequency separation splits your image into two distinct layers: one that holds the color and tonal information (the low frequency layer), and one that holds all the fine texture detail like pores and hair (the high frequency layer). When you retouch on the color layer, you’re affecting tone and evenness without disturbing the texture sitting above it. This is the core reason skin retouched this way still looks like skin when you’re done.
Rachel points out that this technique is widely documented online and easy to find tutorials for, but the method she uses is wrapped into a custom Photoshop action that speeds up the setup process considerably. If you don’t have actions, you can set up frequency separation manually using Apply Image, but it takes more steps. Either way, the underlying logic is identical.
Step 2: Apply the Frequency Separation Setup
 Action being run, image splitting into frequency layers in Layers panel
Once your image is open and you’ve duplicated your base layer, run either your action or your manual frequency separation setup. You should end up with two layers: the texture layer on top and the color/tone layer beneath it. Label them clearly if you’re doing this by hand. Rachel uses custom actions she’s named herself, which run the whole setup with a single keystroke. The organizational habit matters here, especially if you’re processing a full boudoir session.
Action being run, image splitting into frequency layers in Layers panel
Once your image is open and you’ve duplicated your base layer, run either your action or your manual frequency separation setup. You should end up with two layers: the texture layer on top and the color/tone layer beneath it. Label them clearly if you’re doing this by hand. Rachel uses custom actions she’s named herself, which run the whole setup with a single keystroke. The organizational habit matters here, especially if you’re processing a full boudoir session.
At this point, resist the urge to start painting. Take thirty seconds to zoom in and identify the specific problem areas: redness, uneven tone, shadows from texture you want to soften. You’re about to work only on the color layer, so knowing your targets in advance keeps the work focused.
Step 3: Work the Color Layer With the Healing Brush or Clone Stamp
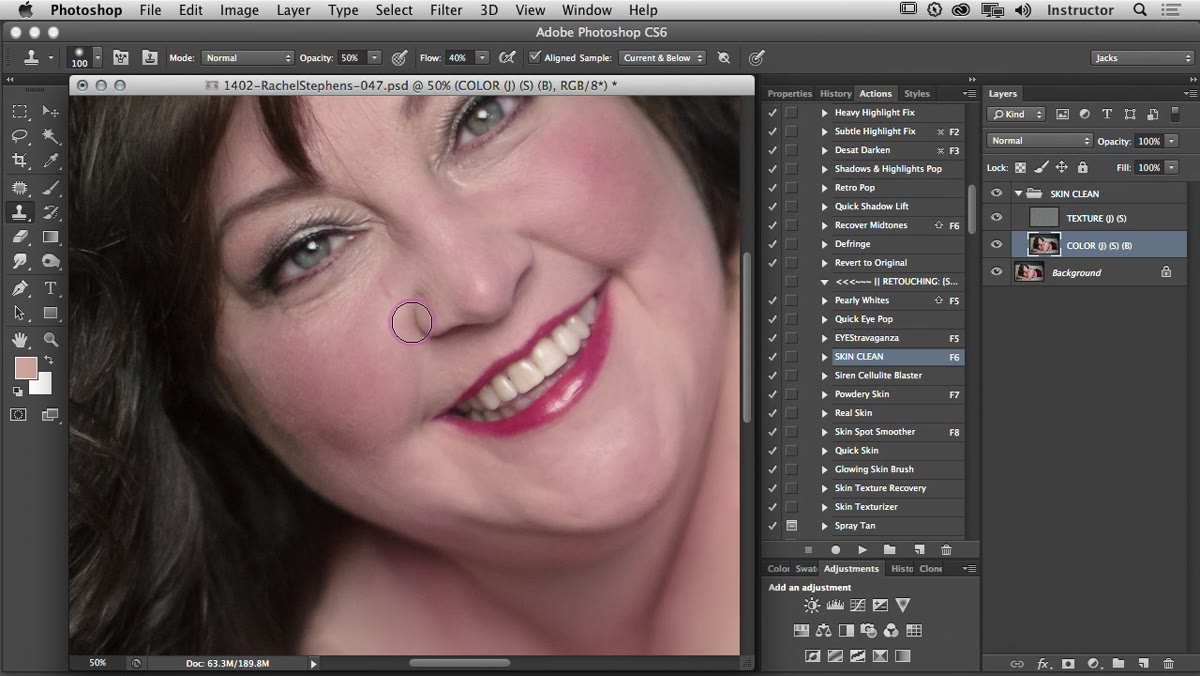 Healing brush active on color layer, texture layer untouched above
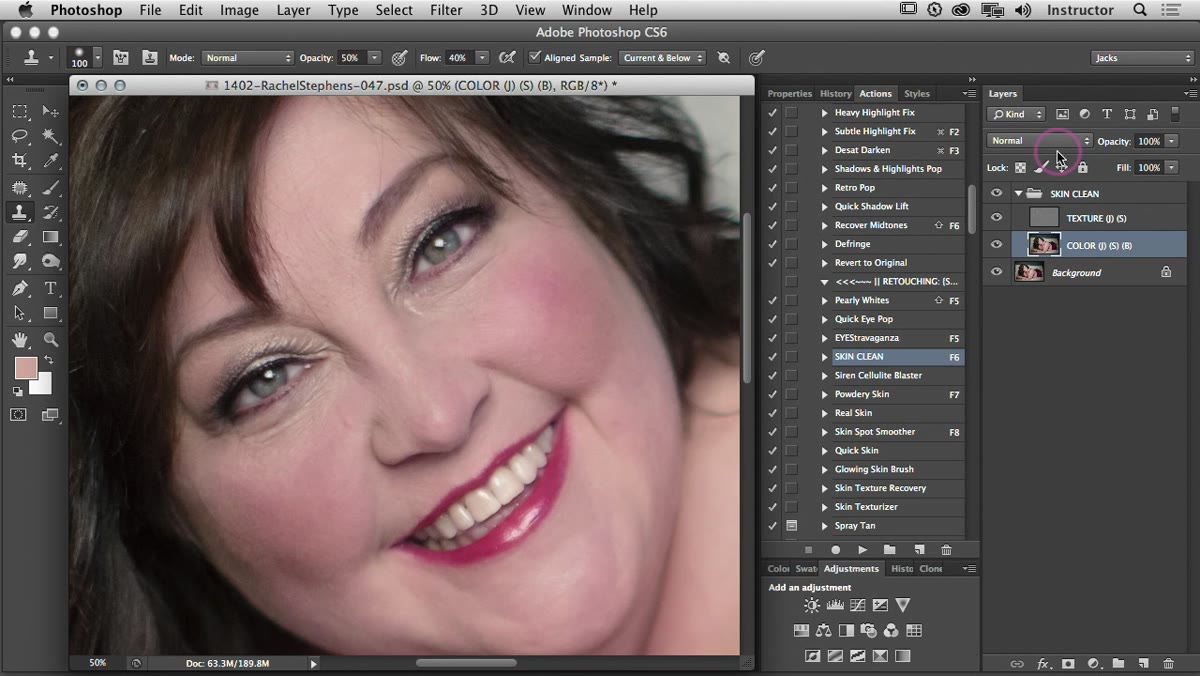
Select only the color (low frequency) layer. This is the critical step most people rush past. With the texture layer still visible above, activate your healing brush or clone stamp and begin sampling nearby skin tones to blend out patches of uneven color. Because your tool is only affecting the color layer, the texture information above it remains completely intact.
Healing brush active on color layer, texture layer untouched above
Select only the color (low frequency) layer. This is the critical step most people rush past. With the texture layer still visible above, activate your healing brush or clone stamp and begin sampling nearby skin tones to blend out patches of uneven color. Because your tool is only affecting the color layer, the texture information above it remains completely intact.
Rachel demonstrates this by working an area and then zooming out to show that all the fine skin detail is still present even though the blotchy coloration has been smoothed. The visual difference is striking. You get clean, even tone with zero plastic appearance because the pores and surface texture are untouched.
Step 4: Work in Small Sections and Adjust Opacity Before Flattening
 Opacity slider being adjusted on the retouched color layer
Rather than retouching the entire image in one pass, Rachel recommends working one small section at a time, then adjusting the layer opacity to blend the correction naturally before flattening it down. This is a workflow detail that makes an enormous difference in the final result. Dropping the opacity of your correction pass to something like 60-80% before flattening means the edit integrates with the original data rather than sitting on top of it.
Opacity slider being adjusted on the retouched color layer
Rather than retouching the entire image in one pass, Rachel recommends working one small section at a time, then adjusting the layer opacity to blend the correction naturally before flattening it down. This is a workflow detail that makes an enormous difference in the final result. Dropping the opacity of your correction pass to something like 60-80% before flattening means the edit integrates with the original data rather than sitting on top of it.
After flattening, you repeat the process: run the frequency separation setup again on the flattened image, pick the next problem area, retouch, adjust opacity, flatten. It is tedious, as Rachel freely admits. But working in passes like this gives you far more control and makes it much easier to avoid over-correcting.
Step 5: Switch to the Texture Layer for Surface Work
 Texture layer selected, color layer visible but unselected below
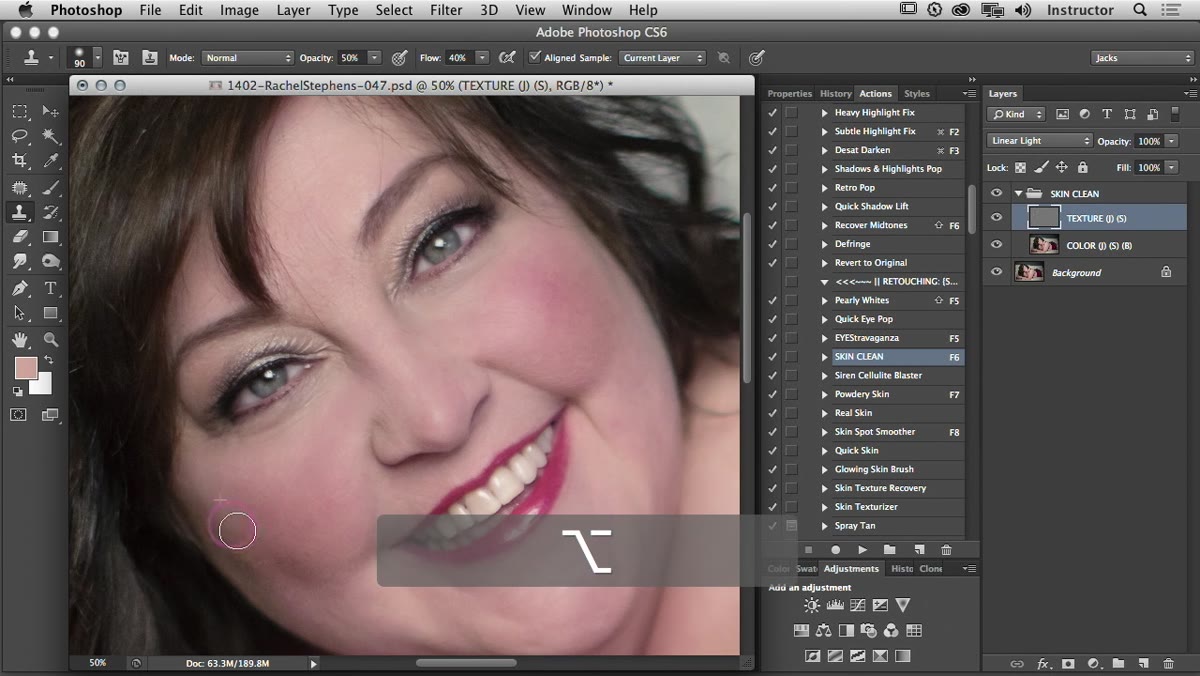
Once the tonal and color evenness is where you want it, you can address the texture layer separately. This is where you’d handle things like specific blemishes or raised spots that exist in the texture data itself. Working here affects the surface detail without touching the color harmony you’ve already established.
Texture layer selected, color layer visible but unselected below
Once the tonal and color evenness is where you want it, you can address the texture layer separately. This is where you’d handle things like specific blemishes or raised spots that exist in the texture data itself. Working here affects the surface detail without touching the color harmony you’ve already established.
Rachel demonstrates the inverse of step three here: the texture layer is where you influence what the skin’s surface looks like without muddying the tone work underneath. Keep these edits subtle. The goal is removal of genuinely distracting elements, not a wholesale smoothing of the surface.
Step 6: Remember the Subtle Change Rule, Especially With Real Bodies
 Final retouched area compared to original, subtle difference visible
Rachel closes with something that I think is the most important professional principle in boudoir retouching: subtle changes make the biggest difference, particularly when working with subjects who have curves, age, or anything the beauty industry might once have called “imperfections.” Over-retouching a boudoir image doesn’t just look fake, it can undermine the entire emotional purpose of the shoot.
Final retouched area compared to original, subtle difference visible
Rachel closes with something that I think is the most important professional principle in boudoir retouching: subtle changes make the biggest difference, particularly when working with subjects who have curves, age, or anything the beauty industry might once have called “imperfections.” Over-retouching a boudoir image doesn’t just look fake, it can undermine the entire emotional purpose of the shoot.
The technique gives you precision. What you do with that precision is a judgment call. Use the opacity adjustments in every pass to keep yourself honest.
One Thing I’d Add From My Own Practice
The multi-pass, flatten, repeat method Rachel describes is excellent, but I’d suggest building yourself a quick before/after toggle into your workflow. I keep a snapshot in Photoshop’s History panel at the start of every retouch labeled simply “original.” Every few passes, I toggle back to it. After staring at skin for twenty minutes, your eyes adapt and you stop seeing the accumulation of corrections. That fresh comparison resets your calibration and saves you from the slow drift into over-retouching that none of us intend but all of us experience.
I also name my frequency separation actions after films, which has nothing to do with technique and everything to do with keeping the work enjoyable on long edit days.
Frequency separation is one of those tools that rewards patience. The more you resist the urge to fix everything in one pass and instead work methodically through color, then texture, then opacity, the more natural your results will be. Rachel Stephens makes the method approachable without watering it down, which is exactly what good teaching looks like.
Watch the full tutorial on YouTube to see her technique in motion, especially the before and after moments that show just how much clean tone you can achieve while keeping the skin looking real.
Comments
Leave a Comment