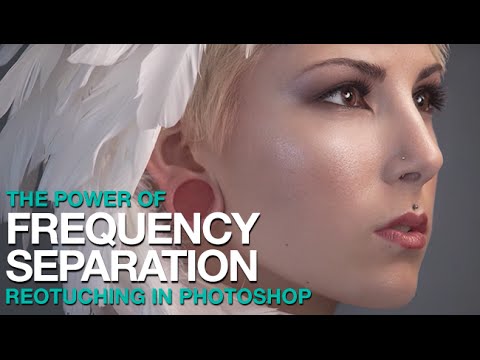
There is a specific kind of dread that comes with zooming into 100% on a retouched face and realizing the skin looks like a wax museum exhibit. I know that dread well. Early in my retouching career, I was so focused on erasing every shadow and blotch that I was also erasing everything that made the skin look like skin. A client put it plainly: “She looks plastic.” That note stung, but it pushed me to find a better way.
Frequency separation was that better way. It took me an embarrassingly long time to get it right on my own, which is why I was so relieved to find this tutorial by Aaron Nace over at PHLEARN. He explains the technique clearly and without the hand-waving that a lot of advanced tutorials fall back on. Watch the full tutorial on YouTube if you want to see the steps in motion. For everyone who wants a written walkthrough they can open alongside Photoshop, this is it.
The core idea is elegant once you hear it: skin has two separate problems that almost always need different solutions. There is the color and tone layer, things like redness, blotchiness, and uneven shadows. And there is the texture layer, things like pores, fine lines, and surface detail. Most retouchers try to fix both at once, which is exactly why skin ends up looking flat. Frequency separation puts those two things on two separate layers so you can treat each one without touching the other.
Step 1: Duplicate the Background Layer Twice
 Two duplicate layers created above the background layer
Start with your image open and your background layer selected. Duplicate it twice using Command+J (Mac) or Control+J (Windows). You will end up with three layers: the original background, and two copies sitting above it. Rename them to keep your head straight. I name mine “Color+Tone” for the bottom copy and “Texture” for the top one.
Two duplicate layers created above the background layer
Start with your image open and your background layer selected. Duplicate it twice using Command+J (Mac) or Control+J (Windows). You will end up with three layers: the original background, and two copies sitting above it. Rename them to keep your head straight. I name mine “Color+Tone” for the bottom copy and “Texture” for the top one.
Turn off visibility on the Texture layer for now. You are going to work on the Color+Tone layer first.
Step 2: Apply a Gaussian Blur to the Color+Tone Layer
 Gaussian Blur dialog open with radius slider adjusted
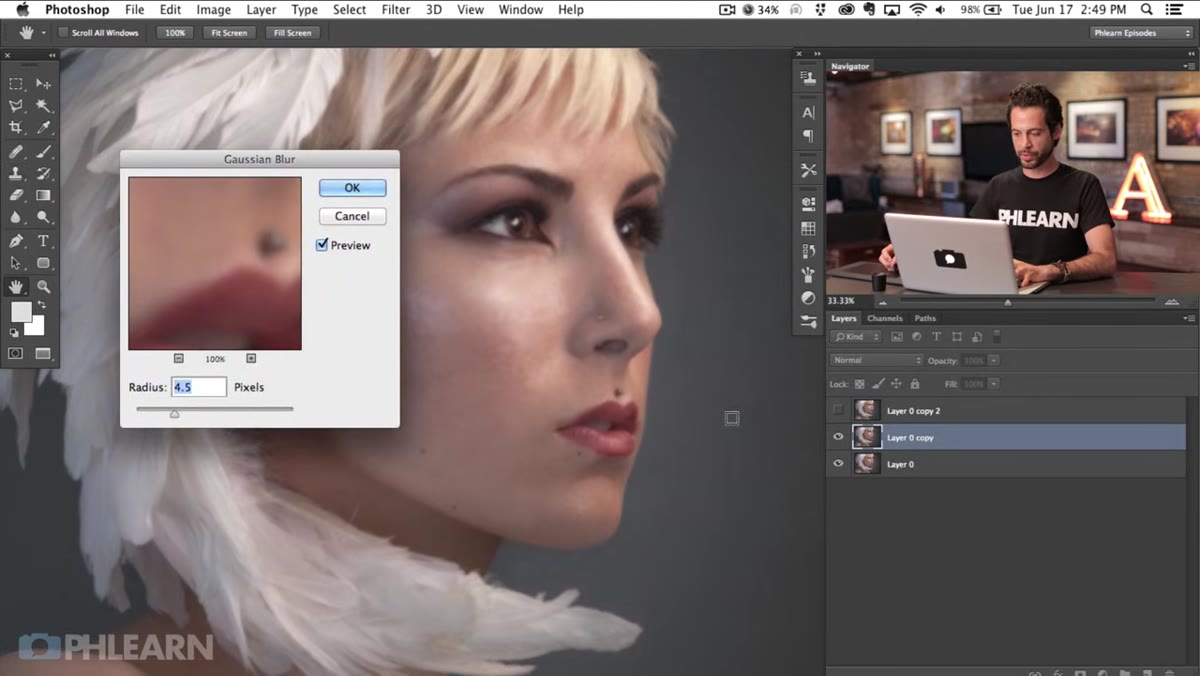
With the Color+Tone layer selected and the Texture layer hidden, go to Filter, then Blur, then Gaussian Blur. The goal here is to blur just enough to make the skin texture disappear while keeping the broader shapes of tone and color intact. You are not going for a dreamlike soft glow. You are looking for the exact threshold where individual pores and surface details stop being visible.
Gaussian Blur dialog open with radius slider adjusted
With the Color+Tone layer selected and the Texture layer hidden, go to Filter, then Blur, then Gaussian Blur. The goal here is to blur just enough to make the skin texture disappear while keeping the broader shapes of tone and color intact. You are not going for a dreamlike soft glow. You are looking for the exact threshold where individual pores and surface details stop being visible.
For most portrait work, that lands somewhere between 2 and 4 pixels, depending on your image resolution. Zoom to 100% while you adjust the slider. The moment the fine skin texture disappears, stop. Hit OK. If you over-blur, you lose the color information that makes the technique work.
Step 3: Make the Texture Layer Visible and Select It
 Texture layer made visible and highlighted in Layers panel
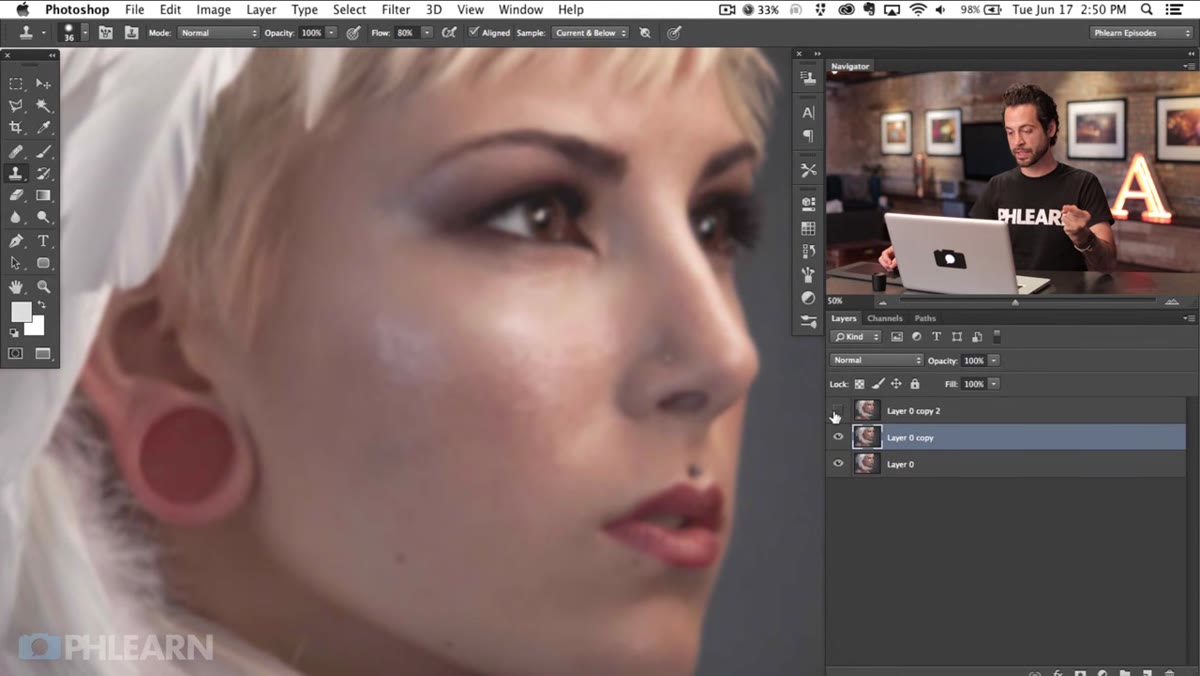
Turn the Texture layer back on and click it to make it the active layer. This layer is about to receive a filter that does the heavy lifting of the whole technique. What you are going to do is mathematically subtract the blurred Color+Tone layer from this layer, leaving behind only the difference between the two. That difference is pure texture.
Texture layer made visible and highlighted in Layers panel
Turn the Texture layer back on and click it to make it the active layer. This layer is about to receive a filter that does the heavy lifting of the whole technique. What you are going to do is mathematically subtract the blurred Color+Tone layer from this layer, leaving behind only the difference between the two. That difference is pure texture.
Nothing changes visually in this step. It is setup. Take a breath.
Step 4: Use Apply Image to Isolate the Texture
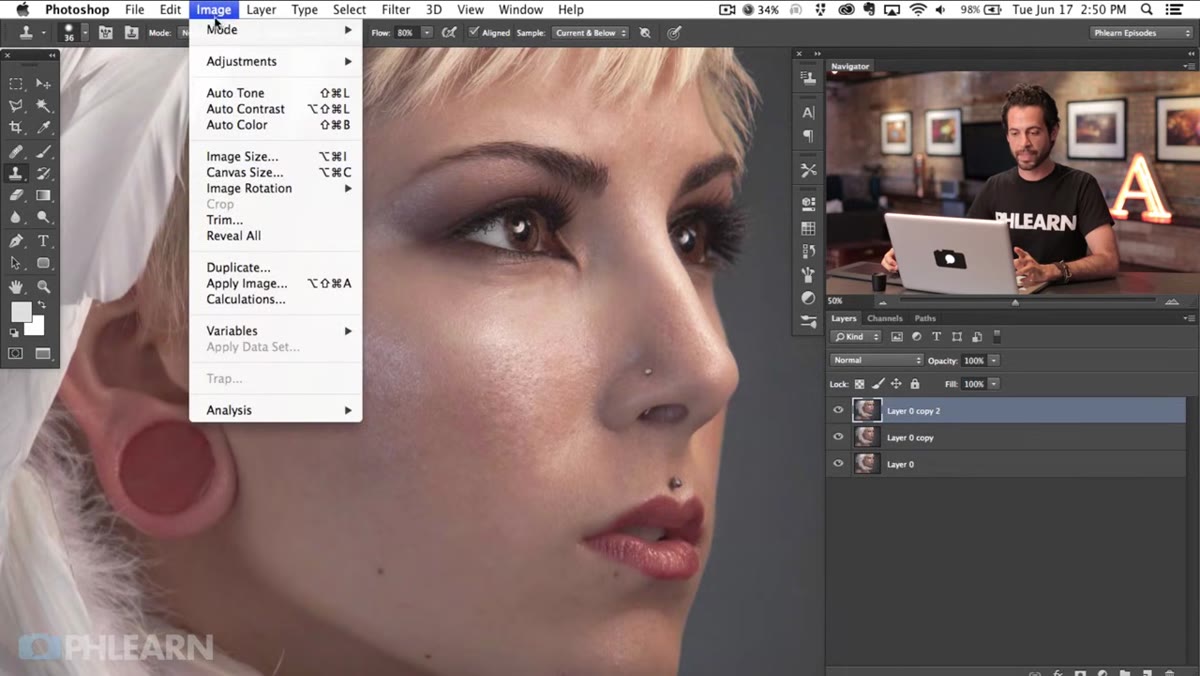 Apply Image dialog with layer and blending mode settings visible
With the Texture layer selected, go to Image and then Apply Image. This dialog can look intimidating, but you only need to adjust a few settings. In the Layer dropdown, choose your Color+Tone (blurred) layer. Set Blending to Subtract. Then set Scale to 2 and Offset to 128. Leave everything else at its default.
Apply Image dialog with layer and blending mode settings visible
With the Texture layer selected, go to Image and then Apply Image. This dialog can look intimidating, but you only need to adjust a few settings. In the Layer dropdown, choose your Color+Tone (blurred) layer. Set Blending to Subtract. Then set Scale to 2 and Offset to 128. Leave everything else at its default.
These numbers are not arbitrary. The Subtract blending mode removes the blurred layer’s information from the Texture layer. Because Subtract can produce negative values, the Scale and Offset settings shift the result into a visible, workable range. Hit OK. The Texture layer will look grey and strange, almost like an embossed effect. That is correct. You have just isolated the surface detail.
Step 5: Set the Texture Layer’s Blending Mode to Linear Light
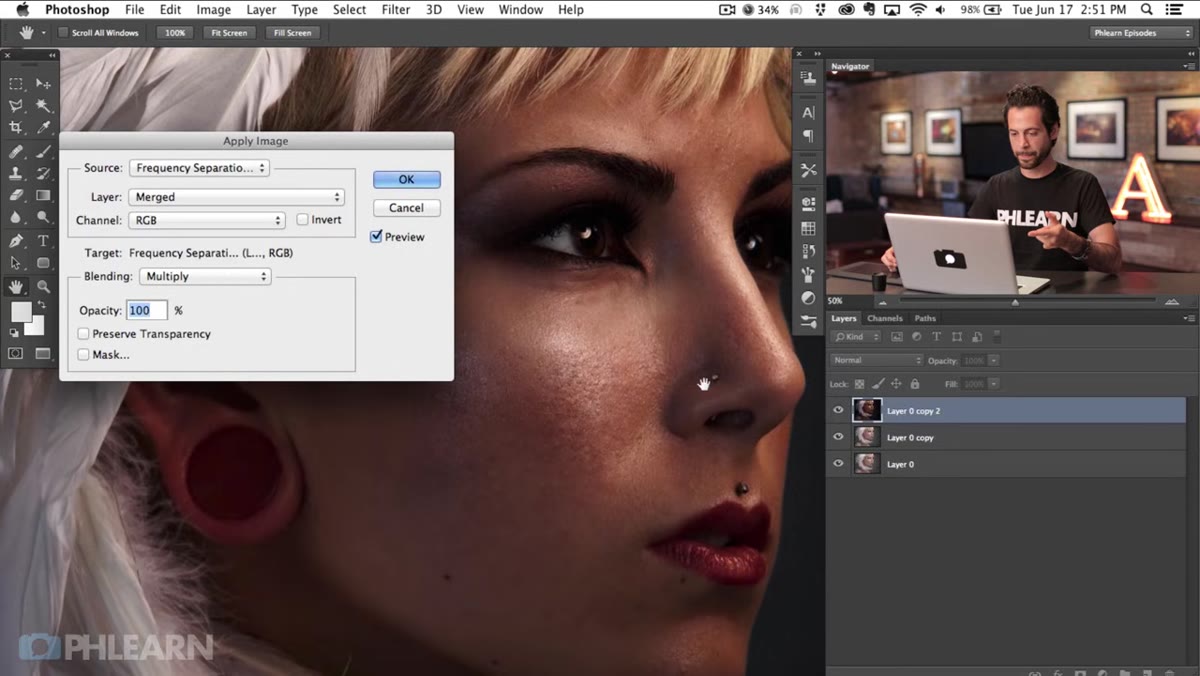 Texture layer blending mode changed to Linear Light in Layers panel
Click the blending mode dropdown on the Texture layer (it defaults to Normal) and change it to Linear Light. When you do this, your image should look almost identical to how it started. If it does, you have done everything correctly. The two layers are now working together to reconstruct the original image, but they are doing it on separate layers that you can edit independently.
Texture layer blending mode changed to Linear Light in Layers panel
Click the blending mode dropdown on the Texture layer (it defaults to Normal) and change it to Linear Light. When you do this, your image should look almost identical to how it started. If it does, you have done everything correctly. The two layers are now working together to reconstruct the original image, but they are doing it on separate layers that you can edit independently.
If the image looks significantly different from the original, something went wrong in the Apply Image step. The most common mistake is choosing the wrong layer in the Layer dropdown, so go back and check that first.
Step 6: Retouch Each Layer Separately
 Painter tool smoothing color on the lower blurred layer
Now the actual retouching begins, and this is where frequency separation earns its reputation. Select the Color+Tone layer. Use a soft, low-opacity brush to paint with sampled colors, or use the Mixer Brush tool, to smooth out blotchiness, even out skin tone, and soften transitions between light and shadow. Because the texture layer is sitting on top and doing all the texture work, anything you do to the color layer has zero effect on the pores and surface detail above it.
Painter tool smoothing color on the lower blurred layer
Now the actual retouching begins, and this is where frequency separation earns its reputation. Select the Color+Tone layer. Use a soft, low-opacity brush to paint with sampled colors, or use the Mixer Brush tool, to smooth out blotchiness, even out skin tone, and soften transitions between light and shadow. Because the texture layer is sitting on top and doing all the texture work, anything you do to the color layer has zero effect on the pores and surface detail above it.
When you switch to the Texture layer, use the Clone Stamp or Healing Brush at a low opacity to gently reduce prominent wrinkles or lines. You are nudging texture, not erasing it. The goal on this layer is never a clean slate. It is a more consistent, slightly quieter version of what was already there.
My Own Addition: Save This as an Action
After I watched Aaron walk through this setup the first time, the first thing I did was record it as a Photoshop action so I would never have to repeat those steps manually. I named mine “Eternal Sunshine” because it genuinely changed how I felt about skin retouching. If you use PHLEARN’s free action that Aaron mentions in the tutorial, that works just as well. The point is to remove the setup friction so you can spend your time on the actual retouching.
One thing I would add from my own practice: label your layers clearly and use a Group to contain both frequency separation layers. When you are three hours into a complex beauty retouch with twelve layers, future-you will be very grateful.
The single most important thing to take away from this technique is what Aaron emphasizes at the start: healthy skin retouching is not about removing texture. It is about separating the problems so you can solve each one without creating new ones. Frequency separation does not make retouching faster. It makes the results look like skin instead of plastic.
Watch the full tutorial on YouTube to see Aaron work through a real portrait from start to finish, including how he handles tricky areas around the eyes and hairline.
Comments (2)
Applied this to my portfolio shots and the improvement is noticeable.
Simple but effective. Sometimes that's all you need.
Leave a Comment