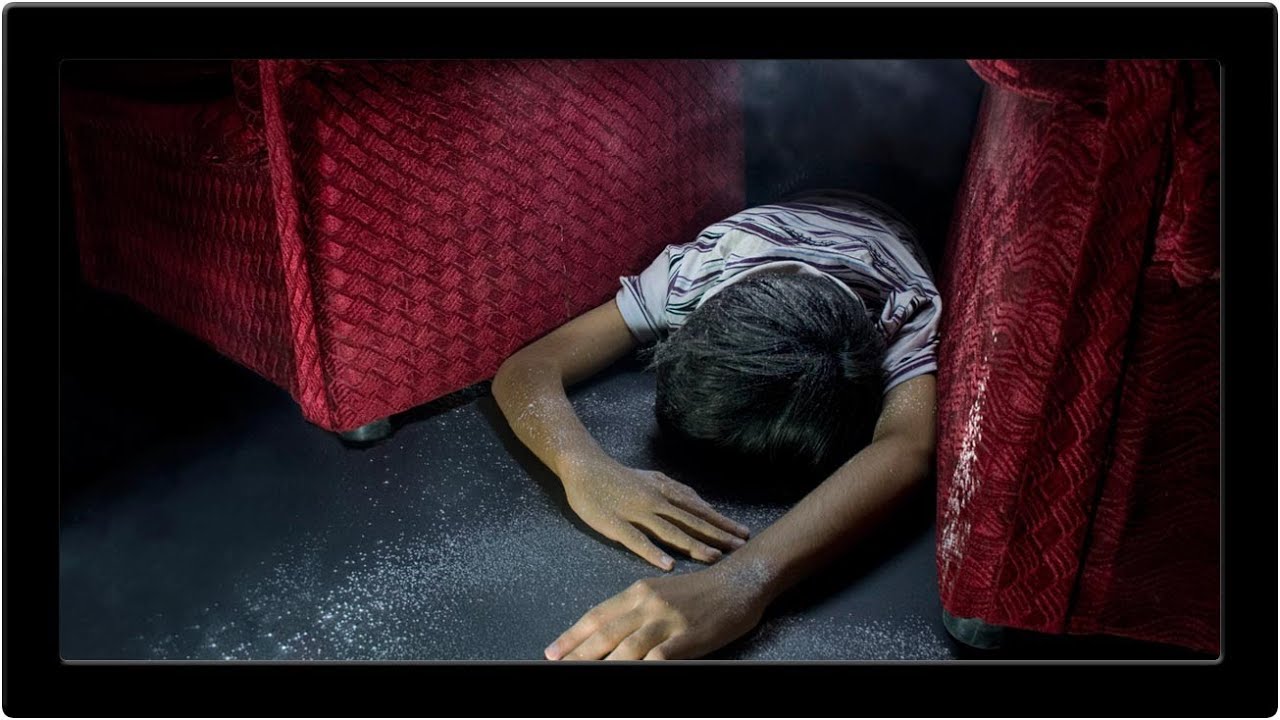
Early in my retouching career, I burned through a portrait by painting directly on a duplicate layer with the actual Dodge and Burn tools. The highlights went gray, the shadows went muddy, and my client very politely told me the result looked “a little plastic.” She was being generous. The problem wasn’t my eye for light and shadow. It was that I had no way to go back and correct the intensity without starting over completely. Non-destructive workflows exist precisely to prevent that kind of dead end, and for dodge and burn specifically, the Curves plus Apply Image method is the one I keep coming back to.
In this Aaron Nace (PHLEARN) tutorial, Watch the full tutorial on YouTube, Aaron works through a moody, atmospheric image submitted by a community member and demonstrates how to bring overexposed highlights under control, add depth to textures, and sculpt light across a scene, all without touching a single original pixel. The method is elegant because it separates the “what you’re affecting” from the “how much,” and you can dial either one back at any point. Here’s how it works.
Step 1: Identify What Actually Needs Work
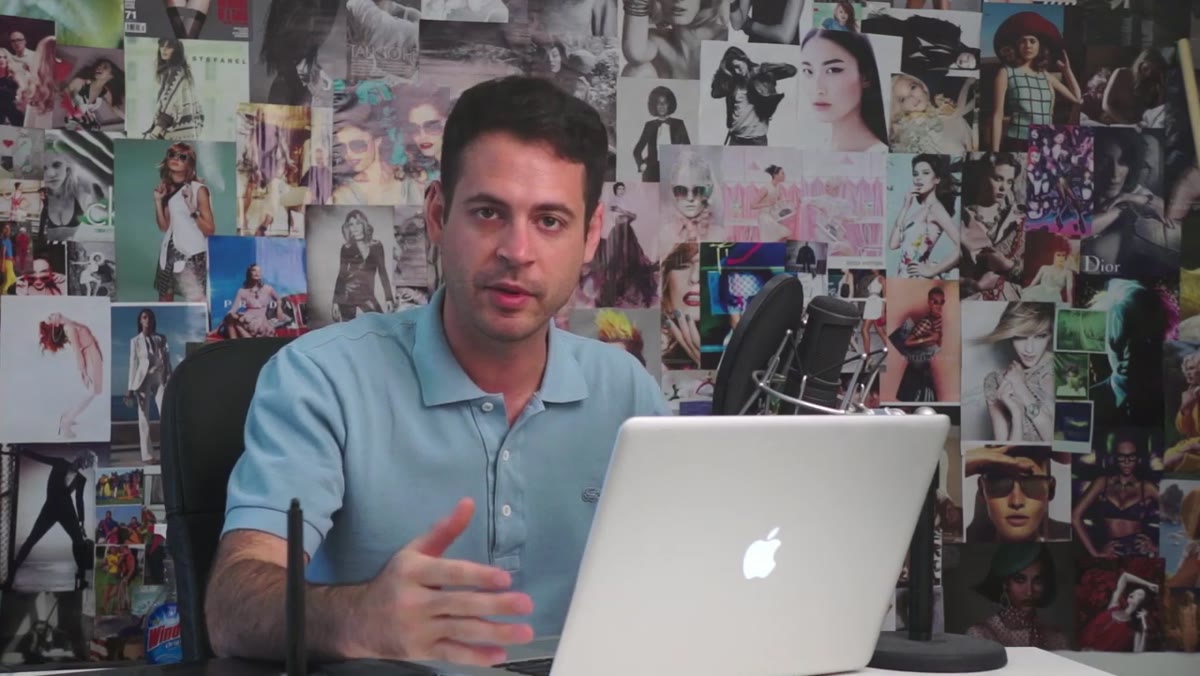 Aaron pointing to overexposed highlights on subject’s hand
Before touching a tool, take a full minute to read the image honestly. In the tutorial, Aaron spots a few specific problems: highlights on the subject’s hands are slightly blown, a foggy atmospheric area could be extended, and the chairs in the scene are losing texture in the shadows. Notice how short that list is. Non-destructive retouching rewards restraint because you can always add more later, but knowing what the image actually needs before you start saves you from over-working it. Make a mental (or literal) note of two or three targets and stick to them.
Aaron pointing to overexposed highlights on subject’s hand
Before touching a tool, take a full minute to read the image honestly. In the tutorial, Aaron spots a few specific problems: highlights on the subject’s hands are slightly blown, a foggy atmospheric area could be extended, and the chairs in the scene are losing texture in the shadows. Notice how short that list is. Non-destructive retouching rewards restraint because you can always add more later, but knowing what the image actually needs before you start saves you from over-working it. Make a mental (or literal) note of two or three targets and stick to them.
Step 2: Add a Curves Adjustment Layer and Pull the Highlights Down
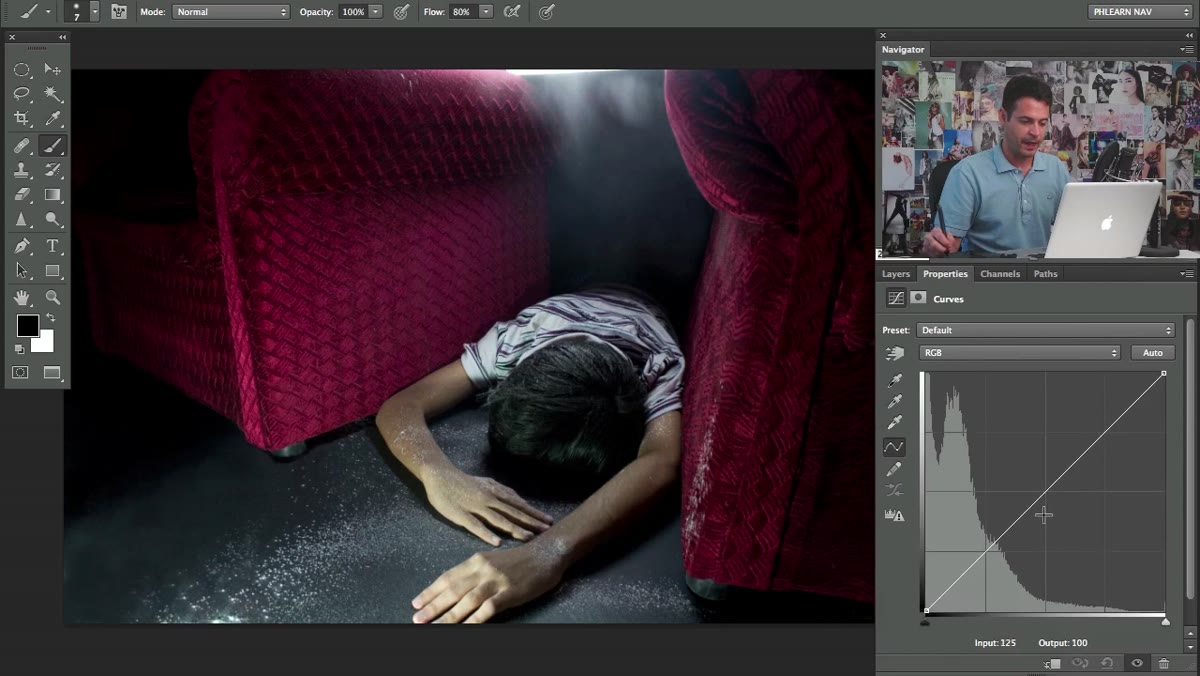 Curves adjustment layer dialog with curve pulled sharply downward
Go to the Layers panel and add a Curves adjustment layer. Pull the center of the curve downward significantly, making the entire image much darker than you want the final result to be. This feels counterintuitive but it’s intentional. You’re creating an extreme darkening effect that you’ll then constrain to only the brightest parts of the image using a luminosity mask in the next step. Getting the curve extreme enough here means you’ll have real control over those hotspots without the adjustment bleeding into midtones or shadows.
Curves adjustment layer dialog with curve pulled sharply downward
Go to the Layers panel and add a Curves adjustment layer. Pull the center of the curve downward significantly, making the entire image much darker than you want the final result to be. This feels counterintuitive but it’s intentional. You’re creating an extreme darkening effect that you’ll then constrain to only the brightest parts of the image using a luminosity mask in the next step. Getting the curve extreme enough here means you’ll have real control over those hotspots without the adjustment bleeding into midtones or shadows.
Step 3: Apply Image to Build a Luminosity Mask on the Layer Mask
 Apply Image dialog box showing Merged, RGB, Multiply settings
This is where the technique separates itself from a basic curves edit. Click on the layer mask thumbnail of your Curves adjustment layer so the mask is active, not the layer itself. Then go to Image, scroll down to Apply Image, and set the following: Source should be set to Merged, Channel to RGB, Blending to Multiply, and Opacity at 100 percent. Leave the Invert checkbox unchecked. Click OK.
Apply Image dialog box showing Merged, RGB, Multiply settings
This is where the technique separates itself from a basic curves edit. Click on the layer mask thumbnail of your Curves adjustment layer so the mask is active, not the layer itself. Then go to Image, scroll down to Apply Image, and set the following: Source should be set to Merged, Channel to RGB, Blending to Multiply, and Opacity at 100 percent. Leave the Invert checkbox unchecked. Click OK.
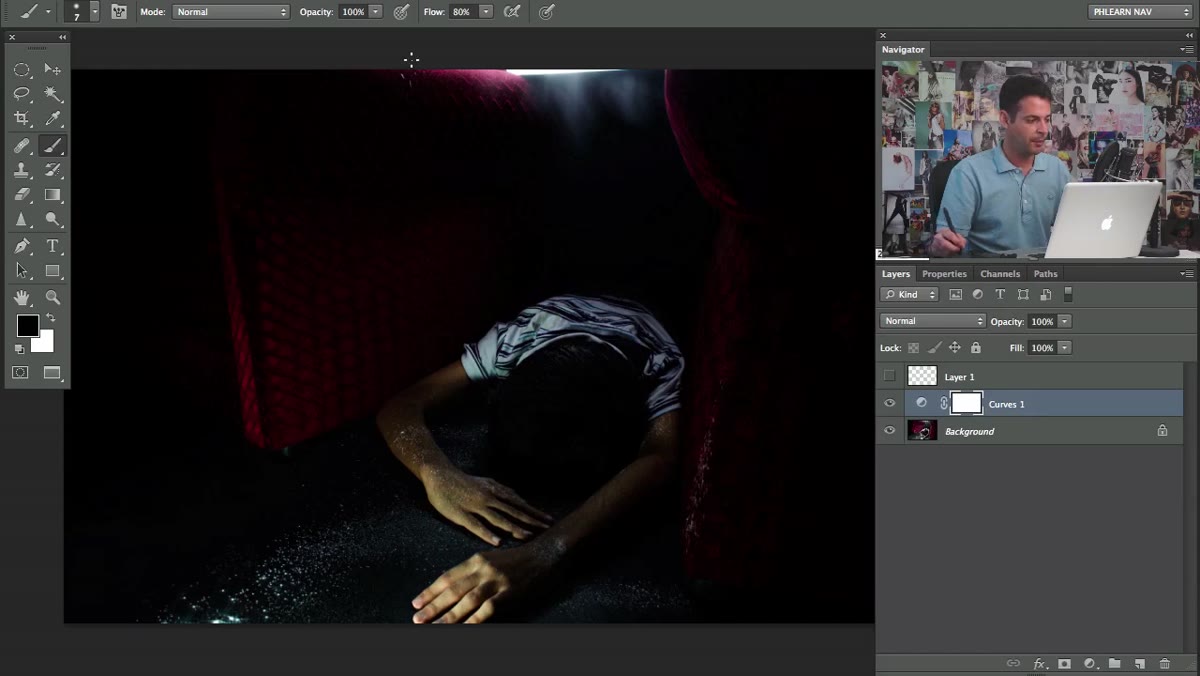
What this does is paint the mask based on the luminosity of the image itself. Bright areas in the image become white in the mask, which means the darkening Curves effect shows through there. Dark areas in the image become black in the mask, which means the darkening is hidden there. You’ve just built a mask that targets only the highlights, and you didn’t have to paint a single brushstroke to do it.
Step 4: Evaluate the Result and Adjust the Curve Strength
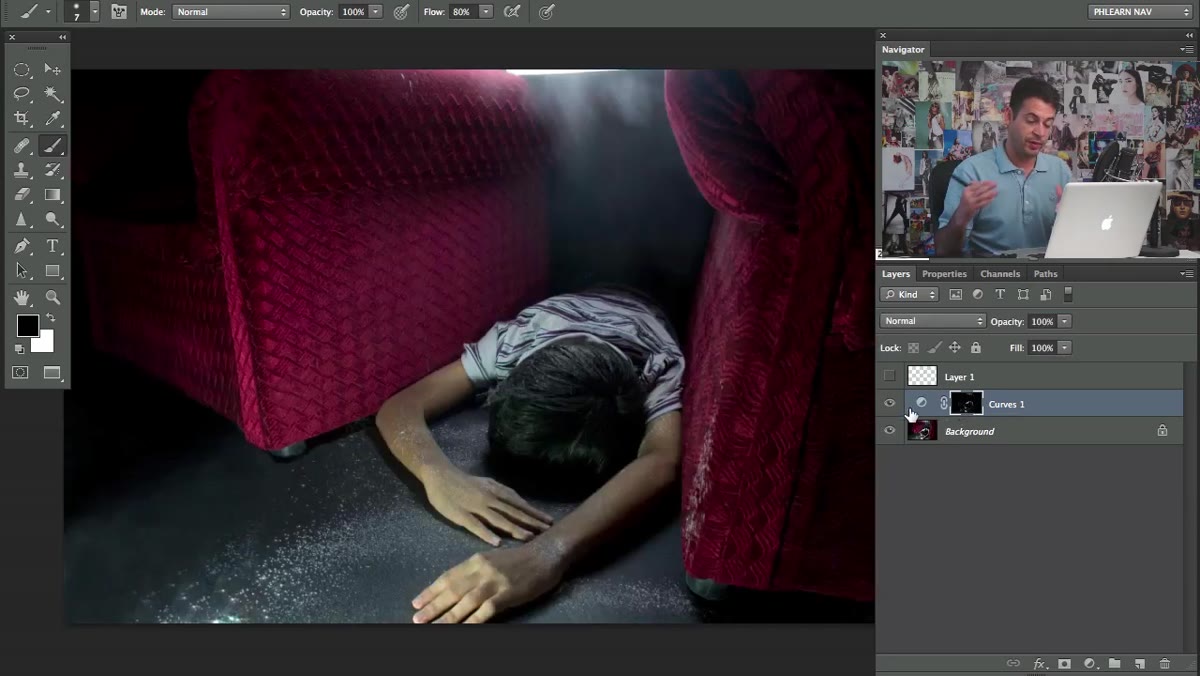 Before and after comparison of highlight areas with mask applied
Toggle the Curves adjustment layer on and off to compare. The overexposed highlights should be noticeably reined in while the shadows and midtones remain untouched. If the darkening feels too heavy, go back into the Curves properties and bring the curve back up slightly toward its original position. If it’s not doing enough, push it down further. Because everything is on an adjustment layer with a mask, you’re adjusting math, not pixels. Nothing is permanently altered on the underlying image, which means you can revisit this tomorrow with fresh eyes and make changes without any quality loss.
Before and after comparison of highlight areas with mask applied
Toggle the Curves adjustment layer on and off to compare. The overexposed highlights should be noticeably reined in while the shadows and midtones remain untouched. If the darkening feels too heavy, go back into the Curves properties and bring the curve back up slightly toward its original position. If it’s not doing enough, push it down further. Because everything is on an adjustment layer with a mask, you’re adjusting math, not pixels. Nothing is permanently altered on the underlying image, which means you can revisit this tomorrow with fresh eyes and make changes without any quality loss.
Step 5: Paint on the Mask to Refine Where the Effect Applies
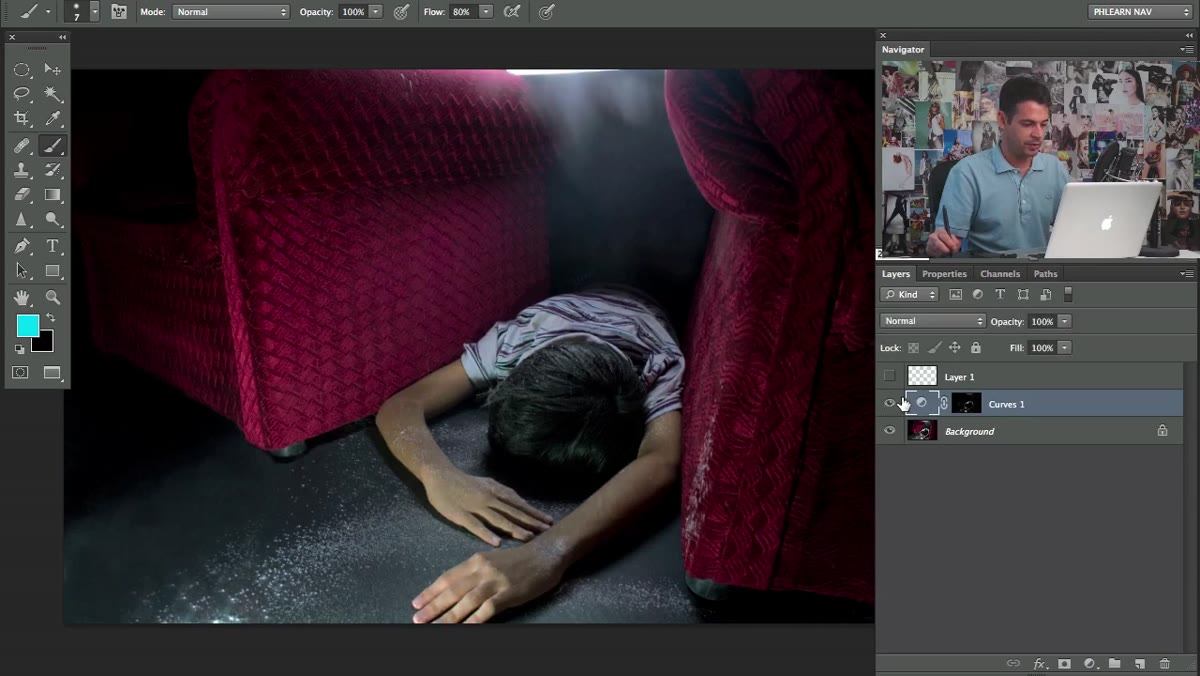 Brush tool painting black on layer mask to hide effect in specific areas
Even with the luminosity mask doing most of the heavy lifting, there will be edges or areas where the effect isn’t quite right. Select a soft round brush, set your foreground color to black, and paint directly on the layer mask to hide the Curves effect in areas where it isn’t needed. Use white to bring it back in. Keep your brush opacity low, around 20 to 30 percent, so you’re building the effect gradually rather than making hard jumps. This is where the nuance lives. The luminosity mask gives you the foundation, and your brush work does the fine-tuning.
Brush tool painting black on layer mask to hide effect in specific areas
Even with the luminosity mask doing most of the heavy lifting, there will be edges or areas where the effect isn’t quite right. Select a soft round brush, set your foreground color to black, and paint directly on the layer mask to hide the Curves effect in areas where it isn’t needed. Use white to bring it back in. Keep your brush opacity low, around 20 to 30 percent, so you’re building the effect gradually rather than making hard jumps. This is where the nuance lives. The luminosity mask gives you the foundation, and your brush work does the fine-tuning.
Step 6: Repeat the Process in Reverse for Burning and Dodging Other Zones
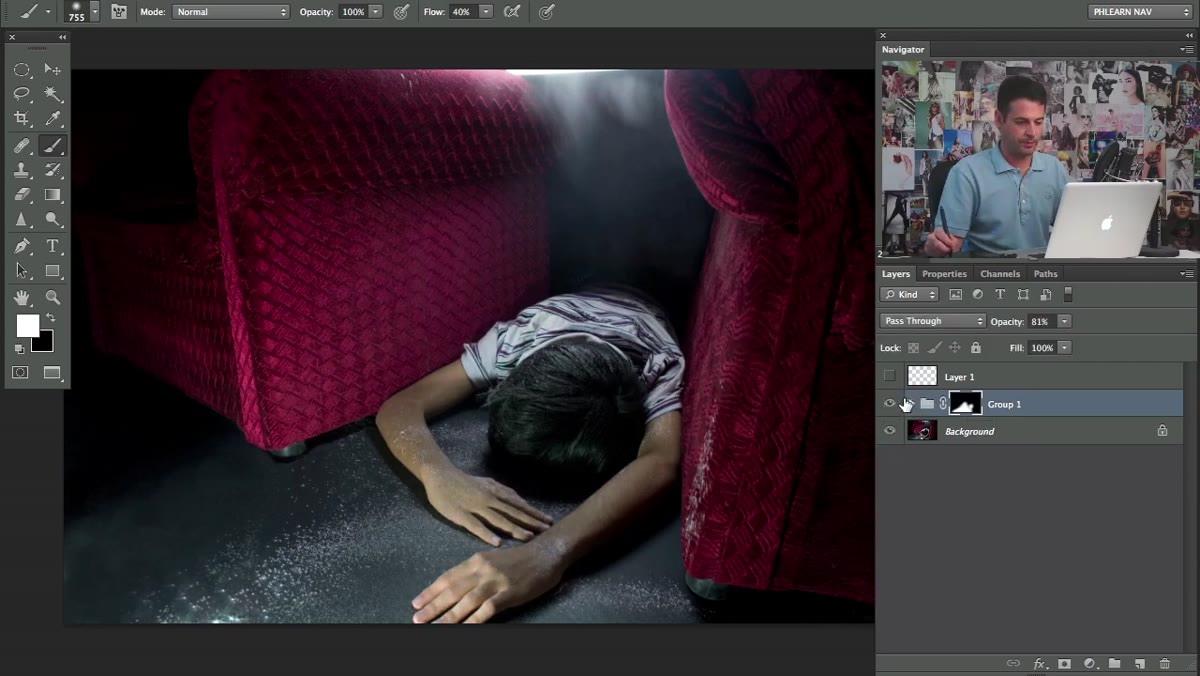 New Curves layer being added for shadow and texture work on chairs
The same system works for dodging (brightening shadows) and for adding texture contrast in other areas. Add a new Curves adjustment layer, but this time pull the curve upward to brighten. Apply Image again with the same settings, but this time check the Invert box in the Apply Image dialog. Inverting the mask means the brightest areas are now hidden and the darkest areas are exposed, so your brightening effect targets the shadows instead of the highlights. Repeat for any area where you want to sculpt light: hands, fabric texture, facial contours, whatever your image needs.
New Curves layer being added for shadow and texture work on chairs
The same system works for dodging (brightening shadows) and for adding texture contrast in other areas. Add a new Curves adjustment layer, but this time pull the curve upward to brighten. Apply Image again with the same settings, but this time check the Invert box in the Apply Image dialog. Inverting the mask means the brightest areas are now hidden and the darkest areas are exposed, so your brightening effect targets the shadows instead of the highlights. Repeat for any area where you want to sculpt light: hands, fabric texture, facial contours, whatever your image needs.
A Note From My Own Practice: Use Groups to Stay Organized
Once I started using this method regularly for beauty work, I quickly ended up with six or eight Curves layers stacked on top of each other and no memory of which one was doing what. Now I group my dodge and burn adjustment layers immediately, naming the group something like “DB - Highlights” and “DB - Shadows.” I also name each individual Curves layer by the area it affects: “hands,” “jaw,” “background.” It sounds fussy but during a revision round two days later, it saves real time. The non-destructive workflow only pays off fully if you can actually navigate back to the right layer quickly.
The single most important thing this technique gives you is editability without penalty. Every decision you make through Curves and Apply Image can be weakened, strengthened, or erased entirely without touching the original image data. That’s the promise of non-destructive retouching, and this method delivers it more precisely than painting on a neutral gray layer ever did for me.
Watch the full tutorial on YouTube to see Aaron walk through the Apply Image settings in real time. Watching him read the image before touching a tool is worth the watch on its own.
Comments (4)
Never thought of approaching it this way. Really creative.
Printing this out and pinning it next to my monitor. That good.
This is fantastic. I've been recommending this approach to my readers too.
Great breakdown. The step-by-step approach really helps.
Leave a Comment