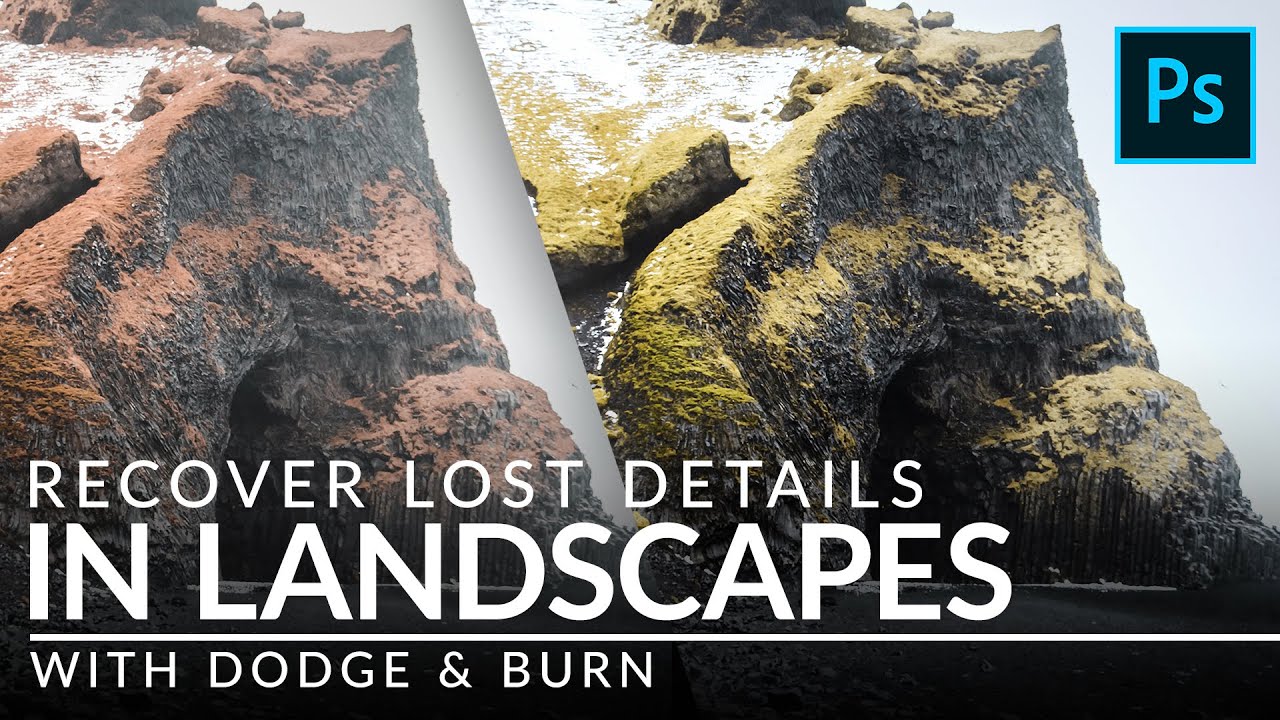
There is a moment in almost every landscape edit where the image looks technically correct but emotionally flat. The exposure is fine. The colors are fine. And yet something is missing, that sense that the rocks have weight, that the light is actually landing somewhere, that the scene exists in three dimensions. For years I tried to fix this with curves adjustments and vignettes and, honestly, a lot of hoping. It was not until I started paying closer attention to dodge and burn as a sculpting tool, not just a correction tool, that my landscape edits started feeling alive.
I came across this technique while watching Watch the full tutorial on YouTube by Aaron Nace over at PHLEARN, and what stopped me mid-sip of green tea was how elegantly he handles the biggest problem with traditional dodge and burn: the highlights always blow out or go muddy. His solution uses a Levels adjustment layer combined with a blending trick inside Layer Styles that most people walk right past. Once you understand what it’s doing, you will use it on nearly everything.
The sample image in the tutorial is a cave landscape with dramatic rock formations, but I have tested this workflow on everything from moody forest floors to overcast beach shots. The principle holds across all of them. Here is the full breakdown.
Step 1: Plan Your Light Before You Touch a Single Tool
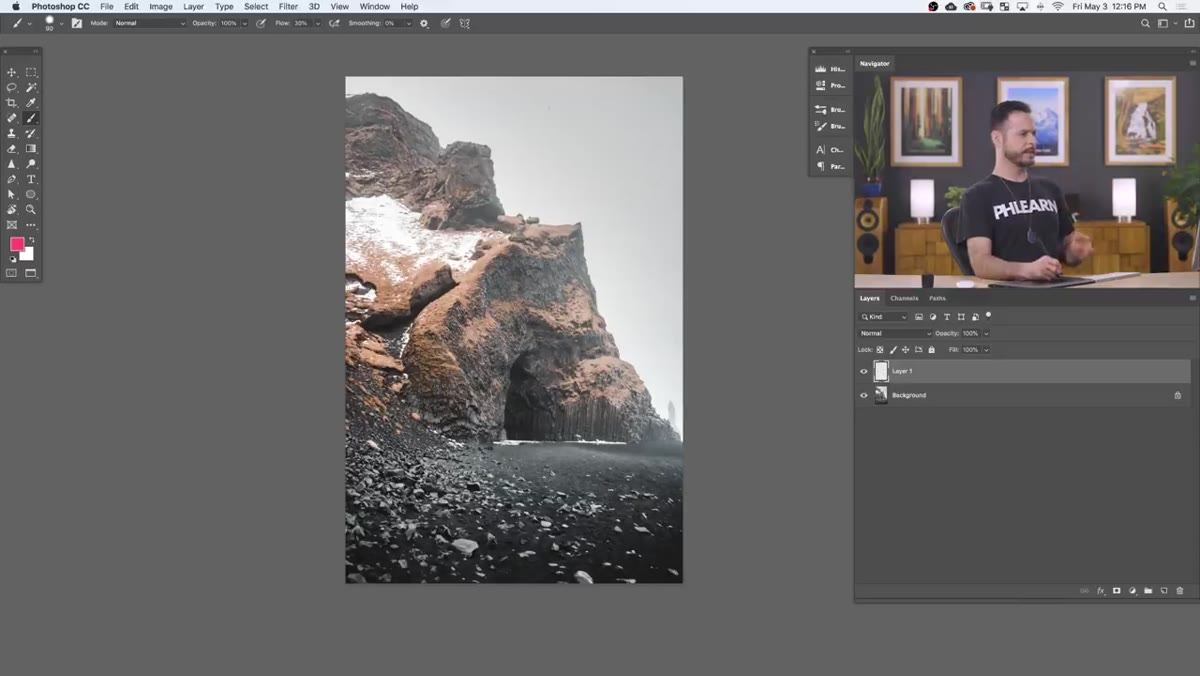 Aaron annotating lighter and darker zones on the cave image
Before opening a single panel, Aaron takes a moment to actually look at the image and map out where the light is logically coming from. He mentally (and in the video, visually) marks the areas that should be brightest, the edges and tops of the rock formations that would catch the light source, and then marks the areas just beside them that should be darker by contrast.
Aaron annotating lighter and darker zones on the cave image
Before opening a single panel, Aaron takes a moment to actually look at the image and map out where the light is logically coming from. He mentally (and in the video, visually) marks the areas that should be brightest, the edges and tops of the rock formations that would catch the light source, and then marks the areas just beside them that should be darker by contrast.
This planning step sounds obvious but it changes everything. The goal of dodge and burn is not to fix exposure mistakes. It is to enhance the three-dimensional logic that is already present in the scene. Darken the shadows beside a highlight, and the highlight reads as brighter without you ever touching it directly. I now do a quick thumbnail sketch or use a low-opacity brush on a temporary layer before I commit to any burning, and it saves me from editing in circles.
Step 2: Create a Levels Adjustment Layer for Your Burn
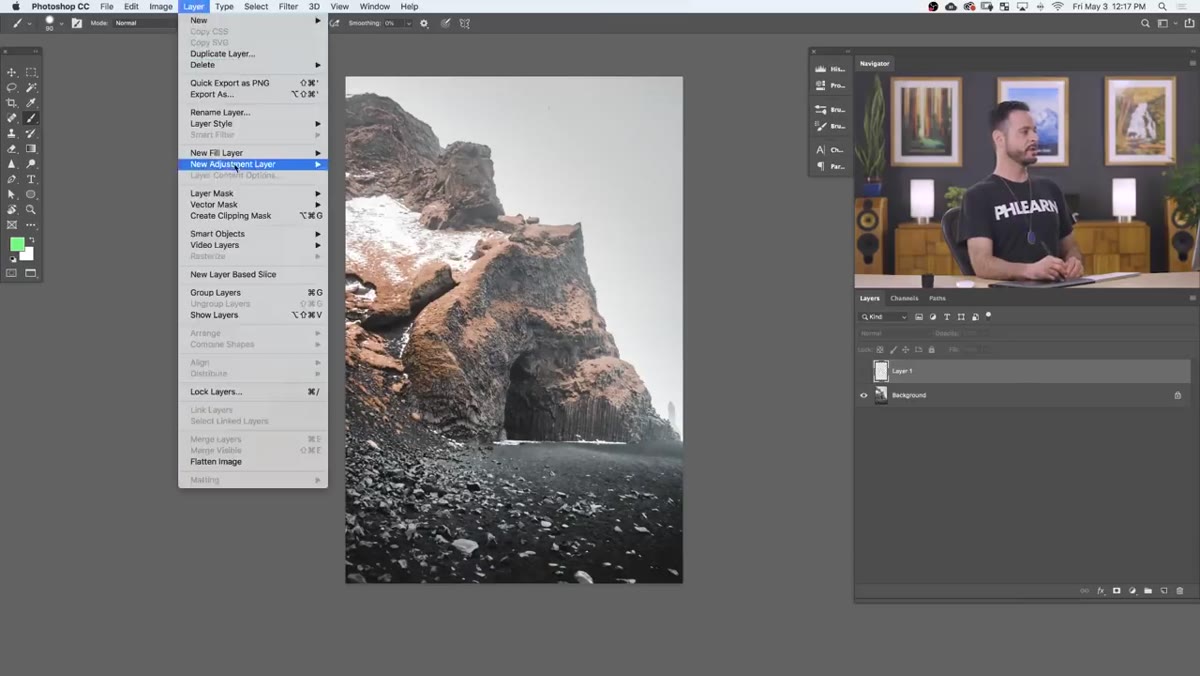 New Levels adjustment layer dialog open in Photoshop
Go to Layer, then New Adjustment Layer, then Levels. Click OK without changing the name (or, if you are like me, name it something useful like “Burn - Shadows”). Once the Levels panel opens, find the midpoint input slider, the gray triangle sitting between the black and white sliders under the histogram, and drag it to the right.
New Levels adjustment layer dialog open in Photoshop
Go to Layer, then New Adjustment Layer, then Levels. Click OK without changing the name (or, if you are like me, name it something useful like “Burn - Shadows”). Once the Levels panel opens, find the midpoint input slider, the gray triangle sitting between the black and white sliders under the histogram, and drag it to the right.
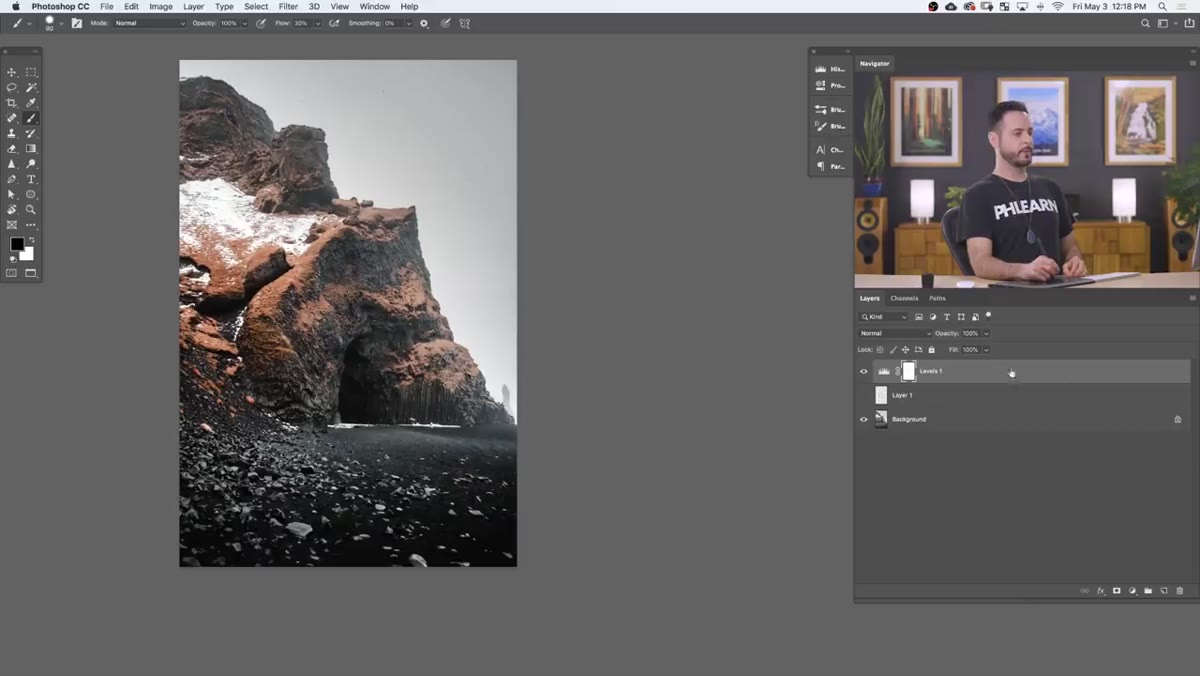
You do not need to move it dramatically. A subtle push darkens the midtones and starts to add that moody weight to the image. The problem at this stage is that the adjustment is hitting everything, including your highlights, which will start to look dingy. Do not worry about that yet. Getting the strength right first and then restricting the range is easier than the other way around.
Step 3: Use the Blend If Sliders to Protect the Highlights
 Layer Style dialog open, Blend If section visible
This is the step that makes the whole technique work. Double-click on the gray area directly beside the Levels layer thumbnail in the Layers panel. That opens the Layer Style dialog. Scroll down to the section labeled “Blend If” and look at the bottom row, the one labeled “Underlying Layer.”
Layer Style dialog open, Blend If section visible
This is the step that makes the whole technique work. Double-click on the gray area directly beside the Levels layer thumbnail in the Layers panel. That opens the Layer Style dialog. Scroll down to the section labeled “Blend If” and look at the bottom row, the one labeled “Underlying Layer.”
You will see a gradient slider with two small white triangles on the right end. Hold Alt (Option on Mac) and click on the right-side white triangle. Holding Alt is critical because it splits the triangle into two halves, which creates a gradual blend instead of a hard cutoff. Now drag that left half toward the center of the slider. Watch your image as you do this. The darkening effect will visibly fade out of the highlight areas while staying present in the shadows and midtones. The transition looks natural because it is feathered by the split triangle, not abrupt. Adjust until the burn feels like it belongs to the shadows only.
Step 4: Create a Matching Levels Layer for Your Dodge
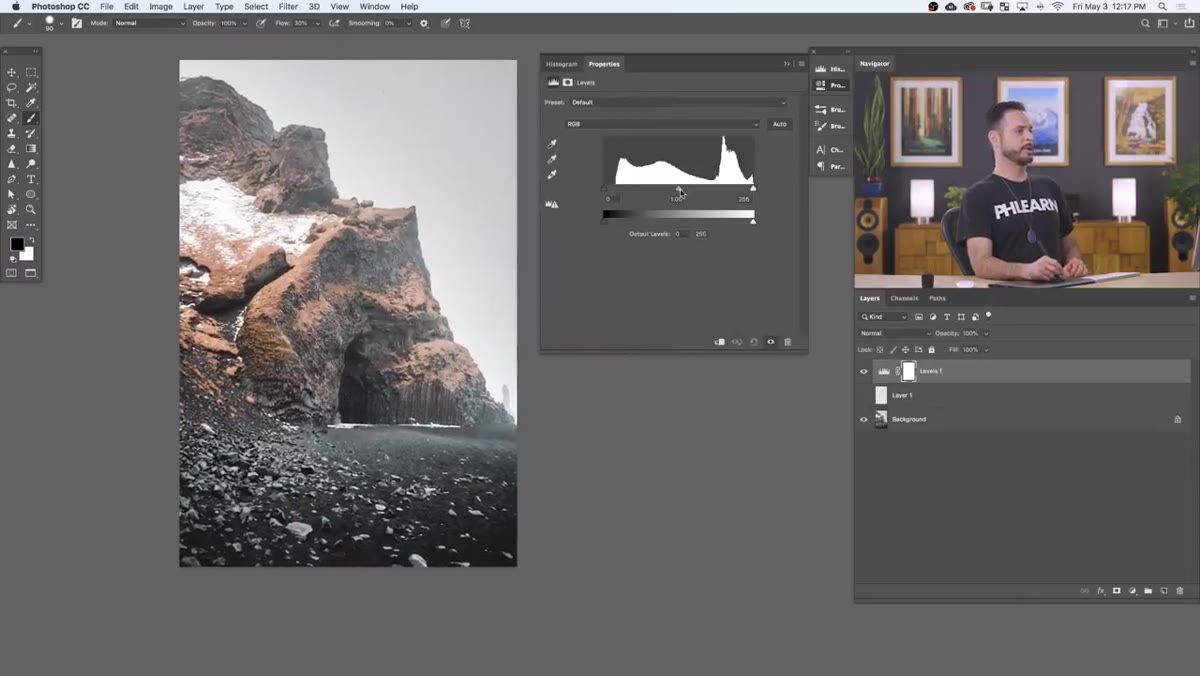 Midpoint slider being pushed left in Levels to brighten
Repeat the exact same process for your dodge layer. Add another Levels adjustment layer, this time drag the midpoint slider to the left to brighten the midtones. Then go back into Layer Style, hold Alt, and split the underlying layer slider, this time pulling from the left side toward the center so the brightening effect fades out of the deep shadows and only lives in the mid-to-highlight range.
Midpoint slider being pushed left in Levels to brighten
Repeat the exact same process for your dodge layer. Add another Levels adjustment layer, this time drag the midpoint slider to the left to brighten the midtones. Then go back into Layer Style, hold Alt, and split the underlying layer slider, this time pulling from the left side toward the center so the brightening effect fades out of the deep shadows and only lives in the mid-to-highlight range.
The two layers now work in complementary zones. Your burn sits in the shadows and lower midtones. Your dodge lives in the midtones and highlights. They do not fight each other and they do not contaminate the extreme ends of your tonal range.
Step 5: Paint Your Dodge and Burn With Layer Masks
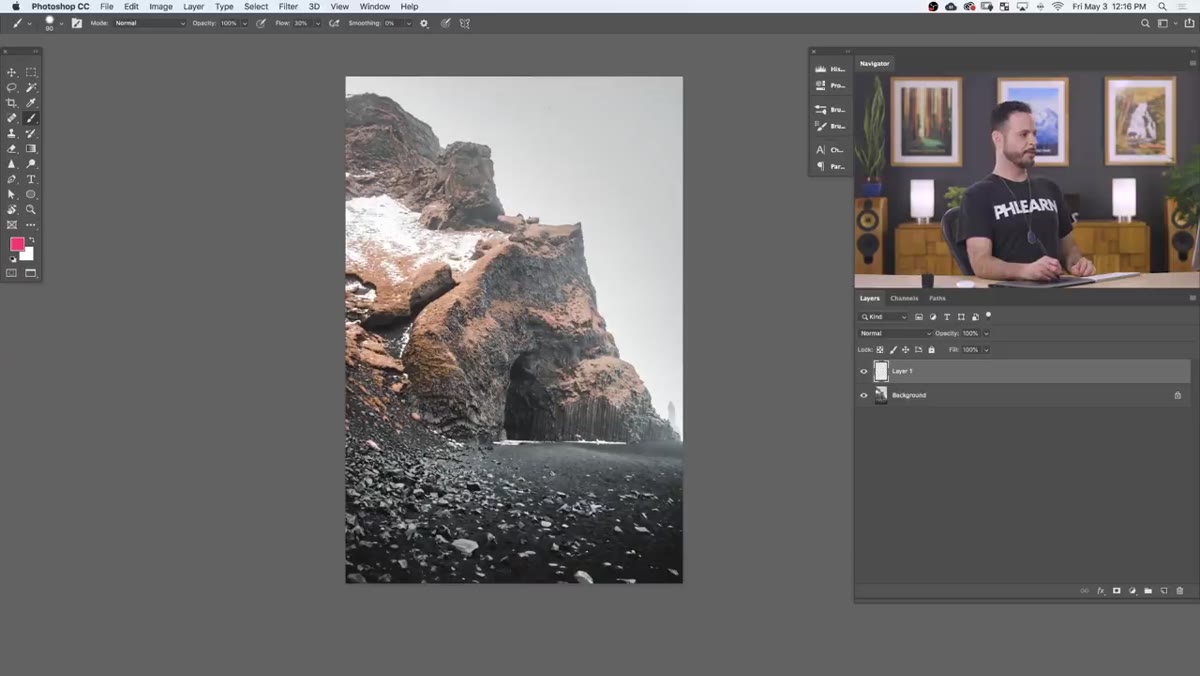 Aaron circling specific rock edges where dodging will be applied
Each adjustment layer comes with a mask. Fill both masks with black (Edit, Fill, Black) so the effects are completely hidden. Then use a large, soft, low-opacity white brush to paint in the areas where you want each adjustment to show. For burning, follow the shadow sides of your forms. For dodging, follow the light-catching edges.
Aaron circling specific rock edges where dodging will be applied
Each adjustment layer comes with a mask. Fill both masks with black (Edit, Fill, Black) so the effects are completely hidden. Then use a large, soft, low-opacity white brush to paint in the areas where you want each adjustment to show. For burning, follow the shadow sides of your forms. For dodging, follow the light-catching edges.
Because the Blend If sliders are already protecting the tonal range you don’t want affected, you can paint fairly loosely. The technique is forgiving in a way that direct dodge and burn tools or hand-painted curves adjustments simply are not. I keep my brush opacity between 10 and 20 percent and build up gradually rather than painting at full strength.
A Note From My Own Practice
When I first adapted this technique for beauty retouching, which is most of my day-to-day work, I found the Blend If approach equally useful for sculpting facial features without touching skin texture. The principle of protecting a tonal range while shaping another is universal. The one thing I do differently is to add a Hue/Saturation clip above each Levels layer with saturation pulled down slightly, because burning can shift color warmth in ways that look artificial on skin. On landscapes it tends not to matter as much, but it is a habit worth building early.
The single most important thing this tutorial taught me is that the secret to believable dodge and burn is tonal separation, keeping your lightening and darkening effects out of the zones where they do not belong. Once you understand that the Blend If slider is doing the precision work for you, the whole process becomes intuitive rather than tedious.
Watch the full tutorial on YouTube to see Aaron walk through the complete technique with his original cave landscape image, which you can also download from the PHLEARN site to follow along directly.
Comments (3)
Would love to see a follow-up going deeper into this topic.
Just used this on a wedding shoot edit. Client was thrilled.
Couldn't agree more. I've seen this make a huge difference in workflows work specifically.
Leave a Comment