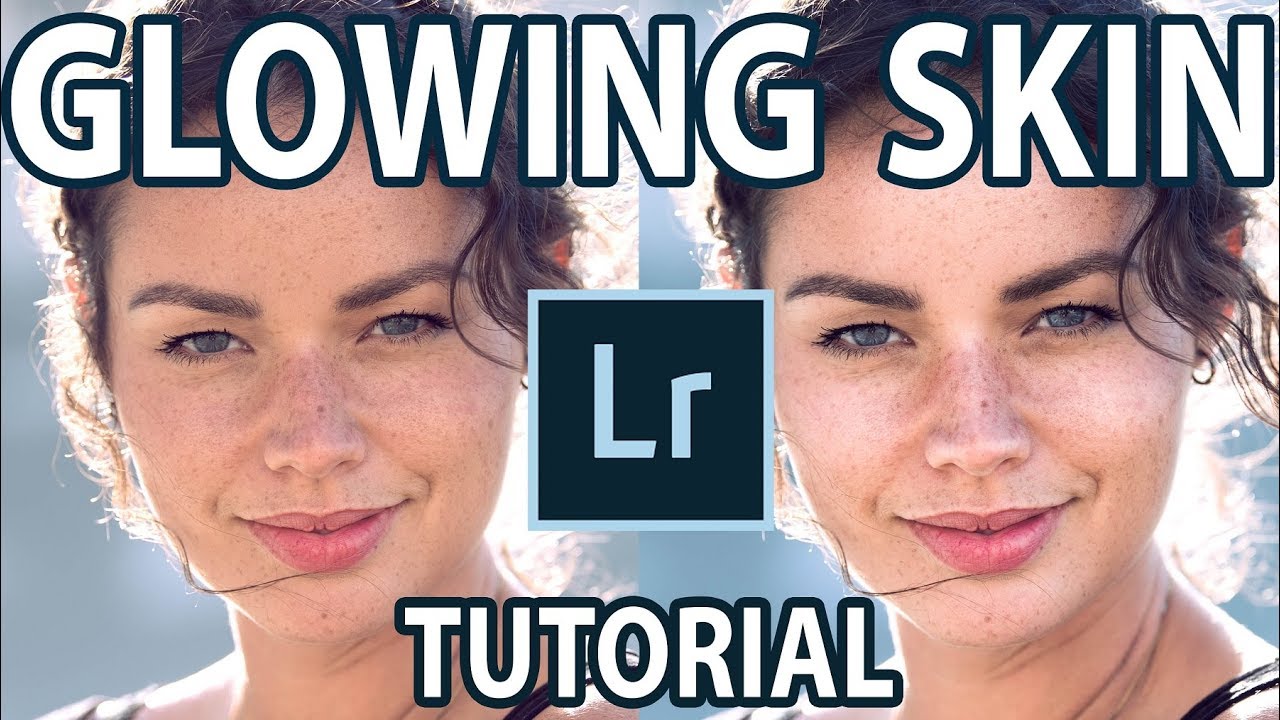
Backlit portraits are some of the most beautiful images you can shoot, and also some of the most frustrating to edit. The light wraps around the hair like a halo, the background glows, and then you look at the face and it’s flat. Muddy. Nothing. I’ve delivered more than a few portraits where I thought the backlit glow was carrying the whole image, only to have a client point out that the skin looked lifeless. That gap between the drama of the light and the dullness of the face is exactly the problem this workflow solves.
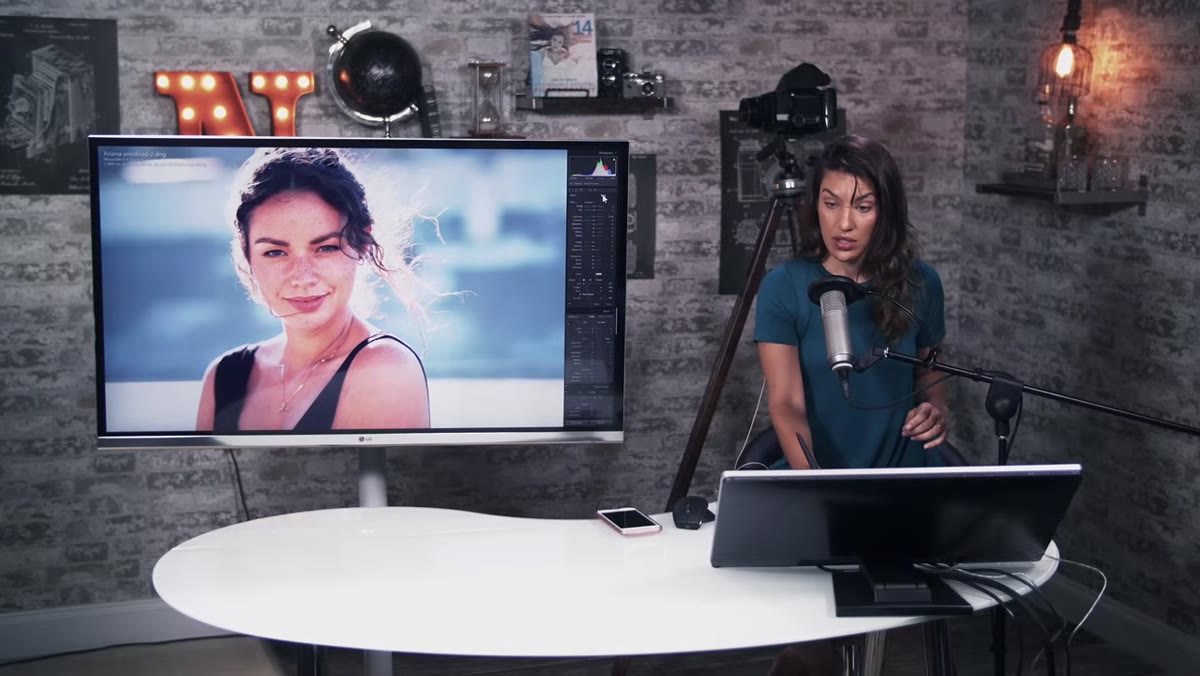
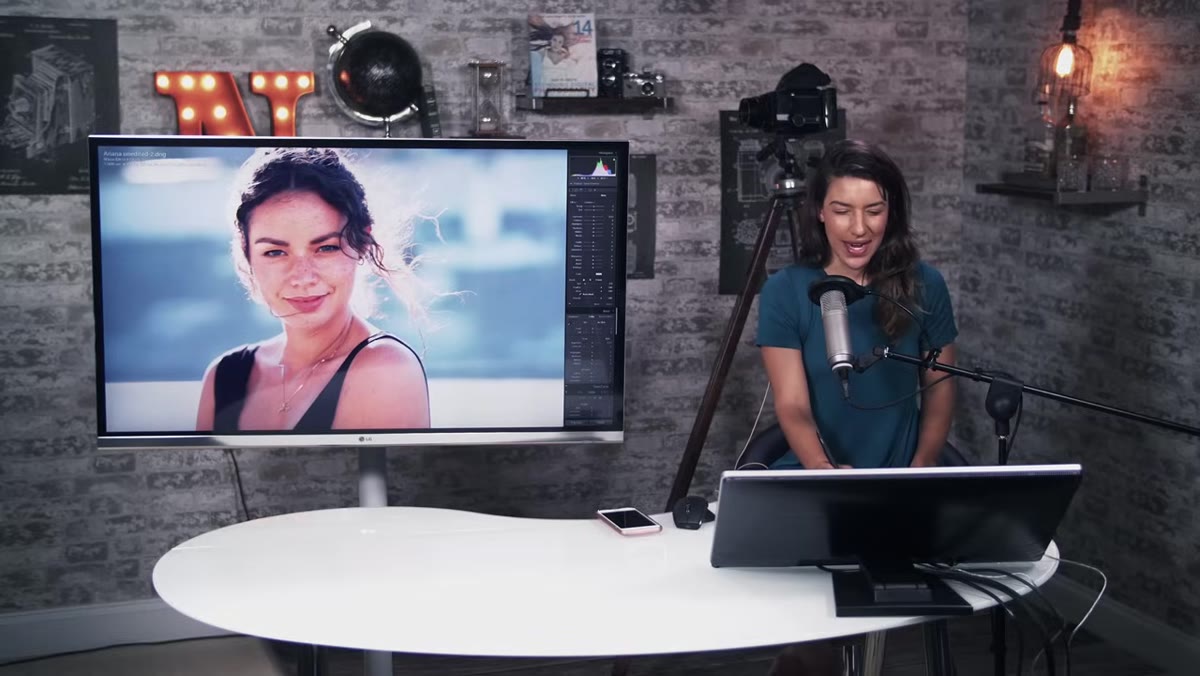
In this Tony & Chelsea Northrup tutorial, Chelsea walks through her process for taking flat, low-contrast skin and editing it so it looks genuinely luminous rather than smoothed-over or processed. What I appreciate most about her approach is that it relies entirely on Lightroom’s adjustment brush, working in layers, which is how I think about any localized skin work. You’re not painting one uniform correction over the whole face. You’re building depth the same way light itself does.
I’ve adapted this workflow into my own practice, and below I’ll walk you through each step with enough detail that you can follow along without needing to pause and rewind constantly.
Step 1: Set Up a Large, Soft Adjustment Brush
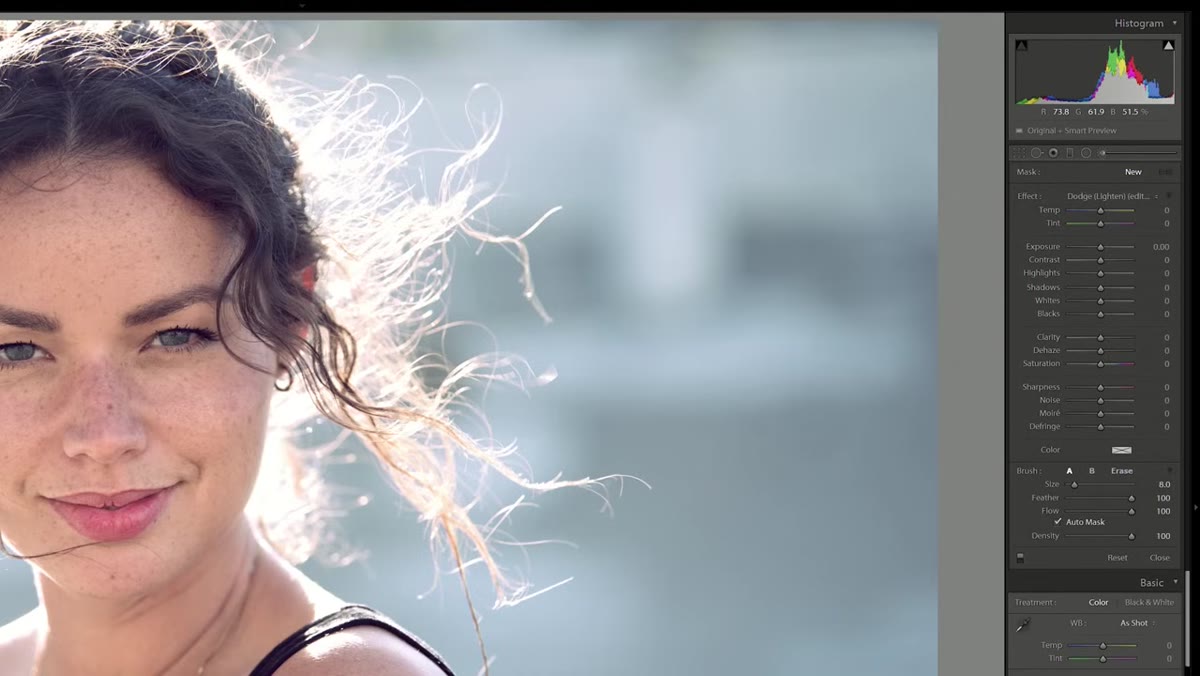 Adjustment brush panel open, size and feather sliders visible
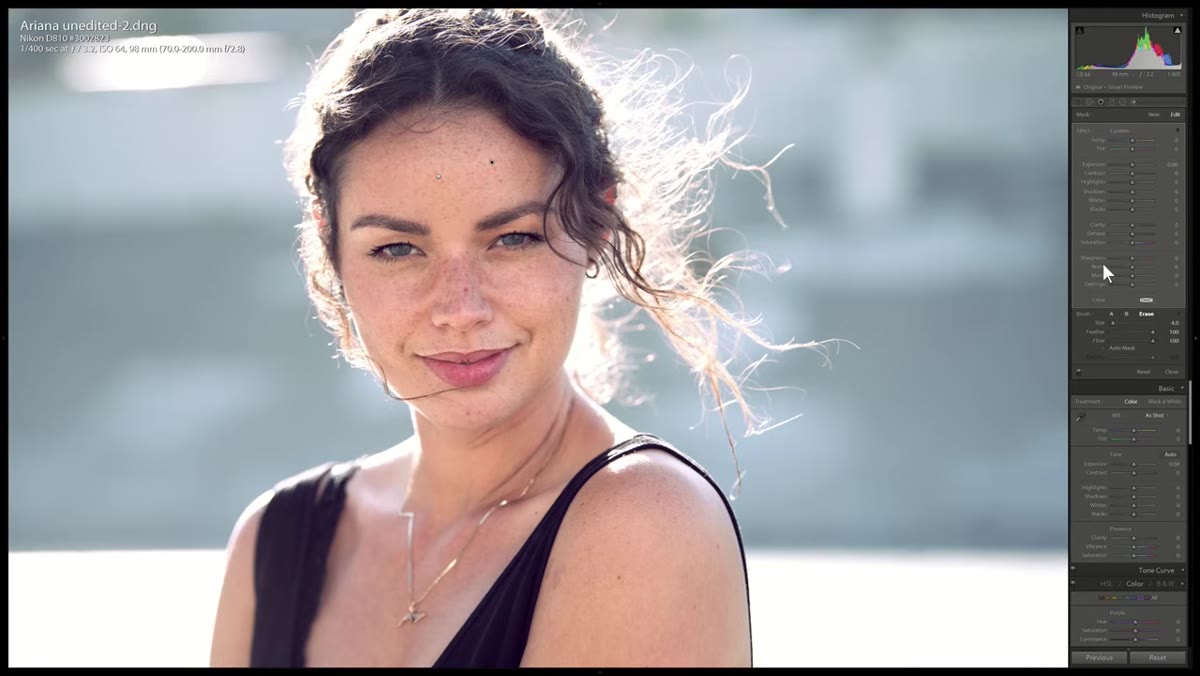
Open your image in Lightroom’s Develop module and select the Adjustment Brush from the toolbar (keyboard shortcut: K). Before you paint anything, reset all sliders to zero, you don’t want to inherit any previous settings. Set your brush size large enough to cover broad areas of skin in a few strokes, and bring your Feather slider up high, somewhere in the 80-100 range. A hard-edged brush will leave visible borders on skin, which is the opposite of what we’re going for.
Adjustment brush panel open, size and feather sliders visible
Open your image in Lightroom’s Develop module and select the Adjustment Brush from the toolbar (keyboard shortcut: K). Before you paint anything, reset all sliders to zero, you don’t want to inherit any previous settings. Set your brush size large enough to cover broad areas of skin in a few strokes, and bring your Feather slider up high, somewhere in the 80-100 range. A hard-edged brush will leave visible borders on skin, which is the opposite of what we’re going for.
Press O on your keyboard to toggle the mask overlay so you can see exactly where you’re painting. This red overlay is your best friend for catching missed patches or accidental strokes onto clothing or the background.
Step 2: Paint a Skin-Wide Contrast Mask
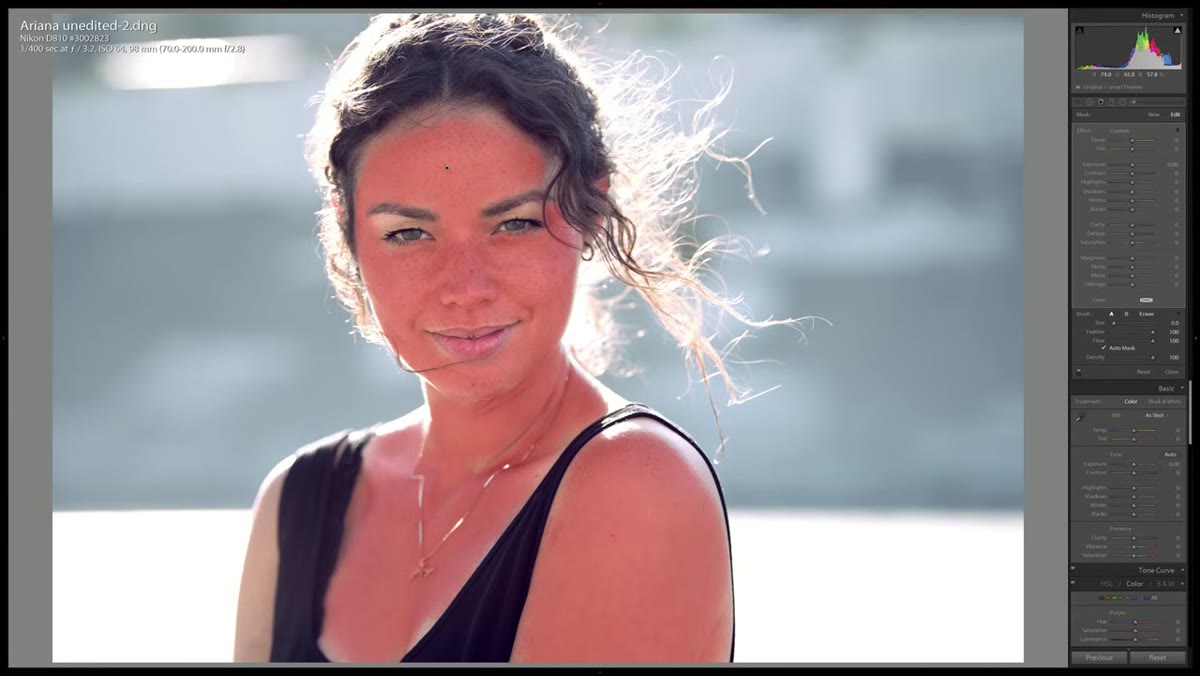 Red mask overlay covering face, neck, and arms
With your large soft brush active and the mask overlay visible, paint over all exposed skin. Cover the face, neck, arms, and hands. You don’t need to be surgical about edges near clothing, because the adjustments we’re applying at this stage are subtle enough that a slightly imprecise edge won’t show as an artifact. Go slow the first few times you do this until the muscle memory builds. Chelsea mentions she can get through this step in just a few minutes now, and I’d say the same, though I still use a Wacom tablet for any detailed brush work because precise pressure control on a mouse for extended sessions is genuinely rough on your wrists.
Red mask overlay covering face, neck, and arms
With your large soft brush active and the mask overlay visible, paint over all exposed skin. Cover the face, neck, arms, and hands. You don’t need to be surgical about edges near clothing, because the adjustments we’re applying at this stage are subtle enough that a slightly imprecise edge won’t show as an artifact. Go slow the first few times you do this until the muscle memory builds. Chelsea mentions she can get through this step in just a few minutes now, and I’d say the same, though I still use a Wacom tablet for any detailed brush work because precise pressure control on a mouse for extended sessions is genuinely rough on your wrists.
Once your skin is masked, press O again to hide the overlay.
Step 3: Raise the Contrast on the Skin Mask
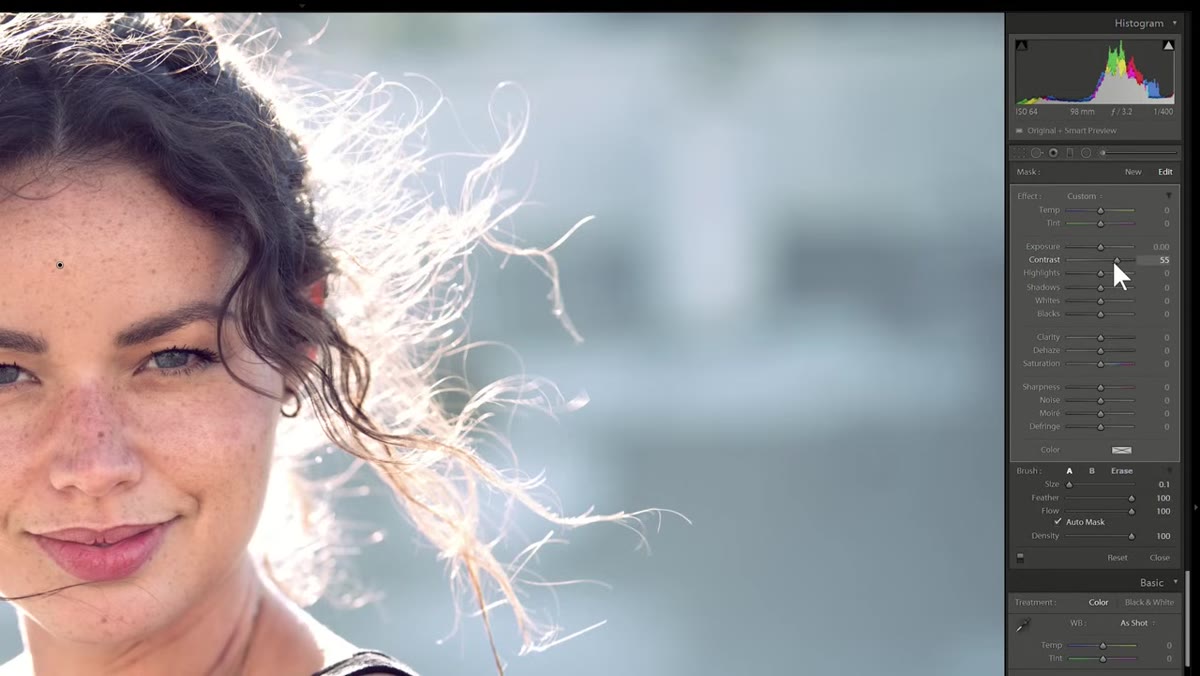 Contrast slider being pulled right inside adjustment brush panel
Here’s where the magic starts. With your skin mask active, find the Contrast slider inside the Adjustment Brush panel and pull it to the right. Chelsea doesn’t land on a single fixed number because every photo is different, the lighting conditions, the skin tone, and how flat the original capture is will all change what feels right. Start around +30 and use the Y key to toggle a before/after split view. You’re looking for the skin to gain a sense of depth and gloss without looking crunchy or over-sharpened.
Contrast slider being pulled right inside adjustment brush panel
Here’s where the magic starts. With your skin mask active, find the Contrast slider inside the Adjustment Brush panel and pull it to the right. Chelsea doesn’t land on a single fixed number because every photo is different, the lighting conditions, the skin tone, and how flat the original capture is will all change what feels right. Start around +30 and use the Y key to toggle a before/after split view. You’re looking for the skin to gain a sense of depth and gloss without looking crunchy or over-sharpened.
This single adjustment does more for a “glowing skin” look than almost anything else. Contrast on skin reads as dimension. It’s the difference between skin that looks painted on and skin that looks like it has depth underneath it.
Step 4: Create a New Brush Layer for Highlight Work
 “New” brush layer being added in adjustment brush panel
Click “New” in the Adjustment Brush panel to start a fresh brush layer. This is the layered approach Chelsea uses, and it’s one I’ve adopted completely into my own workflow. Keeping your contrast adjustment on its own layer and your highlight work on a separate layer means you can go back and tweak each independently. It also keeps your edits more targeted and easier to troubleshoot if something starts looking off.
“New” brush layer being added in adjustment brush panel
Click “New” in the Adjustment Brush panel to start a fresh brush layer. This is the layered approach Chelsea uses, and it’s one I’ve adopted completely into my own workflow. Keeping your contrast adjustment on its own layer and your highlight work on a separate layer means you can go back and tweak each independently. It also keeps your edits more targeted and easier to troubleshoot if something starts looking off.
Reset all sliders on this new brush to zero before you start painting.
Step 5: Squint, Then Paint the Natural Highlights
 Brush being painted over forehead and cheekbones
Before you paint anything, actually squint at your photo. This isn’t a joke. Squinting reduces the visual noise and lets you see the underlying structure of light on the face more clearly. You’re looking for the areas that are already naturally brighter: the center of the forehead, the bridge of the nose, the cheekbones, the cupid’s bow. These are the places you want to enhance, not invent.
Brush being painted over forehead and cheekbones
Before you paint anything, actually squint at your photo. This isn’t a joke. Squinting reduces the visual noise and lets you see the underlying structure of light on the face more clearly. You’re looking for the areas that are already naturally brighter: the center of the forehead, the bridge of the nose, the cheekbones, the cupid’s bow. These are the places you want to enhance, not invent.
With a large, soft brush and Auto Mask turned off for now, paint lightly over those naturally highlighted zones. Chelsea compares this to the logic of highlighting in makeup, and that comparison clicks immediately if you’ve ever watched a contouring tutorial. You’re not creating light from scratch. You’re amplifying what’s already there.
Step 6: Lift the Highlights Slider, Erase the Rough Edges
 Highlights slider raised with mask overlay showing painted areas
Once you’ve painted the highlight areas, raise the Highlights slider in the Adjustment Brush panel. Again, the exact value depends on your image, but start conservatively, somewhere between +20 and +40. Too much and the skin starts to look blown out rather than glowy.
Highlights slider raised with mask overlay showing painted areas
Once you’ve painted the highlight areas, raise the Highlights slider in the Adjustment Brush panel. Again, the exact value depends on your image, but start conservatively, somewhere between +20 and +40. Too much and the skin starts to look blown out rather than glowy.
Toggle the mask overlay back on (O) and switch to the Erase brush to clean up any areas where the mask looks patchy or extends somewhere it shouldn’t. This refinement pass is what separates a result that looks natural from one that looks like something was done to the photo.
A Note From My Own Practice: Don’t Skip the Erase Pass
The step most beginners skip is the cleanup. When I first started working with localized brush adjustments, I would paint the mask, adjust the sliders, see something that looked good at 50% zoom, and call it done. Then I’d export, open the file on my phone, and see obvious blotchy patches across the cheek or a bright streak on the jaw.
Now I make the erase pass non-negotiable. I zoom to 100%, toggle the mask overlay, and work around any edge that looks uneven. On skin especially, the eye is extremely good at detecting inconsistency, even when a viewer can’t name what looks wrong. A tight erase pass is what lets the edit disappear and lets the person in the photo look like themselves, only better lit.
The single most important idea in this entire workflow is that you’re working with the light that already exists in the photo, not fighting it. Contrast and highlights applied in targeted layers, built up gradually, will always look more natural than a single heavy-handed global adjustment. Start subtle, use your before/after toggle constantly, and trust that small moves compound into something that reads as genuinely beautiful.
Watch the full tutorial on YouTube to see Chelsea’s brush strokes in real time, especially the squinting moment, which is one of those things that seems obvious once you see someone actually do it.
Comments (5)
This saved me so much time on my last edit. Wish I'd found this sooner.
The before and after really sells it. Incredible difference.
Tried this technique this morning. Game changer for real.
Finally someone explains this in a way that actually makes sense.
Great article! I actually covered something related on my site — the landscape angle is really complementary to this.
Leave a Comment