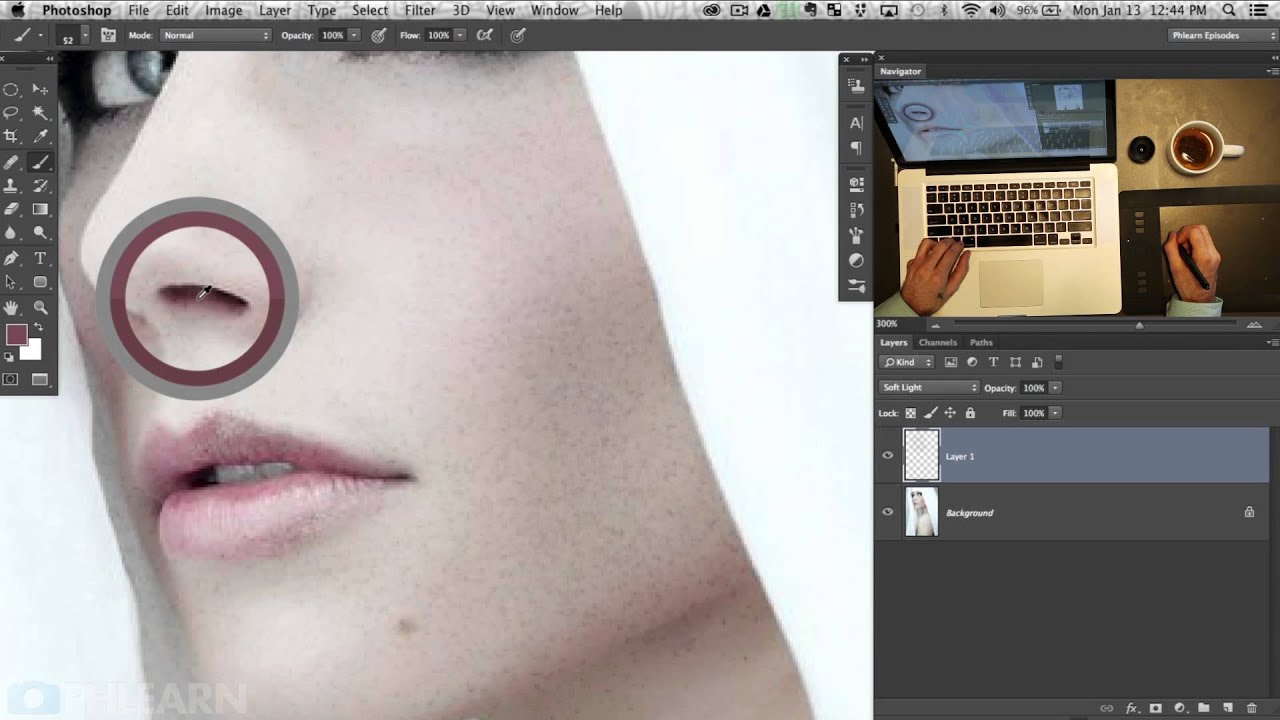
The complaint that stings the most in this industry is some version of “she looks plastic.” I heard it early in my retouching career, and it rerouted everything I thought I knew about smoothing skin. The problem usually isn’t that you retouched too aggressively in one spot. It’s that you removed too much across the whole face, and now the skin reads as a surface rather than a living thing. Texture is what makes skin look like skin.
This is the exact problem that Watch the full tutorial on YouTube this Aaron Nace (PHLEARN) tutorial addresses so well. Rather than relying on filters or stock overlays, Aaron walks through building a custom skin texture brush entirely from scratch inside Photoshop, then applying it with enough control that it integrates naturally into a portrait. It’s a technique I’ve adapted for beauty brand work where skin needs to look refined but unmistakably human. Below is my breakdown of the process, with enough detail to follow along without needing to pause the video every thirty seconds.
Step 1: Create a New Document for Your Brush Source
 Blank 500x500 pixel canvas open in Photoshop
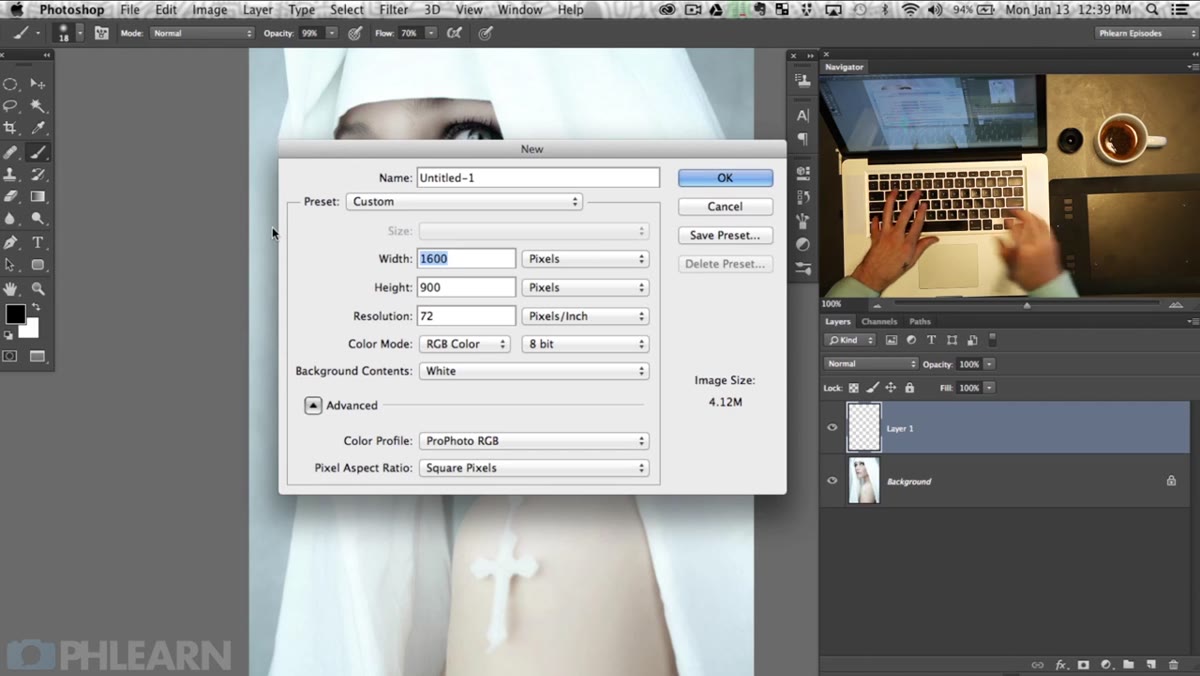
Start by opening a brand new document in Photoshop. Hit Command+N (or Ctrl+N on Windows) and set the canvas to 500 pixels by 500 pixels. This document won’t appear in your final image. It’s a staging area where you’ll design the brush tip itself. Keep the background white and the mode set to RGB for now.
Blank 500x500 pixel canvas open in Photoshop
Start by opening a brand new document in Photoshop. Hit Command+N (or Ctrl+N on Windows) and set the canvas to 500 pixels by 500 pixels. This document won’t appear in your final image. It’s a staging area where you’ll design the brush tip itself. Keep the background white and the mode set to RGB for now.
Step 2: Draw Irregular Shapes That Mimic Skin Pores
 Lasso tool selections filled with black on white canvas
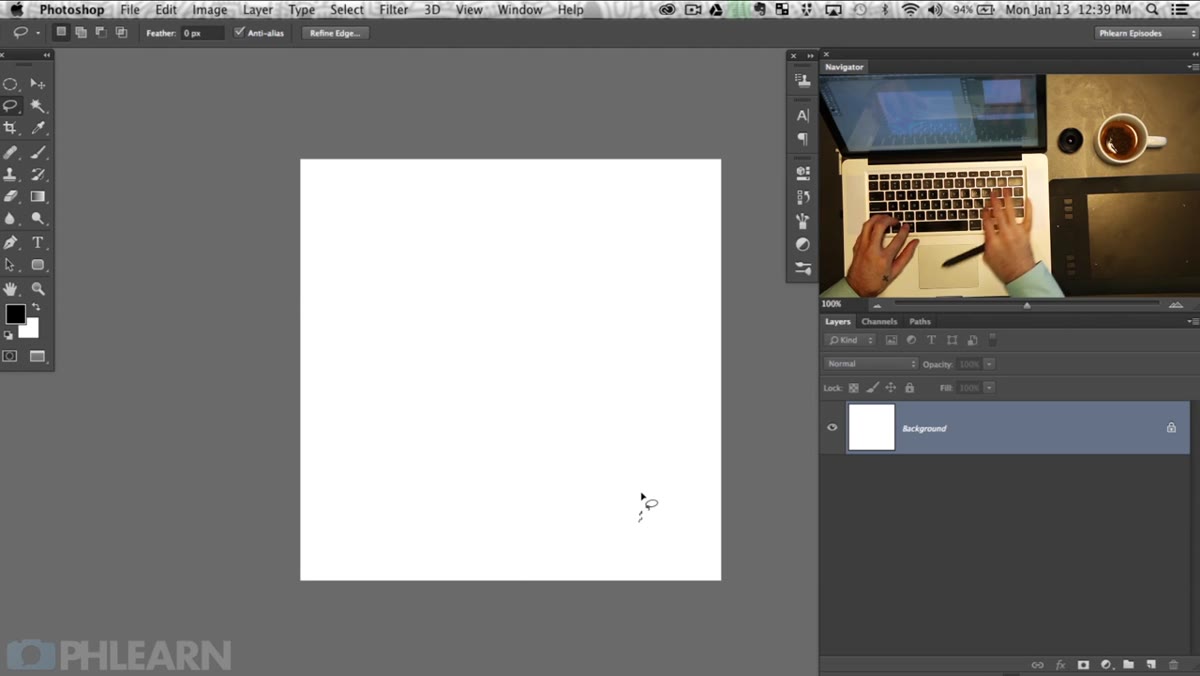
Grab the Lasso tool and draw small, irregular, organic shapes directly on the canvas. The goal here is deliberate imperfection. Think of the natural variation in skin pores: some elongated, some nearly round, some grouped close together. Fill each selection with black using Alt+Delete (or Option+Delete on Mac), which floods it with your foreground color. Create a new layer before you fill so your shapes stay editable.
Lasso tool selections filled with black on white canvas
Grab the Lasso tool and draw small, irregular, organic shapes directly on the canvas. The goal here is deliberate imperfection. Think of the natural variation in skin pores: some elongated, some nearly round, some grouped close together. Fill each selection with black using Alt+Delete (or Option+Delete on Mac), which floods it with your foreground color. Create a new layer before you fill so your shapes stay editable.
Don’t overthink the shapes. Aaron’s point in the tutorial is that these marks will end up very small when you scale the brush down, so a slightly lumpy or asymmetrical silhouette actually serves you better than something perfectly geometric. Scatter six to twelve of these shapes across the canvas at varying sizes. The weirder and more organic, the better.
Step 3: Define the Brush Preset
 Edit menu open with Define Brush Preset selected
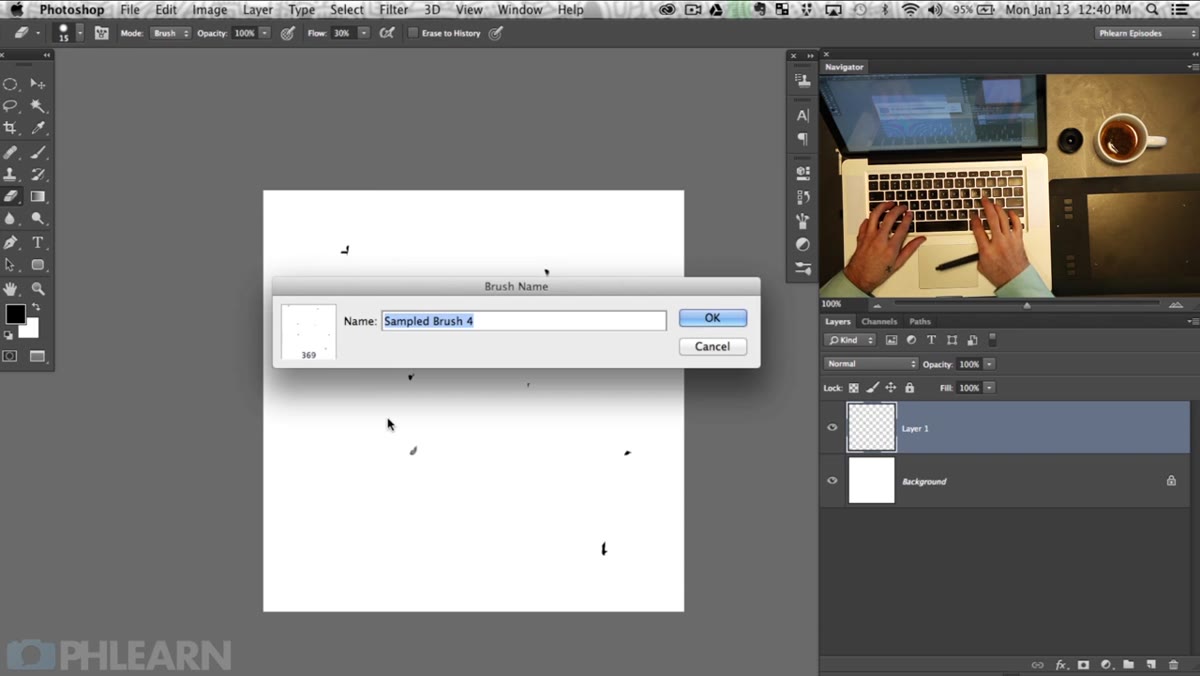
Once your shapes are placed the way you want them, go to Edit in the top menu bar and scroll down to “Define Brush Preset.” A dialog box will appear asking you to name the brush. Name it something you’ll recognize later. I call mine “Pore Scatter” in my own workflow, but Aaron uses “Skin Texture” in the tutorial. Hit OK.
Edit menu open with Define Brush Preset selected
Once your shapes are placed the way you want them, go to Edit in the top menu bar and scroll down to “Define Brush Preset.” A dialog box will appear asking you to name the brush. Name it something you’ll recognize later. I call mine “Pore Scatter” in my own workflow, but Aaron uses “Skin Texture” in the tutorial. Hit OK.
At this point, the brush exists in your Photoshop brush library. You can verify it by selecting the Brush tool and scrolling to the bottom of the brush picker. You should see a preview of the shapes you drew. Right now it looks rough and not particularly useful, which is exactly where the next steps come in.
Step 4: Scale the Brush Down on Your Portrait
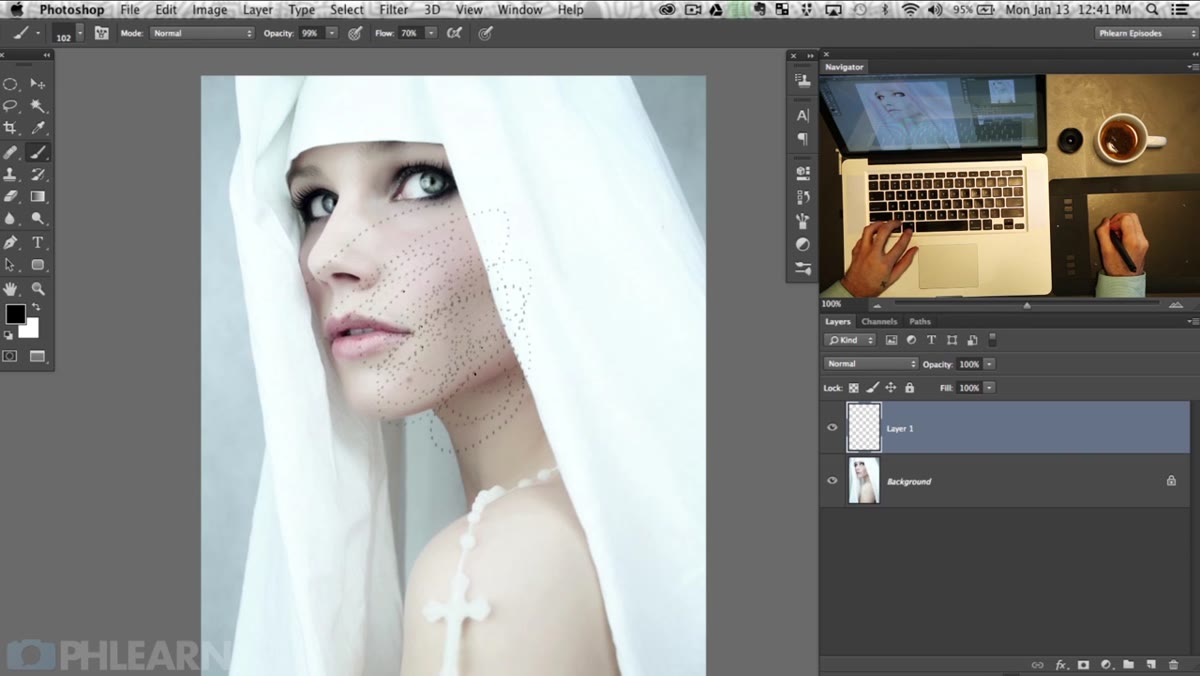 Custom brush applied at reduced size over portrait skin
Switch to the image you’re actually retouching. Create a new empty layer above your subject so your texture work stays non-destructive and easy to adjust later. With your new brush selected, reduce the brush size significantly using the bracket keys or the size slider in the toolbar. What looked like chunky blobs at 500 pixels reads as subtle skin variation at a much smaller scale.
Custom brush applied at reduced size over portrait skin
Switch to the image you’re actually retouching. Create a new empty layer above your subject so your texture work stays non-destructive and easy to adjust later. With your new brush selected, reduce the brush size significantly using the bracket keys or the size slider in the toolbar. What looked like chunky blobs at 500 pixels reads as subtle skin variation at a much smaller scale.
Zoom into the skin at 100% or higher so you can see exactly what you’re painting. Do a few test strokes on the new layer and evaluate what you’re seeing. If the marks look too obvious or too faint, adjust the size before you go further. Getting this calibration right before you start painting in earnest saves a lot of cleanup later.
Step 5: Open the Brush Panel and Enable Shape Dynamics
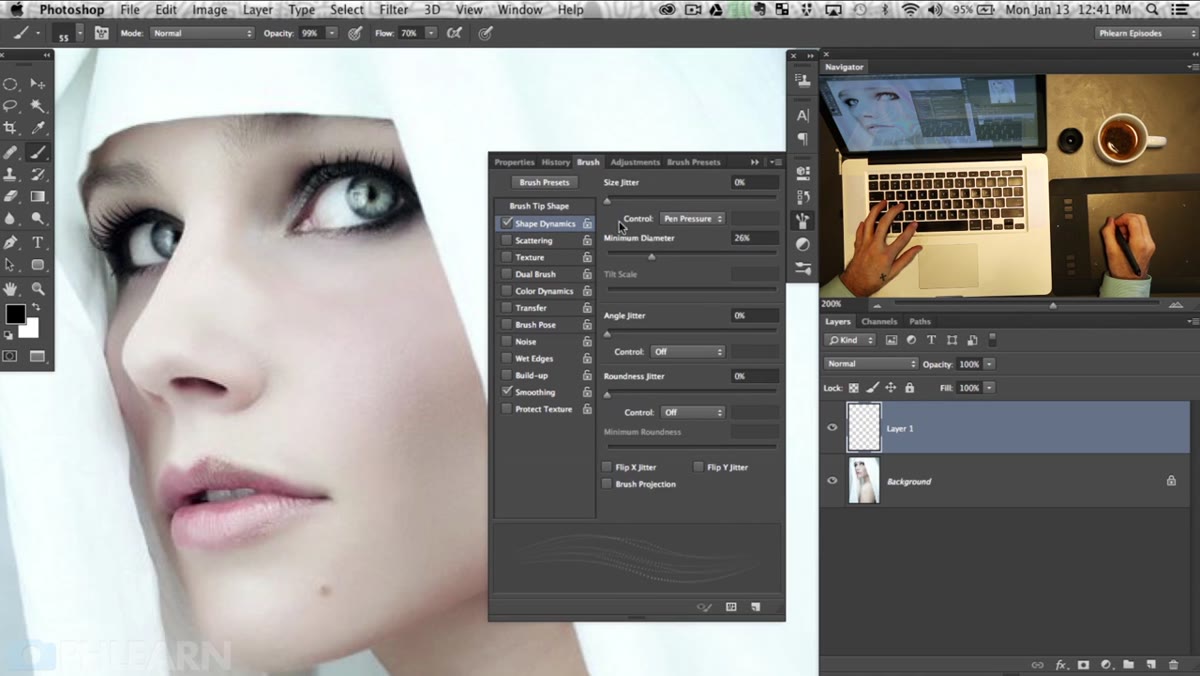 Brush panel open showing Shape Dynamics settings
This is where the brush goes from functional to convincing. Go to Window and select “Brush” to open the full Brush Settings panel. Click on “Shape Dynamics” to expand those controls. Set Size Jitter to 100% and reduce the Minimum Diameter slider to something low. What this does is randomize the size of each individual mark as you paint, so instead of stamping the exact same shape repeatedly, you get natural variation across every stroke.
Brush panel open showing Shape Dynamics settings
This is where the brush goes from functional to convincing. Go to Window and select “Brush” to open the full Brush Settings panel. Click on “Shape Dynamics” to expand those controls. Set Size Jitter to 100% and reduce the Minimum Diameter slider to something low. What this does is randomize the size of each individual mark as you paint, so instead of stamping the exact same shape repeatedly, you get natural variation across every stroke.
Consistent repetition is one of the biggest tells that texture has been painted rather than photographed. Size Jitter breaks that pattern up. You can also explore Scattering in the same panel to spread the marks out slightly so they don’t cluster too predictably along your stroke path.
Step 6: Paint the Texture and Blend It In
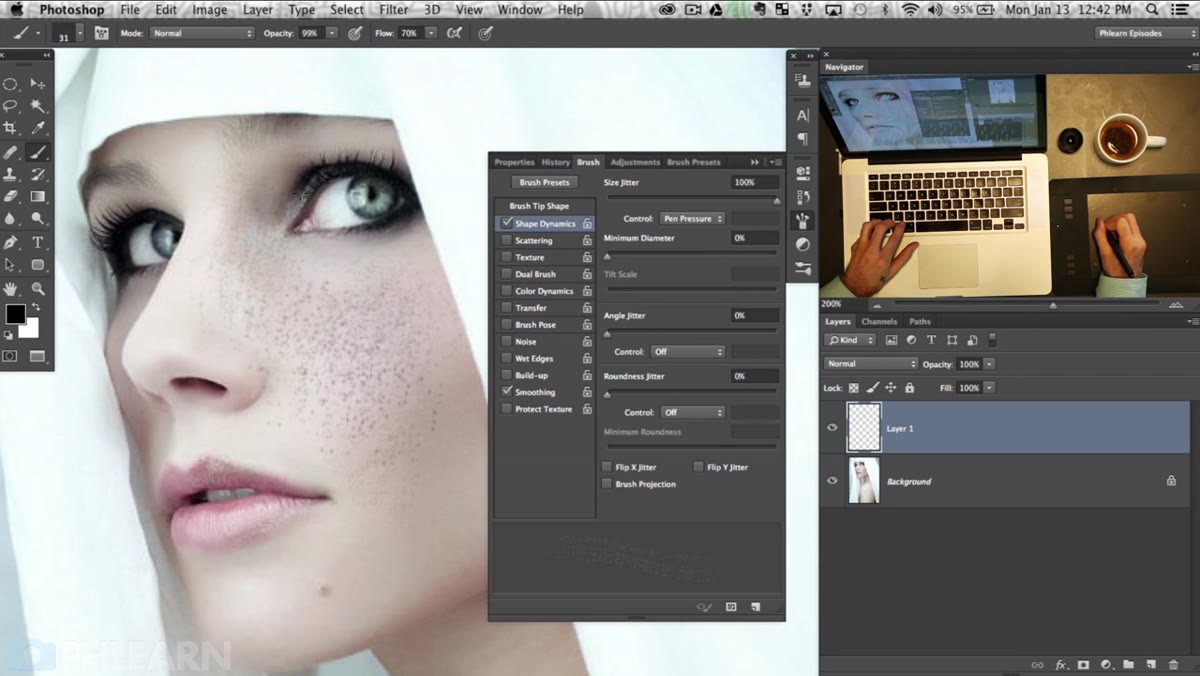 Texture layer painted over skin, opacity reduced in layers panel
Paint the texture across the areas of skin that need it, keeping your strokes light and varied in direction. Once you’ve built up enough coverage, lower the opacity of the texture layer in the Layers panel. Somewhere between 20% and 50% is a good starting range, but let the image tell you where to land. You want the texture to feel like it belongs to the skin, not like it’s sitting on top of it.
Texture layer painted over skin, opacity reduced in layers panel
Paint the texture across the areas of skin that need it, keeping your strokes light and varied in direction. Once you’ve built up enough coverage, lower the opacity of the texture layer in the Layers panel. Somewhere between 20% and 50% is a good starting range, but let the image tell you where to land. You want the texture to feel like it belongs to the skin, not like it’s sitting on top of it.
From here you can also change the layer’s blend mode. Overlay or Soft Light can help the texture interact with the tones underneath rather than just covering them, which tends to look more integrated. Add a layer mask and paint away any texture that crept onto areas like the whites of the eyes, lips, or clothing.
A Note From My Own Experience: Match the Texture to the Light Direction
One thing the tutorial doesn’t dwell on but I’ve learned to take seriously is that skin texture isn’t uniform across a face. The side of the face catching direct light will show more texture detail than the shadow side, where pores tend to disappear into the tone. When I apply painted texture, I’ll often use a lower brush opacity on the shadow side and let the texture layer mask do the fine-tuning.
It also helps to sample actual texture from another area of the same subject’s skin, like the forehead or cheek, and use that as a reference for how aggressive to go. The goal is to make your painted texture indistinguishable from what the camera captured naturally.
The single most important idea in this whole technique is that texture is information. It tells the viewer that they’re looking at a real person. When we retouch skin, we’re not trying to remove all information. We’re trying to remove the distracting information while keeping, or in this case rebuilding, the information that reads as human.
Watch the full tutorial on YouTube to see Aaron walk through the brush building and application in real time. His visual explanations of the brush panel settings alone are worth the watch.
Comments
Leave a Comment