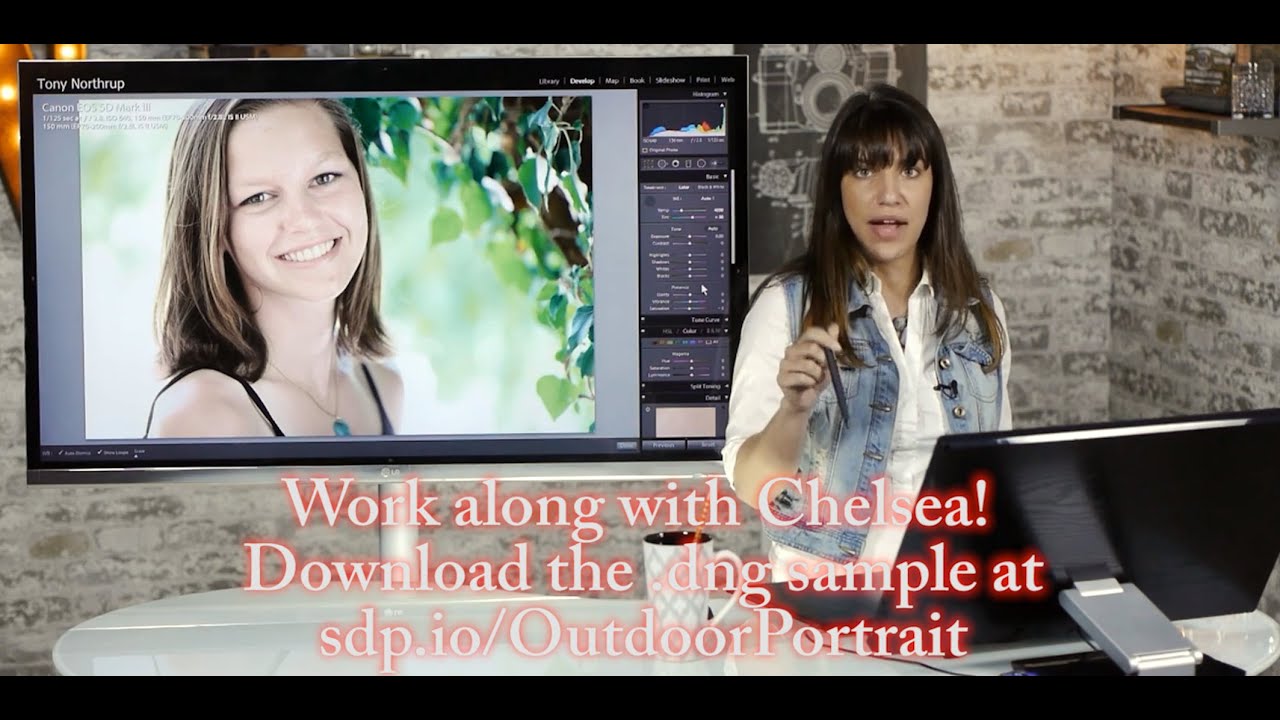
Outdoor portraits in natural light are some of the most beautiful images you can make, and some of the trickiest to edit. The light is gorgeous but unpredictable. Green foliage casts color onto skin. Shadows fall in ways that no studio strobe would ever allow. I spent years as a wedding photographer working in these exact conditions, and even now, retouching beauty work shot outdoors requires a different mindset than controlled studio work. The edits have to feel earned by the light, not applied on top of it.
That’s why I keep coming back to this Watch the full tutorial on YouTube walkthrough from Tony and Chelsea Northrup on outdoor portrait retouching in Lightroom. Chelsea works through a real image, shot in natural light under tree cover, and the problems she runs into are the exact ones I see in my own files every week. It’s practical in a way that a lot of retouching tutorials aren’t. Let me walk you through the whole process so you can follow it step by step.
Step 1: Read the Image Before You Touch It
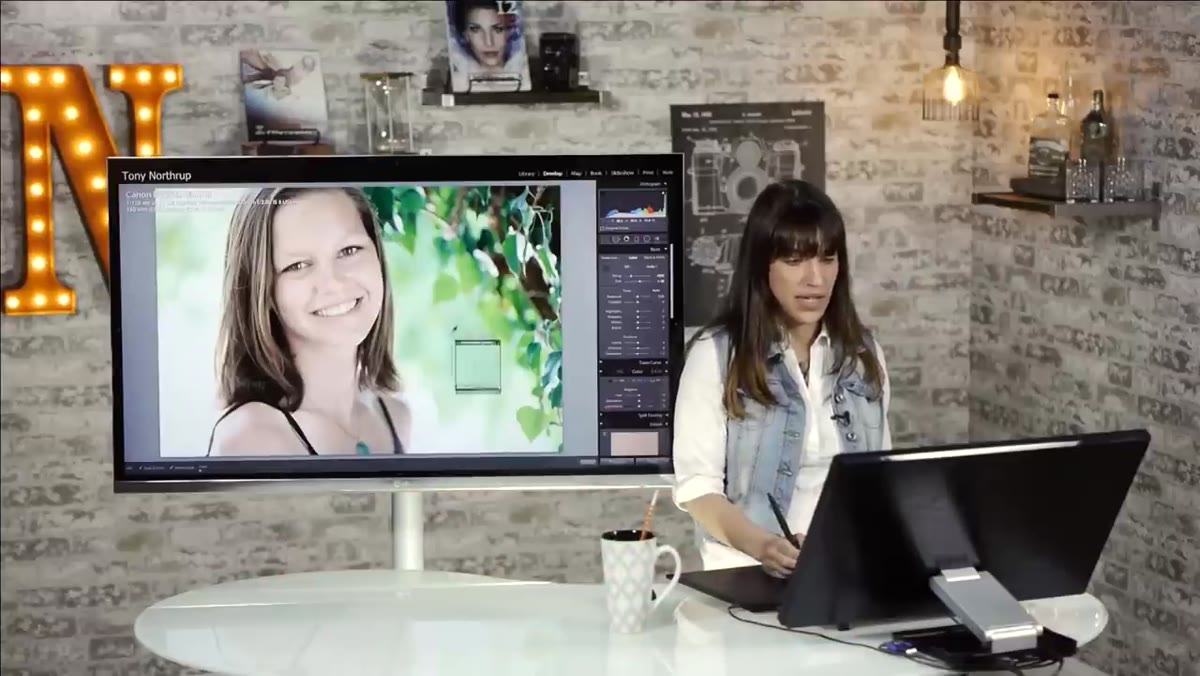 Chelsea evaluating the unedited portrait on screen
Before reaching for any sliders, take a moment to actually look at the image. What’s the dominant color cast? Where are the shadows falling? What needs the most attention? In Chelsea’s example, the answer is immediate: the surrounding foliage has thrown a green tint across the subject’s skin. It’s subtle, but it reads as sickly rather than healthy. This is one of the most common issues with dappled outdoor light, and it’s easy to miss if you jump straight into localized edits.
Chelsea evaluating the unedited portrait on screen
Before reaching for any sliders, take a moment to actually look at the image. What’s the dominant color cast? Where are the shadows falling? What needs the most attention? In Chelsea’s example, the answer is immediate: the surrounding foliage has thrown a green tint across the subject’s skin. It’s subtle, but it reads as sickly rather than healthy. This is one of the most common issues with dappled outdoor light, and it’s easy to miss if you jump straight into localized edits.
The fix at this stage is global. In the Basic panel, pull the Tint slider slightly toward magenta to counteract the green, and cool the White Balance just enough to take the warmth back toward neutral. Don’t overcorrect. The goal is a clean baseline, not a different mood. You can always warm the image back up later once the color cast is gone.
Step 2: Build a Skin-Smoothing Mask with the Adjustment Brush
 Adjustment brush mask painted green over subject’s face and neck
Once the global color is sorted, move into localized skin work. Select the Adjustment Brush and paint a mask over all exposed skin, including the face and the neck. Chelsea makes a point here that I think is genuinely important: people forget the neck constantly. If you soften the face and leave the neck untouched, you create a visible seam that reads as obvious retouching. Paint everything.
Adjustment brush mask painted green over subject’s face and neck
Once the global color is sorted, move into localized skin work. Select the Adjustment Brush and paint a mask over all exposed skin, including the face and the neck. Chelsea makes a point here that I think is genuinely important: people forget the neck constantly. If you soften the face and leave the neck untouched, you create a visible seam that reads as obvious retouching. Paint everything.
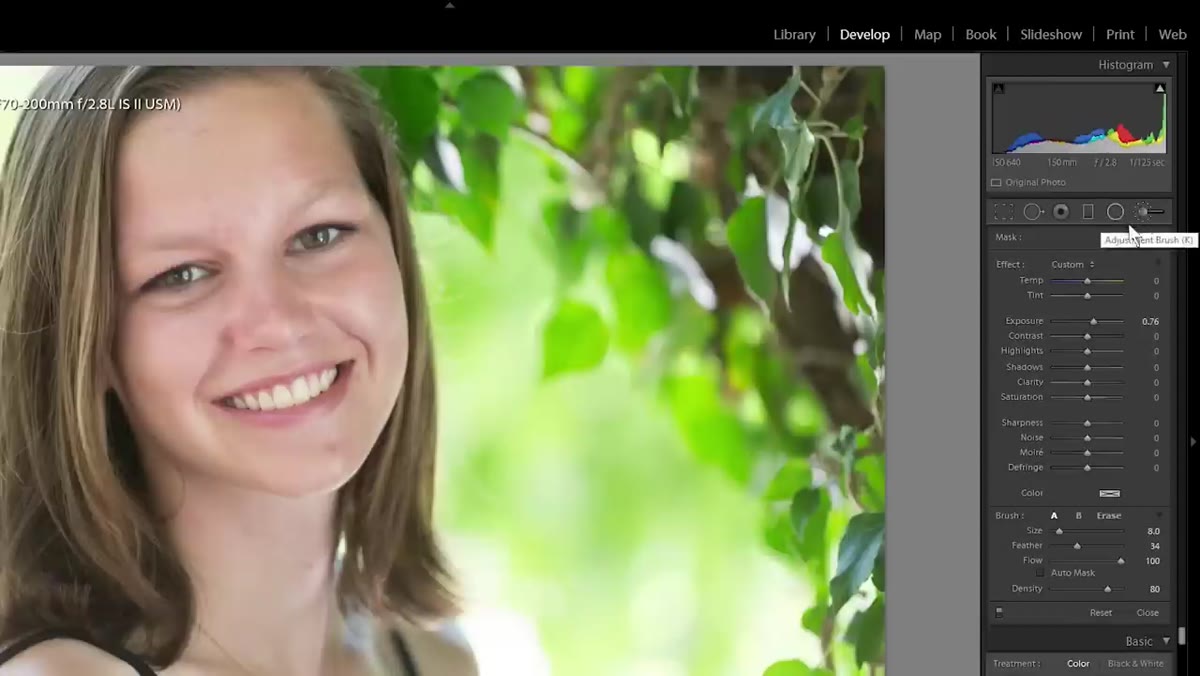
To visualize exactly what you’re covering, press O to toggle the mask overlay. It’ll turn the painted area a vivid color, which lets you see edges and gaps clearly. Once the mask is complete, navigate to the preset dropdown and select Soften Skin. Lightroom’s default Soften Skin preset lowers Clarity and raises Sharpness, which sounds counterintuitive but is meant to reduce texture while preserving edge detail. The problem is the effect is usually too heavy. Dial it back by raising Clarity partially and lowering Sharpness from its boosted default. For younger subjects especially, less is almost always more.
Step 3: Brighten Under the Eyes Using a Triangle Shape
 Adjustment brush applied in triangle shape beneath subject’s eyes
This is the step that separates edits that feel lit from edits that feel retouched. To enhance the eyes, most people instinctively paint just over the iris and call it done. But that creates a jarring effect, bright irises sitting in dark shadows, which looks nothing like natural light. The way real light illuminates eyes is by filling in the entire area beneath them.
Adjustment brush applied in triangle shape beneath subject’s eyes
This is the step that separates edits that feel lit from edits that feel retouched. To enhance the eyes, most people instinctively paint just over the iris and call it done. But that creates a jarring effect, bright irises sitting in dark shadows, which looks nothing like natural light. The way real light illuminates eyes is by filling in the entire area beneath them.
Create a new Adjustment Brush mask and paint a soft triangle shape under each eye, starting at the inner corner and widening down toward the cheekbone, similar to the patch of light in Rembrandt-style portraiture. Raise Exposure gently in this mask, around 0.2 to 0.4 depending on the image. Lower the Flow on your brush to blend the edges so there’s no visible boundary. When done right, it looks like the subject stepped into a slightly better patch of light. Nobody will know you did anything.
Step 4: Dodge the High Points of the Face
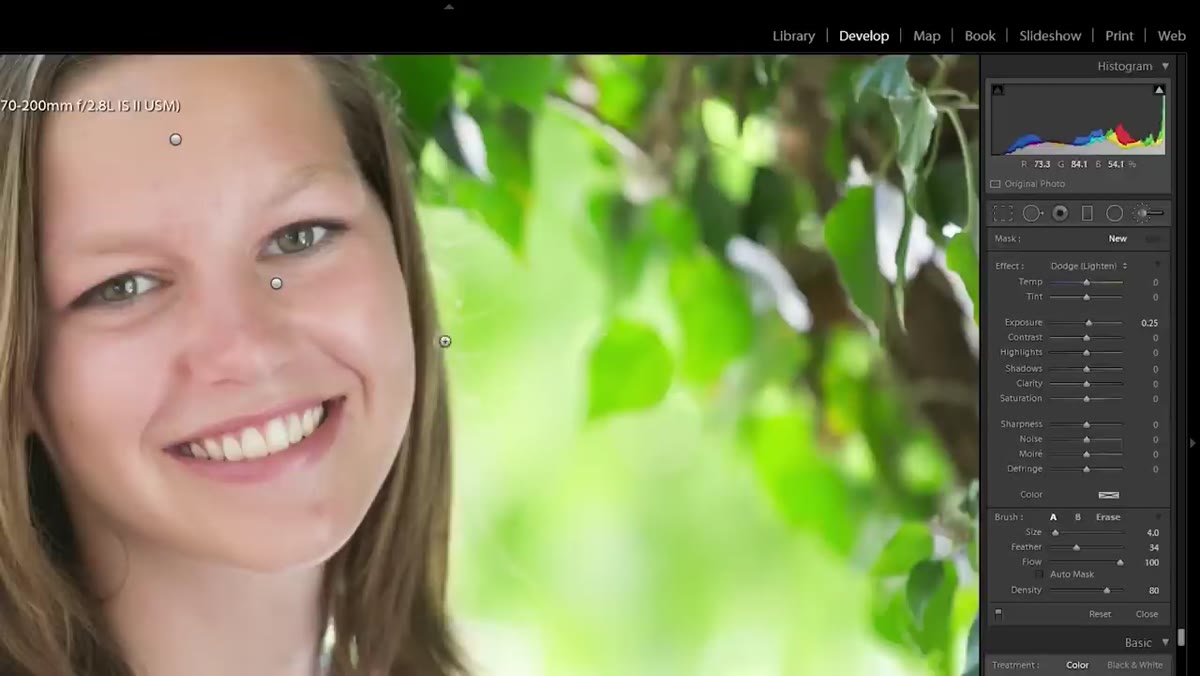 Adjustment brush painting highlights along cheekbones and brow bone
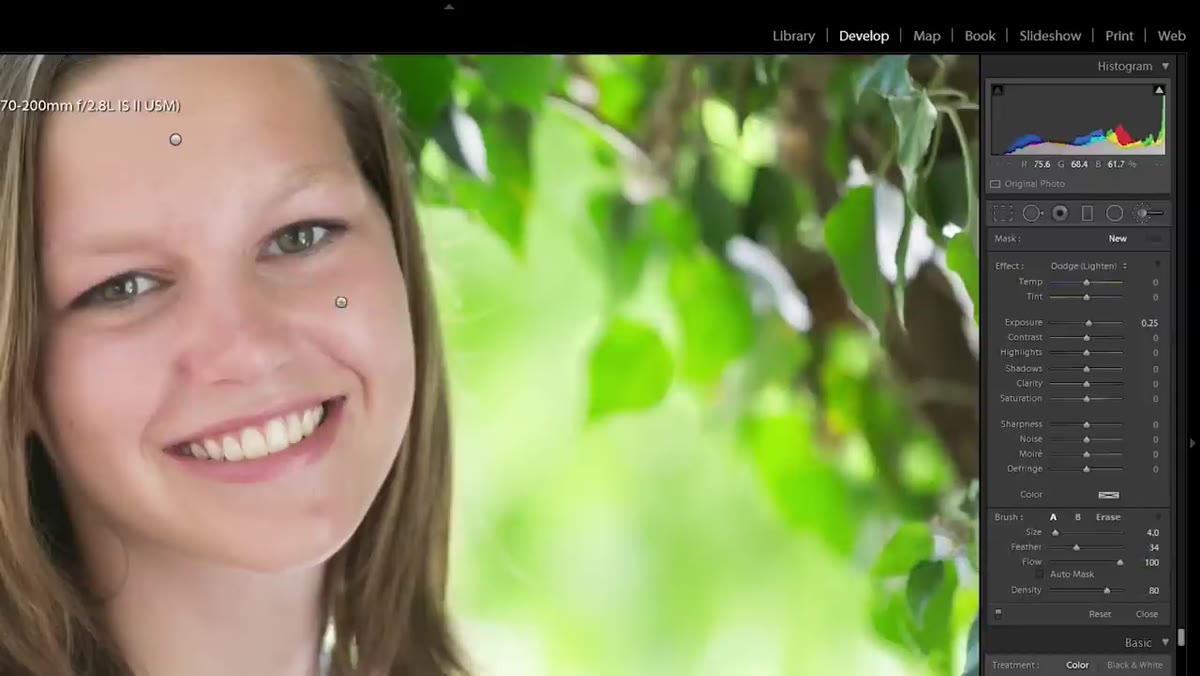
Create another new mask for the dodge pass. This is where we accentuate the three-dimensional structure of the face by brightening the areas that naturally catch light: the brow bone, the bridge of the nose, the tops of the cheekbones, and sometimes the chin. Use a small, soft brush with a reduced Flow so the brightening builds gradually rather than blowing out in one pass.
Adjustment brush painting highlights along cheekbones and brow bone
Create another new mask for the dodge pass. This is where we accentuate the three-dimensional structure of the face by brightening the areas that naturally catch light: the brow bone, the bridge of the nose, the tops of the cheekbones, and sometimes the chin. Use a small, soft brush with a reduced Flow so the brightening builds gradually rather than blowing out in one pass.
Keep the Exposure increase conservative. You’re not adding light that wasn’t there, you’re emphasizing light that already exists. When you toggle the mask off, the effect should make the face look more sculpted, not like someone shone a flashlight at it. If it looks too bright, simply lower the Exposure value on that mask until it feels right.
Step 5: Burn the Shadows and Hairline
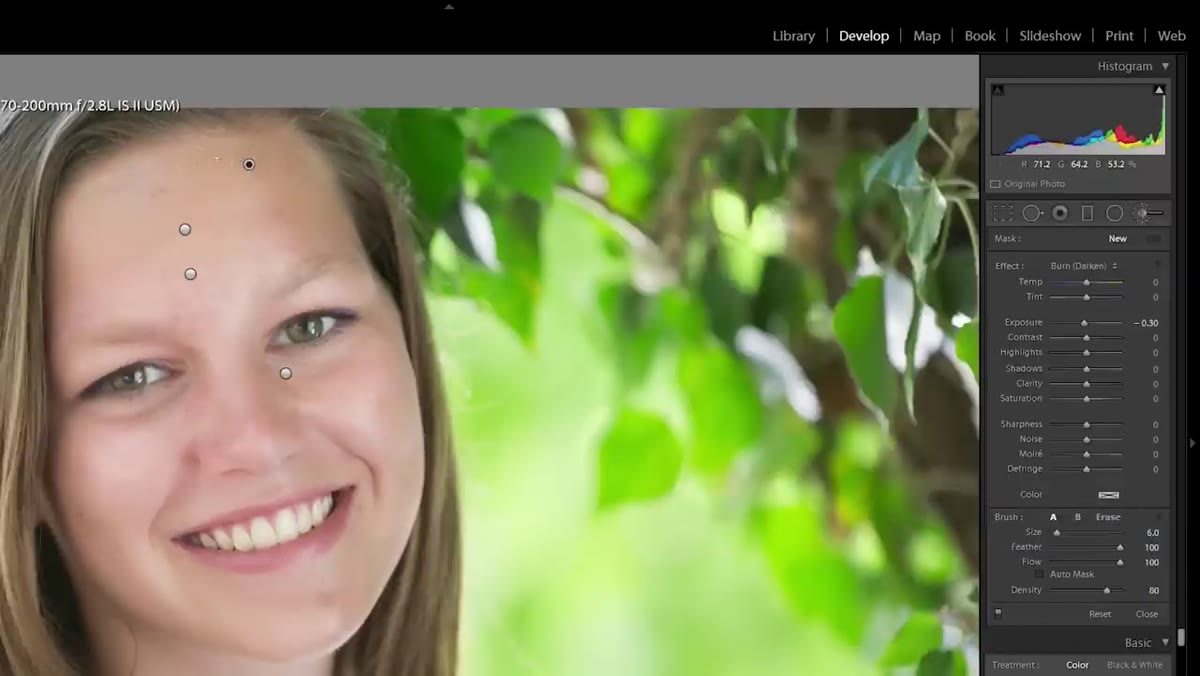 Adjustment brush darkening the hairline and shadow edges of the face
Burning is the counterpart to dodging, and it’s just as important. Create a new mask and darken the areas where shadow falls naturally: the hairline, the sides of the forehead, the hollows beneath the cheekbones, and along the jaw. This deepens the sense of dimension that the dodge pass started building.
Adjustment brush darkening the hairline and shadow edges of the face
Burning is the counterpart to dodging, and it’s just as important. Create a new mask and darken the areas where shadow falls naturally: the hairline, the sides of the forehead, the hollows beneath the cheekbones, and along the jaw. This deepens the sense of dimension that the dodge pass started building.
The hairline in particular benefits from a light burn. It grounds the face in the frame and prevents that slightly floating, over-lit look that can happen when you’ve been aggressively brightening. Keep the Exposure reduction small, somewhere around -0.15 to -0.25, and blend carefully at the edges. Squinting slightly while you work is a legitimate technique for seeing tonal relationships more clearly. It forces your eye to read the broad shapes rather than the details.
What I’d Add From My Own Experience
One thing the tutorial doesn’t cover in depth, and something I wish I’d understood earlier in my career, is how the order of your masks matters for non-destructive flexibility. I name each Adjustment Brush mask before moving on, using a simple convention like “skin smooth,” “eye lift,” “dodge face,” “burn hairline.” It sounds fussy, but when a client asks for revisions three weeks later, being able to isolate and tweak just the dodge layer without disturbing everything else is worth every extra second.
I also recommend doing a final zoom-out check at 25% or 33% view after all your masks are in place. Portrait retouching is seductive at 100% zoom. You can spend twenty minutes perfecting a patch of skin that nobody will ever notice at print size, while missing a color imbalance that’s visible the moment the image is small. Step back often. The whole face has to hold together, not just the individual pieces.
The single most important thing Chelsea’s workflow demonstrates is this: good portrait retouching is about light, not removal. Every mask she builds is designed to simulate or enhance something that light would naturally do. Skin smoothing, eye brightening, dodging and burning, all of it is in service of making the image look like it was captured in better light, not like it was processed afterward.
That shift in thinking changed how I approach every retouch I take on. If you want to see the full technique in action with Chelsea’s original file to work from, Watch the full tutorial on YouTube and follow along with your own copy of the image.
Comments
Leave a Comment