There’s a moment every photographer dreads: you show up to one of the most photographed landmarks on earth, tripod in hand, and realize that every angle you find has already been shot ten thousand times. I ran into this exact wall early in my career, long before I moved into beauty retouching full-time. I’d stand in front of a famous location and freeze, convinced that anything I captured would look like a tourist snapshot dressed up with a filter. What I needed wasn’t better gear or a faster editing workflow. I needed a compositional framework that could make a familiar scene feel like a discovery.
That’s exactly what Serge Ramelli tackles in this tutorial on shooting the Eiffel Tower. Watch the full tutorial on YouTube. Even though my day-to-day work now lives inside skin texture and frequency separation layers, I revisit landscape and architectural tutorials like this one regularly because the compositional thinking transfers directly. How you frame a subject, how you balance light and shadow, how you lead a viewer’s eye through a scene, all of that applies whether you’re shooting a landmark at dusk or a beauty portrait in a studio.
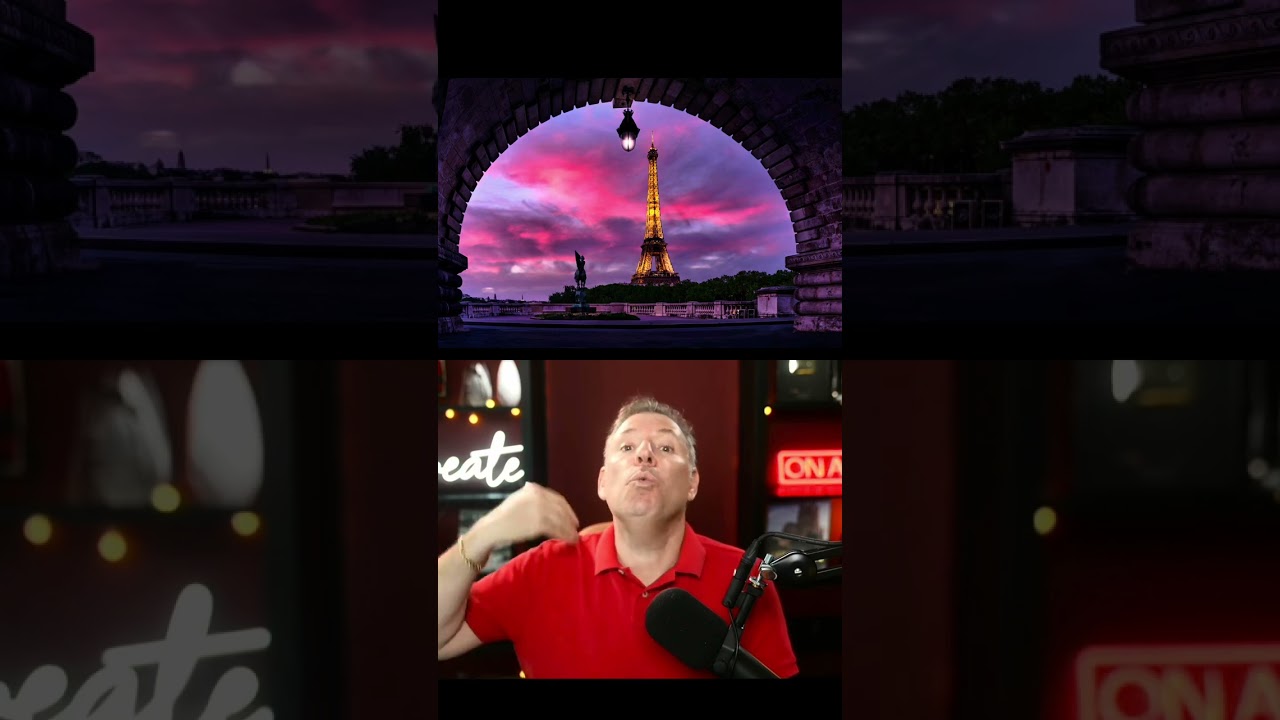
What Ramelli demonstrates here is the “frame within a frame” technique, one of the oldest compositional tools in photography, but one that requires genuine field judgment to execute well. He’s not just talking about finding an arch to shoot through. He’s making decisions in real time about sky detail, available light, and the single luminous element that holds the image together. Let’s walk through how he does it.
Step 1: Arrive While the Sky Still Has Detail
 Sky with retained detail above the Eiffel Tower at dusk
The first decision happens before you even think about composition. Ramelli positions himself at a time when the sky still holds texture and tonal information, not blown out, not fully dark. That window is narrow, typically fifteen to twenty minutes around civil twilight. If you miss it, you’re working with a flat black sky or a washed-out white one, and no amount of post-processing will convincingly recover what was never there.
Sky with retained detail above the Eiffel Tower at dusk
The first decision happens before you even think about composition. Ramelli positions himself at a time when the sky still holds texture and tonal information, not blown out, not fully dark. That window is narrow, typically fifteen to twenty minutes around civil twilight. If you miss it, you’re working with a flat black sky or a washed-out white one, and no amount of post-processing will convincingly recover what was never there.
For this kind of shot, I’d recommend checking a twilight calculator app for your location and arriving at least thirty minutes early. Set up, take test exposures, and be ready to shoot the moment the balance between ambient sky light and artificial light hits that sweet spot.
Step 2: Identify the One Light Source That Anchors the Frame
 Single artificial light visible against darkening sky
Even with a complex scene in front of you, Ramelli is thinking about singularity. He notes that while the sky still holds information, one specific light source cuts through and becomes the visual anchor. This is a critical compositional instinct: in a busy urban environment, your eye needs something to land on, and that something should be deliberate, not accidental.
Single artificial light visible against darkening sky
Even with a complex scene in front of you, Ramelli is thinking about singularity. He notes that while the sky still holds information, one specific light source cuts through and becomes the visual anchor. This is a critical compositional instinct: in a busy urban environment, your eye needs something to land on, and that something should be deliberate, not accidental.
Before you press the shutter, ask yourself what the single most important point of light or contrast is in your scene. Everything else in your composition should support that anchor, not compete with it. If you’re finding three or four equally bright elements pulling in different directions, reposition until one clearly dominates.
Step 3: Find Your Outer Frame First, Then Center Your Subject
 Wider scene showing architectural framing element around tower
The frame-within-a-frame technique works by using a foreground element, an arch, a doorway, overhanging branches, a tunnel opening, to create a natural border that draws attention inward toward the main subject. Ramelli’s approach here is to locate that outer framing element first, then adjust his position until the Eiffel Tower sits comfortably within it.
Wider scene showing architectural framing element around tower
The frame-within-a-frame technique works by using a foreground element, an arch, a doorway, overhanging branches, a tunnel opening, to create a natural border that draws attention inward toward the main subject. Ramelli’s approach here is to locate that outer framing element first, then adjust his position until the Eiffel Tower sits comfortably within it.
This order of operations matters. If you find the tower first and then hunt for something to frame it, you’ll end up forcing elements that don’t actually work. Instead, scout the framing structure, get your body into the position where it closes properly, and let the subject fall into place. Small lateral shifts of even half a meter can dramatically change how cleanly the frame closes around your subject.
Step 4: Balance Your Exposure for Both the Sky and the Artificial Light
 Camera settings being adjusted for mixed lighting conditions
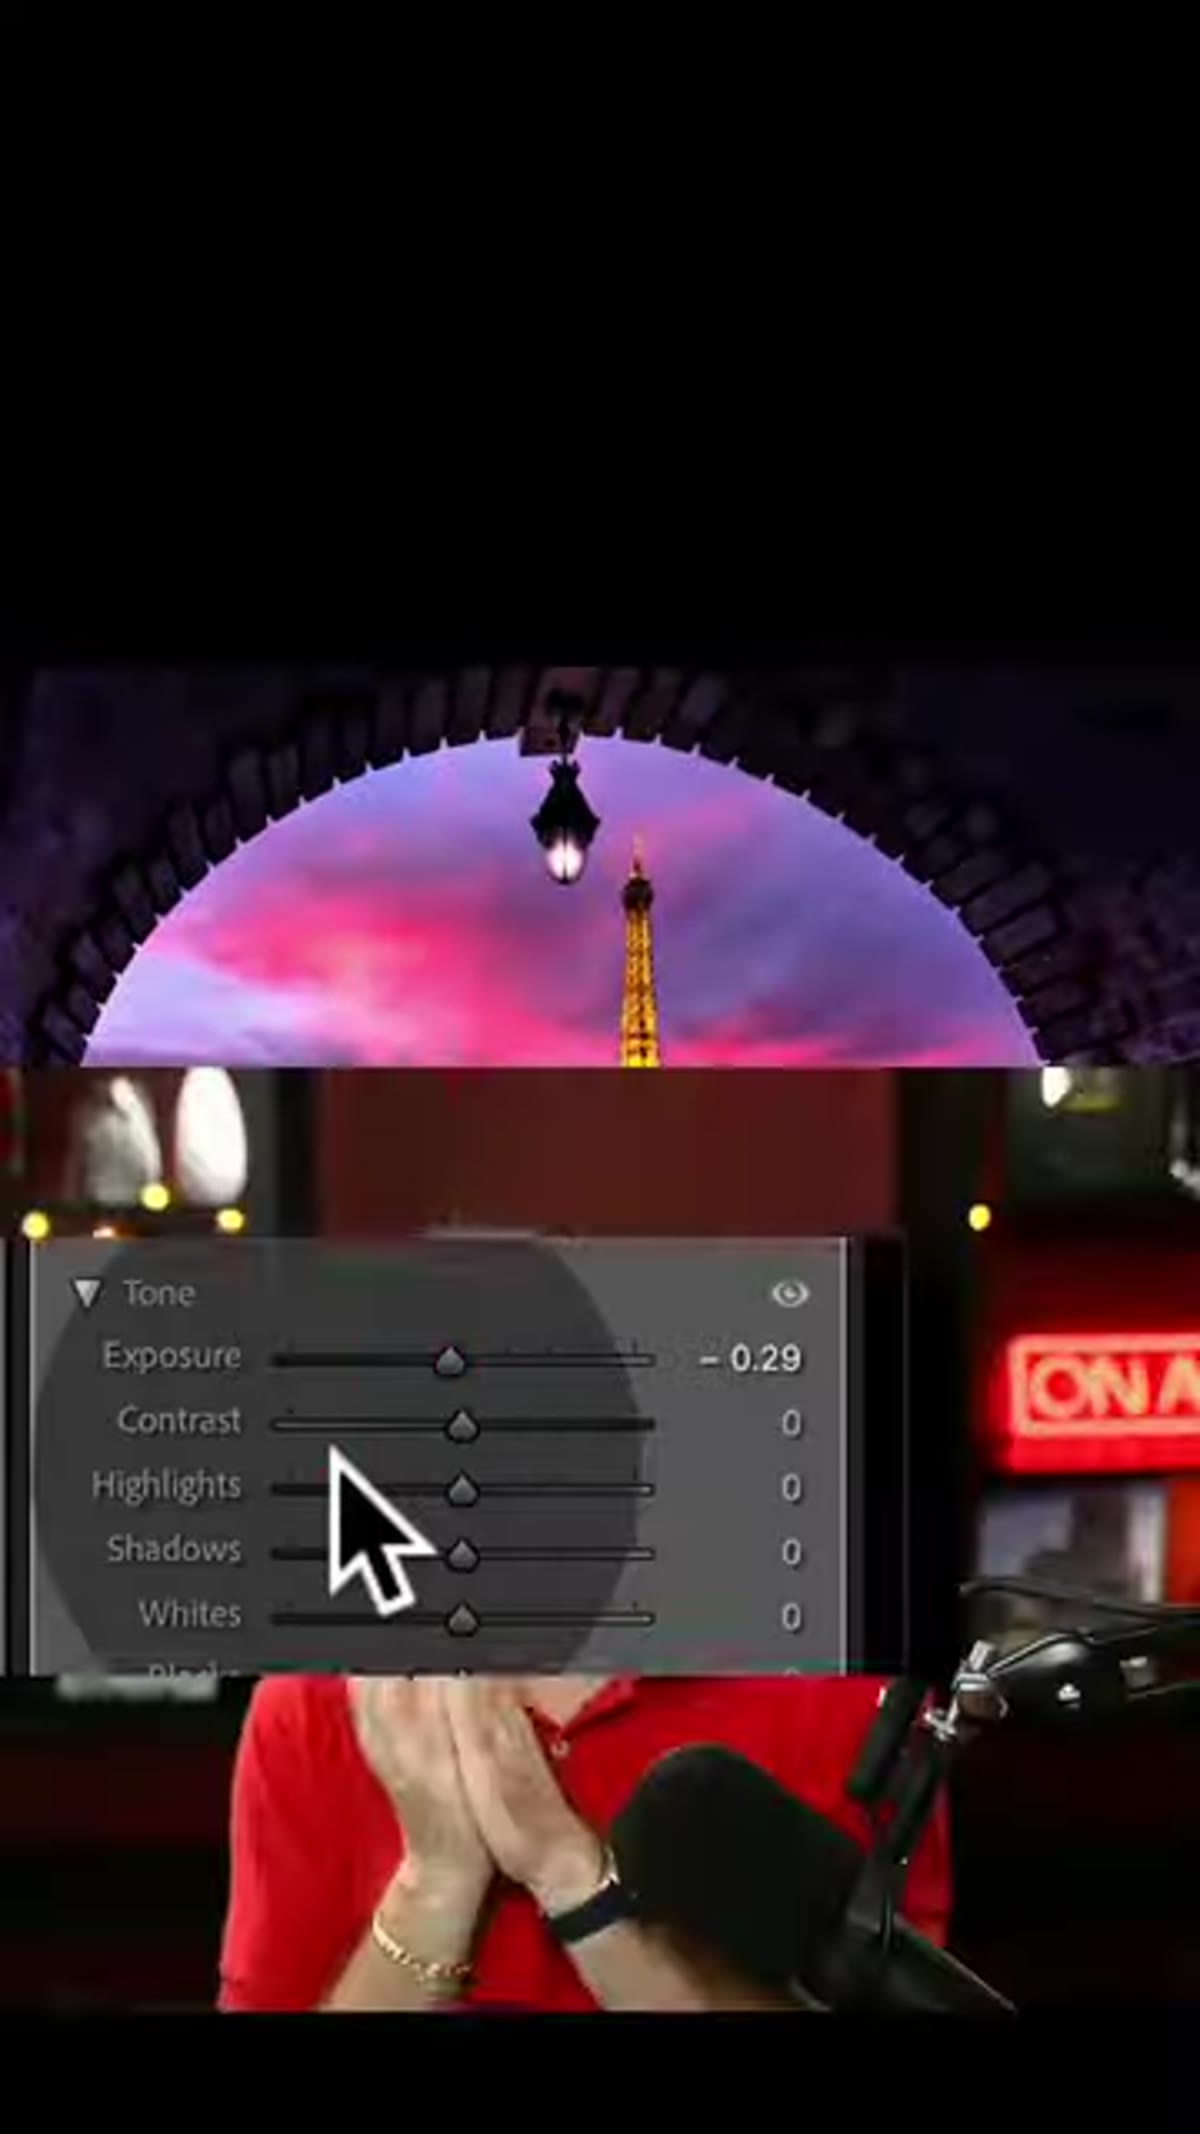
Shooting at dusk in an urban environment means you’re dealing with two very different light sources simultaneously: the fading natural light in the sky and the artificial lights on and around the tower. Ramelli is shooting in a way that preserves detail in both zones. This typically means exposing for the sky (which is brighter) and accepting that you’ll lift shadow detail in post, or bracketing exposures and blending them later.
Camera settings being adjusted for mixed lighting conditions
Shooting at dusk in an urban environment means you’re dealing with two very different light sources simultaneously: the fading natural light in the sky and the artificial lights on and around the tower. Ramelli is shooting in a way that preserves detail in both zones. This typically means exposing for the sky (which is brighter) and accepting that you’ll lift shadow detail in post, or bracketing exposures and blending them later.
A practical starting point for this kind of scene is aperture priority at f/8, ISO 400, and letting the camera meter the sky while watching your highlights on the histogram. If the artificial lights are clipping into pure white, dial down your exposure compensation by a third or two-thirds of a stop. The goal is a single frame, or a bracketed sequence, where no zone is irretrievably lost.
Step 5: Commit to the Composition and Shoot with Intention
 Photographer steady on a shot with deliberate framing
Once the elements are aligned, Ramelli’s energy shifts from searching to committing. This is a discipline that takes practice. Many photographers, myself included early on, keep second-guessing the frame right up until the light is gone. Ramelli’s tutorial is a good reminder that once you’ve made your compositional decisions, your job is to execute cleanly and trust your preparation.
Photographer steady on a shot with deliberate framing
Once the elements are aligned, Ramelli’s energy shifts from searching to committing. This is a discipline that takes practice. Many photographers, myself included early on, keep second-guessing the frame right up until the light is gone. Ramelli’s tutorial is a good reminder that once you’ve made your compositional decisions, your job is to execute cleanly and trust your preparation.
Use a remote shutter release or the camera’s self-timer to eliminate any camera shake. If you’re on a tripod, also turn off optical image stabilization, since on a locked-down camera it can actually introduce micro-vibrations rather than reduce them. Take several frames, check focus at 100% on your LCD, and adjust if needed.
How I’d Apply This in a Beauty Context
The frame-within-a-frame idea isn’t exclusive to architecture and landscapes. I’ve started incorporating it into my beauty shoots by using environmental or studio elements to create a secondary border around the face. A model’s hands framing her jaw, a window frame at the edge of the shot, a doorway casting a hard shadow that crops into the scene. The principle is identical: give the viewer’s eye a path inward rather than letting it wander.
What I appreciate most about Ramelli’s approach is that he’s solving a real creative problem, not just demonstrating a technique in a vacuum. He’s at one of the most over-photographed spots in the world and making it feel personal. That’s the skill worth studying regardless of your specialty.
The single biggest takeaway here is that iconic subjects don’t require original locations, they require a considered point of view. Finding a frame that contains your frame forces you to be specific about where you stand, what you include, and what you let fall away. That specificity is what separates a memorable image from a reference photo.
Watch the full tutorial on YouTube to see Ramelli work through these decisions in real time at the location. Watching a skilled photographer think out loud in the field is some of the most efficient learning you can do.
Comments (2)
Simple but effective. Sometimes that's all you need.
Solid advice. Especially the part about taking your time with it.
Leave a Comment