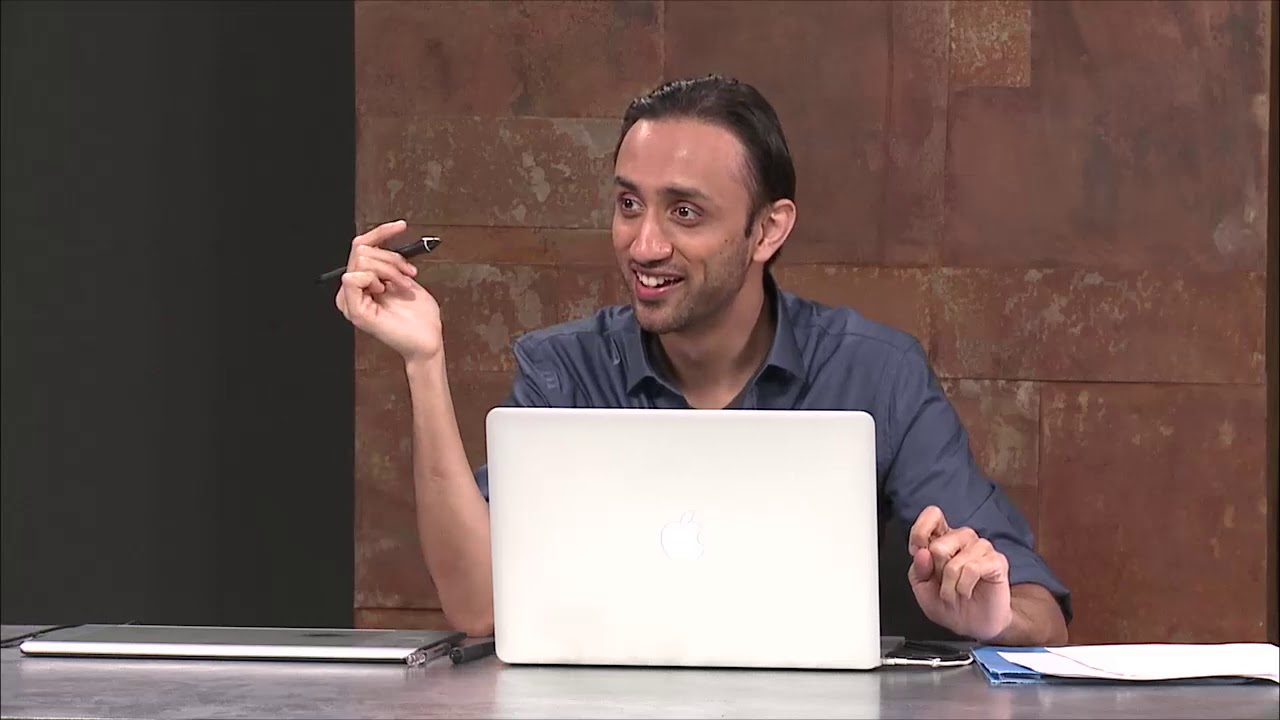
There is a specific kind of dread that comes from delivering a gallery and getting a reply that says “the skin looks a little… off.” I know that dread well. Early in my retouching career, I was flattening blemishes with heavy-handed dot-clicks and wondering why my subjects looked like they were wearing a wax mask. The problem was not my eye. It was my technique. Specifically, it was the way I was using the Healing Brush Tool – randomly, without a system, and definitely without understanding what was actually happening under the hood.
This CreativeLive tutorial on the Healing Brush Tool cuts straight to the practical core of the technique. Watch the full tutorial on YouTube – it is worth your full attention. But if you want a written walkthrough you can follow step by step at your own desk with your own image open, here is exactly what the instructor covers and how to put it into practice.
Step 1: Set Up a Blank Healing Layer Above Your Background
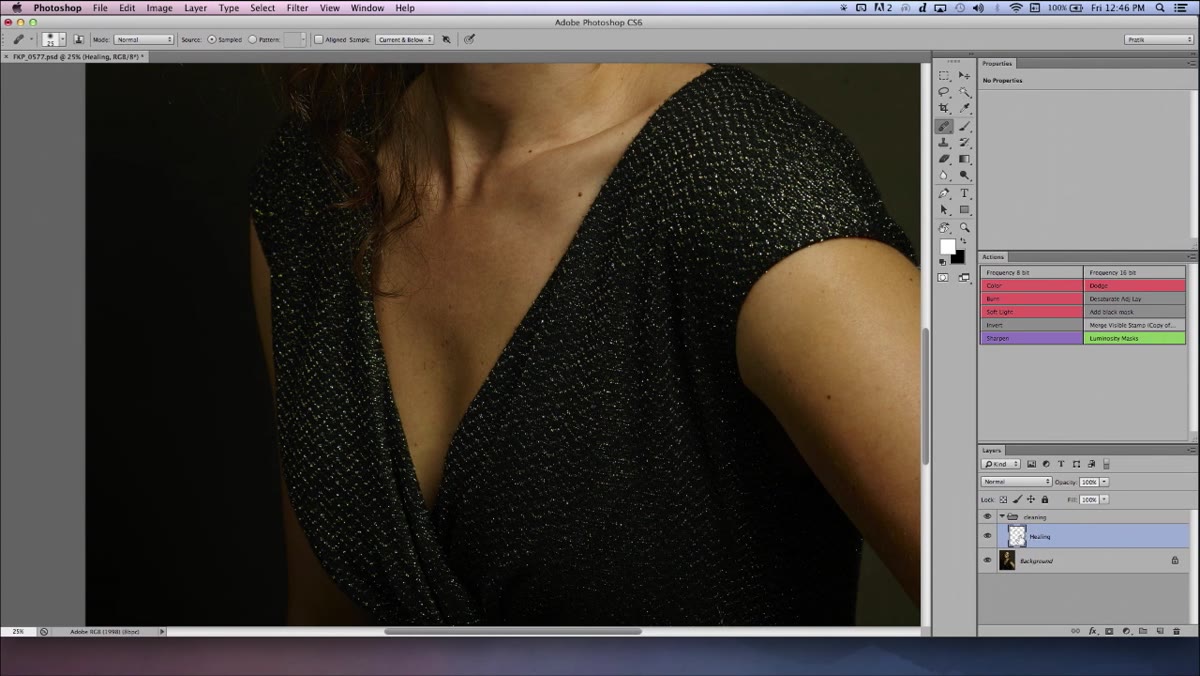 Blank healing layer selected above background layer in Layers panel
Before you touch a single blemish, create a new blank layer directly above your background image. Name it something useful – I call mine “heal” – and make sure it is the active layer while you work. This is the foundation of a non-destructive workflow, and it is one of those habits that feels fussy the first time and then becomes completely automatic.
Blank healing layer selected above background layer in Layers panel
Before you touch a single blemish, create a new blank layer directly above your background image. Name it something useful – I call mine “heal” – and make sure it is the active layer while you work. This is the foundation of a non-destructive workflow, and it is one of those habits that feels fussy the first time and then becomes completely automatic.
The reason this matters is file management. When all your healing lives on a separate layer, you can reduce opacity, toggle visibility, or wipe the whole layer and start over without touching the original. Your PSD also stays lean, because that healing layer only holds the small patches you have painted – not a full duplicate of the image.
Step 2: Set the Healing Brush Sample Mode to “Current and Below”
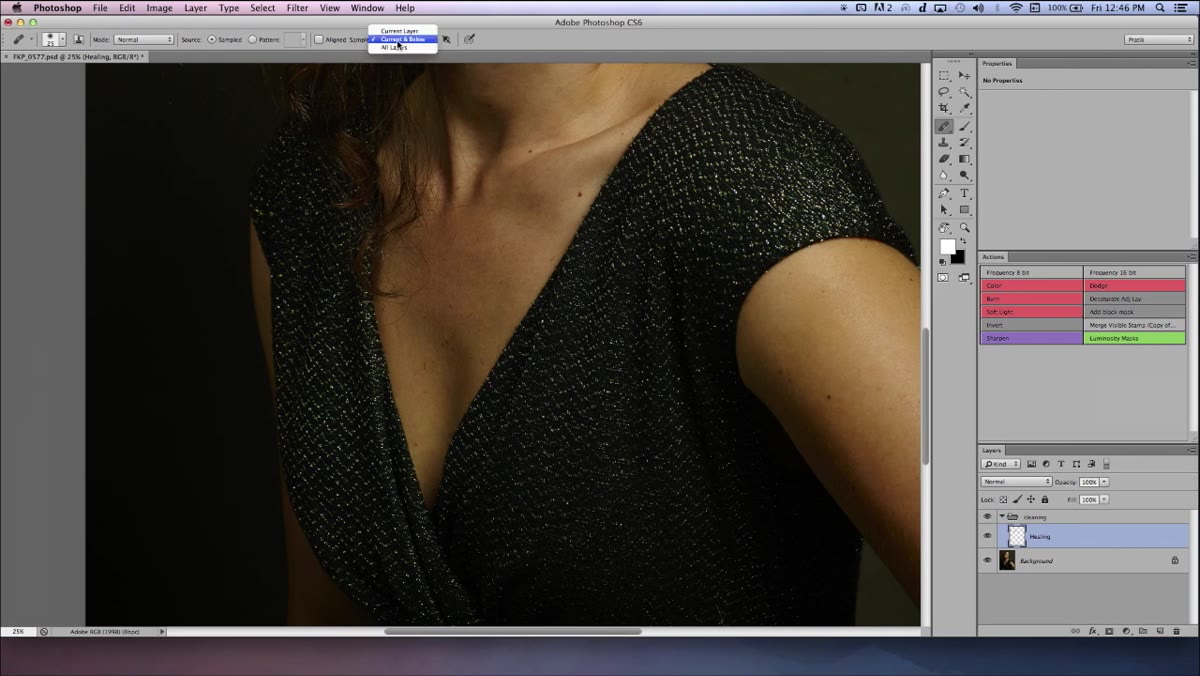 Sample dropdown in options bar showing “Current and Below” selected
This is the setting that makes the blank-layer approach actually work, and it is easy to overlook because it sits quietly in the options bar. With the Healing Brush Tool active, find the “Sample” dropdown and switch it from “Current Layer” to “Current and Below.”
Sample dropdown in options bar showing “Current and Below” selected
This is the setting that makes the blank-layer approach actually work, and it is easy to overlook because it sits quietly in the options bar. With the Healing Brush Tool active, find the “Sample” dropdown and switch it from “Current Layer” to “Current and Below.”
Here is what that setting does: instead of sampling pixel information only from the blank layer you are working on (which has nothing on it), Photoshop reaches down through all the layers beneath it and samples from those. It then blends and pastes the result onto your blank layer. If you have ever set this up correctly and still gotten no result, check this setting first – nine times out of ten, that is the culprit.
Step 3: Save Before You Start Healing
 File menu open with Save option highlighted
This step sounds obvious, but the instructor calls himself out specifically for forgetting it, and I will second that. Save your PSD before you begin any healing pass. Photoshop with a large layered file is not the most forgiving application when something goes sideways, and losing twenty minutes of careful healing work because of a crash is a particular kind of misery.
File menu open with Save option highlighted
This step sounds obvious, but the instructor calls himself out specifically for forgetting it, and I will second that. Save your PSD before you begin any healing pass. Photoshop with a large layered file is not the most forgiving application when something goes sideways, and losing twenty minutes of careful healing work because of a crash is a particular kind of misery.
Build a habit around this: save when you open the file, save when you finish your blank layer setup, save after any significant pass of work. Where you save matters too. Keep your PSDs in a logical subfolder tied to the client or shoot – something like a “PSDs” folder nested inside the job folder. Future you will be grateful every single time.
Step 4: Begin Healing by Resampling Frequently with Alt/Option
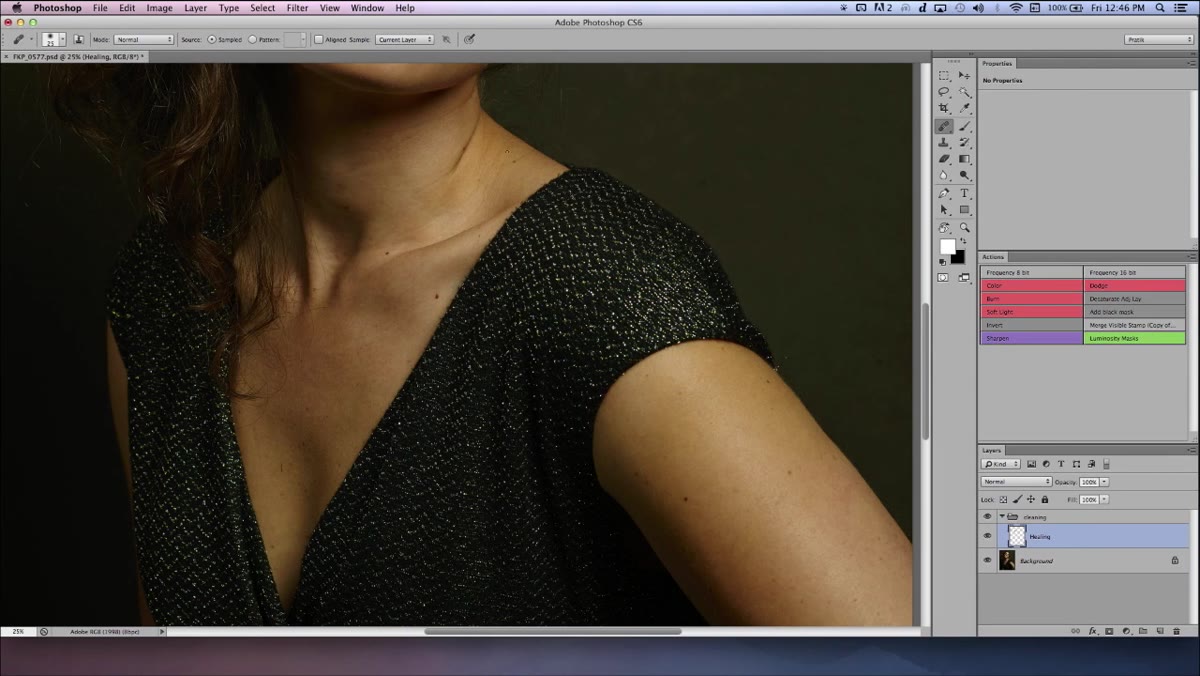 Cursor showing alt-click resample point on clean skin area
Now the actual healing begins. Hold Alt (Windows) or Option (Mac) and click on a clean area of skin near the blemish you want to remove. This sets your source point – the area Photoshop will blend from. Then paint over the blemish.
Cursor showing alt-click resample point on clean skin area
Now the actual healing begins. Hold Alt (Windows) or Option (Mac) and click on a clean area of skin near the blemish you want to remove. This sets your source point – the area Photoshop will blend from. Then paint over the blemish.
The key behavior to watch here is how often you resample. The instructor clicks Alt/Option constantly, grabbing a fresh source point before almost every stroke. This matters because skin tone and texture shift across the face. If you set one source point and drag it all the way across a cheek, the blend will look wrong. Short strokes with frequent resampling keep the texture consistent and the result believable.
Step 5: Use Small Circular Strokes to Cover Blemishes Fully
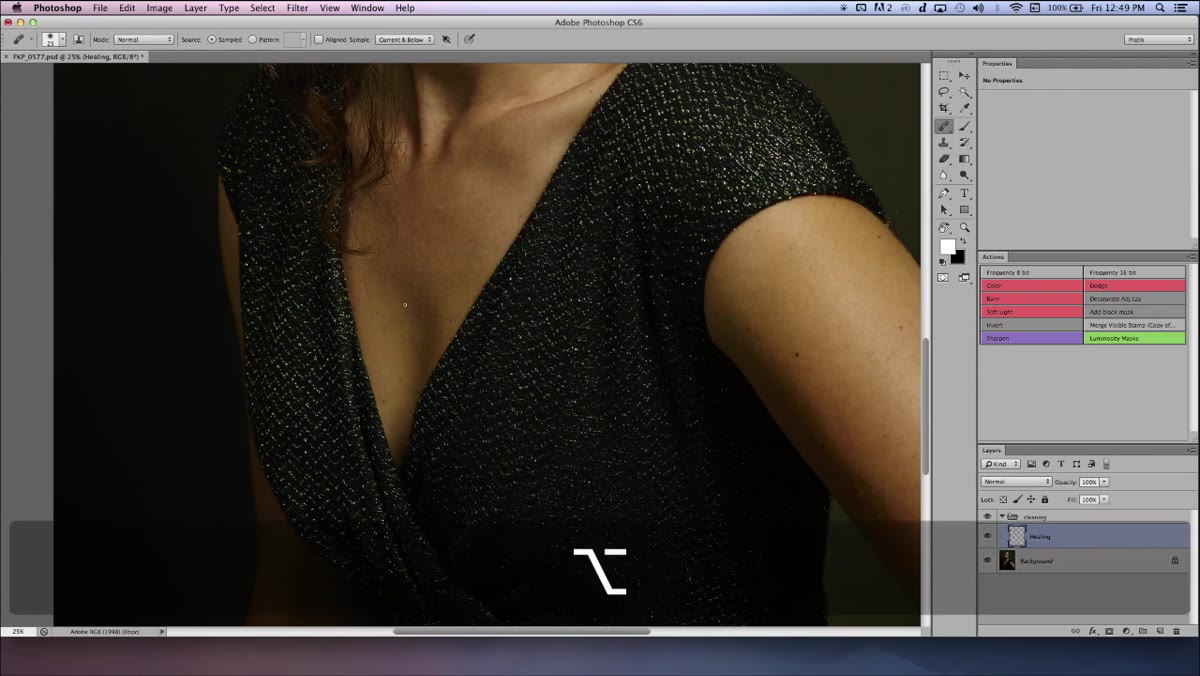 Circular brush stroke covering blemish completely before releasing
The single most common beginner mistake with the Healing Brush is dotting. You click once, it looks okay, you click once more, you move on. But a single click often leaves the edges of a blemish only partially healed, and you end up with a ghosted ring that is sometimes more noticeable than the original mark.
Circular brush stroke covering blemish completely before releasing
The single most common beginner mistake with the Healing Brush is dotting. You click once, it looks okay, you click once more, you move on. But a single click often leaves the edges of a blemish only partially healed, and you end up with a ghosted ring that is sometimes more noticeable than the original mark.
Instead, use small circular strokes and cover the entire area of the blemish before you lift your pen or release your mouse. Think of it less like stamping and more like gently coloring inside a small circle. The healing algorithm blends at the stroke boundary, so the more completely you cover the target area in one continuous motion, the cleaner the result.
Step 6: Let Artistic Judgment Guide What You Remove
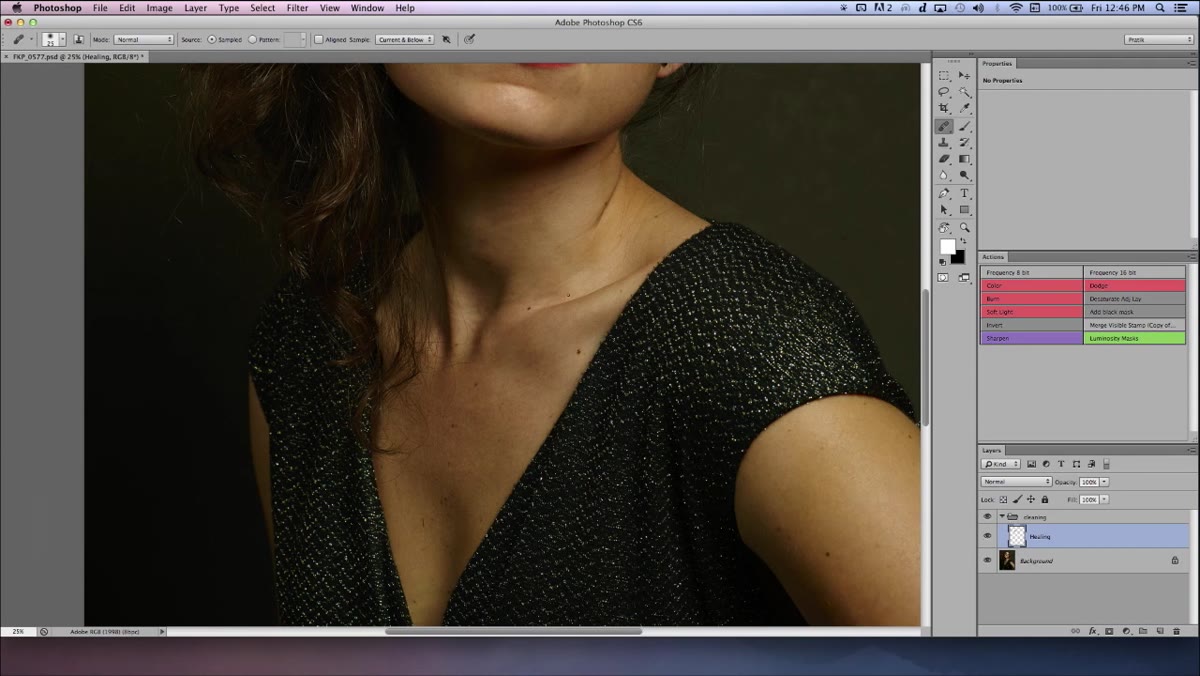 Full portrait showing natural beauty marks and fine lines on skin
The instructor makes a point that I want to underline because it gets lost in a lot of retouching content: not every mark needs to go. Beauty marks, faint lines, subtle texture – these are often part of what makes a face interesting and real. The decision to remove something is a creative and editorial one, not a technical obligation.
Full portrait showing natural beauty marks and fine lines on skin
The instructor makes a point that I want to underline because it gets lost in a lot of retouching content: not every mark needs to go. Beauty marks, faint lines, subtle texture – these are often part of what makes a face interesting and real. The decision to remove something is a creative and editorial one, not a technical obligation.
When I am working on beauty images for a brand client, the brief usually tells me how far to go. When I am retouching portraits without a brief, I default to asking one question: does this imperfection exist most of the time, or just in this photo? Temporary blemishes tend to go. Permanent features tend to stay, unless the subject has specifically asked otherwise.
One Thing the Tutorial Doesn’t Cover – But You’ll Need It
The blank-layer healing approach in this tutorial is clean and efficient, but it assumes your skin tones are already balanced and your image is well-exposed. Where I have seen it break down is on images with strong directional light that creates hard shadow boundaries across the face. Healing across a shadow edge, even with careful resampling, will produce a muddy smear.
My fix is to work strictly within a tonal zone at a time – sample only from areas at roughly the same brightness as the blemish you are covering. If a spot sits right on a shadow boundary, I zoom in and make my source point as close as possible, even if it means a smaller brush and more passes. It takes longer, but the result holds up.
The most important thing to take away from this tutorial is also the simplest: work on a separate layer, sample from “Current and Below,” and resample your source point constantly. That combination alone will make your healing work cleaner, faster, and far easier to revise. Everything else is refinement.
Watch the full tutorial on YouTube to see all of this demonstrated in real time on an actual portrait – watching the circular stroke technique in motion is genuinely useful, and the instructor’s pacing makes it easy to pause and follow along.
Comments (2)
Just subscribed. If the rest of your content is this good, I'm in.
This is exactly what I needed today. Been struggling with this for weeks.
Leave a Comment