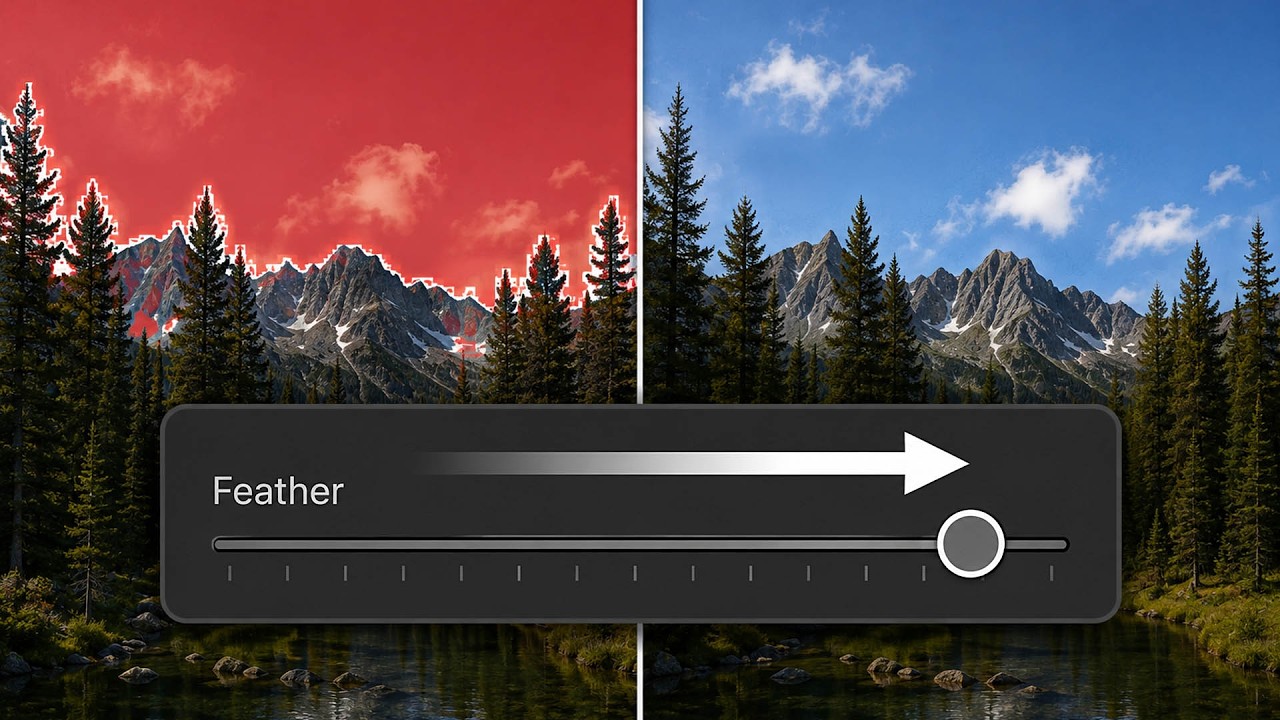
There is a specific kind of frustration that only retouchers understand: you build a careful mask, apply a gorgeous tonal adjustment, and then zoom in to find a halo of blown-out sky bleeding into the hair, or a mushy, undefined edge where a clean line should be. For years I handled this with a combination of workarounds, luminance masks, manual brushing, and a fair amount of sighing into my green tea. It was just the cost of doing business with Lightroom’s AI masking tools. So when I sat down with Matt Kloskowski’s August 2026 Lightroom update tutorial, I was not expecting anything to genuinely change my workflow. I was wrong.
Watch the full tutorial on YouTube
The update Matt covers is available in both Lightroom Classic and Lightroom, and it lives inside the masking panel. Two new sliders, Feather and Edge Adjustment, have been added to nearly every masking tool. That might sound modest, but if you work with any mask that touches a complex edge, whether that’s a sky meeting a tree line, a face meeting a background, or hair against an out-of-focus wall, you will feel the impact immediately. Adobe Camera Raw users have had access to something similar for a while, but it is now rolled out across both versions of Lightroom, and that matters for a lot of us who live in Classic.
Step 1: Make Your Base Adjustment and Isolate the Problem Area
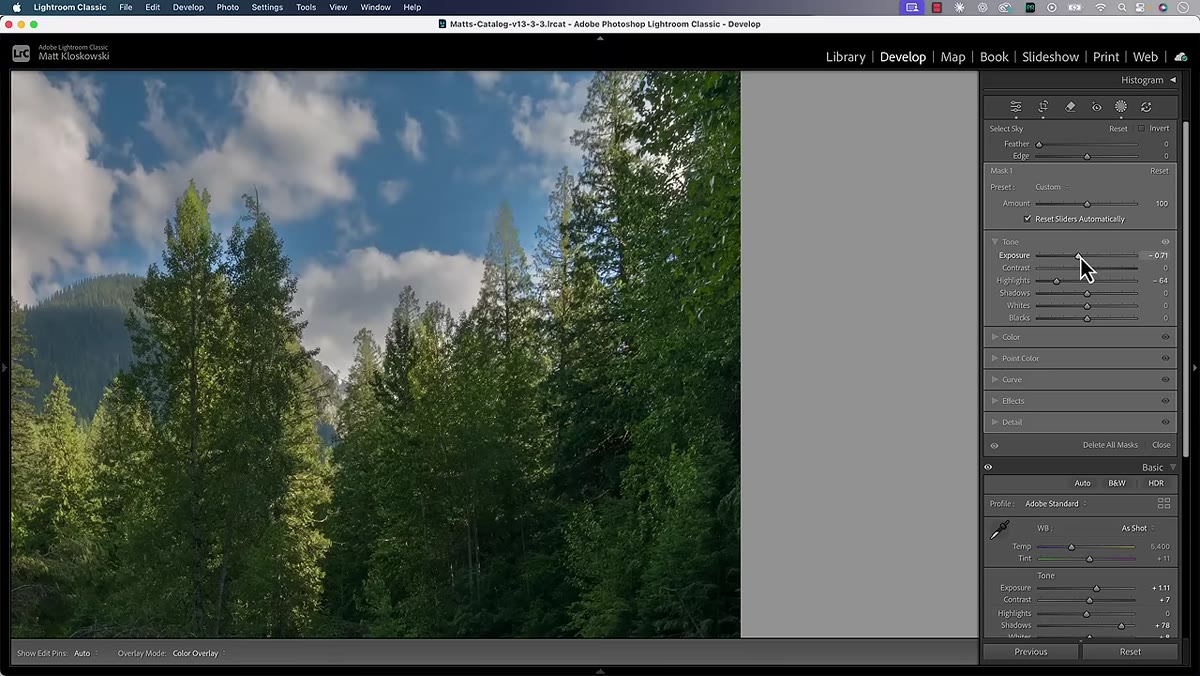
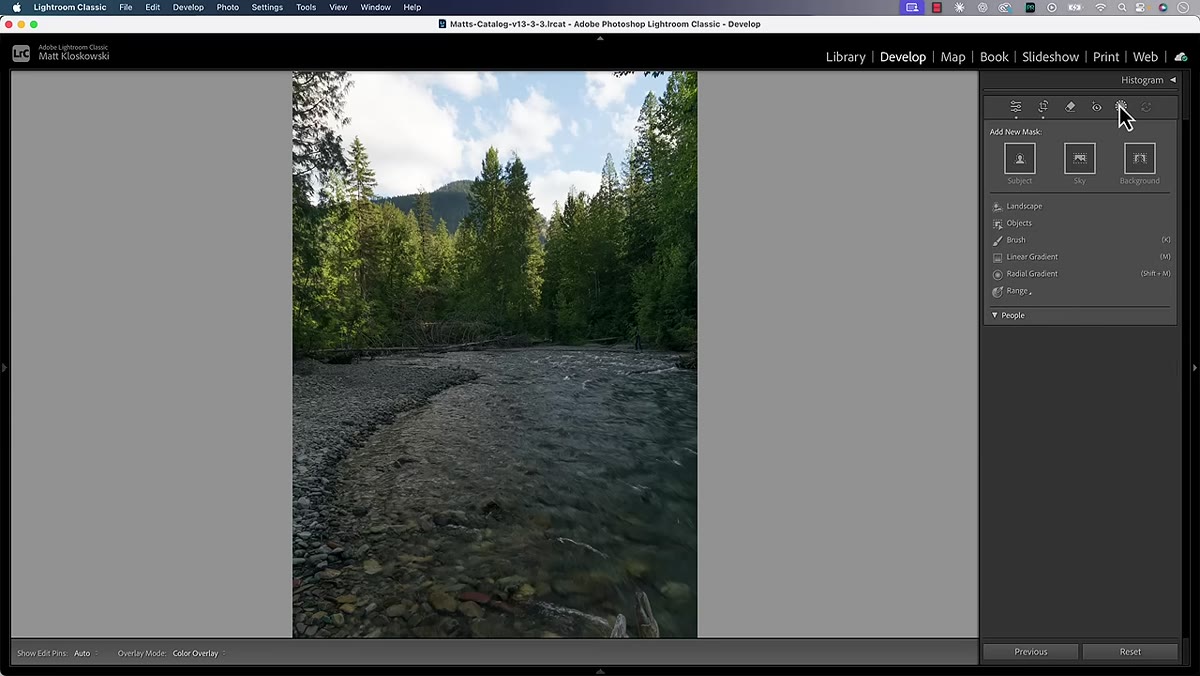 Sky selected, highlights and exposure pulled back in masking panel
Start by making your global adjustments first, getting the overall exposure and color of your image to a reasonable baseline. Then open the masking panel and use the appropriate AI selection tool for your subject. In this tutorial, Matt uses Select Sky, but the same sliders appear whether you are using Select Subject, Select Background, or any other option in the panel. Once your mask is created, apply the tonal or color adjustment you actually need. Matt deliberately overdoes his here, pulling back hard on both highlights and exposure, because it makes the edge problems visible right away. This is a smart diagnostic habit. If an edge looks bad under an exaggerated adjustment, you know the mask boundary is soft or misregistered, and you can fix it before dialing back to your real working values.
Sky selected, highlights and exposure pulled back in masking panel
Start by making your global adjustments first, getting the overall exposure and color of your image to a reasonable baseline. Then open the masking panel and use the appropriate AI selection tool for your subject. In this tutorial, Matt uses Select Sky, but the same sliders appear whether you are using Select Subject, Select Background, or any other option in the panel. Once your mask is created, apply the tonal or color adjustment you actually need. Matt deliberately overdoes his here, pulling back hard on both highlights and exposure, because it makes the edge problems visible right away. This is a smart diagnostic habit. If an edge looks bad under an exaggerated adjustment, you know the mask boundary is soft or misregistered, and you can fix it before dialing back to your real working values.
Step 2: Zoom In and Assess the Edge Quality Before Touching the New Sliders
 Zoomed view showing mushy tree edges against sky selection
Zoom in to at least 100 percent and look specifically at the transition zones, the places where your selected area meets something it should not be affecting. What you are looking for is mushiness, a blurred or feathered region where the adjustment bleeds into adjacent areas, and halos, a bright or dark fringe that outlines the edge of your selection like a ring. These are two different problems, and the two new sliders address each of them separately. Getting clear on which issue you are actually seeing before you start dragging sliders will save you from overcorrecting.
Zoomed view showing mushy tree edges against sky selection
Zoom in to at least 100 percent and look specifically at the transition zones, the places where your selected area meets something it should not be affecting. What you are looking for is mushiness, a blurred or feathered region where the adjustment bleeds into adjacent areas, and halos, a bright or dark fringe that outlines the edge of your selection like a ring. These are two different problems, and the two new sliders address each of them separately. Getting clear on which issue you are actually seeing before you start dragging sliders will save you from overcorrecting.
Step 3: Turn On the Mask Overlay and Switch to White on Black View
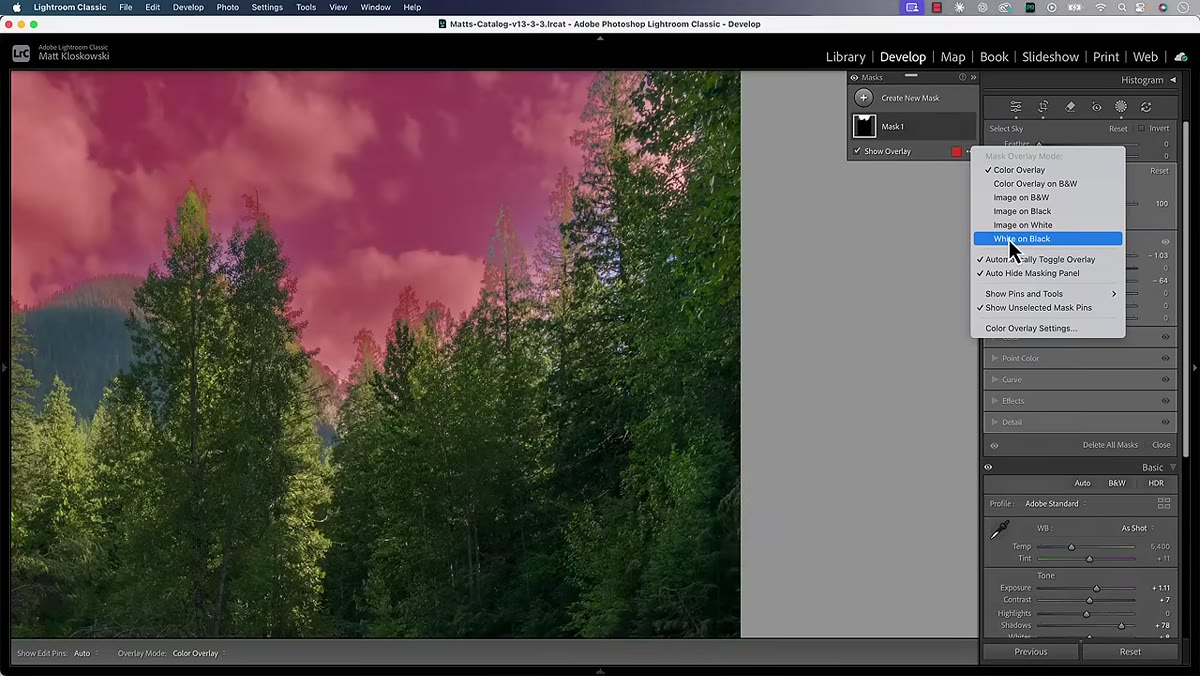 White-on-black mask overlay showing sky selection shape
Before adjusting anything, turn on the mask overlay in the masking panel and switch the display mode to White on Black. This view makes the mask’s structure clear without the distraction of the underlying image. White areas are selected and will receive your adjustment. Black areas are protected. Any gray you see in the transition zone tells you the mask is partially applied there, which is exactly where edge problems live. Matt takes this step specifically so we can see what each new slider is actually doing to the mask shape, not just to the final image. It is worth spending thirty seconds here every time you are troubleshooting a mask.
White-on-black mask overlay showing sky selection shape
Before adjusting anything, turn on the mask overlay in the masking panel and switch the display mode to White on Black. This view makes the mask’s structure clear without the distraction of the underlying image. White areas are selected and will receive your adjustment. Black areas are protected. Any gray you see in the transition zone tells you the mask is partially applied there, which is exactly where edge problems live. Matt takes this step specifically so we can see what each new slider is actually doing to the mask shape, not just to the final image. It is worth spending thirty seconds here every time you are troubleshooting a mask.
Step 4: Use the Feather Slider to Soften Harsh Transition Zones
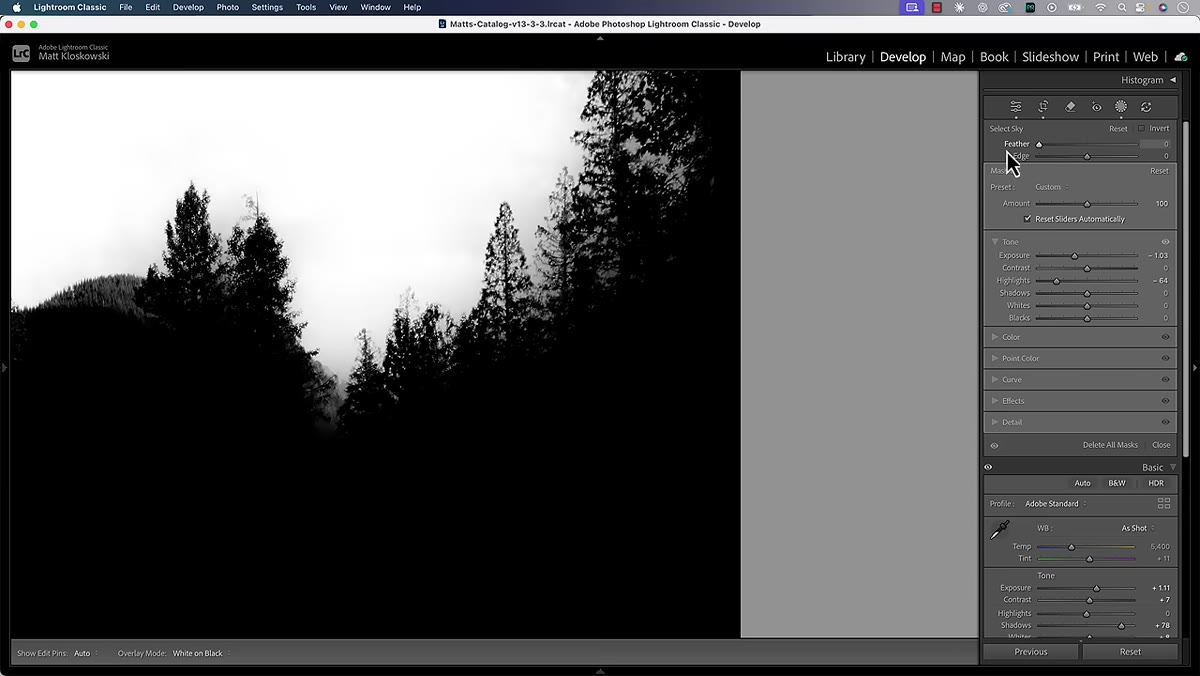 Feather slider being increased, mask edge visibly softening
The Feather slider runs from zero to 100 and works by blurring the edge of the mask outward in both directions. At zero you have whatever hard or semi-hard edge the AI selection created. As you increase the value, the transition between white and black becomes more gradual. For most portrait and beauty work, a small Feather value, somewhere between 5 and 20, is usually enough to eliminate the mushy, jagged quality that appears along complex edges like hair or fabric texture. You are not trying to make the mask invisible. You are smoothing the handoff between selected and unselected so the adjustment does not look applied. Matt notes that you rarely need to push this slider to extremes to see a meaningful improvement.
Feather slider being increased, mask edge visibly softening
The Feather slider runs from zero to 100 and works by blurring the edge of the mask outward in both directions. At zero you have whatever hard or semi-hard edge the AI selection created. As you increase the value, the transition between white and black becomes more gradual. For most portrait and beauty work, a small Feather value, somewhere between 5 and 20, is usually enough to eliminate the mushy, jagged quality that appears along complex edges like hair or fabric texture. You are not trying to make the mask invisible. You are smoothing the handoff between selected and unselected so the adjustment does not look applied. Matt notes that you rarely need to push this slider to extremes to see a meaningful improvement.
Step 5: Use the Edge Adjustment Slider to Contract or Expand the Mask Boundary
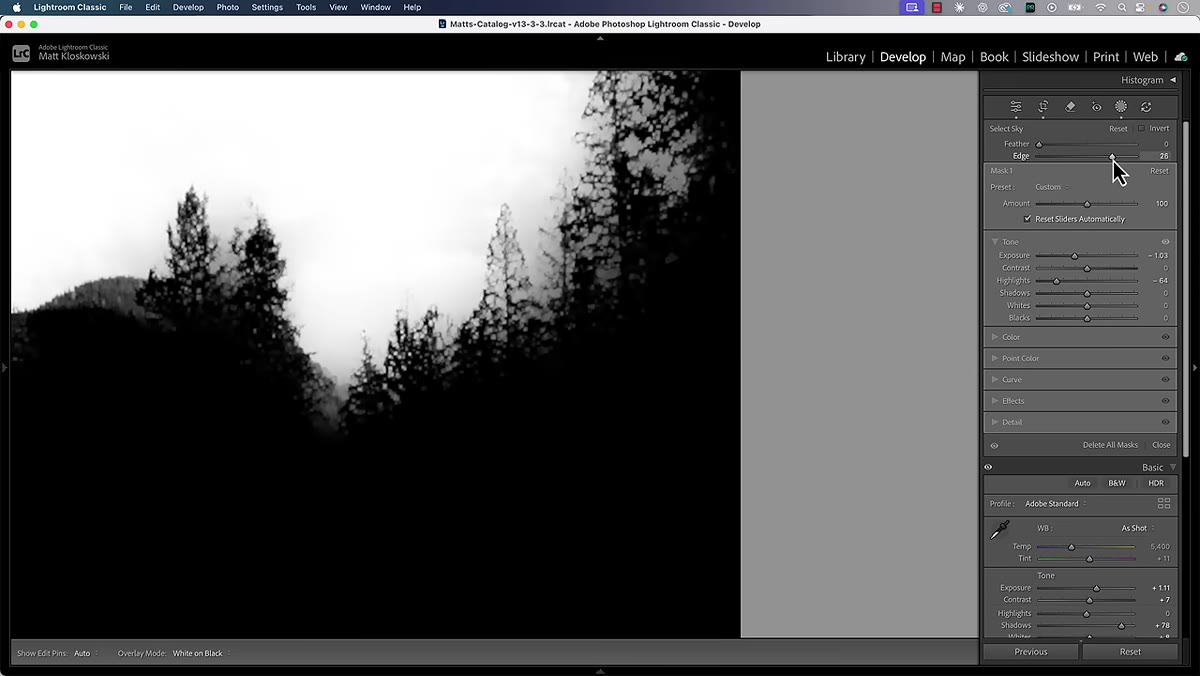 Edge slider pulled left, sky mask contracting away from tree edges
The Edge Adjustment slider is centered at zero, which means you can move it in either direction. Dragging left contracts the mask, pulling the selected area inward away from its edges. Dragging right expands it, pushing the selection outward into adjacent areas. This is the slider that handles halos. If you have feathered the edge and still see a bright fringe around a tree line or a subject’s shoulder, contracting the mask slightly will pull that fringe back inside the selection boundary where it belongs. If your mask is cutting off too soon and leaving an obvious line of unaffected pixels at the edge, expanding it slightly closes that gap. Matt’s framing here is honest and useful: you are not creating a perfect mask with this slider. You are nudging the boundary so that imperfections fall in places the eye does not naturally go.
Edge slider pulled left, sky mask contracting away from tree edges
The Edge Adjustment slider is centered at zero, which means you can move it in either direction. Dragging left contracts the mask, pulling the selected area inward away from its edges. Dragging right expands it, pushing the selection outward into adjacent areas. This is the slider that handles halos. If you have feathered the edge and still see a bright fringe around a tree line or a subject’s shoulder, contracting the mask slightly will pull that fringe back inside the selection boundary where it belongs. If your mask is cutting off too soon and leaving an obvious line of unaffected pixels at the edge, expanding it slightly closes that gap. Matt’s framing here is honest and useful: you are not creating a perfect mask with this slider. You are nudging the boundary so that imperfections fall in places the eye does not naturally go.
Step 6: Return to Color View and Evaluate the Final Result
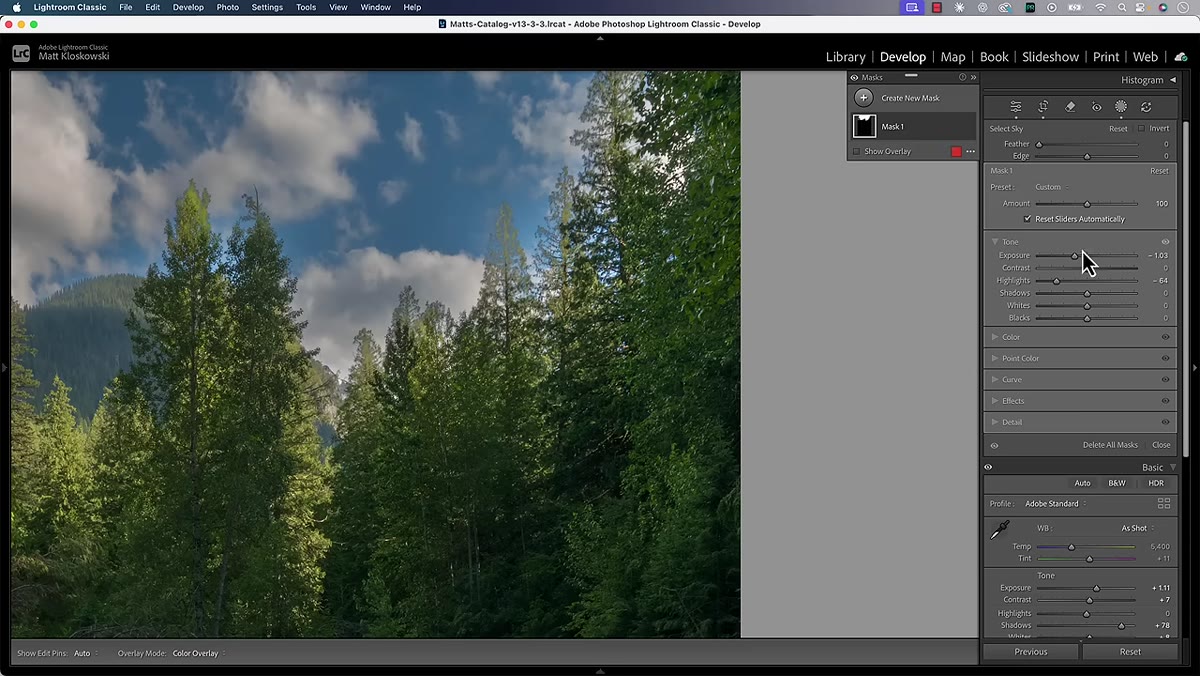 Overlay turned off, color view showing cleaned-up sky edge
Switch your overlay back to color view and turn it off entirely so you are seeing the actual image. Toggle the mask on and off a few times by clicking the visibility icon to compare. What you are looking for is a transition that reads as natural, one where the adjustment feels like it belongs to that area of the image rather than sitting on top of it. Dial your adjustment back to your intended working value if you exaggerated it for diagnostic purposes. The edge behavior under a subtle adjustment will be even cleaner than what you saw at the extreme.
Overlay turned off, color view showing cleaned-up sky edge
Switch your overlay back to color view and turn it off entirely so you are seeing the actual image. Toggle the mask on and off a few times by clicking the visibility icon to compare. What you are looking for is a transition that reads as natural, one where the adjustment feels like it belongs to that area of the image rather than sitting on top of it. Dial your adjustment back to your intended working value if you exaggerated it for diagnostic purposes. The edge behavior under a subtle adjustment will be even cleaner than what you saw at the extreme.
What I’d Add from My Own Experience
I work almost exclusively on faces and skin, so my masking challenges look a little different than a sky selection. But these sliders are just as useful when you are masking in a skin-smoothing adjustment or isolating a jaw line from a background. The edge problem I run into most often in beauty work is a subtle color shift bleeding onto hair edges when I am adjusting skin tone with a Select Subject mask. A small Edge Adjustment contraction, usually between -5 and -15, pulls that color bleed back without requiring any manual brush cleanup. Combined with a gentle Feather of around 8 to 12, the result is clean enough that I have actually stopped reaching for the brush tool as a first response when an edge looks wrong.
The biggest shift this update asks of us is a simple one: stop treating AI mask edges as final. Think of the AI selection as a first draft and these two sliders as your immediate second pass. Most of the time, thirty seconds with Feather and Edge Adjustment is all the refinement a mask needs. Watch the full tutorial on YouTube to see Matt walk through the complete workflow with before and after comparisons that make the difference unmistakably clear.
Comments (1)
Great breakdown. The step-by-step approach really helps.
Leave a Comment