There’s a moment in almost every edit where I think, “I know what this image needs, I just can’t get there fast enough.” For a long time, Lightroom’s local adjustment tools were the bottleneck. The old radial and gradient filters got the job done, but organizing multiple masks on a complex image felt like untangling earbuds in the dark. When Adobe overhauled the masking panel, I’ll be honest, I skimmed the release notes, thought “neat,” and kept using Photoshop for anything serious. That was a mistake.
In this Nigel Danson tutorial, he works through a real landscape edit from Ireland using the updated Lightroom masking tools, and watching a photographer with his level of deliberateness move through the panel was the thing that finally made it click for me. Even though his work is landscape-focused, the underlying logic of how he builds, layers, and visualizes masks is directly transferable to portrait and beauty work. The organizational thinking alone is worth stealing. Watch the full tutorial on YouTube and follow along with your own image open.
What struck me most is that Nigel doesn’t treat the masking panel as a special-occasion tool. He uses it as the spine of his entire edit, doing a light global pass first and then using masks to push specific areas exactly where he wants them. That’s the workflow I now use on skin, backgrounds, and hair in beauty work. Here’s how it breaks down.
Step 1: Do a Global Edit First, Then Stop
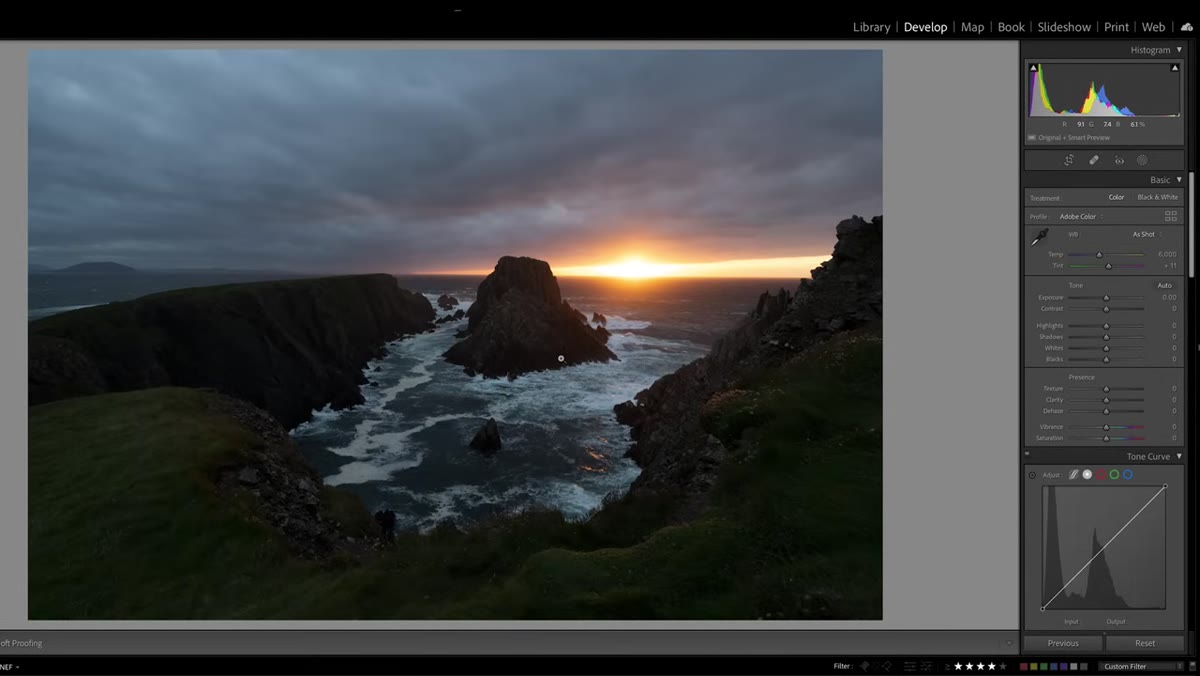 Basic exposure and contrast sliders being adjusted globally
Before touching a single mask, Nigel makes a global pass through the basic panel. He nudges exposure, lifts shadows to open up detail, and adds a touch of clarity. The point is not to finish the image here. The point is to get the image to a workable middle ground so that your masks are responding to a stable base, not a flat raw file.
Basic exposure and contrast sliders being adjusted globally
Before touching a single mask, Nigel makes a global pass through the basic panel. He nudges exposure, lifts shadows to open up detail, and adds a touch of clarity. The point is not to finish the image here. The point is to get the image to a workable middle ground so that your masks are responding to a stable base, not a flat raw file.
In portrait work, I do the same thing: set white balance, bring down highlights if skin is blowing out, and lift shadows enough that I can see what I’m working with. Treat this stage as rough-framing a painting before you add detail. You are making decisions about direction, not destination.
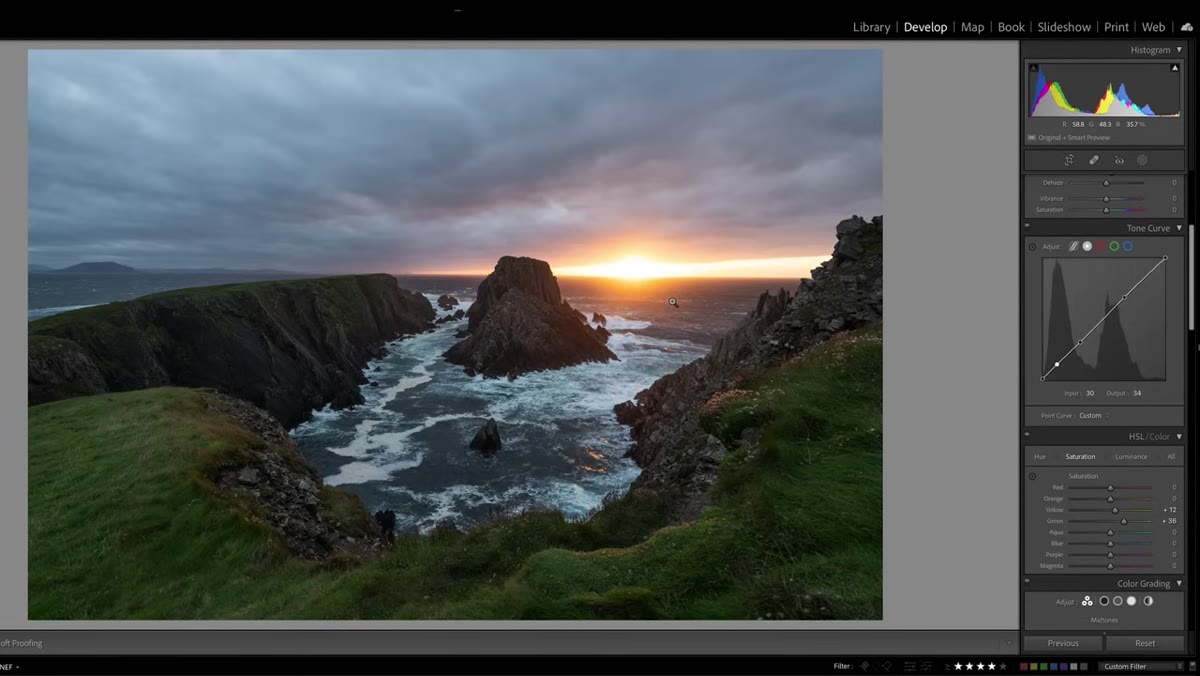
Step 2: Use the Tone Curve to Set Your Contrast Style
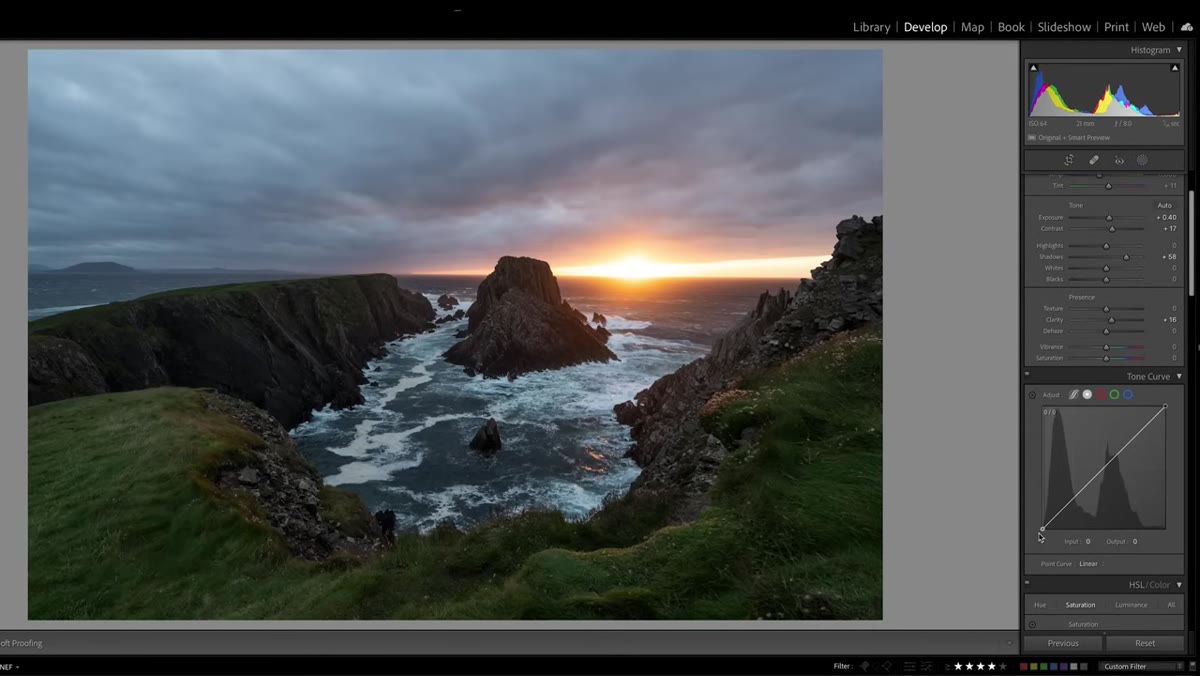 Tone curve panel open with a gentle S-curve applied
Once the sliders are in a reasonable place, Nigel moves to the tone curve to shape the overall contrast feel before masking begins. He lifts the black point slightly so the deepest shadows hold some detail and then pulls a soft S-shape into the midtones and highlights. This is a stylistic signature move, and it matters because it tells you something important: get your global contrast feel locked in before you start making local adjustments, or you’ll spend the rest of the edit chasing your tail.
Tone curve panel open with a gentle S-curve applied
Once the sliders are in a reasonable place, Nigel moves to the tone curve to shape the overall contrast feel before masking begins. He lifts the black point slightly so the deepest shadows hold some detail and then pulls a soft S-shape into the midtones and highlights. This is a stylistic signature move, and it matters because it tells you something important: get your global contrast feel locked in before you start making local adjustments, or you’ll spend the rest of the edit chasing your tail.
For skin retouching, I have a curve preset I apply at this stage that I call “The Godfather” (yes, I name all my presets after movies). It does almost nothing on its own, just softens the contrast slightly and warms the midtones, but it gives me a consistent foundation that makes every subsequent mask easier to dial in.
Step 3: Open the Masking Panel and Get Oriented
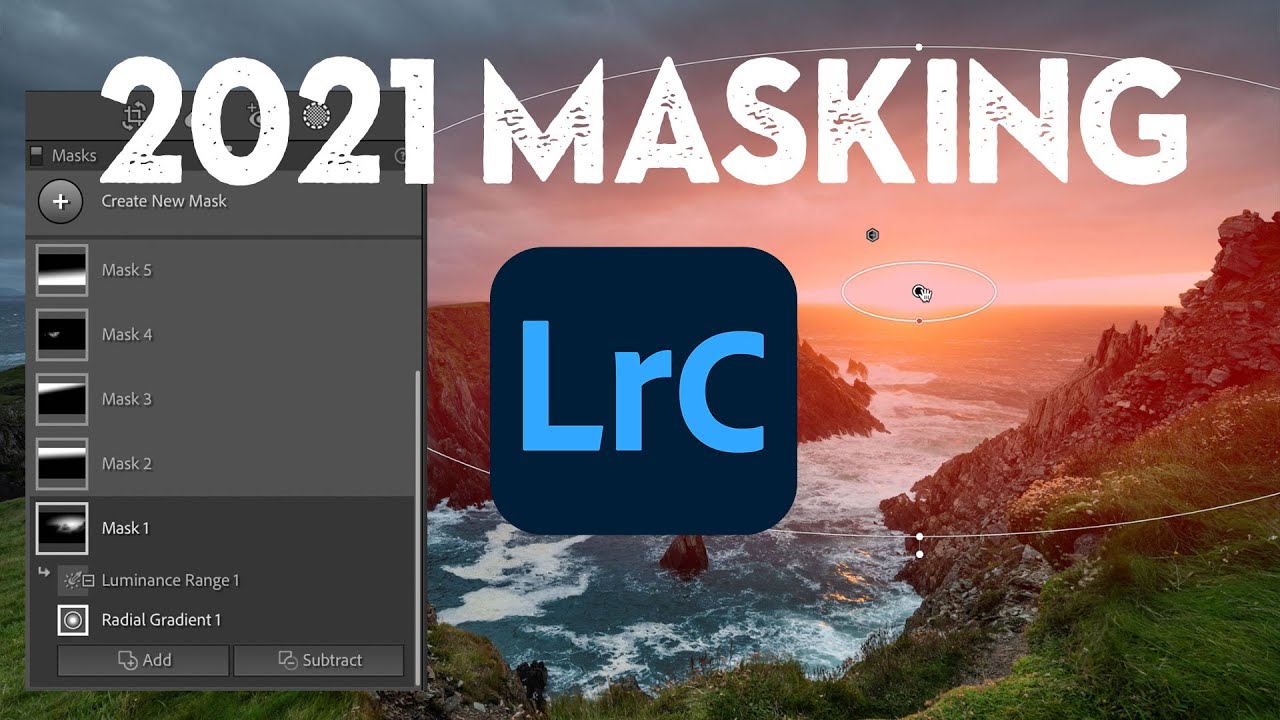
 New Lightroom masking panel open showing mask list and options
The new masking panel lives in the toolbar at the top right of the Develop module. When you click it, you get a clean panel that lists every mask you create as its own labeled layer. This is the real upgrade. Previously, local adjustments were stacked in a single list and it was easy to lose track of what was doing what. Now each mask is named, visible, and can be toggled on and off independently.
New Lightroom masking panel open showing mask list and options
The new masking panel lives in the toolbar at the top right of the Develop module. When you click it, you get a clean panel that lists every mask you create as its own labeled layer. This is the real upgrade. Previously, local adjustments were stacked in a single list and it was easy to lose track of what was doing what. Now each mask is named, visible, and can be toggled on and off independently.
Spend 30 seconds just clicking around the panel before you start editing. Notice the options available: Subject, Sky, Background, Object, Luminance Range, Color Range, and the classic Brush and Gradient tools. In portrait work, “Subject” is the one I use most, because Lightroom’s AI subject detection on faces and hair has gotten genuinely impressive over the past year.
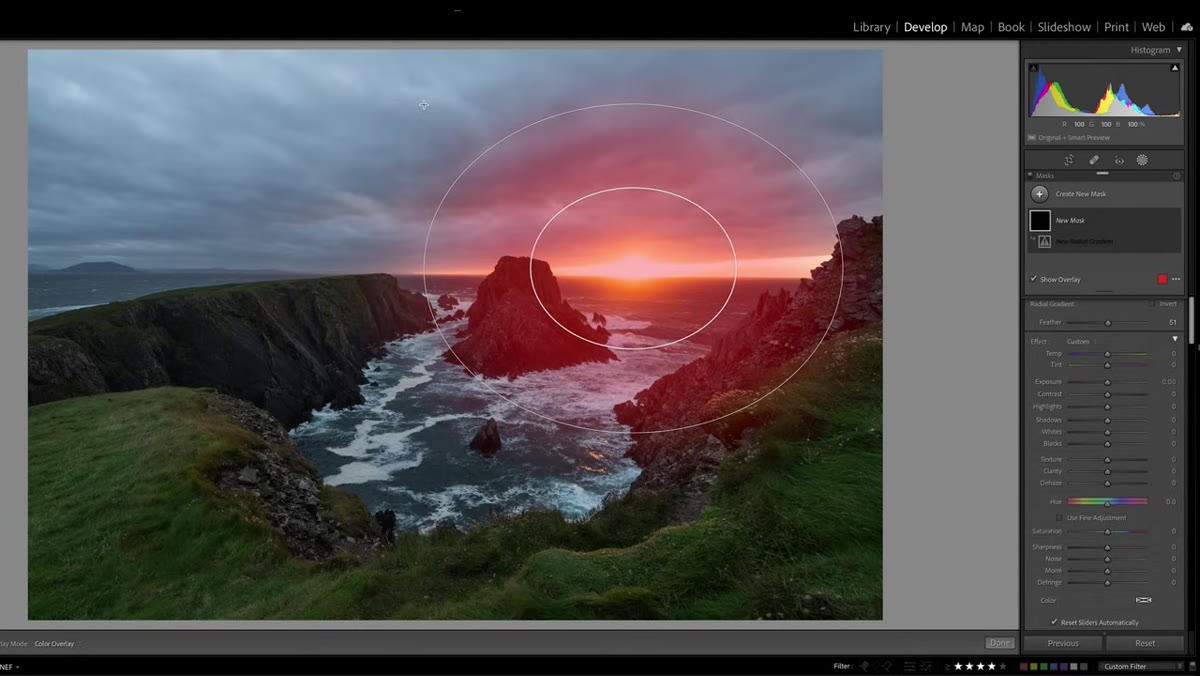
Step 4: Create a Targeted Mask for Your Key Area
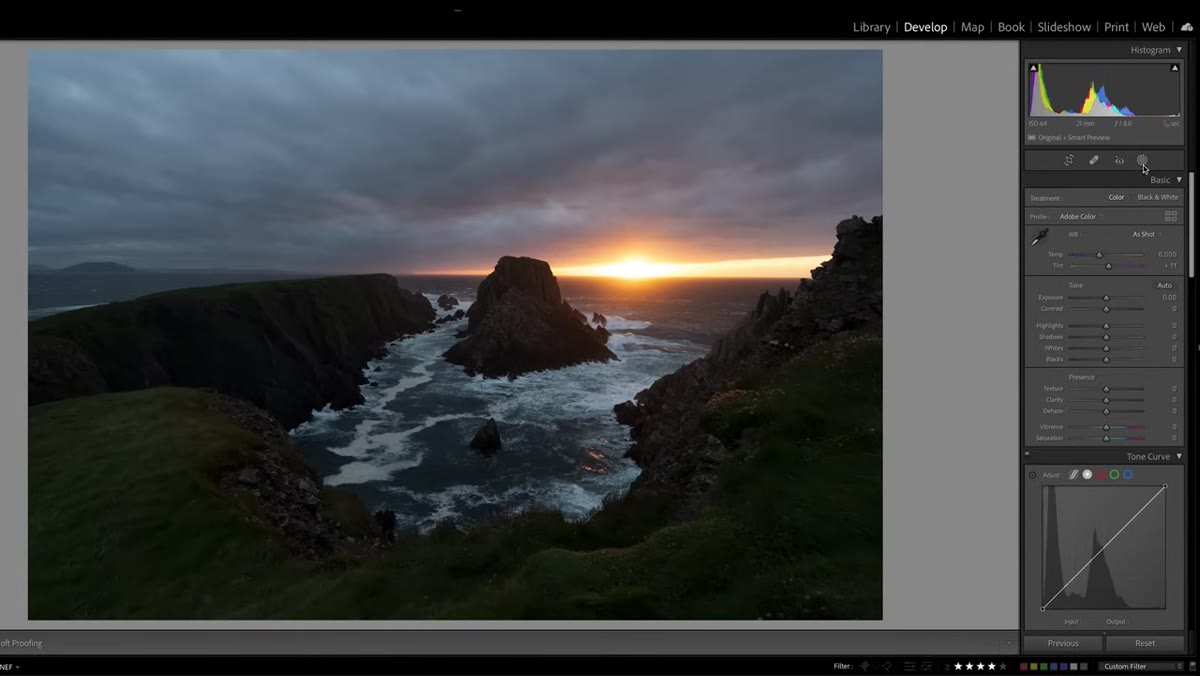
 A luminance range mask being drawn over the bright sky area
Nigel uses a luminance range mask to isolate the bright sky and sun area so he can control it separately from the foreground. The luminance range tool lets you target pixels within a specific brightness range, which means you can feather your selection based on tonal value rather than drawing a hard edge.
A luminance range mask being drawn over the bright sky area
Nigel uses a luminance range mask to isolate the bright sky and sun area so he can control it separately from the foreground. The luminance range tool lets you target pixels within a specific brightness range, which means you can feather your selection based on tonal value rather than drawing a hard edge.
In beauty retouching, I use this same logic for targeting highlights on skin. Instead of brushing over cheekbones manually, a luminance range mask can isolate the upper third of skin brightness and let me reduce shine or add a touch of warmth to just that zone. The feathering handles the transition so it never looks painted.
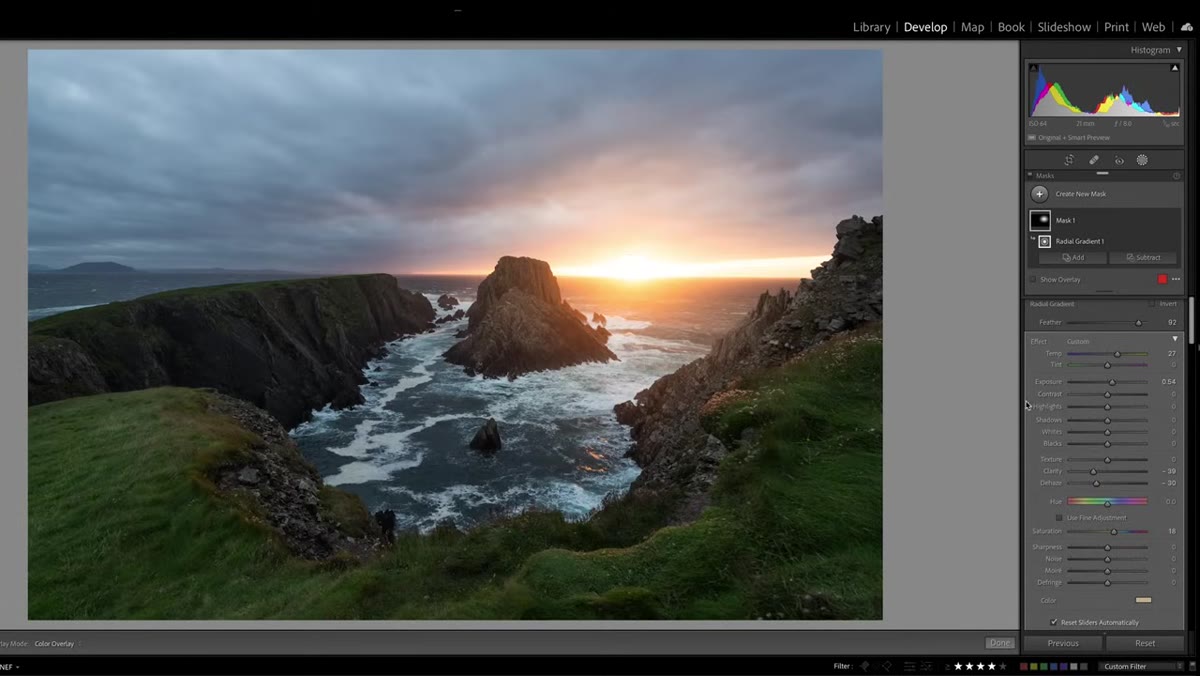
Step 5: Stack Masks and Name Everything
 Multiple masks listed in the masking panel, each targeting a different zone
One of Nigel’s clearest habits is creating separate masks for separate problems rather than trying to do too much with one adjustment. He builds a mask for the sky, a mask for the foreground, and refines each one independently. The panel keeps them organized so he can go back and adjust any single mask without disturbing the others.
Multiple masks listed in the masking panel, each targeting a different zone
One of Nigel’s clearest habits is creating separate masks for separate problems rather than trying to do too much with one adjustment. He builds a mask for the sky, a mask for the foreground, and refines each one independently. The panel keeps them organized so he can go back and adjust any single mask without disturbing the others.
Name your masks as you go. Double-click the mask label and rename it something specific like “sky exposure” or “foreground shadow lift.” Thirty seconds of naming saves ten minutes of confusion when you come back to a file the next day. I learned this the hard way after delivering a set of beauty edits and not being able to remember which mask was controlling which part of the skin when a client requested revisions.
Step 6: Refine with Brush Additions and Subtractions
 Brush tool being used to subtract from the edge of an active mask
Once a mask is created with one of the AI or range tools, you can add to it or subtract from it using the brush. Nigel does this to clean up mask edges where the automatic selection made an imperfect call. The key detail is that you are not starting over, you are refining. Add and Subtract are separate modes inside the mask, which means you have full control without creating a new mask.
Brush tool being used to subtract from the edge of an active mask
Once a mask is created with one of the AI or range tools, you can add to it or subtract from it using the brush. Nigel does this to clean up mask edges where the automatic selection made an imperfect call. The key detail is that you are not starting over, you are refining. Add and Subtract are separate modes inside the mask, which means you have full control without creating a new mask.
In hair and skin work, this is where I spend most of my time. Subject detection will often grab a stray piece of background or miss a flyaway hair, and a few seconds of brush subtraction fixes it precisely.
What I’d Add From My Own Work
The one caveat I’d offer, especially for beauty retouchers who edit faces more than landscapes, is that Lightroom masking is excellent for global skin tone adjustments and lighting corrections, but it is not a replacement for frequency separation or healing work in Photoshop. Use Lightroom to handle the light, color, and atmosphere of your image. Use Photoshop for the texture-level skin work. The two tools are complementary, not competing.
I now think of Lightroom masking as the edit I do in the same session as my Lightroom import, before I ever open Photoshop. It gets the image 70 percent of the way there and makes the Photoshop work faster because the light is already shaped the way I want it.
The single most important thing Nigel’s tutorial demonstrated is this: masking is not a finishing step, it is the structure of your edit. Build it deliberately, label it clearly, and you will move faster and make better decisions at every stage. Watch the full tutorial on YouTube to see him work through it in real time on a real image.
Comments
Leave a Comment