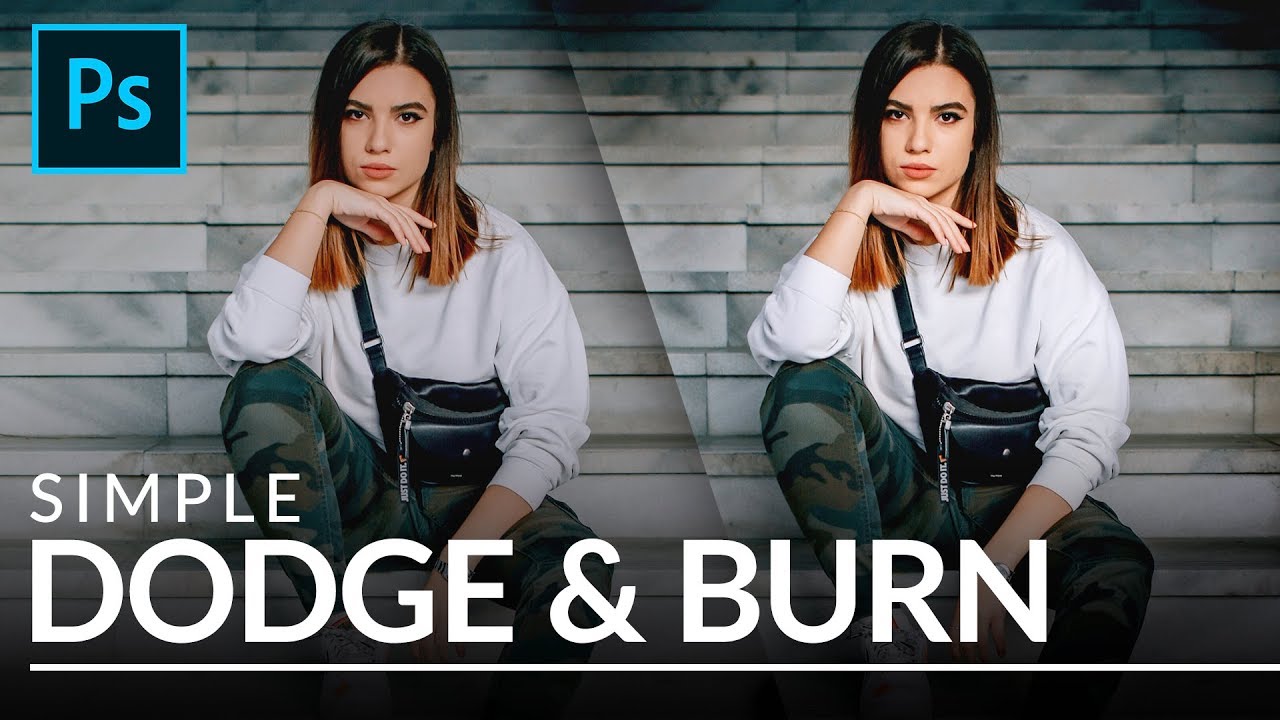
For a long time, my dodge and burn work looked exactly like what it was: painted-on brightness with no relationship to the actual light in the image. I had a client early in my retouching career who told me, pretty directly, that the skin in her campaign shots looked “plastic.” She wasn’t wrong. I was using the literal Dodge and Burn tools, dragging them across the skin in big sweeping strokes, and wondering why nothing ever looked natural. The problem wasn’t the concept. Dodge and burn is one of the most powerful tools in portrait retouching. The problem was that I wasn’t letting the image’s own tonal information guide the effect.
That’s exactly what this technique from Aaron Nace over at PHLEARN solves. Watch the full tutorial on YouTube before or after reading through this, because seeing it in motion helps. But if you want a breakdown you can actually follow step by step at your own pace, here’s how the whole method works and why it’s become a permanent part of how I work on beauty images.
The core idea is elegant: instead of painting brightness and darkness onto your image freehand, you use a Curves adjustment layer for each effect, and then you use the image’s own luminosity data to determine where those adjustments appear. The result blends seamlessly because it literally comes from the photograph itself.
Step 1: Create a Curves Adjustment Layer for Dodging
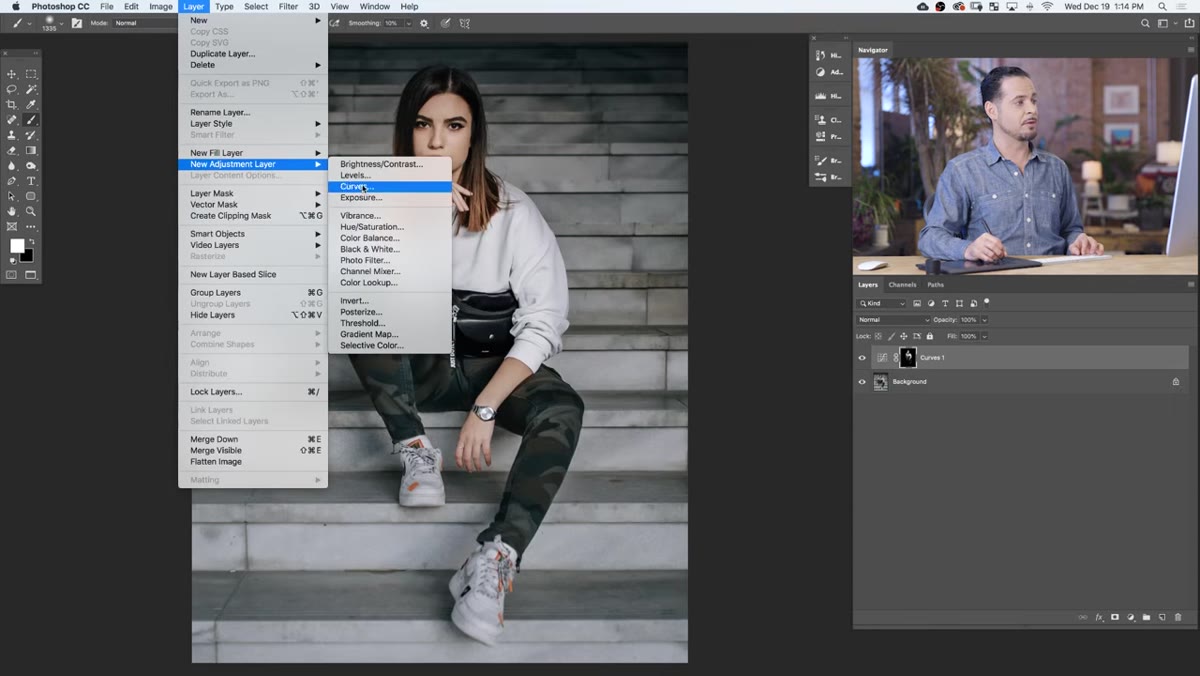
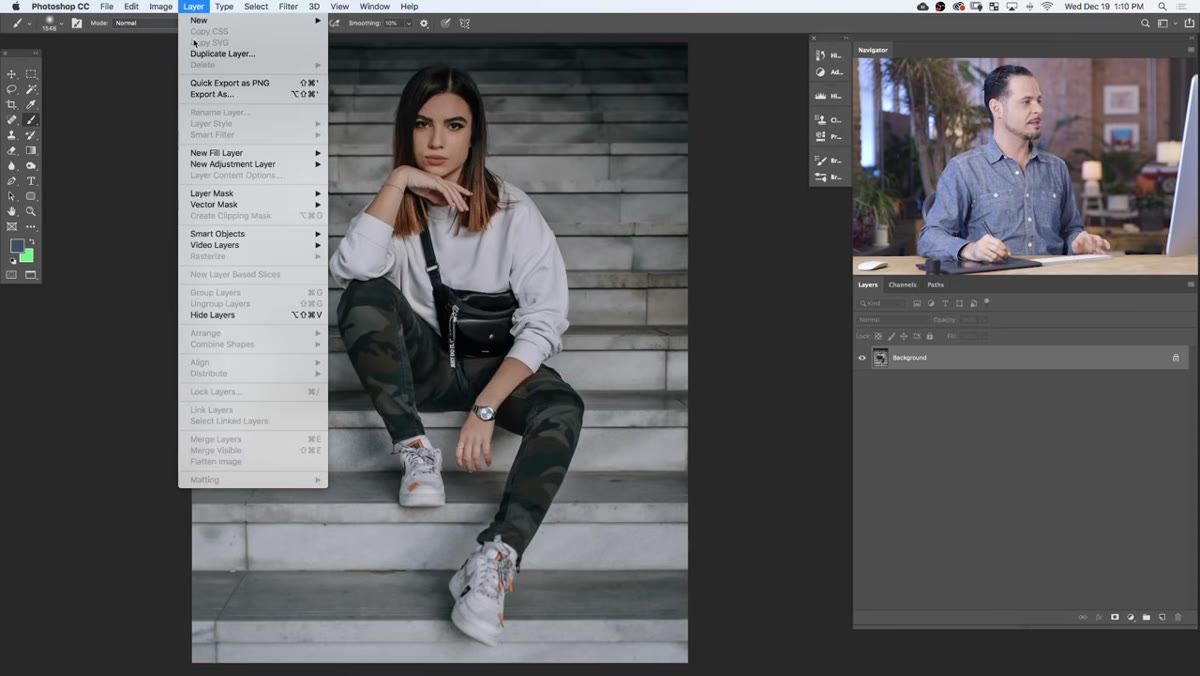 New Curves adjustment layer being added via Layer menu
Go to Layer, then New Adjustment Layer, then Curves. This will be your dodge layer. In the Curves panel, pull the curve upward to brighten the image. You don’t need to be subtle yet because you’ll control the intensity later. The goal here is just to create a visible brightening effect that you can refine.
New Curves adjustment layer being added via Layer menu
Go to Layer, then New Adjustment Layer, then Curves. This will be your dodge layer. In the Curves panel, pull the curve upward to brighten the image. You don’t need to be subtle yet because you’ll control the intensity later. The goal here is just to create a visible brightening effect that you can refine.
Once the layer is created, invert the layer mask to black by pressing Ctrl+I (Command+I on Mac). This hides the brightening effect entirely. You’re starting from a state where the adjustment exists but is invisible, and you’ll paint it back in only where you want it.
Step 2: Paint the Areas You Want to Dodge
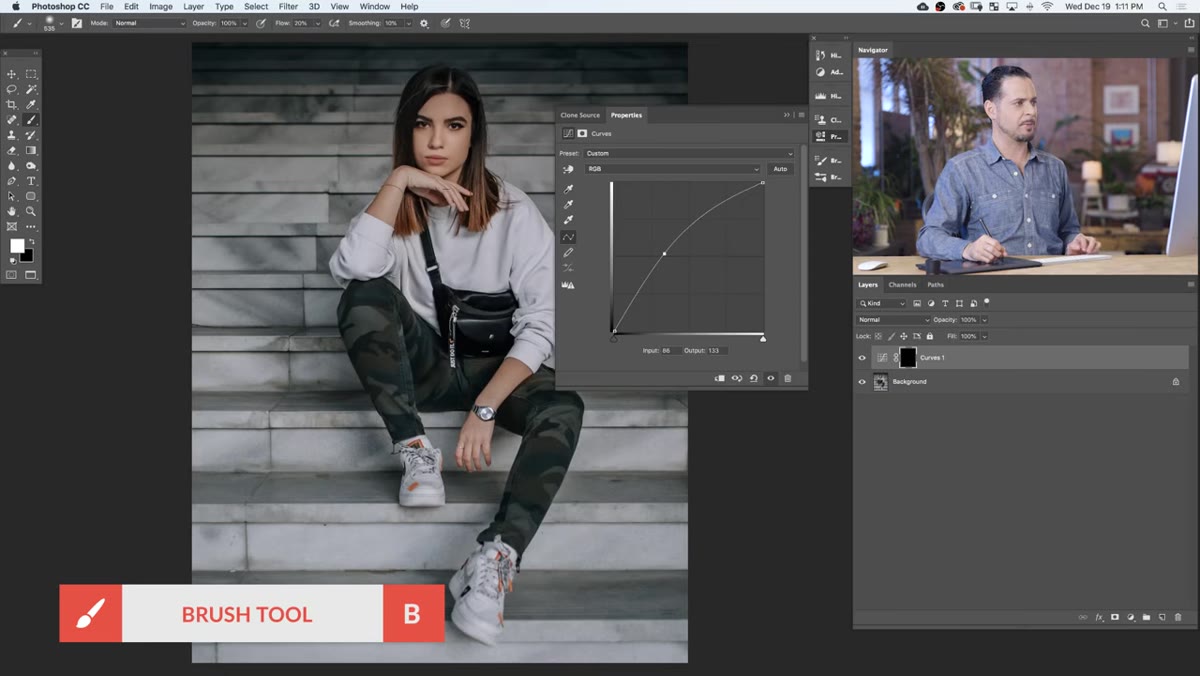 White brush strokes being painted on black layer mask
With the layer mask selected, pick a soft-edged white brush and paint over the areas of the face or image you want to brighten. For portraits, this typically means the high points of the face: cheekbones, the bridge of the nose, the forehead, the chin. Paint loosely and intuitively at this stage. It doesn’t matter if it looks rough because the next step is where the magic happens.
White brush strokes being painted on black layer mask
With the layer mask selected, pick a soft-edged white brush and paint over the areas of the face or image you want to brighten. For portraits, this typically means the high points of the face: cheekbones, the bridge of the nose, the forehead, the chin. Paint loosely and intuitively at this stage. It doesn’t matter if it looks rough because the next step is where the magic happens.
You’ll notice at this point that the brightening looks a bit flat and obvious, like a light wash sitting on top of the skin rather than coming from within it. That’s normal. You haven’t applied the blending step yet.
Step 3: Use Apply Image to Blend the Dodge
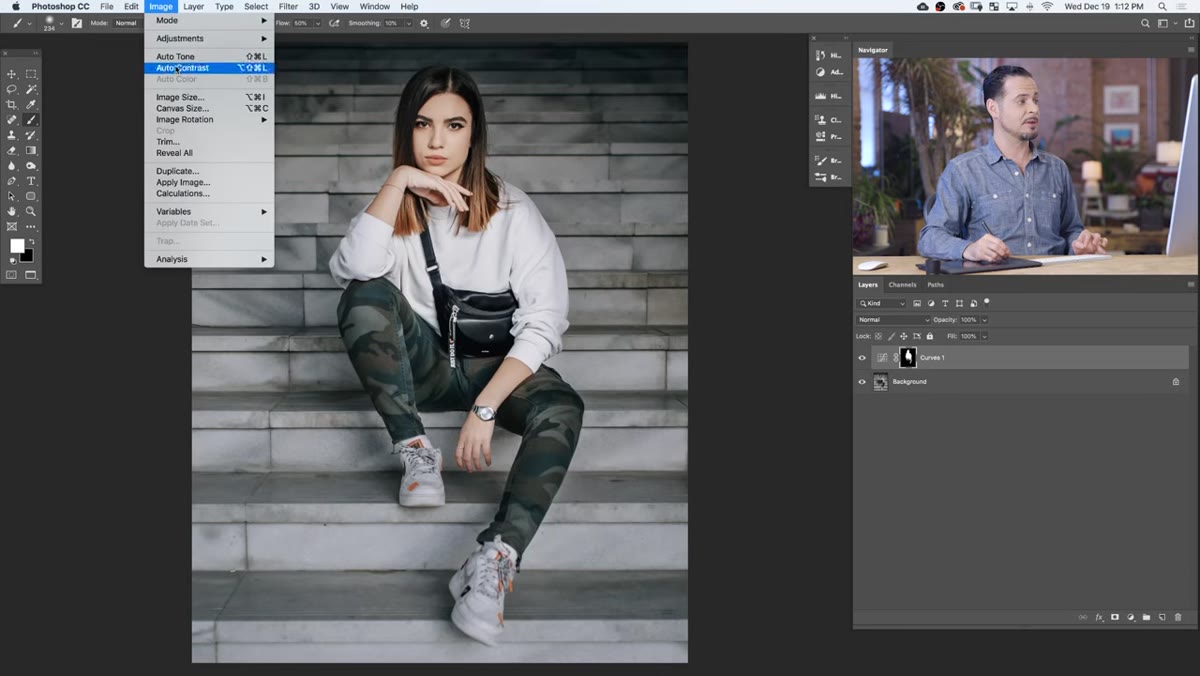 Apply Image dialog box open with Multiply blending mode selected
This is the step that changes everything. With the layer mask still selected, go to Image and then Apply Image. In the dialog box, leave the defaults in place: Layer set to Merged, Channel set to RGB, Blending Mode set to Multiply, Opacity at 100%. Make sure the Invert checkbox is NOT checked. Hit OK.
Apply Image dialog box open with Multiply blending mode selected
This is the step that changes everything. With the layer mask still selected, go to Image and then Apply Image. In the dialog box, leave the defaults in place: Layer set to Merged, Channel set to RGB, Blending Mode set to Multiply, Opacity at 100%. Make sure the Invert checkbox is NOT checked. Hit OK.
What this does is essentially bake the image’s own tonal information into the mask. The brightening effect will now be strongest in the areas that were already light in the original photo, and it will fall off naturally in the shadows. If you hold Alt (Option on Mac) and click the layer mask thumbnail, you can see exactly how this looks. The mask is no longer a flat hand-painted shape. It’s a nuanced, image-aware map.
Step 4: Create a Curves Adjustment Layer for Burning
 Second Curves layer added, curve pulled downward to darken
Repeat the setup from Step 1, but this time pull the curve downward to darken the image. This is your burn layer. Invert the mask to black the same way, pressing Ctrl+I or Command+I, so the darkening effect starts hidden.
Second Curves layer added, curve pulled downward to darken
Repeat the setup from Step 1, but this time pull the curve downward to darken the image. This is your burn layer. Invert the mask to black the same way, pressing Ctrl+I or Command+I, so the darkening effect starts hidden.
Then use a large, soft-edged white brush to paint along the outer edges of the image and into the shadow areas of the face. For portrait retouching, burning often goes along the sides of the face, under the jaw, and into areas where you want to deepen contrast and add dimension. Again, don’t worry about precision at this stage.
Step 5: Use Apply Image Again, This Time with Invert Checked
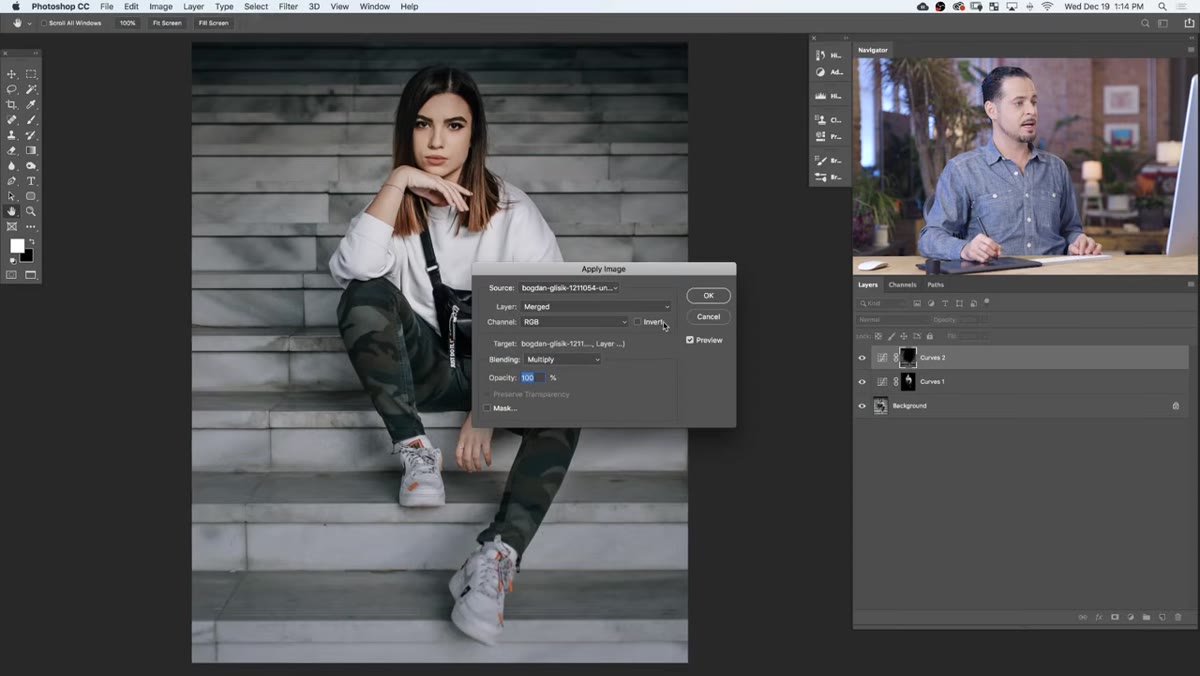 Apply Image dialog with Invert checkbox selected for burn layer
Go back to Image and Apply Image with the burn layer mask selected. The settings are the same as before: Merged, RGB, Multiply, 100%, but this time check the Invert box before hitting OK.
Apply Image dialog with Invert checkbox selected for burn layer
Go back to Image and Apply Image with the burn layer mask selected. The settings are the same as before: Merged, RGB, Multiply, 100%, but this time check the Invert box before hitting OK.
This is the key difference between the dodge and burn applications of this technique. For dodging, you want the effect strongest in the highlights, so you don’t invert. For burning, you want the effect strongest in the shadows, so you do invert. The mask updates to reflect the darker areas of the image, and the darkening effect now falls naturally into the places that were already in shadow.
Step 6: Adjust Intensity Anytime You Want
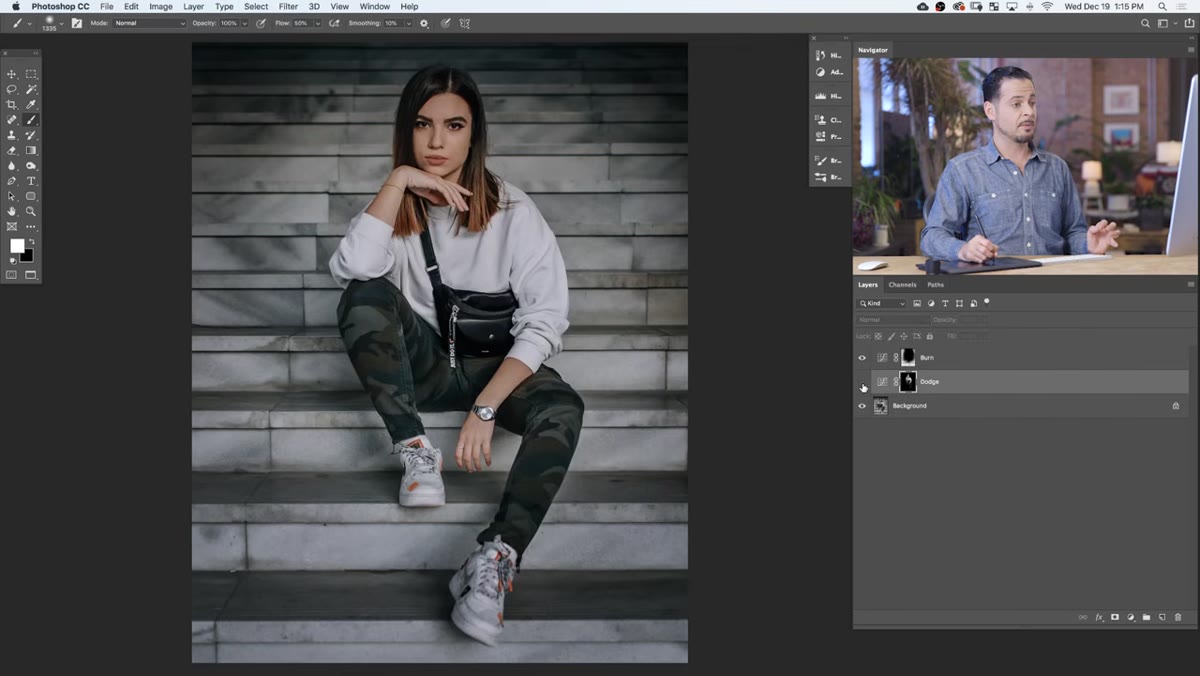 Double-clicking Curves thumbnail to reopen and adjust the curve
Because everything is built on adjustment layers, nothing is permanent. If your dodge layer is too aggressive or too subtle, just double-click the Curves thumbnail and move the curve. Same for the burn layer. The mask stays exactly as it is. You’re only changing the intensity of the adjustment it controls.
Double-clicking Curves thumbnail to reopen and adjust the curve
Because everything is built on adjustment layers, nothing is permanent. If your dodge layer is too aggressive or too subtle, just double-click the Curves thumbnail and move the curve. Same for the burn layer. The mask stays exactly as it is. You’re only changing the intensity of the adjustment it controls.
This is where non-destructive editing really pays off in a professional workflow. Clients change their minds. Art directors want a second pass. You come back to a file six months later for a reuse request. Being able to fine-tune without rebuilding anything from scratch is not a luxury. It’s a necessity.
One Thing I’d Add from My Own Work
In beauty retouching specifically, I often run this entire process twice: once at the skin level to address overall dimension, and once zoomed in much closer to address smaller texture-level areas like pores and fine lines. The technique scales really well for micro-level work. Just reduce your brush size significantly and lower the opacity of your initial curve adjustment. For beauty campaigns where skin texture is under a microscope, that second pass at close range is what separates a finished image from one that’s almost there.
The single most important thing to take away from this technique is that your image already contains the information you need to make your edits look real. Apply Image is the bridge between your adjustments and that information, and once you start using it this way, it’s hard to go back to guessing.
Watch the full tutorial on YouTube to see Aaron walk through the whole thing on an actual portrait. His explanation of why the Invert checkbox matters for the burn step is especially worth hearing in his own words.
Comments (1)
Love how you break down complex stuff into manageable steps.
Leave a Comment