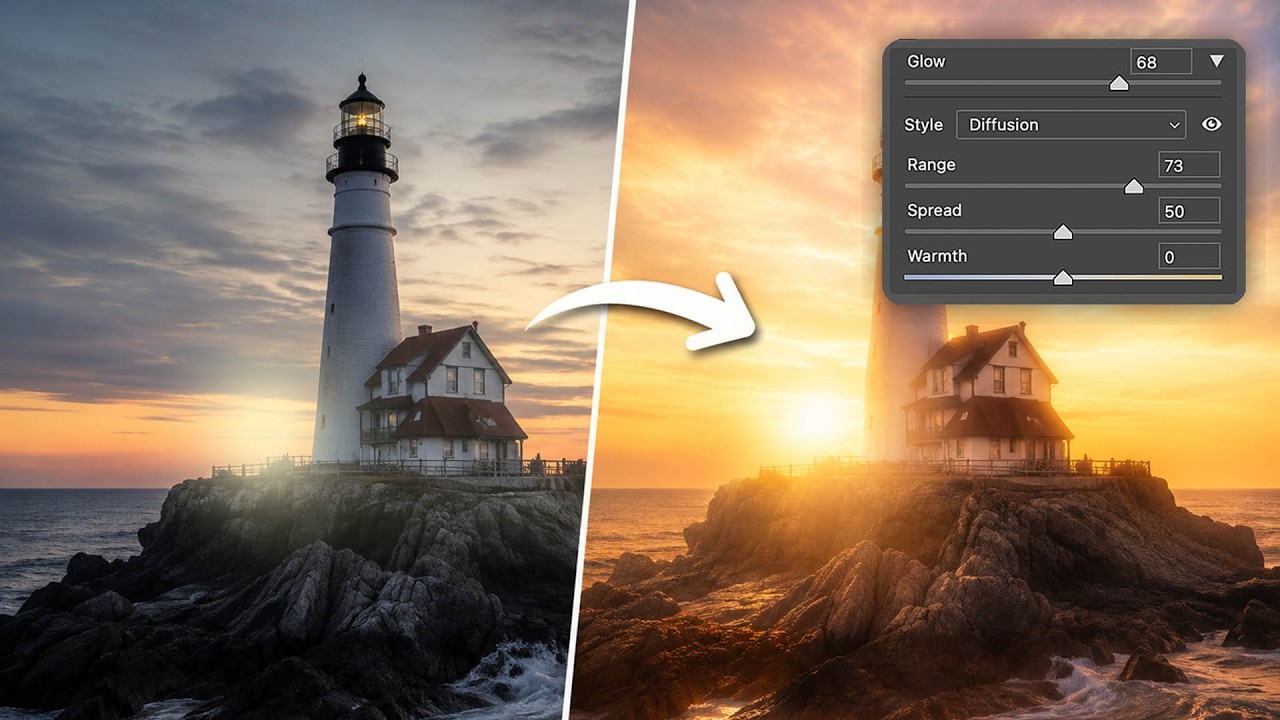
There’s a certain kind of soft luminosity in beauty photography that clients always ask for and can never quite describe. They’ll send a reference image and say something like “can you make it feel like that?” What they’re pointing at, nine times out of ten, is some version of the glow effect - that gentle, diffused light that makes skin look lit from within rather than just lit from outside. I’ve been chasing that look since my early retouching days, and for a long time it meant stacking duplicate layers, blurring them, changing blend modes, masking carefully, and hoping the whole thing held together when I flattened it. It worked, but it was fragile and fiddly and not something I could easily hand off or revisit.
That’s why I was genuinely excited when I came across this Matt Kloskowski tutorial on a new Glow feature built directly into Adobe Camera Raw. Watch the full tutorial on YouTube - it’s worth your time even if you’ve been doing this effect for years. What Adobe has done here isn’t just add a slider. They’ve essentially replaced an entire workflow with something non-destructive, tweakable, and available right on the raw file. For portrait and beauty work specifically, that matters a lot. Let me walk you through exactly how it works.
Step 1: Open Your Image in Camera Raw
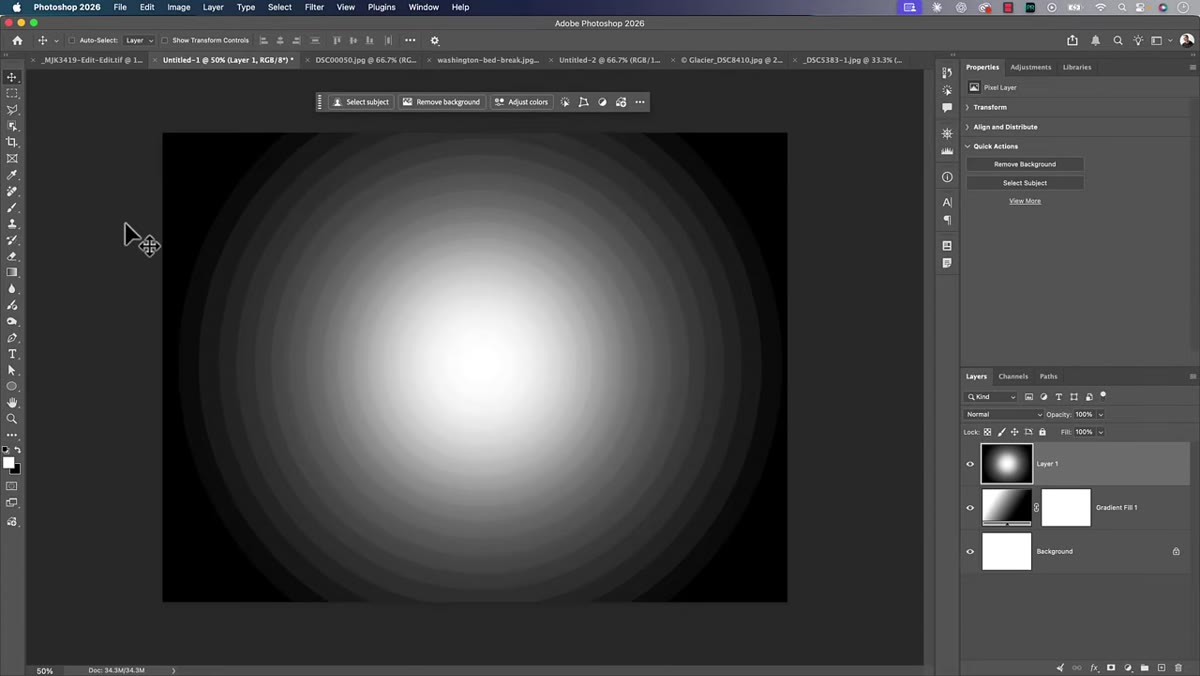 Photoshop open with Camera Raw filter menu visible
If you’re opening a raw file directly into Photoshop, Camera Raw will launch automatically and you’ll have access to every feature discussed here. But if you’re already working on a layered PSD or a JPEG that’s open in Photoshop, don’t close everything down. Go to Filter, then choose Camera Raw Filter. The Glow feature works through the filter version too, which means you can apply it at almost any point in your retouching process without starting over.
Photoshop open with Camera Raw filter menu visible
If you’re opening a raw file directly into Photoshop, Camera Raw will launch automatically and you’ll have access to every feature discussed here. But if you’re already working on a layered PSD or a JPEG that’s open in Photoshop, don’t close everything down. Go to Filter, then choose Camera Raw Filter. The Glow feature works through the filter version too, which means you can apply it at almost any point in your retouching process without starting over.
One practical tip: if you want to keep things non-destructive inside a layered document, stamp your visible layers to a new layer first (Ctrl/Cmd + Alt/Option + Shift + E), then apply the Camera Raw Filter to that stamped layer as a Smart Object. That way you can come back and adjust the glow settings any time.
Step 2: Locate the Glow Setting in the Effects Panel
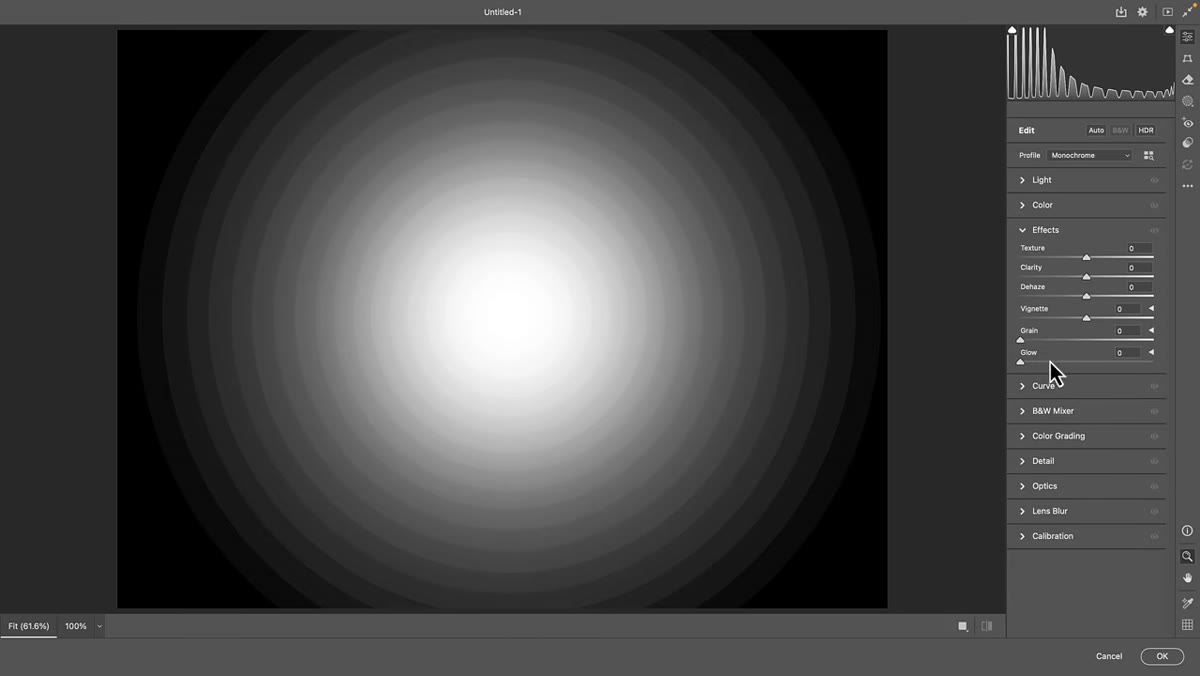 Effects panel open showing new Glow slider in Camera Raw
Inside Camera Raw, look for the Effects panel. This is where you’ll find vignetting and grain controls, and now, the new Glow setting. There’s a small triangle next to the Glow label - that’s Adobe’s way of telling you there’s more inside. Click it to expand the full set of controls. You’ll see a main Amount slider along with Style and Range options underneath.
Effects panel open showing new Glow slider in Camera Raw
Inside Camera Raw, look for the Effects panel. This is where you’ll find vignetting and grain controls, and now, the new Glow setting. There’s a small triangle next to the Glow label - that’s Adobe’s way of telling you there’s more inside. Click it to expand the full set of controls. You’ll see a main Amount slider along with Style and Range options underneath.
Before you touch anything, it helps to understand what the Glow effect is actually targeting. This is primarily a highlights-focused tool. It works in the brighter regions of your image and doesn’t do much in the shadows. For portrait and beauty work, that behavior is actually ideal - it picks up the light on cheekbones, the brightness in skin, and the catchlights in eyes without muddying the darker areas.
Step 3: Set Your Glow Amount
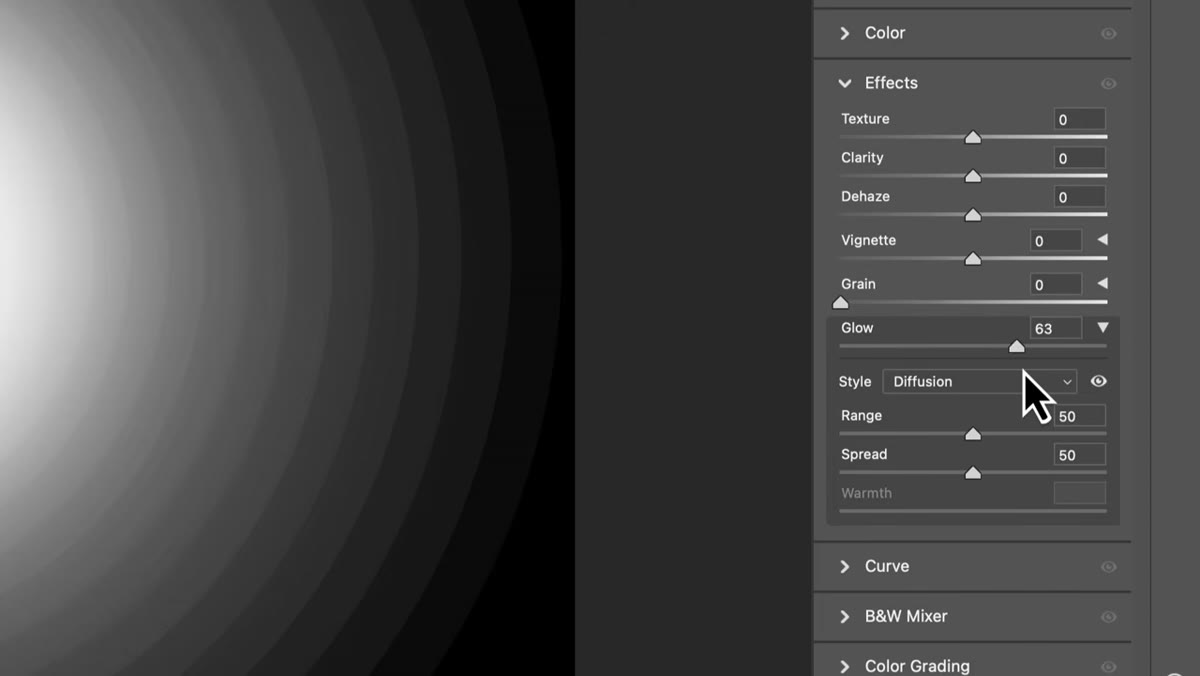 Glow Amount slider being dragged from zero to 100
The Amount slider controls how much glow is applied. Dragging it from zero toward 100 gives you an immediate sense of the effect’s character. For beauty retouching, I rarely go above 40 to 50 on the amount - a heavy glow reads as an effect rather than as light, and the goal in most beauty work is to make the retouching invisible. Start higher to understand what the tool is doing, then pull back to where it feels like it belongs to the photo rather than sitting on top of it.
Glow Amount slider being dragged from zero to 100
The Amount slider controls how much glow is applied. Dragging it from zero toward 100 gives you an immediate sense of the effect’s character. For beauty retouching, I rarely go above 40 to 50 on the amount - a heavy glow reads as an effect rather than as light, and the goal in most beauty work is to make the retouching invisible. Start higher to understand what the tool is doing, then pull back to where it feels like it belongs to the photo rather than sitting on top of it.
Step 4: Choose Your Style - Diffusion, Bloom, or Halo
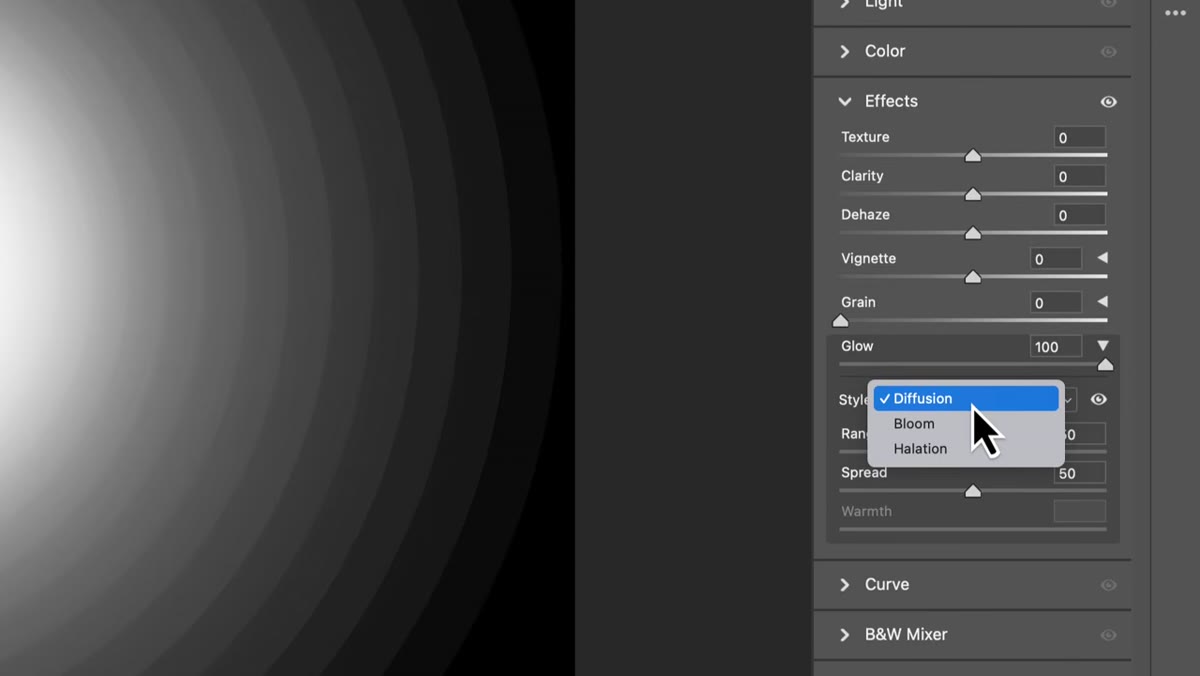 Style dropdown showing Diffusion, Bloom, and Halo options
This is where the tool gets interesting. There are three style options, and they each have a distinct character that suits different kinds of work.
Style dropdown showing Diffusion, Bloom, and Halo options
This is where the tool gets interesting. There are three style options, and they each have a distinct character that suits different kinds of work.
Diffusion is the classic version of the effect - hazy, filmic, spreading across the frame like light filtered through a soft lens. It’s what most photographers have been recreating with layers and blend modes for years, and it’s the most versatile starting point for portraits. Bloom is tighter and more precise, concentrating the glow around the brightest highlights rather than spreading it broadly. For close-up beauty shots where you want luminosity on the skin without affecting the whole frame, Bloom often gives a more controlled result. Halo is a retro, almost neon-tinged effect that works beautifully for editorial or fashion work with a vintage aesthetic, but it’s the one I reach for least in straightforward beauty retouching.
Step 5: Adjust the Range
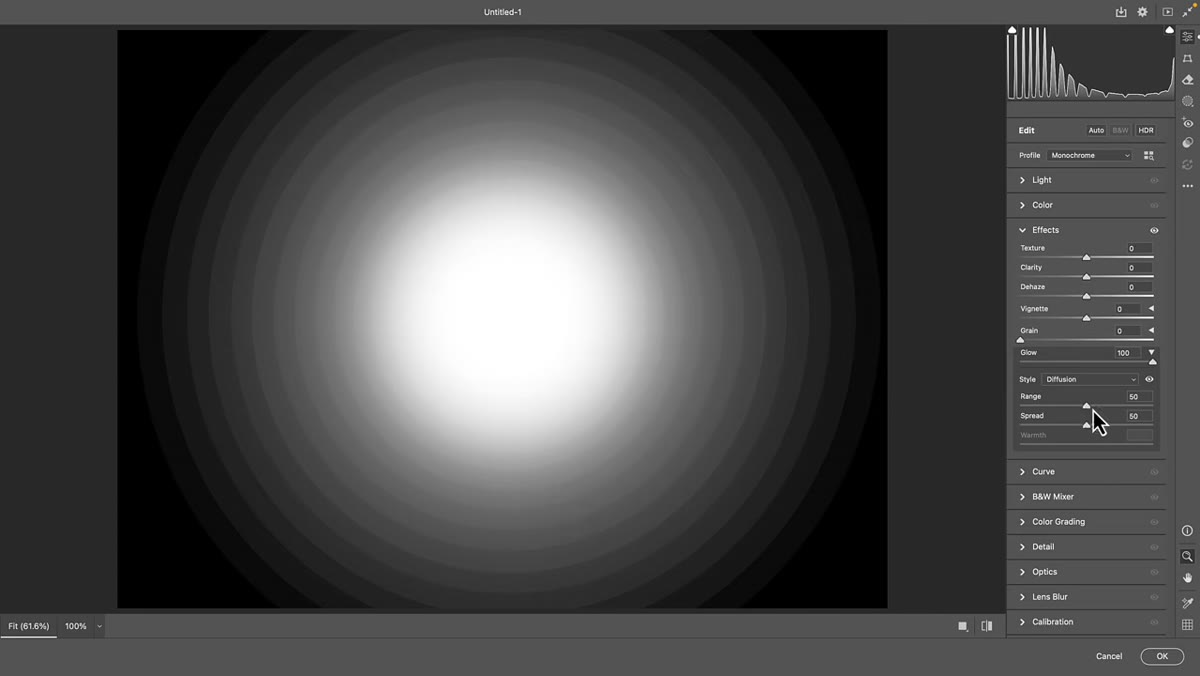 Range slider being moved to control highlight threshold
The Range slider determines which tones the glow effect targets. Think of it as setting the threshold for what counts as “bright enough” to receive the effect. At lower Range values, only the very brightest highlights are affected. As you increase Range, the effect starts reaching into the midtones as well.
Range slider being moved to control highlight threshold
The Range slider determines which tones the glow effect targets. Think of it as setting the threshold for what counts as “bright enough” to receive the effect. At lower Range values, only the very brightest highlights are affected. As you increase Range, the effect starts reaching into the midtones as well.
For skin retouching, I find a moderate Range setting keeps the glow feeling natural - it catches the light on the forehead, the tops of the cheeks, and the nose bridge, but doesn’t blow out the midtone skin texture that you’ve worked hard to preserve. Pulling the Range too high on a portrait tends to flatten the dimensionality of the face, which is the opposite of what most beauty clients want.
Step 6: Fine-Tune and Compare
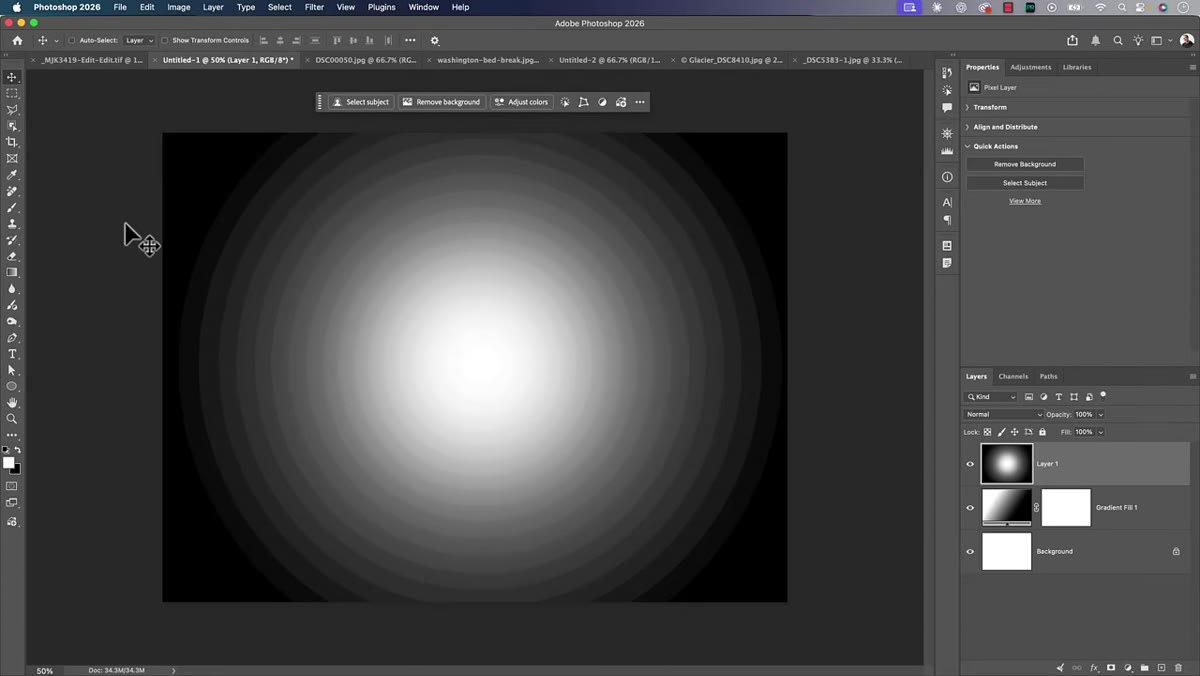 Before and after view of portrait with glow applied
Use the before/after toggle in Camera Raw to compare your result against the unedited image. The glow should feel like something you almost can’t name - a quality of light rather than a filter. If you can immediately identify it as an effect, it’s probably too strong. Dial back the Amount first, then reconsider the Range before you change anything else.
Before and after view of portrait with glow applied
Use the before/after toggle in Camera Raw to compare your result against the unedited image. The glow should feel like something you almost can’t name - a quality of light rather than a filter. If you can immediately identify it as an effect, it’s probably too strong. Dial back the Amount first, then reconsider the Range before you change anything else.
A Note From My Own Retouching Work
Where I’ve found this tool genuinely useful - and slightly surprising - is in correcting the flat, overlit look that sometimes comes from studio strobes. Beauty work often involves a lot of fill light, which flattens dimension. A subtle Diffusion glow at around 25 to 35 Amount can restore a sense of softness and warmth that makes the lighting feel more intentional. It won’t fix bad lighting, but it can enhance good lighting in a way that used to take two or three extra steps.
One caveat I’d offer from experience: this effect is cumulative. If you’re applying it through the Camera Raw Filter on top of a file that already had some Camera Raw processing applied at the raw stage, the glow is stacking on a processed image rather than a true raw file. It still works beautifully, but be more conservative with the Amount in those situations. The math gets richer faster than you expect.
The single most important thing Matt demonstrates in this tutorial is that the best version of this effect has always been the non-destructive one - the one you can revisit six months later when a client asks for a change. Adobe finally built that version for us. Watch the full tutorial on YouTube to see the effect demonstrated on multiple images, including how dramatically the results differ between the three style options.
Comments (2)
Tried this technique this morning. Game changer for real.
This is the kind of content that keeps me coming back.
Leave a Comment