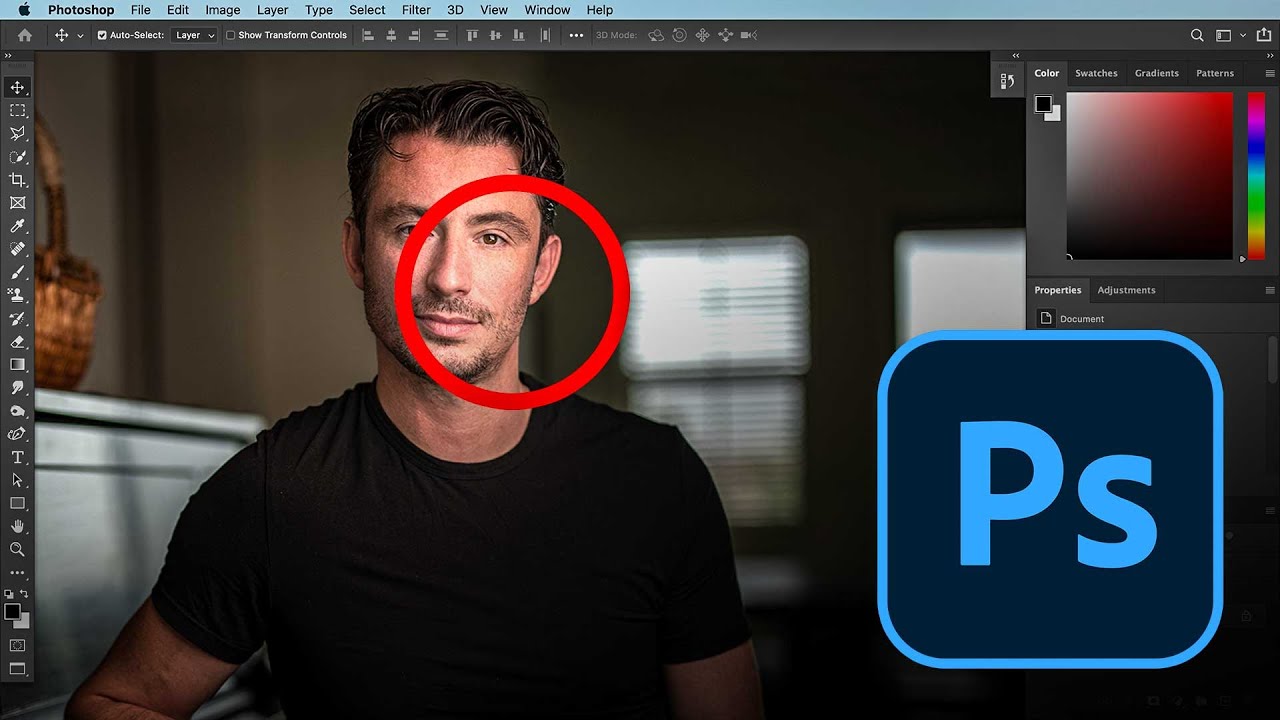
There’s a version of me from a few years back who would have spent three hours on a single portrait, chasing some imaginary level of perfection, and still delivered something that looked overworked. A client once told me my edits looked “a little plastic” and I still think about that comment every time I open a new file. What I’ve learned since then is that the best retouching is almost invisible, and the best workflows are simpler than you’d expect.
Watch the full tutorial on YouTube
In this Joel Grimes tutorial, the veteran commercial photographer with over 35 years of experience walks through a portrait retouch of a male subject named Kelvin. What struck me immediately is what Joel is not doing. No frequency separation, no heavy-handed smoothing passes, no elaborate multi-layer skin work. Instead, he leans on three workhorses: the spot healing brush, dodge and burn, and the patch tool. That restraint is the whole lesson. I’m breaking the workflow down here so you can follow along in your own Photoshop session, step by step.
Step 1: Develop the Raw File Thoughtfully Before You Touch the Skin
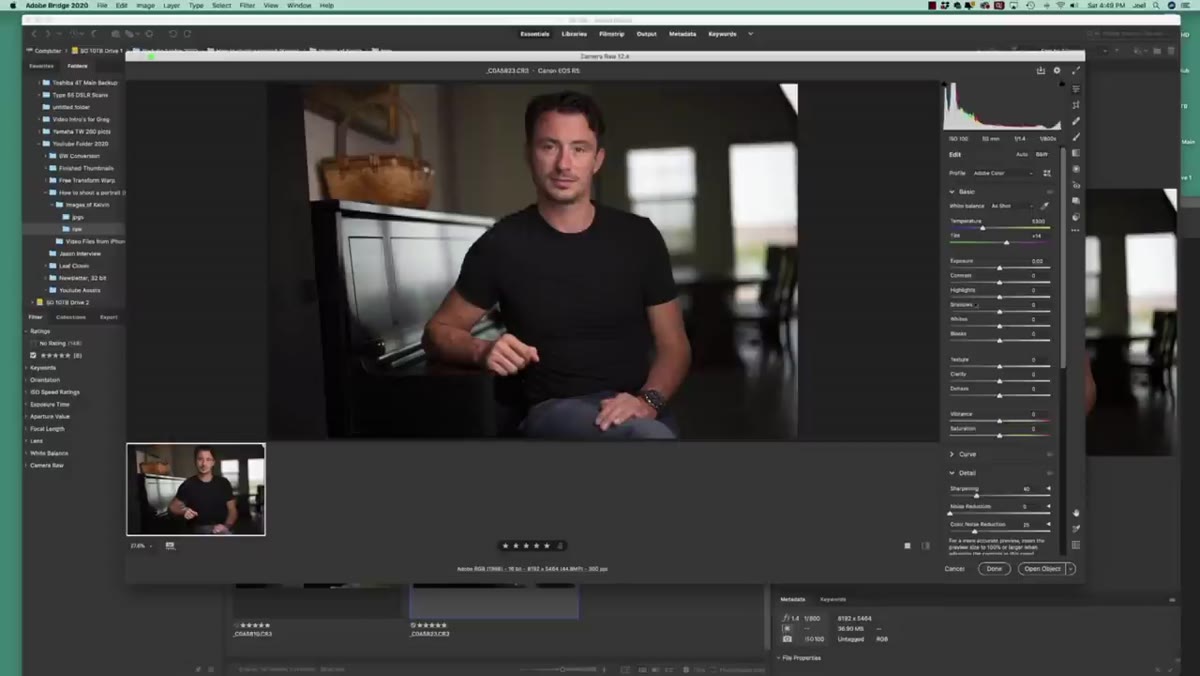 Raw converter panel open, highlights slider being pulled down
Before a single pixel of skin gets touched, Joel moves through Adobe Camera Raw (or Lightroom, since they share the same engine) to establish a solid tonal foundation. The first move is pulling the highlights down to recover detail in bright areas of the background without sacrificing the face. From there, shadows come up slightly to open up dark areas, particularly useful when the subject is wearing something dark, like Kelvin’s black shirt here.
Raw converter panel open, highlights slider being pulled down
Before a single pixel of skin gets touched, Joel moves through Adobe Camera Raw (or Lightroom, since they share the same engine) to establish a solid tonal foundation. The first move is pulling the highlights down to recover detail in bright areas of the background without sacrificing the face. From there, shadows come up slightly to open up dark areas, particularly useful when the subject is wearing something dark, like Kelvin’s black shirt here.
The technique I find most useful in this section is the white point and black point check. Hold down the Option key (Alt on PC) while dragging the Whites or Blacks slider and you’ll see a clipping mask overlay that shows exactly where tones are being pushed to pure white or pure black. Joel uses this to set deliberate endpoints rather than guessing. It’s a small habit that keeps your retouching from fighting against a poorly exposed base image.
Step 2: Reduce Skin Warmth with HSL Adjustments
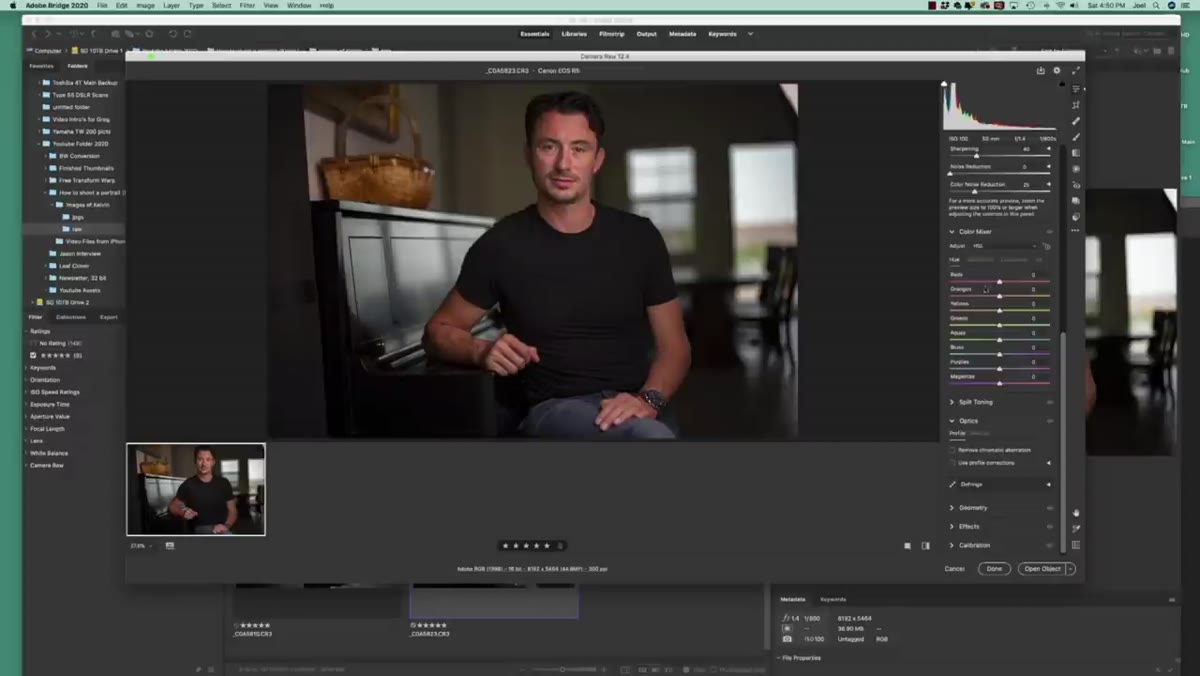 HSL panel open, orange hue slider being adjusted
Still inside the raw converter, Joel dips into the HSL (Hue, Saturation, Luminance) panel to address skin tone. Specifically, he targets the orange channel, which controls a significant portion of how warm or ruddy skin appears in most complexions. Pulling the orange saturation down just slightly can take the edge off skin that reads as overly flushed or sunburned under strobe lighting.
HSL panel open, orange hue slider being adjusted
Still inside the raw converter, Joel dips into the HSL (Hue, Saturation, Luminance) panel to address skin tone. Specifically, he targets the orange channel, which controls a significant portion of how warm or ruddy skin appears in most complexions. Pulling the orange saturation down just slightly can take the edge off skin that reads as overly flushed or sunburned under strobe lighting.
This is a step a lot of retouchers skip in raw processing and then try to fix later with selective color adjustments in Photoshop. Doing it here is cleaner and non-destructive. A small texture boost and a subtle dehaze are also applied at this stage, adding just enough definition to make the image feel present without crunching the skin.
Step 3: Zoom In and Work the Spot Healing Brush
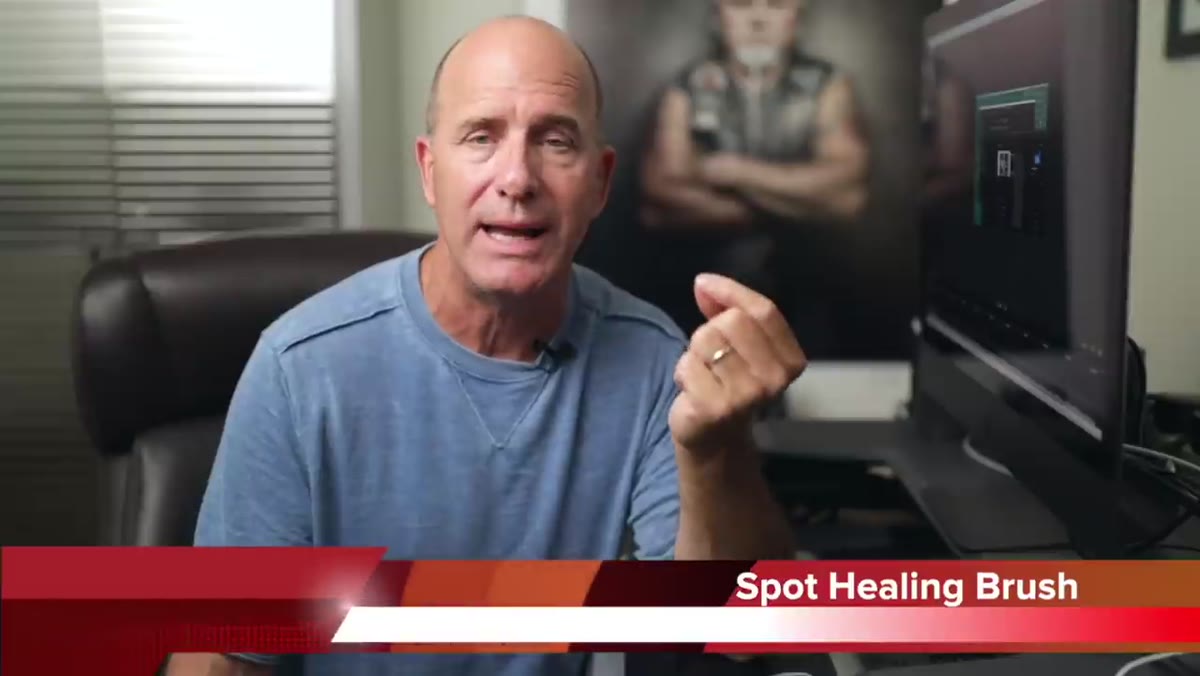 Spot healing brush selected, zoomed into skin texture
Once the image is open in Photoshop, the first skin pass uses the spot healing brush. Joel’s approach here is one I teach in my own workshops: zoom in tighter than feels comfortable, probably around 100 to 200 percent, and work systematically across the face. The spot healing brush is set to Content-Aware and works best with a brush size just slightly larger than the blemish or distraction you’re targeting.
Spot healing brush selected, zoomed into skin texture
Once the image is open in Photoshop, the first skin pass uses the spot healing brush. Joel’s approach here is one I teach in my own workshops: zoom in tighter than feels comfortable, probably around 100 to 200 percent, and work systematically across the face. The spot healing brush is set to Content-Aware and works best with a brush size just slightly larger than the blemish or distraction you’re targeting.
The key is a light touch. You’re not painting over entire zones of skin, you’re clicking or making short strokes over specific spots: a blemish, a stray catchlight reflection, a small scar. Doing this on a duplicate layer or a blank layer with “Sample All Layers” checked keeps the original data intact. Work the forehead, nose, chin, and cheeks in sections rather than bouncing around randomly. Systematic beats fast every time.
Step 4: Apply Dodge and Burn to Shape the Face
 Dodge and burn pass being demonstrated on subject’s face
This is where Joel is most emphatic, and rightly so. Dodge and burn is probably the most underrated technique in portrait retouching, and most beginners either skip it entirely or use it so aggressively that it creates the “plastic” look I know well from personal experience. The goal is subtle: you’re using light and shadow to even out the micro-contrast of skin, not to sculpt a different face.
Dodge and burn pass being demonstrated on subject’s face
This is where Joel is most emphatic, and rightly so. Dodge and burn is probably the most underrated technique in portrait retouching, and most beginners either skip it entirely or use it so aggressively that it creates the “plastic” look I know well from personal experience. The goal is subtle: you’re using light and shadow to even out the micro-contrast of skin, not to sculpt a different face.
Joel’s preferred method uses a soft, low-opacity brush, somewhere in the range of 5 to 15 percent, and separate Dodge and Burn layers set to Overlay or Soft Light mode with 50% gray fill. Dodge (lighten) the high points you want to bring forward, burn (darken) the areas that need to recede. On skin, this means chasing uneven shadows under the eyes, smoothing out blotchy texture on the cheeks, and refining the jawline without making it look artificial. Flip between your before and after frequently. If you can clearly see what you’ve done, you’ve probably done too much.
Step 5: Use the Patch Tool to Handle Larger Problem Areas
 Patch tool active, selection drawn around a skin area
The patch tool is the right instrument when you have a larger area that the spot healing brush can’t handle cleanly, think bags under the eyes, deeper lines, or a broader patch of uneven skin. Joel draws a loose selection around the problem area with the patch tool active, then drags that selection to a nearby area of clean skin texture. Photoshop blends the replacement into the original, matching tone and texture automatically.
Patch tool active, selection drawn around a skin area
The patch tool is the right instrument when you have a larger area that the spot healing brush can’t handle cleanly, think bags under the eyes, deeper lines, or a broader patch of uneven skin. Joel draws a loose selection around the problem area with the patch tool active, then drags that selection to a nearby area of clean skin texture. Photoshop blends the replacement into the original, matching tone and texture automatically.
The critical habit here is feathering. A hard-edged patch selection produces a visible ring. Either feather your selection before patching (Select > Modify > Feather, around 2 to 5 pixels depending on image resolution) or soften the result afterward with a gentle opacity-reduced eraser on the patch layer. As with the spot healing brush, working on a duplicate layer means you always have somewhere to return to.
What I’d Add From My Own Experience
Joel’s workflow is intentionally fast and practical, and I respect that about it. For the beauty retouching work I do for skincare and cosmetics clients, I often add one pass before all of this: a global tone-mapping check on a curves adjustment layer to make sure the skin luminosity is where I want it before I start healing and burning. Fixing a skin tone problem with curves before retouching saves you from trying to dodge and burn your way out of a color issue, which never quite works.
I also tend to name every layer something specific as I go. It sounds like a small thing but when a client asks for revisions three weeks after delivery, being able to find your dodge layer immediately is worth the ten seconds it takes to label it.
The single most important idea in this tutorial is that simplicity is a skill, not a shortcut. A spot healing brush, a dodge and burn pass, and a careful use of the patch tool can produce a portrait that looks polished and real, which is exactly what a subject wants to see of themselves. No frequency separation required.
Watch the full tutorial on YouTube to see Joel work through Kelvin’s portrait in real time. Watching the brush strokes and the before-and-after reveals in motion fills in details that even the best written breakdown can’t fully capture.
Comments (1)
Finally someone explains this in a way that actually makes sense.
Leave a Comment