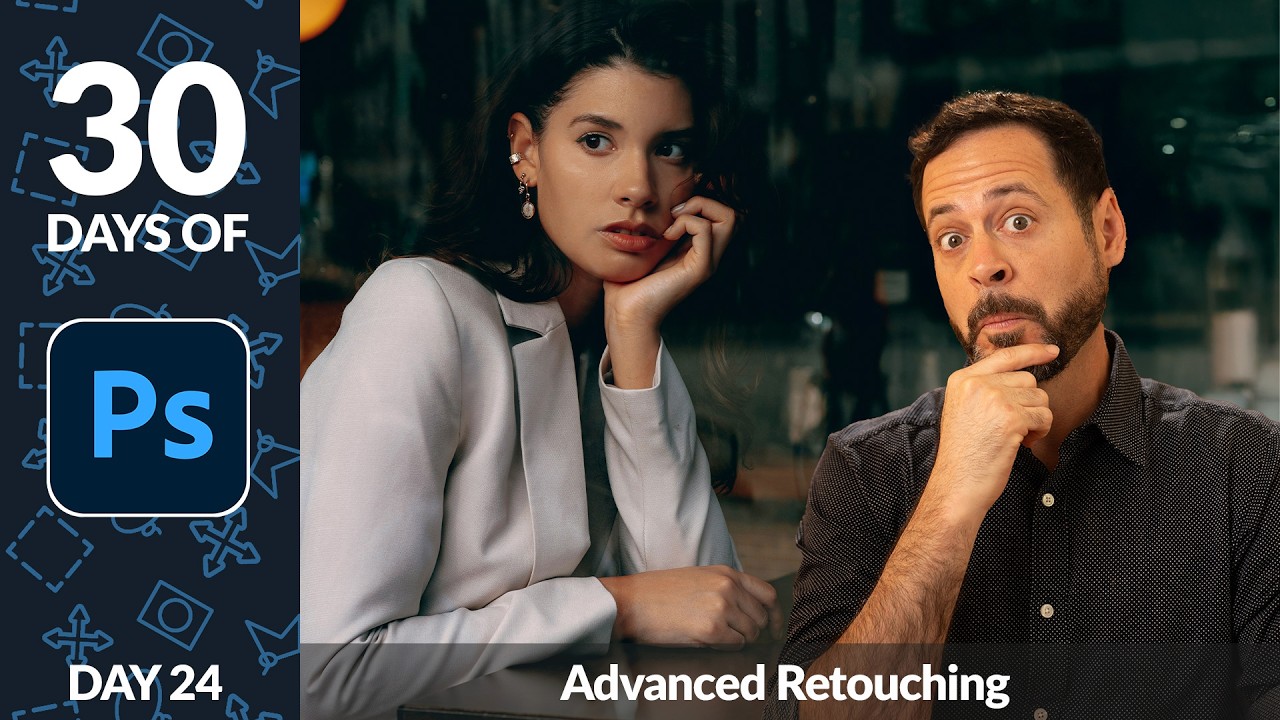
Early in my retouching career, I got a call from a client who said my edits made her model look like “a video game character.” She wasn’t wrong. I had smoothed the skin so aggressively that every pore, every trace of human texture, had been erased. The image was technically clean and completely lifeless. That call sent me down a long road of figuring out how to fix skin without destroying it, and the answer, it turns out, lives in working at two completely different scales.
In this Aaron Nace (PHLEARN) tutorial on advanced retouching, that two-pass principle gets laid out clearly and practically. Watch the full tutorial on YouTube - it’s part of his 30 Days of Photoshop series, and day 24 is the one I wish had existed when I was starting out. The first pass targets individual blemishes at a close zoom level. The second targets broad, uneven patches of tone that only become obvious when you zoom out. Miss either one and the retouch feels incomplete or, worse, fake.
What makes this approach so practical for working photographers and retouchers is that it doesn’t rely on heavy blurring or destructive edits. The Remove Tool handles spot-level cleanup on its own layer, and frequency separation handles the big-picture tone evening while keeping skin texture completely intact. Here is exactly how to work through both steps.
Step 1: Set Up the Remove Tool Correctly
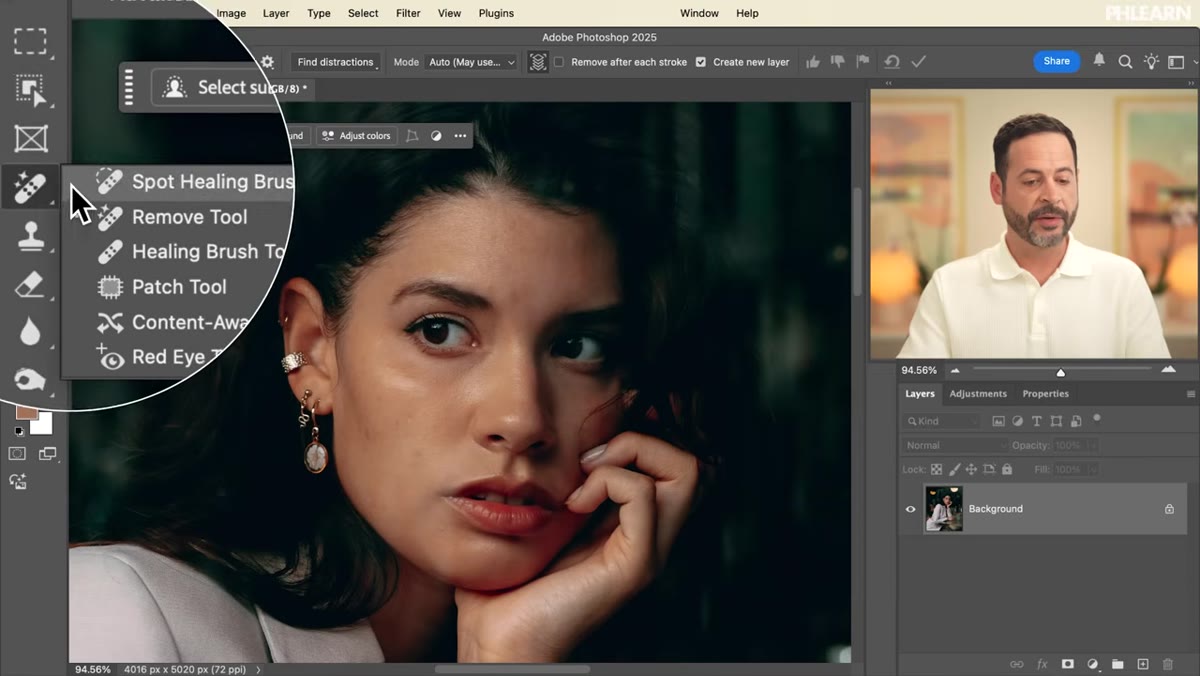 Remove Tool settings panel with Create New Layer checked
Before you paint over a single blemish, get your Remove Tool settings right. In the options bar at the top of Photoshop, you’ll find two key checkboxes. First, enable “Create New Layer” - this keeps your cleanup edits separate from the original image, which means you can dial them back or erase mistakes without touching your base photo. Second, uncheck “Remove After Each Stroke.” With this off, Photoshop waits until you’ve finished marking everything you want removed before it processes anything, which is much faster and gives you a better overall result.
Remove Tool settings panel with Create New Layer checked
Before you paint over a single blemish, get your Remove Tool settings right. In the options bar at the top of Photoshop, you’ll find two key checkboxes. First, enable “Create New Layer” - this keeps your cleanup edits separate from the original image, which means you can dial them back or erase mistakes without touching your base photo. Second, uncheck “Remove After Each Stroke.” With this off, Photoshop waits until you’ve finished marking everything you want removed before it processes anything, which is much faster and gives you a better overall result.
Step 2: Mark Every Blemish Before Running the Removal
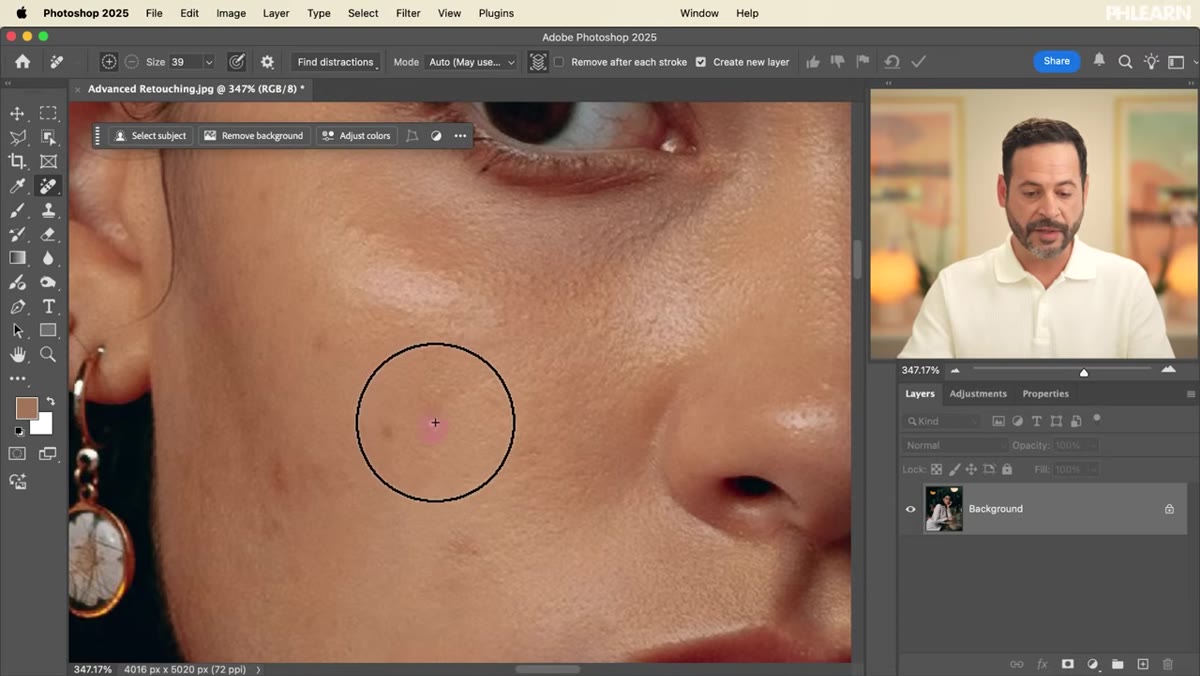 Brush painting over skin blemishes in the zoomed-in view
Zoom in close - pore level close - and start painting over every spot, scar, scratch, or blemish you want gone. Don’t click and confirm after each one. The whole point of having “Remove After Each Stroke” turned off is that you can mark everything in one session. If the default highlight color blends into your subject’s skin tone and makes it hard to see what you’ve covered, go into the tool settings and switch the overlay color to something that contrasts better. Aaron uses chartreuse in the tutorial, which sounds alarming but actually works well on a wide range of skin tones.
Brush painting over skin blemishes in the zoomed-in view
Zoom in close - pore level close - and start painting over every spot, scar, scratch, or blemish you want gone. Don’t click and confirm after each one. The whole point of having “Remove After Each Stroke” turned off is that you can mark everything in one session. If the default highlight color blends into your subject’s skin tone and makes it hard to see what you’ve covered, go into the tool settings and switch the overlay color to something that contrasts better. Aaron uses chartreuse in the tutorial, which sounds alarming but actually works well on a wide range of skin tones.
One thing worth noting: be selective about what you mark. Moles, distinctive birthmarks, anything that defines the person’s face - leave those alone. This tool is for temporary blemishes, not permanent features. Retouching that erases character always reads as strange, even if the viewer can’t name exactly why.
Step 3: Commit the Removal in One Pass
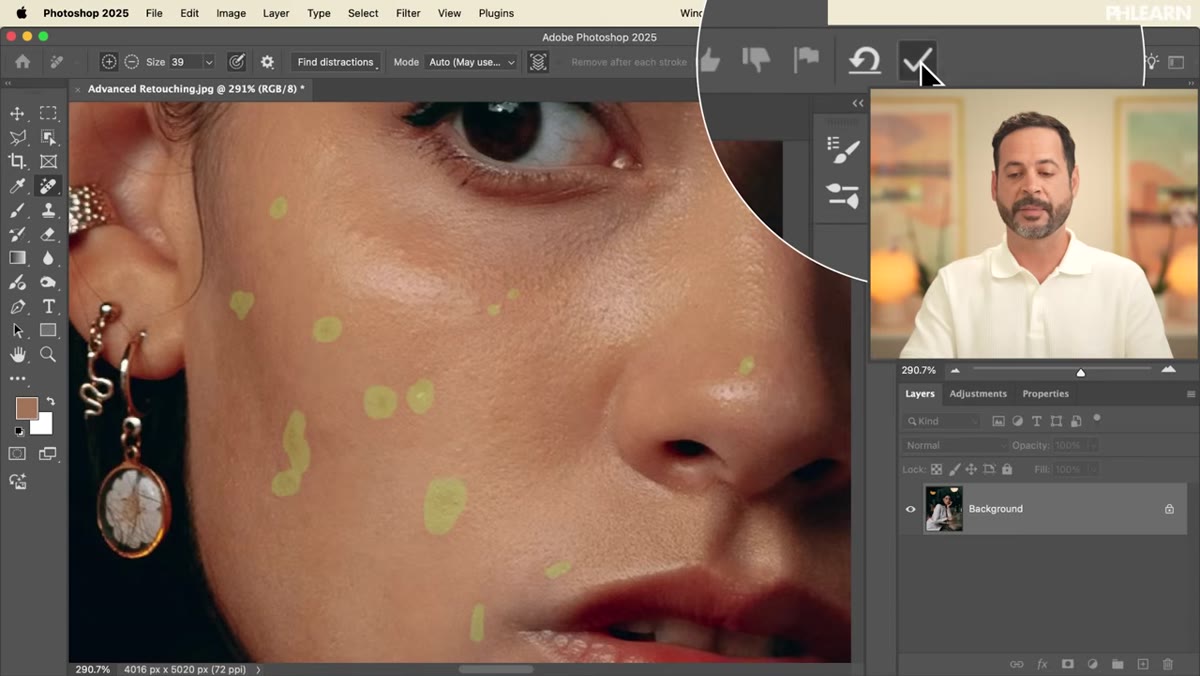 Blemish layer toggled off and on to show before and after
Once you’ve highlighted everything, hit the checkmark in the options bar or simply press Enter. Photoshop will process all the marked areas at once and populate your new layer with the corrections. Toggle that new layer off and on to check the results. At this zoom level - close in, looking at texture - the Remove Tool does impressive work. Edges blend naturally, and skin texture is largely preserved. But here is the thing Aaron makes a point of flagging: if you zoom out now and look at the image at a normal viewing distance, you’re likely going to see something the Remove Tool didn’t touch at all.
Blemish layer toggled off and on to show before and after
Once you’ve highlighted everything, hit the checkmark in the options bar or simply press Enter. Photoshop will process all the marked areas at once and populate your new layer with the corrections. Toggle that new layer off and on to check the results. At this zoom level - close in, looking at texture - the Remove Tool does impressive work. Edges blend naturally, and skin texture is largely preserved. But here is the thing Aaron makes a point of flagging: if you zoom out now and look at the image at a normal viewing distance, you’re likely going to see something the Remove Tool didn’t touch at all.
Step 4: Zoom Out and Assess the Big Picture
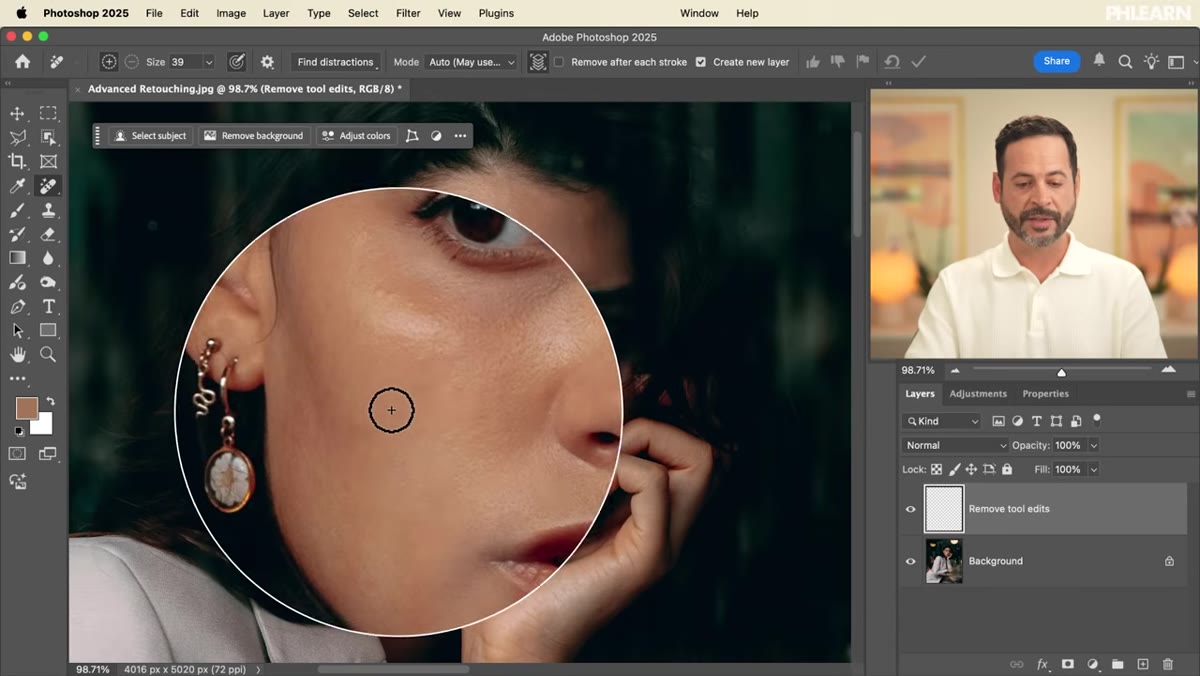 Full portrait view showing uneven skin tone patches
Pull back to a comfortable viewing distance - somewhere around 50 to 100 percent, or even smaller depending on your image. Look at the skin with fresh eyes. What you’ll probably notice is that the overall tone is uneven: patches that are slightly darker here, slightly lighter there, a warmth that shifts from one part of the face to another. This is completely normal human skin. But in a beauty or portrait context, that variation can read as splotchy or tired, and the Remove Tool alone won’t touch it because it works at the detail level, not the tonal level. This is exactly the gap that frequency separation fills.
Full portrait view showing uneven skin tone patches
Pull back to a comfortable viewing distance - somewhere around 50 to 100 percent, or even smaller depending on your image. Look at the skin with fresh eyes. What you’ll probably notice is that the overall tone is uneven: patches that are slightly darker here, slightly lighter there, a warmth that shifts from one part of the face to another. This is completely normal human skin. But in a beauty or portrait context, that variation can read as splotchy or tired, and the Remove Tool alone won’t touch it because it works at the detail level, not the tonal level. This is exactly the gap that frequency separation fills.
Step 5: Load the Frequency Separation Action
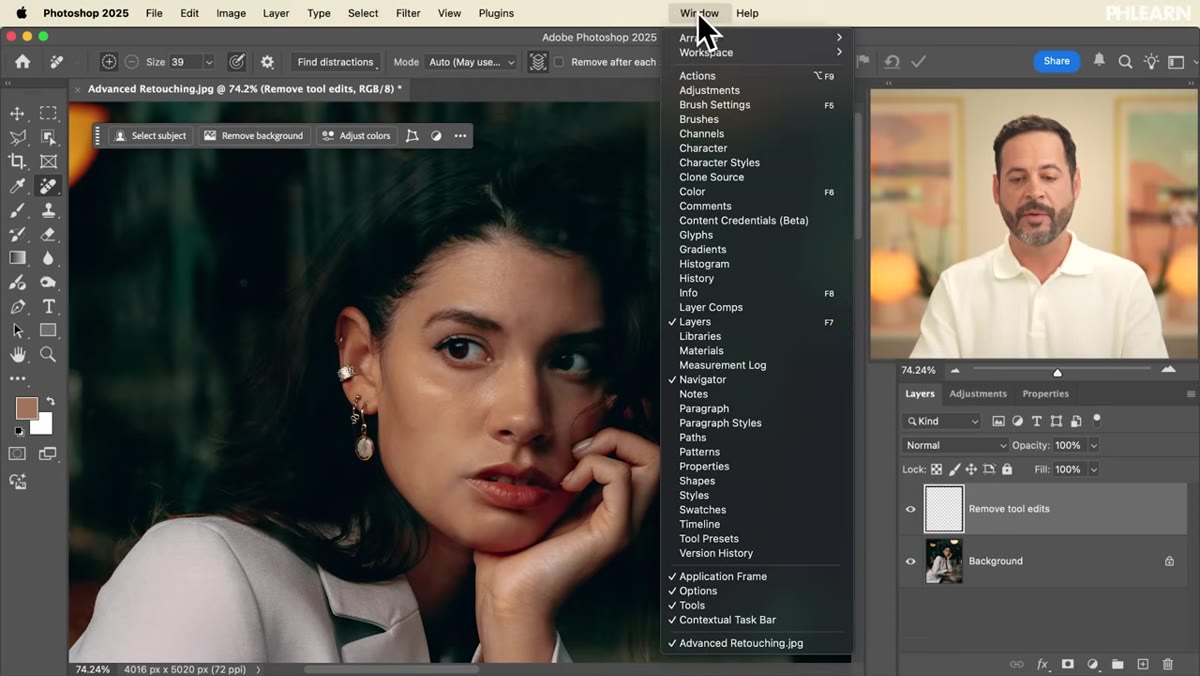 Photoshop Actions panel with Load Actions menu open
Go to Window in the menu bar, then down to Actions to open the Actions panel. In the panel’s flyout menu, choose “Load Actions,” then navigate to the frequency separation action file included with the tutorial download. Once it’s loaded, you’ll see it appear in your Actions panel, ready to run. If you’re following along with your own action file, the process is identical - Photoshop actions are just recorded sequences of steps, so loading one is always the same few clicks regardless of which action you’re using.
Photoshop Actions panel with Load Actions menu open
Go to Window in the menu bar, then down to Actions to open the Actions panel. In the panel’s flyout menu, choose “Load Actions,” then navigate to the frequency separation action file included with the tutorial download. Once it’s loaded, you’ll see it appear in your Actions panel, ready to run. If you’re following along with your own action file, the process is identical - Photoshop actions are just recorded sequences of steps, so loading one is always the same few clicks regardless of which action you’re using.
I’ve been building my own action library for years and I name every one after a film. My frequency separation action has been called “Blade Runner” since 2019, which feels appropriate given that it handles the kind of precision work that probably shouldn’t be done by hand.
Step 6: Run Frequency Separation to Even the Skin Tone
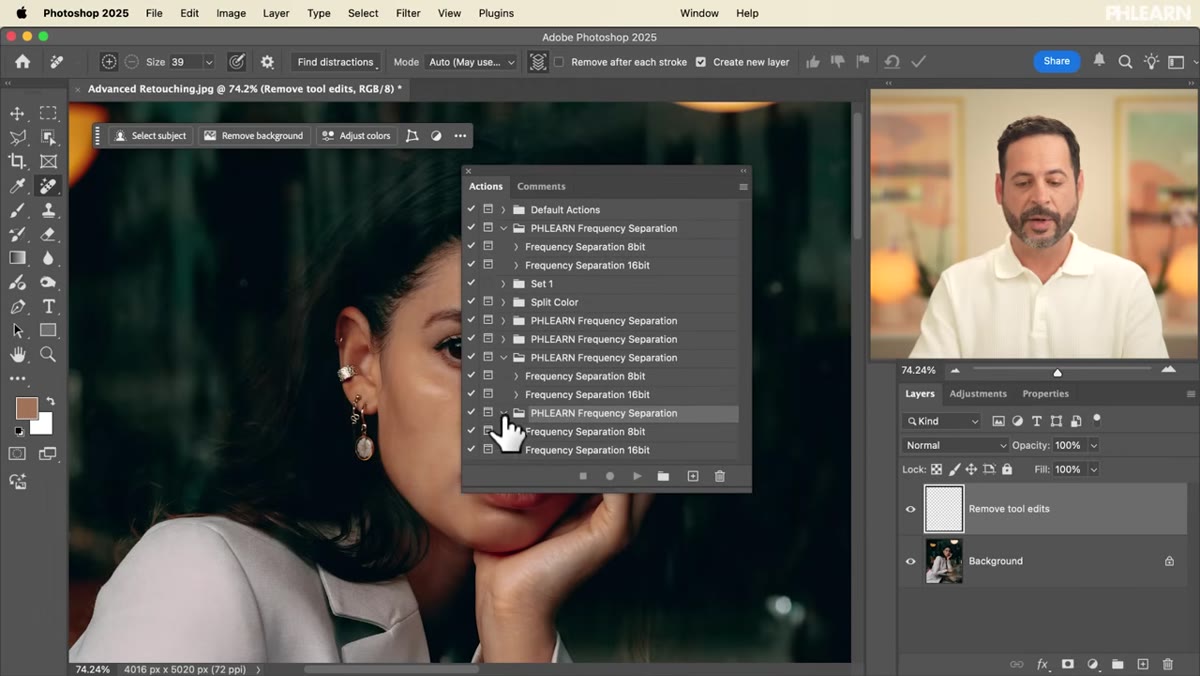 Frequency separation action running and creating new layers
Run the action and let it do its work. What frequency separation does, at its core, is split your image into two layers: one that holds only the fine texture and detail (high frequency information like pores and hair), and one that holds only the broad color and tonal information (low frequency information like the overall patches of light and shadow). Because these two elements now live on separate layers, you can smooth and even out the tonal layer using a brush or the Mixer Brush without affecting skin texture at all. The texture layer sits above it, untouched, keeping everything looking like real skin.
Frequency separation action running and creating new layers
Run the action and let it do its work. What frequency separation does, at its core, is split your image into two layers: one that holds only the fine texture and detail (high frequency information like pores and hair), and one that holds only the broad color and tonal information (low frequency information like the overall patches of light and shadow). Because these two elements now live on separate layers, you can smooth and even out the tonal layer using a brush or the Mixer Brush without affecting skin texture at all. The texture layer sits above it, untouched, keeping everything looking like real skin.
This is the technique that finally got that “plastic-looking” feedback out of my workflow. You’re not smoothing skin. You’re smoothing color, while skin stays exactly as it is.
What I’d Add From My Own Practice
Frequency separation works best when you use a large, very low-opacity brush on the color layer - I typically start around 10 to 15 percent opacity and build up gradually. Rushing it with a high-opacity brush creates its own kind of unevenness. Also, do your frequency separation work on a zoomed-out view. It’s tempting to zoom in and get precise, but the whole point is fixing what you see at a distance. Let your eyes guide you from the same perspective your client will use.
The single most important thing this tutorial reinforced for me is that good skin retouching is always a two-scale problem. Fix what’s visible up close. Fix what’s visible from a distance. Treat them separately, with the right tools for each, and the result holds up at any zoom level - which is the only way professional work actually holds up. Watch the full tutorial on YouTube to see Aaron walk through both passes on a real image, including how to fine-tune the frequency separation results.
Comments (2)
I tried this on a client project yesterday and the results were way better than expected.
This is exactly what I needed today. Been struggling with this for weeks.
Leave a Comment