I’ve been thinking about composition a lot lately, specifically the gap between a technically clean retouch and a final image that actually holds attention. I can clean up skin all day. I know my frequency separation cold. But I kept running into this problem where a beauty shot would feel finished and still look somehow flat, like the subject was just floating in the frame with nothing anchoring her there. It wasn’t a retouching problem. It was a shooting and composition problem I’d been ignoring.
That’s what sent me down a rabbit hole and eventually to this tutorial.
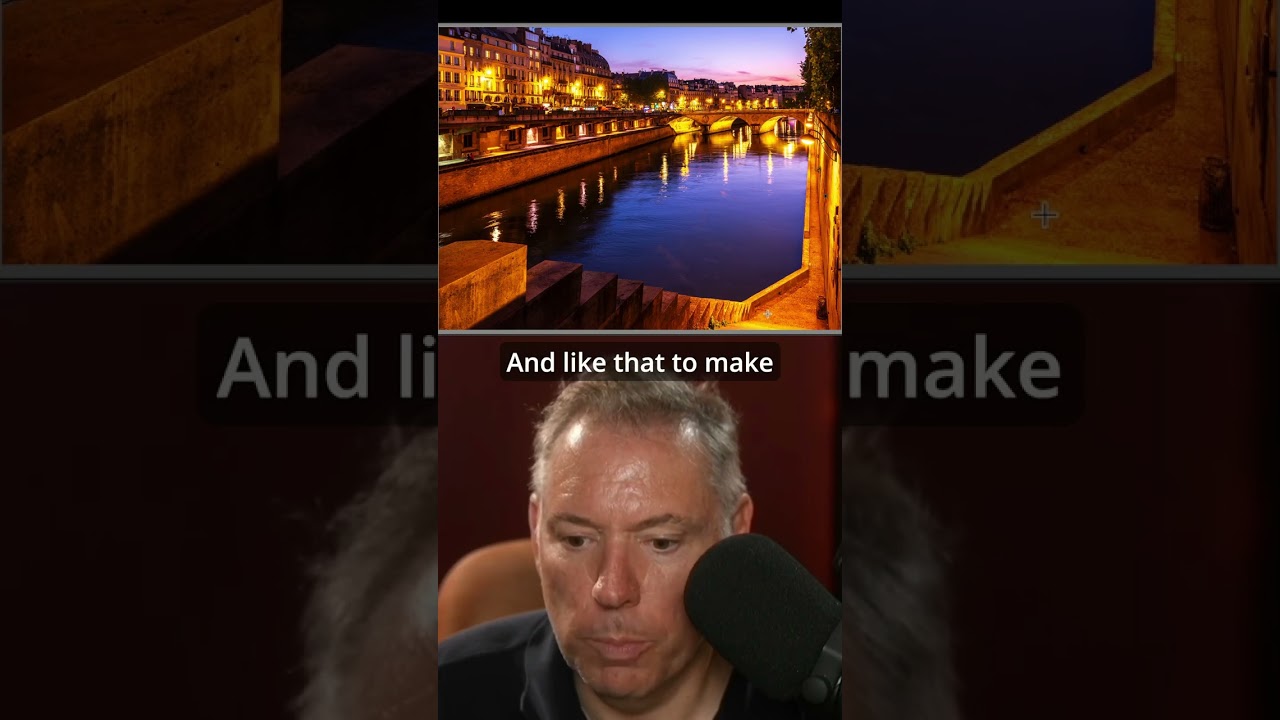
In this Serge Ramelli tutorial, filmed on location in Paris, he demonstrates a technique photographers call “frame within a frame,” and he shows exactly how to find it, shoot it, and finish it in Lightroom. Even if you’re primarily a retoucher and not a shooter, understanding this compositional logic will change how you evaluate the raw files that land in your inbox and what you ask for when you’re directing a photographer.
Why a Second Frame Changes Everything for the Subject
The core idea is this: when you position your subject so that an architectural or environmental element surrounds them within the larger image frame, you give the viewer’s eye an entry point and a resting place. Serge uses the arches and doorways of Paris throughout this video, but the principle works anywhere, a tree line, a window, an open door, a corridor.
What the inner frame does compositionally is create visual priority. The viewer’s eye reads the outer frame, follows the arch or border inward, and lands on the subject. There’s a built-in pathway. Without it, a portrait is a person standing in front of a background. With it, the person becomes placed, intentional, discovered.
For beauty retouching, this matters because it affects how much post-production weight falls on the subject alone. When the composition does more work, the retouch doesn’t have to be as heavy to feel polished.
How Serge Shoots for This in the Field
Serge’s shooting approach here is deliberate and repeatable. He identifies an archway or framing element first, then positions the subject inside it before he ever puts the camera to his eye. He’s composing backward, from the environment to the subject, not the other way around.
Once the subject is placed, he steps back and adjusts until both the framing element and the subject are visible in the viewfinder with clear separation. The subject doesn’t have to be centered inside the inner frame. Serge actually prefers a slight offset, placing the subject a third of the way across the inner frame rather than dead center, which keeps the composition from feeling too symmetrical and static.
His camera settings lean toward a moderately wide aperture, enough to separate the subject from the background without completely blowing out the architectural frame he’s worked to include. Losing the frame to bokeh defeats the whole point.
The Lightroom Finish: Guided, Not Heavy
Once the image is in Lightroom, Serge’s edit serves the composition rather than fighting it. His approach follows a clear sequence.
He starts with a basic exposure correction, pulling the highlights down slightly to recover any detail in brighter stone or sky, then lifting shadows just enough to keep texture in the architectural frame. He’s not chasing drama here. The edit is meant to make the frame readable, not decorative.
From there, he moves into selective adjustments. He uses the Radial Filter or Adjustment Brush to add a gentle vignette that draws the eye further inward, reinforcing the frame-within-a-frame effect the composition already set up. The vignette doesn’t need to be strong, a half-stop of exposure reduction at the outer edges is usually enough.
Color grading is subtle and consistent. Serge tends toward warm midtones with slightly cooler shadows in his Paris work, which gives the stone architecture a lived-in feel without making the subject look jaundiced. He’s matching the light’s natural temperature rather than overriding it.
Finally, and this is worth noting for retouchers specifically, he keeps skin work minimal when the composition is strong. A good frame does enough visual heavy lifting that you don’t need the subject to be technically flawless. The eye forgives more when it’s engaged by structure.
Where I’d Push Back, or Push Further
I want to flag one situation where this technique needs adjustment: close-cropped beauty shots. The frame-within-a-frame works beautifully at a 3/4 or full-body distance, but when you’re shooting tight, filling the frame with a face, the environmental framing element either disappears or becomes a distraction.
For that style of work, I’ve started thinking about the framing concept more abstractly. You can create an implied inner frame using light alone, a beauty dish positioned to pool light on the face while the edges of the frame fall off, functions the same way compositionally. The eye still follows a path. The subject still feels placed. It’s the same logic applied with light instead of architecture, and it means this technique has a longer reach than it might initially seem.
The Takeaway Worth Keeping
Strong composition reduces the pressure on your retouch. When the image is built with intention at the shooting stage, the post-production work becomes refinement rather than rescue.
Watch the full video to see Serge move through these locations in real time. Watching him identify and position within these frames on the fly is the part that’s hardest to fully capture in writing, and it’s the part that will stick with you.
Comments
Leave a Comment