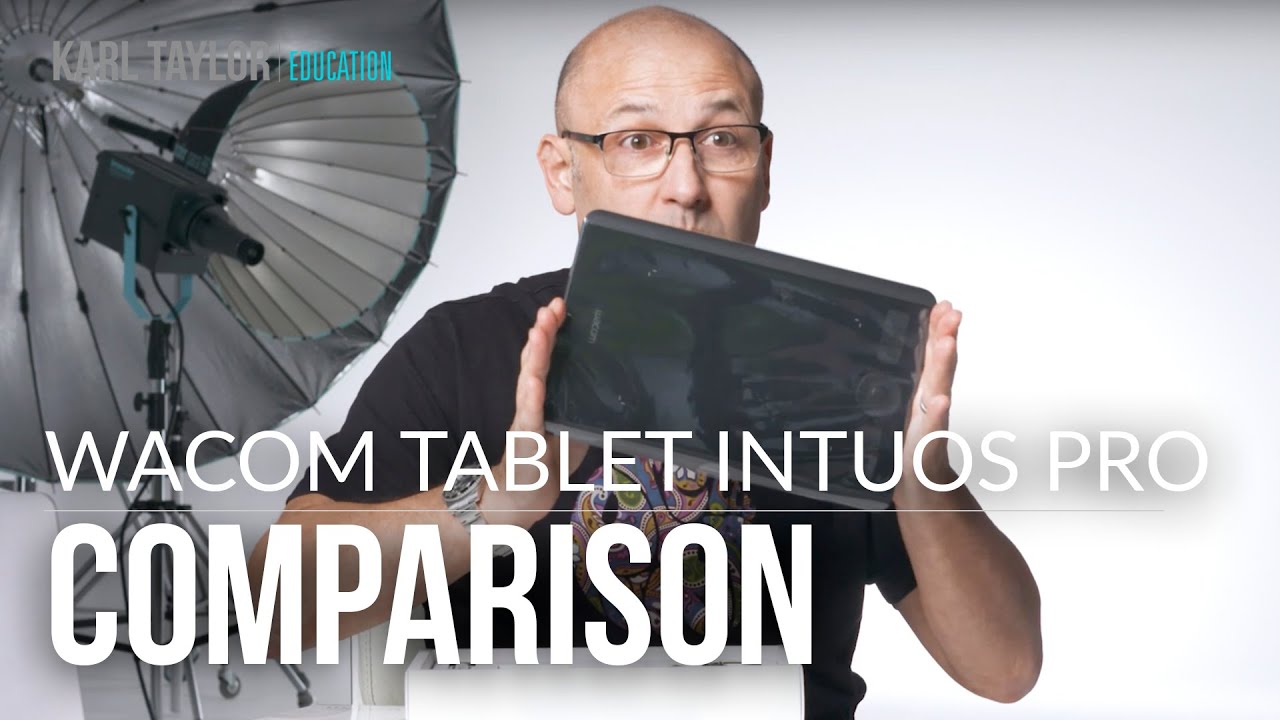
For years I dragged a tablet around that was technically the right tool but practically a nightmare to travel with. I teach retouching workshops, and every time I packed for a trip, my old Wacom Intuos Pro Medium took up half my bag, leaving me playing Tetris with my laptop and cables before every flight out of Portland. So when I came across this Visual Education tutorial comparing the new Intuos Pro Medium and Small, I watched it twice. Watch the full tutorial on YouTube – the unboxing alone gives you a clear sense of how dramatically Wacom has rethought these devices.
What I appreciate about this video is that the presenter isn’t doing a spec sheet comparison. He’s talking about actual retouching workflows, dual-monitor setups, and why the size of the tablet housing matters separately from the size of the active drawing surface. That distinction is the whole ballgame, and it’s one most tablet reviews skip entirely.
Whether you’re just starting to learn retouching or you’re considering an upgrade, the size question is worth thinking through carefully before you spend the money. Here’s what the tutorial covers, and how I’d apply it to a working beauty retouching setup.
Step 1: Unbox and Identify What’s Actually in the Package
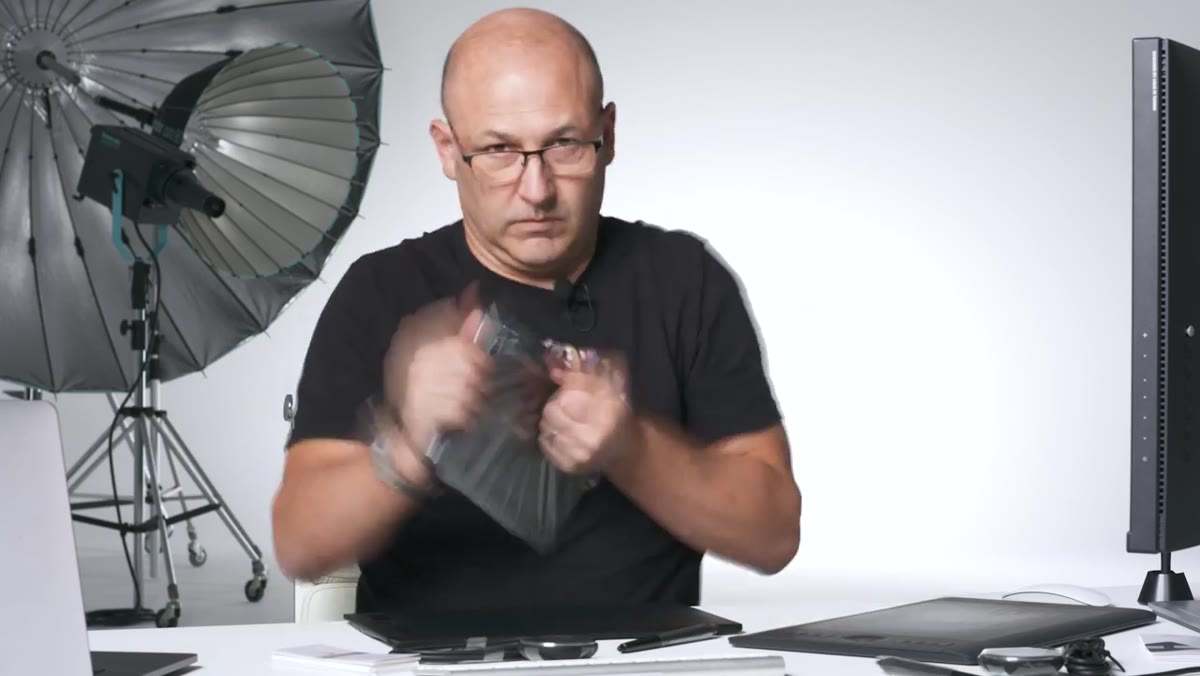 Unboxing the Intuos Pro Medium and Small side by side
Both the Medium and Small Intuos Pro tablets ship with a redesigned pen holder – a weighted metal cylinder with a twist-off base. That base conceals the spare nibs you’ll reach for eventually, especially if you’re retouching daily. The holder is noticeably heavier than older versions, which makes it less likely to roll off your desk during a long session. The pen itself comes wrapped in protective material and sits snugly in the holder.
Unboxing the Intuos Pro Medium and Small side by side
Both the Medium and Small Intuos Pro tablets ship with a redesigned pen holder – a weighted metal cylinder with a twist-off base. That base conceals the spare nibs you’ll reach for eventually, especially if you’re retouching daily. The holder is noticeably heavier than older versions, which makes it less likely to roll off your desk during a long session. The pen itself comes wrapped in protective material and sits snugly in the holder.
This is worth paying attention to when you first set up: locate the nibs before you need them. Swapping a nib mid-session when you’re on a deadline is the kind of small friction that adds up.
Step 2: Understand the New Dimensions and What “Smaller” Actually Means
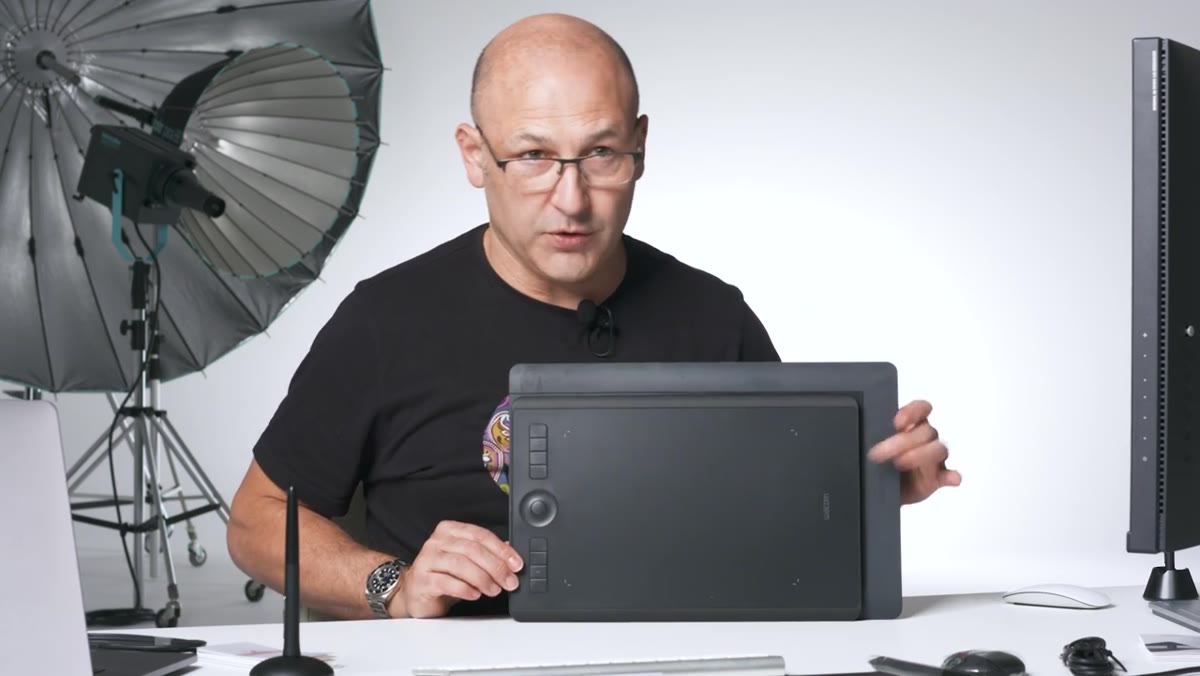 Old versus new Intuos Pro Medium tablets placed side by side
Here’s the key insight from the tutorial that most people miss. Wacom reduced the overall footprint of both tablets, but the active drawing area – the surface your pen actually maps to – stayed the same size as the previous generation. The bezels are slimmer, the button area is more compact, and the result is a noticeably smaller physical device that performs identically to its predecessor where it counts.
Old versus new Intuos Pro Medium tablets placed side by side
Here’s the key insight from the tutorial that most people miss. Wacom reduced the overall footprint of both tablets, but the active drawing area – the surface your pen actually maps to – stayed the same size as the previous generation. The bezels are slimmer, the button area is more compact, and the result is a noticeably smaller physical device that performs identically to its predecessor where it counts.
The new Medium measures roughly 33.5 by 22 centimeters. The previous version was 38 by 25 centimeters. That difference is significant if you’re working on a crowded desk or packing gear for travel. The Small comes in at approximately 26.7 by 17 centimeters. If you’re comparing them side by side in person, the size gap between Small and Medium is visible but not dramatic – it’s more about your specific workflow than one being obviously better than the other.
Step 3: Match Tablet Size to Your Monitor Setup
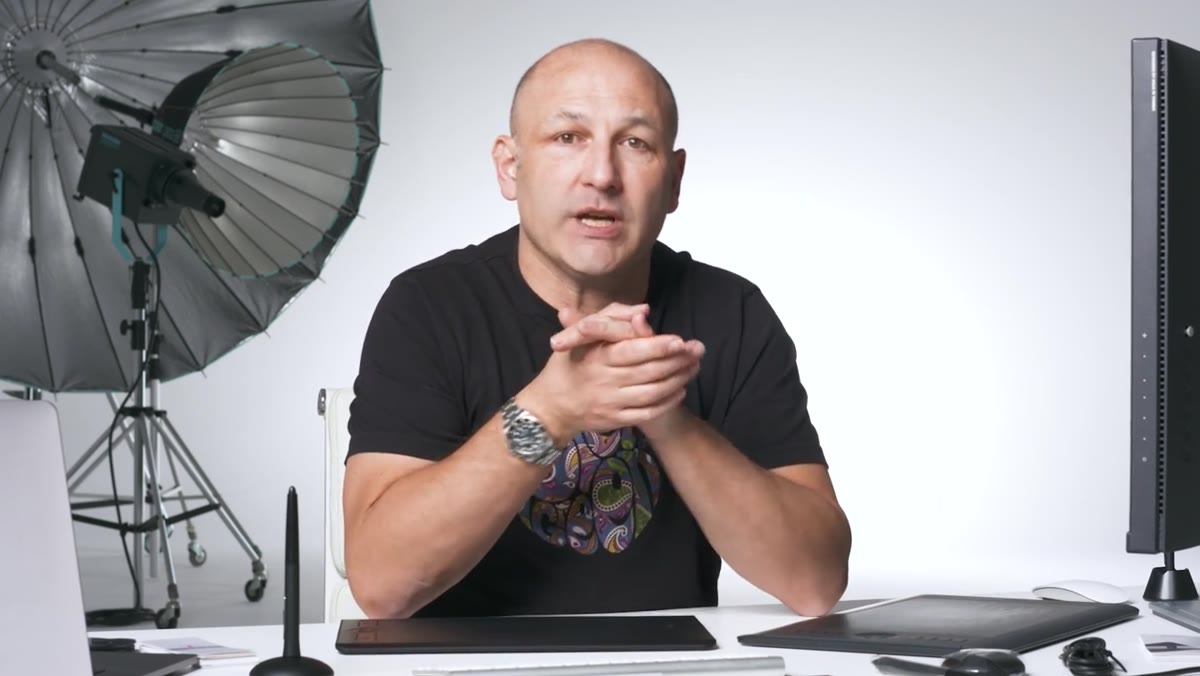 Dual monitor workspace showing EIZO and MacBook Pro screen arrangement
The presenter’s setup is a 31-inch 4K EIZO monitor paired with a 16-inch MacBook Pro as a second display. He maps the left portion of his tablet to the EIZO and the right portion to the laptop screen, essentially dividing the active surface between two monitors. This is where tablet size becomes a real functional question rather than a preference.
Dual monitor workspace showing EIZO and MacBook Pro screen arrangement
The presenter’s setup is a 31-inch 4K EIZO monitor paired with a 16-inch MacBook Pro as a second display. He maps the left portion of his tablet to the EIZO and the right portion to the laptop screen, essentially dividing the active surface between two monitors. This is where tablet size becomes a real functional question rather than a preference.
When you split a tablet’s active area across two screens, each mapped zone shrinks. On a Small tablet, those zones can feel cramped – especially when you’re doing detail work on skin, where pen accuracy and range of motion both matter. On the Medium, there’s enough surface area that each mapped zone stays comfortable. If you’re running a single monitor, the Small may be perfectly adequate. If you’re on dual screens, the Medium gives you breathing room.
Step 4: Consider Portability as a Workflow Requirement, Not an Afterthought
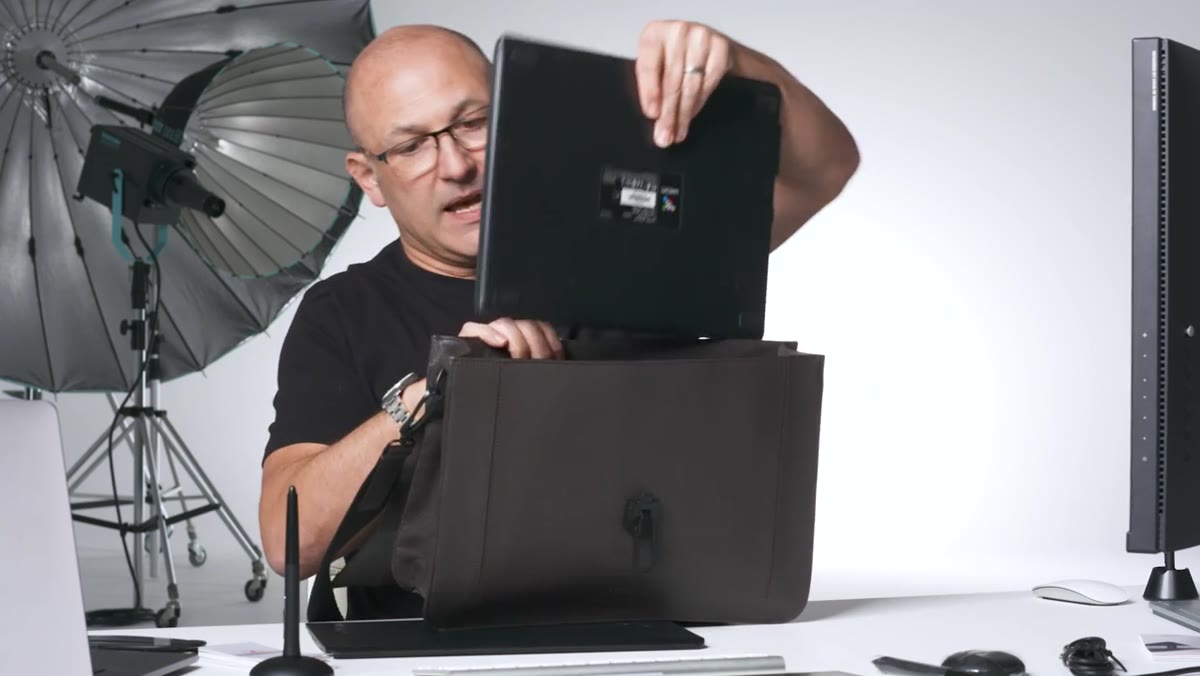 New Medium tablet sliding into a laptop bag alongside a 16-inch MacBook Pro
The presenter is direct about this: the reason he upgraded was that his old Medium wouldn’t fit in his laptop bag alongside his computer. He does a lot of international travel for lectures and presentations, and a tablet that doesn’t travel with him isn’t useful. The new Medium solves this cleanly – it fits alongside a 16-inch laptop without forcing a choice.
New Medium tablet sliding into a laptop bag alongside a 16-inch MacBook Pro
The presenter is direct about this: the reason he upgraded was that his old Medium wouldn’t fit in his laptop bag alongside his computer. He does a lot of international travel for lectures and presentations, and a tablet that doesn’t travel with him isn’t useful. The new Medium solves this cleanly – it fits alongside a 16-inch laptop without forcing a choice.
I ran into the same problem when I started teaching workshops and needed to demo retouching live. If your tablet stays at your desk permanently, this matters less. But if you work across locations, or if desk space is genuinely limited, the slimmer housing on the new generation changes the math.
Step 5: Choose the Right Size for the User’s Experience Level
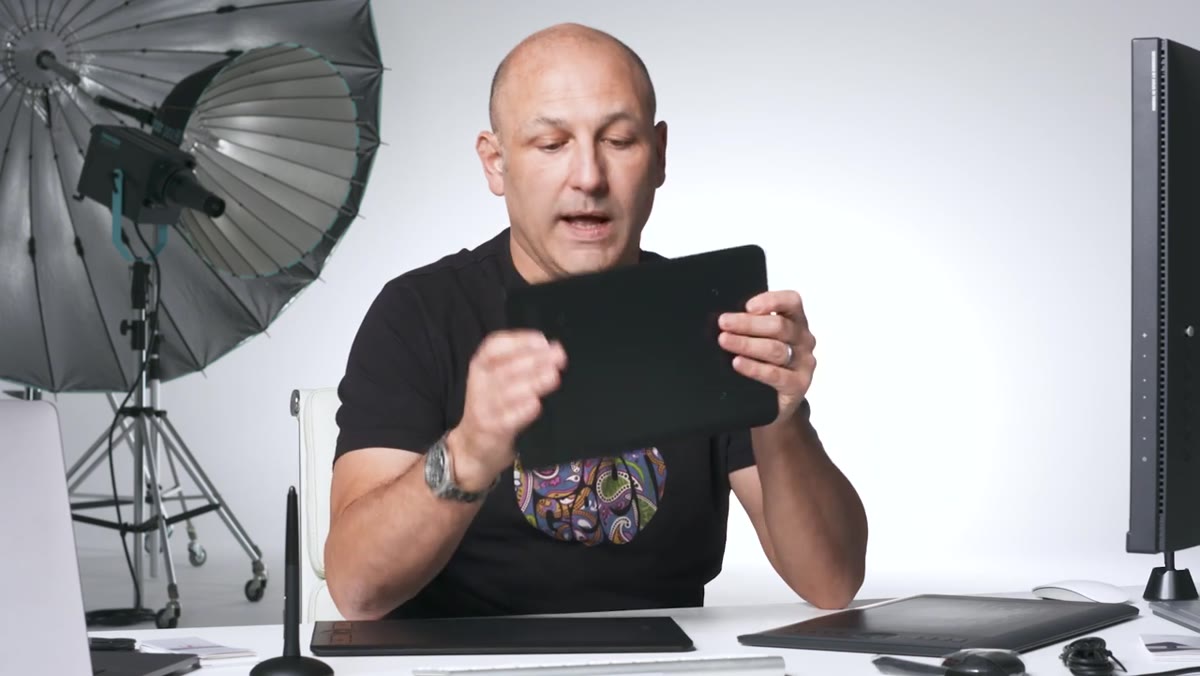 Small Intuos Pro tablet shown next to Medium for scale comparison
The presenter ordered the Small specifically for a team member who is learning retouching for the first time. Her workstation setup is more compact, and starting on a smaller tablet makes sense when you’re still building the muscle memory for pen control. The Small is a capable device – it’s not a compromise for beginners, it’s genuinely appropriate when the workstation and workflow match its dimensions.
Small Intuos Pro tablet shown next to Medium for scale comparison
The presenter ordered the Small specifically for a team member who is learning retouching for the first time. Her workstation setup is more compact, and starting on a smaller tablet makes sense when you’re still building the muscle memory for pen control. The Small is a capable device – it’s not a compromise for beginners, it’s genuinely appropriate when the workstation and workflow match its dimensions.
This is advice I give in my own workshops: don’t assume bigger is always better. For someone learning on a single monitor at a small desk, a Medium tablet can feel overwhelming and physically awkward. The Small lets a new retoucher focus on technique rather than managing an oversized piece of hardware.
A Note From My Own Setup
When I moved from wedding photography into beauty retouching, I assumed my old tablet habits would transfer directly. They mostly did – but I underestimated how much my dual-monitor workflow would demand from the active surface area. I was doing frequency separation work on high-resolution beauty shots, and with a Small tablet split across two screens, the precision wasn’t there for the fine skin work my clients expected.
The Medium fixed that. The slightly larger mapped zones meant I could make controlled, deliberate strokes on the healing brush without overshooting. If you’re retouching skin at high magnification – pores, fine lines, texture work – the extra surface area is not a luxury.
The single most useful thing this tutorial communicates is that the active drawing area matters more than the overall tablet size, and that Wacom has now separated those two variables in a way they hadn’t before. A smaller device doesn’t mean less working space anymore.
If you’re deciding between the Intuos Pro Medium and Small, map your monitors first, measure your desk space, and then watch the full comparison before you order. Watch the full tutorial on YouTube
Comments (4)
This is going in my reference folder. Incredibly useful.
Great article! I actually covered something related on my site — the lighting angle is really complementary to this.
I tried this on a client project yesterday and the results were way better than expected.
I tried this on a client project yesterday and the results were way better than expected.
Leave a Comment