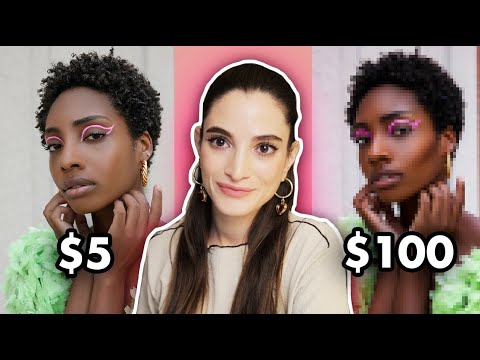
One of the fastest ways to sharpen your eye as a retoucher is to look at someone else’s work and pinpoint exactly why it feels off. Not to be harsh, but because your brain starts building a catalog of what to avoid, and that catalog saves you from making the same calls on your own edits. I stumbled into retouching the hard way, after a client once told me my portraits looked “plastic,” and that word stuck with me like a splinter. I started studying other people’s work obsessively after that, both good and bad.
That’s why I keep coming back to this experiment from photographer Jessica Kobeissi, where she hired five different Fiverr retouchers at five different price points, from five dollars up to a hundred, and compared the results on the same portrait. Watch the full tutorial on YouTube before or after reading this breakdown. What makes the video so useful isn’t just the dramatic before-and-after reveals. It’s that the progression across price points maps almost perfectly onto the progression most of us went through when we were learning, from heavy-handed blur to increasingly refined, intentional work. Walking through each result step by step gives us a real framework for diagnosing our own edits.
Step 1: Start With a Critical First Look Before You Touch Anything
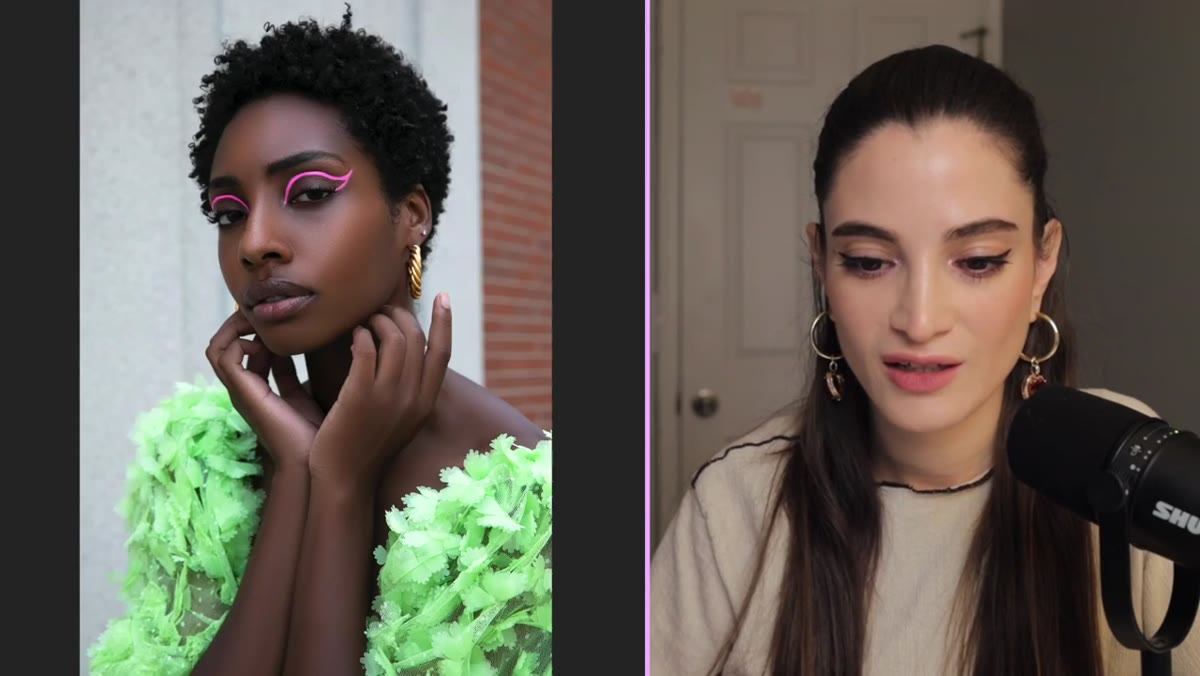 Before portrait displayed on screen, no edits applied yet
Before we even open the healing brush, we need to train ourselves to read an image the way a seasoned retoucher would. In the video, Jessica pauses on the original portrait and notes specific details she’s watching for: the eyeliner line, the skin texture, the hands, the hair flyaways. This isn’t casual observation. She’s making a mental checklist of what a skilled retoucher should notice and address.
Before portrait displayed on screen, no edits applied yet
Before we even open the healing brush, we need to train ourselves to read an image the way a seasoned retoucher would. In the video, Jessica pauses on the original portrait and notes specific details she’s watching for: the eyeliner line, the skin texture, the hands, the hair flyaways. This isn’t casual observation. She’s making a mental checklist of what a skilled retoucher should notice and address.
Do this with every portrait you receive. Zoom to 100 percent and move through the image systematically: skin texture, eyes and lashes, hair edges, any makeup inconsistencies, clothing or background distractions. Write it down if you need to. A retoucher who skips this step will always miss something obvious, and “obvious” is exactly what clients notice first.
Step 2: Recognize Over-Smoothing and Why Gaussian Blur Is the Wrong Tool
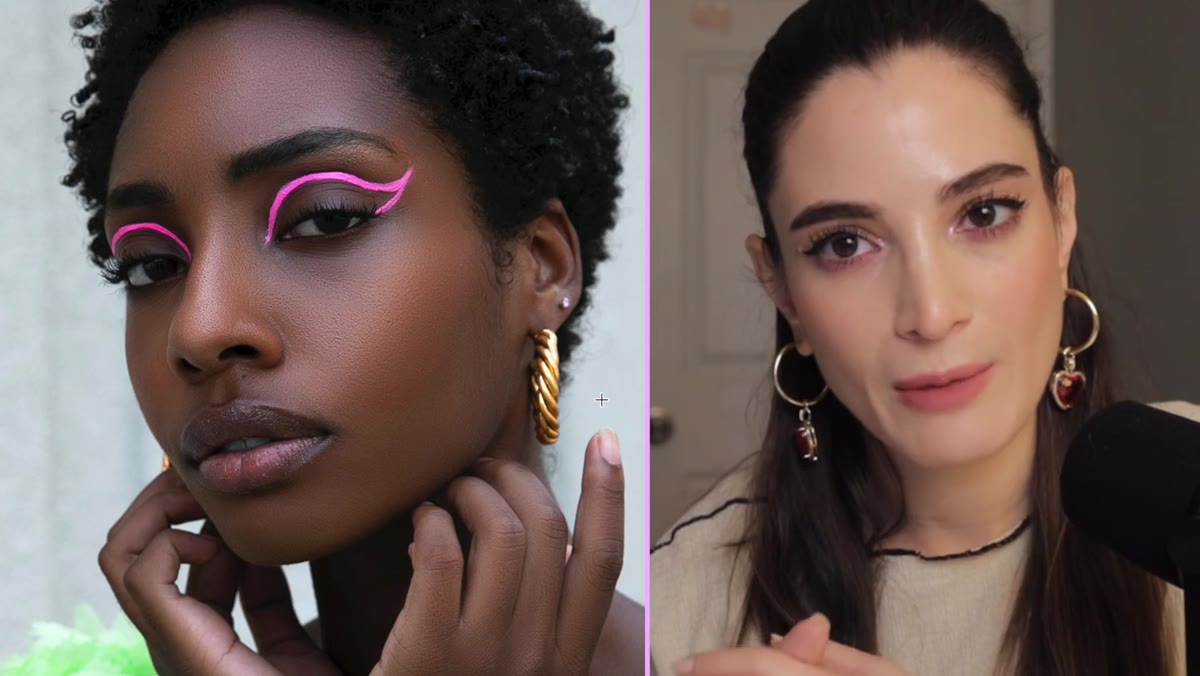 Blurry skin result from five-dollar retoucher shown in detail
The five-dollar results both shared the same core problem: skin smoothing that looked like frosted glass. Jessica identified Gaussian blur as the likely culprit, applied at an aggressive radius with no masking or texture preservation. The result was skin that read as digital and flat rather than human.
Blurry skin result from five-dollar retoucher shown in detail
The five-dollar results both shared the same core problem: skin smoothing that looked like frosted glass. Jessica identified Gaussian blur as the likely culprit, applied at an aggressive radius with no masking or texture preservation. The result was skin that read as digital and flat rather than human.
Gaussian blur obliterates the micro-texture that makes skin look real. If you’re still using it directly on skin, swap it out. The standard alternatives are frequency separation, the Portraiture plugin with conservative settings, or Camera Raw’s texture and clarity sliders pulled gently in opposite directions. The goal is to reduce the appearance of blemishes and uneven tone while keeping the pores and fine surface detail intact. As a rough guide, if you can no longer see any skin texture at 100 percent zoom, you’ve gone too far.
Step 3: Evaluate Contouring and Sharpening Added by the Retoucher
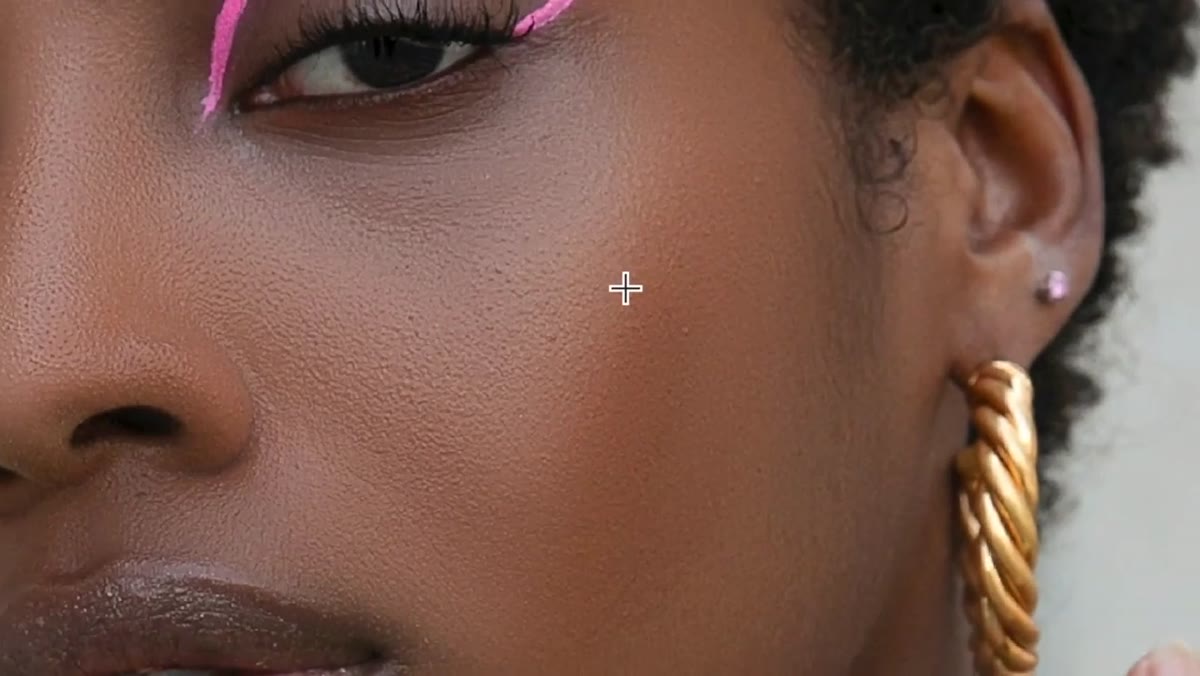 Second five-dollar result showing oversharpened contour areas
The second five-dollar retouch introduced a different problem: sharpening that created artificial-looking contour, particularly around the face’s edges. Jessica noted that certain areas looked unnaturally crisp in a way that hadn’t been in the original capture. This is what happens when someone applies a sharpening pass without masking it to the right areas, or when they use the Dodge and Burn tool too aggressively without a soft brush.
Second five-dollar result showing oversharpened contour areas
The second five-dollar retouch introduced a different problem: sharpening that created artificial-looking contour, particularly around the face’s edges. Jessica noted that certain areas looked unnaturally crisp in a way that hadn’t been in the original capture. This is what happens when someone applies a sharpening pass without masking it to the right areas, or when they use the Dodge and Burn tool too aggressively without a soft brush.
If you’re adding any sharpening at the retouching stage (as opposed to final output sharpening), keep it on a separate layer and mask it carefully. Skin should almost never receive direct sharpening. Reserve edge sharpening for the eyes, lips, and hair only. When you dodge and burn for contouring, work on a neutral gray layer set to Overlay and keep your brush opacity below 10 percent. Multiple light passes beat one heavy one every time.
Step 4: Notice What Gets Left Undone at Low Price Points
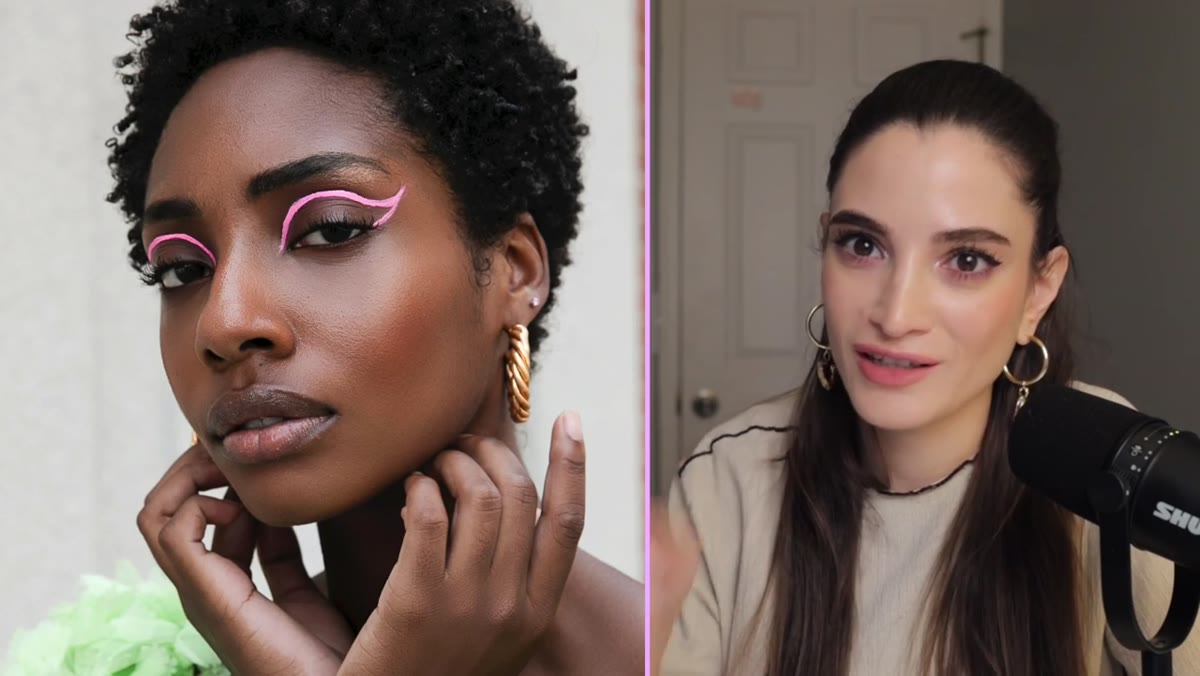 Ten-dollar result with eyeliner irregularity still uncorrected
The ten-dollar retouch brought a brightening pass and some skin cleanup, but Jessica pointed out that the eyeliner inconsistency she’d been watching for still hadn’t been addressed. This is an important diagnostic skill: learning to see not just what was done, but what was left untouched that shouldn’t have been.
Ten-dollar result with eyeliner irregularity still uncorrected
The ten-dollar retouch brought a brightening pass and some skin cleanup, but Jessica pointed out that the eyeliner inconsistency she’d been watching for still hadn’t been addressed. This is an important diagnostic skill: learning to see not just what was done, but what was left untouched that shouldn’t have been.
In beauty and portrait retouching, makeup cleanup is often where the real craft lives. Eyeliner, lip liner, and brow shape are all things a skilled retoucher will address as a matter of course. Use the Clone Stamp tool at low opacity with a small hard brush to clean up wobbly liner edges. For thicker makeup lines, the Pen tool to create a precise path and then stroking it with a color-matched brush gives you much cleaner results than freehand work. These details take time, which is partly why they get skipped at low price points. But they’re also exactly what separates a retouch that feels polished from one that feels rushed.
Step 5: Identify the Hallmarks of a Confident Mid-Range Retouch
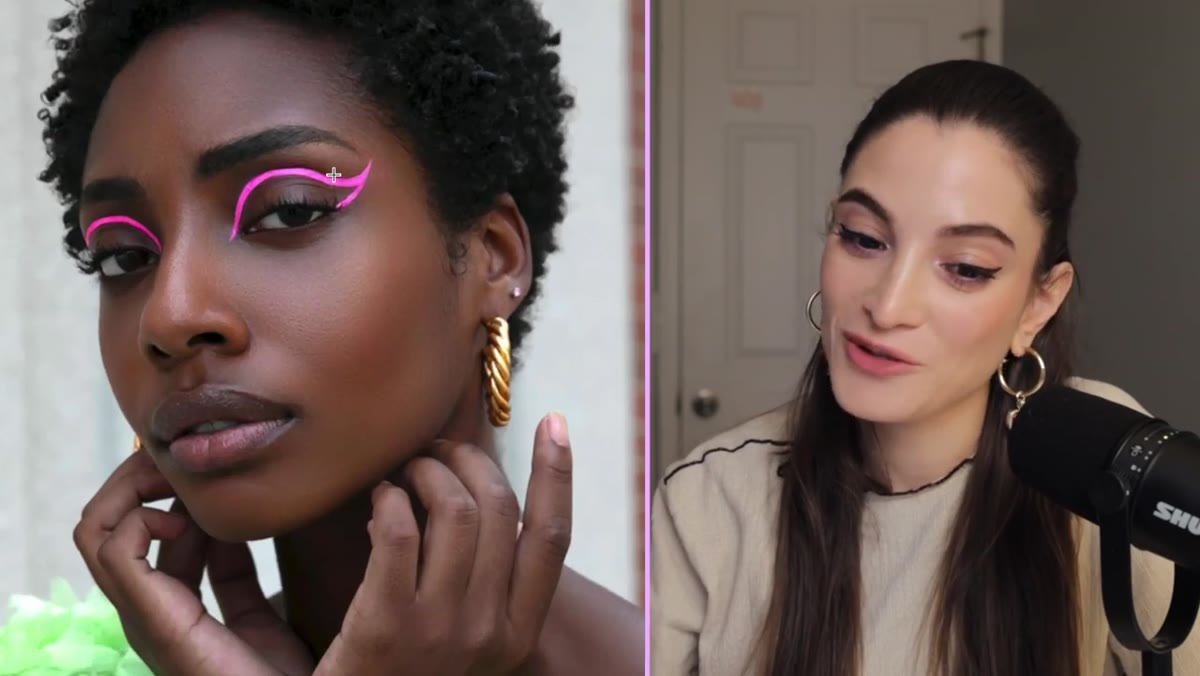 Twenty-dollar result with eyeliner cleaned up and greens enhanced
The twenty-dollar result was where Jessica’s tone shifted noticeably. The retoucher had corrected the eyeliner, cleaned up hair flyaways, and pulled up the greens in the background. The skin was handled more naturally than the earlier attempts. This is the level where a retoucher stops just “doing skin” and starts thinking about the image as a complete composition.
Twenty-dollar result with eyeliner cleaned up and greens enhanced
The twenty-dollar result was where Jessica’s tone shifted noticeably. The retoucher had corrected the eyeliner, cleaned up hair flyaways, and pulled up the greens in the background. The skin was handled more naturally than the earlier attempts. This is the level where a retoucher stops just “doing skin” and starts thinking about the image as a complete composition.
At this stage in your own workflow, think about color harmony between the subject and the background, not just isolated skin cleanup. A targeted Hue/Saturation adjustment layer with a mask can pop specific colors without affecting the whole image. For hair cleanup, the Healing Brush in Content-Aware mode works well for flyaways against clean backgrounds, but switch to the Clone Stamp when the background is complex. Small decisions like these are what push a retouch from technically acceptable to genuinely professional.
What I’d Add From My Own Workflow
The experiment in Jessica’s video intentionally skips the feedback loop, she didn’t give the retouchers instructions, which is the exact opposite of how a real client relationship should work. In my freelance work, the brief is everything. Before I open Photoshop on any beauty project, I confirm with the client whether they want heavy retouching or a “natural clean” look, which colors or elements to protect or enhance, and what the final output is (print, web, social). A technically perfect retouch can still miss the mark completely if you’re not aligned on the aesthetic goal.
I also keep what I call a “before” folder with early attempts from my first year of retouching. On days when a technique isn’t clicking, I pull one out and look at it. The gap between then and now is proof that this stuff is learnable, and it keeps me from being too precious about experimentation.
The single most important takeaway from this experiment is that price correlates strongly with the retoucher’s ability to read an image, not just execute a technique. Any retoucher can run Portraiture on a layer. The ones worth hiring, and the ones worth becoming, are the ones who notice the crooked eyeliner, the color that could sing a little louder, the flyaway at the temple. Train your eye first. The technical execution follows.
Watch the full tutorial on YouTube to see all five results side by side, including the fifty- and hundred-dollar retouches that the transcript excerpt doesn’t fully cover. Jessica’s reactions alone are worth the watch.
Comments (3)
Just used this on a wedding shoot edit. Client was thrilled.
Been doing this wrong for years apparently. Thanks for the wake-up call.
Really solid breakdown. This pairs perfectly with the lighting work I've been writing about.
Leave a Comment