
There’s a particular kind of dread I recognize in the faces of those America’s Next Top Model contestants before their no-makeup shoot. I felt a version of it myself years ago, early in my retouching career, when a client sent back my work with the note: “These look real.” She did not mean it as a compliment. That moment cracked something open for me about what we actually owe the people we photograph and retouch – and what “beautiful” is even supposed to mean when we strip away all the tools we usually reach for.
Watch the full tutorial on YouTube
In this Jessica Kobeissi breakdown, Jessica pulls apart a Season 3 ANTM episode where the models are photographed completely bare-faced for a hand cream campaign. No foundation. No concealer. No bronzer. Just skin, lighting, and a photographer named Troy Ward shooting tight, unforgiving close-ups. What makes this video so useful for retouchers isn’t just the drama (though there is plenty of that). It’s the real conversation it opens about what retouching is actually for, what models and agents genuinely expect, and how to handle skin that tells a whole story before we ever open Photoshop. Jessica talks candidly about her own experience with cystic acne and how she works with models on set around skin concerns. That professional honesty is the thread we’re going to pull through the whole walkthrough below.
Step 1: Understand the Brief Before You Touch a Slider
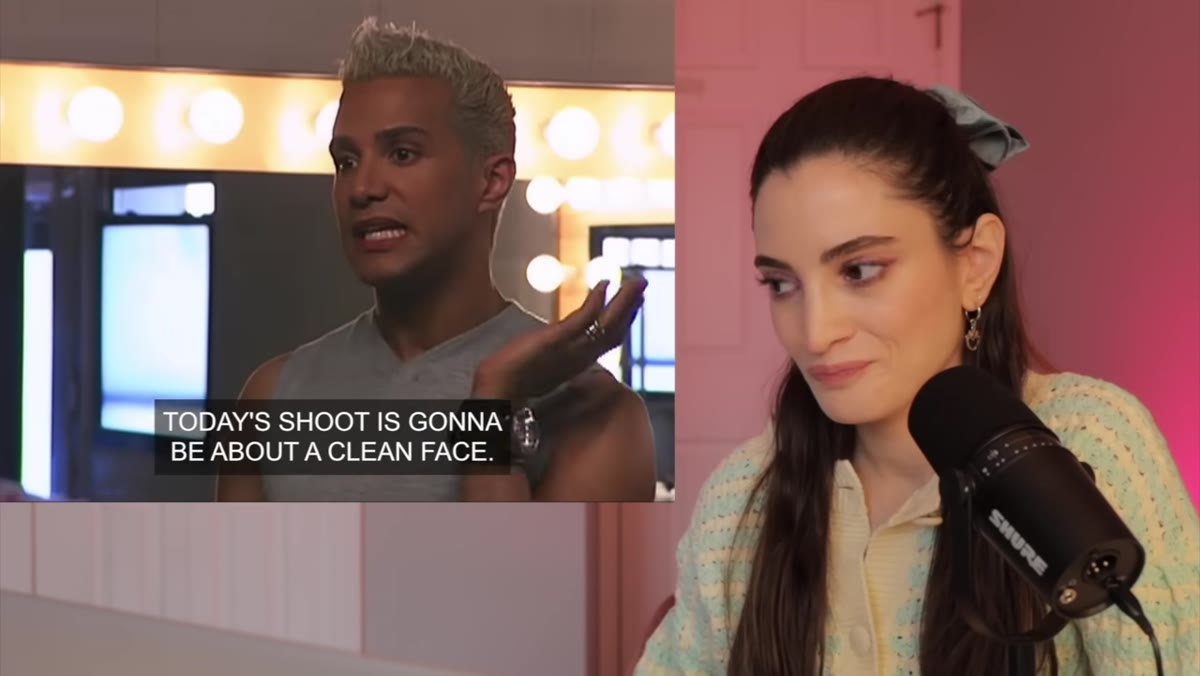 Mr. J briefing models on the bare-skin shoot concept
Before any retouching decision gets made, someone has to decide what the image is actually supposed to communicate. The ANTM shoot brief is “hand cream campaign, clean face.” That brief contains two instructions that pull in opposite directions: the product story is about soft, nourished skin, but the “clean face” direction means no cosmetic enhancement hiding imperfections. As a retoucher, your job starts here, not in Photoshop. Read the brief literally. If the concept is raw and real, heavy frequency separation work that erases every pore is the wrong call. Match your retouching depth to the campaign’s intent, and ask the photographer or art director if that intent isn’t written down somewhere.
Mr. J briefing models on the bare-skin shoot concept
Before any retouching decision gets made, someone has to decide what the image is actually supposed to communicate. The ANTM shoot brief is “hand cream campaign, clean face.” That brief contains two instructions that pull in opposite directions: the product story is about soft, nourished skin, but the “clean face” direction means no cosmetic enhancement hiding imperfections. As a retoucher, your job starts here, not in Photoshop. Read the brief literally. If the concept is raw and real, heavy frequency separation work that erases every pore is the wrong call. Match your retouching depth to the campaign’s intent, and ask the photographer or art director if that intent isn’t written down somewhere.
Step 2: Have the Skin Conversation on Set, Not After
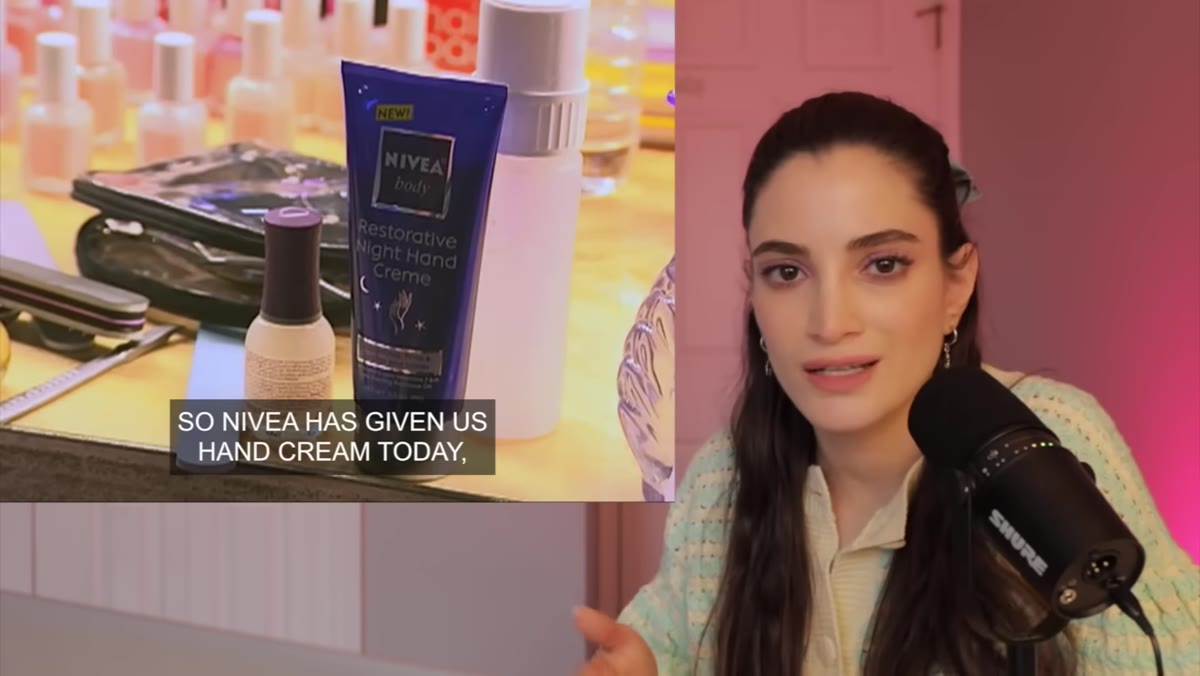 Jessica discussing model skin concerns and agent expectations
Jessica makes a point that I’ve learned to treat as a standing rule in my own workflow: agents almost always expect retouching, and models often have specific concerns they’ll share if you ask. On a shoot like this one, where the concept is deliberately unretouched, you need to have that conversation explicitly before anyone starts shooting. Walk the model through what will and won’t be edited. Will breakouts be removed? Will under-eye circles be softened? Will texture be preserved? Getting alignment on set saves you from delivering a gallery and then fielding ten rounds of revision requests from someone who assumed you’d handle things you never planned to touch. Document it, even just in an email or a quick voice note to yourself.
Jessica discussing model skin concerns and agent expectations
Jessica makes a point that I’ve learned to treat as a standing rule in my own workflow: agents almost always expect retouching, and models often have specific concerns they’ll share if you ask. On a shoot like this one, where the concept is deliberately unretouched, you need to have that conversation explicitly before anyone starts shooting. Walk the model through what will and won’t be edited. Will breakouts be removed? Will under-eye circles be softened? Will texture be preserved? Getting alignment on set saves you from delivering a gallery and then fielding ten rounds of revision requests from someone who assumed you’d handle things you never planned to touch. Document it, even just in an email or a quick voice note to yourself.
Step 3: Let the Lighting Do the First Round of Work
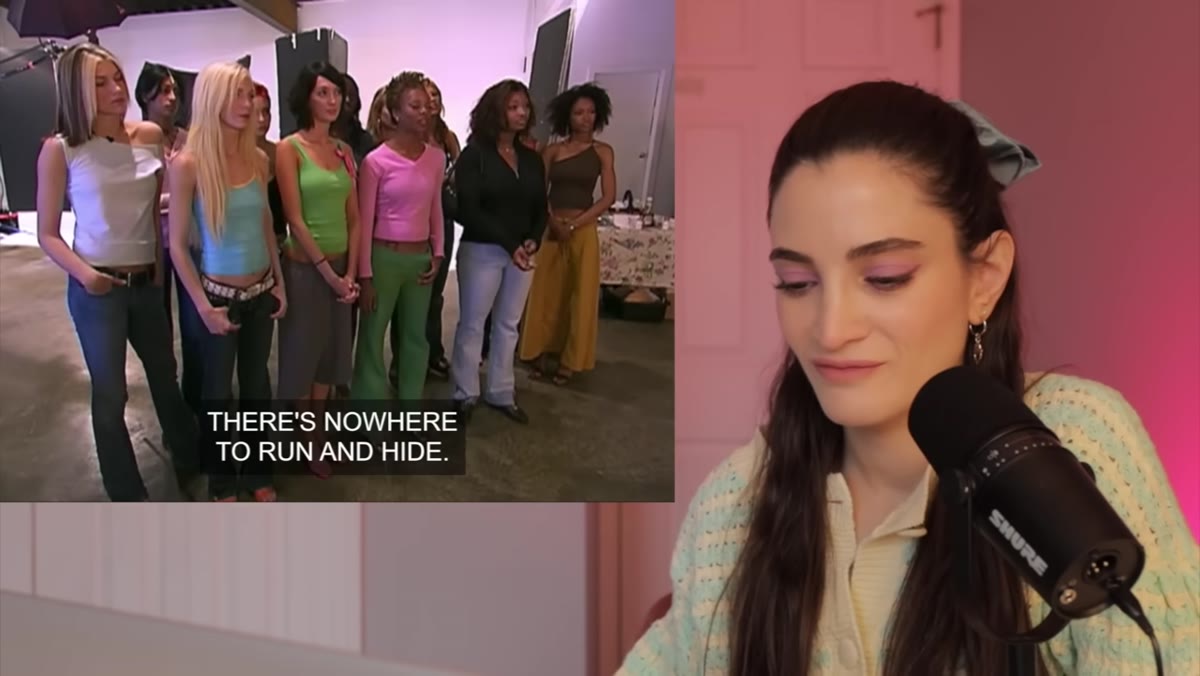 Troy Ward positioning model close to light source for beauty shots
Watch how Troy Ward is positioning his models in the episode. The setup is tight and close, which sounds terrifying for bare skin, but the light source is doing serious structural work before any camera settings are touched. Soft, directional light that wraps slightly around the face minimizes the appearance of texture without erasing it. This is your first “retouch,” and it happens before the shutter clicks. As a retoucher reviewing raw files from a shoot you weren’t on, you can usually see in the catchlights and shadow transitions whether the photographer gave you a fighting chance. Files shot in flat or unflattering light will need more aggressive work in post to get the same result, and more aggressive work always risks that plastic look nobody wants.
Troy Ward positioning model close to light source for beauty shots
Watch how Troy Ward is positioning his models in the episode. The setup is tight and close, which sounds terrifying for bare skin, but the light source is doing serious structural work before any camera settings are touched. Soft, directional light that wraps slightly around the face minimizes the appearance of texture without erasing it. This is your first “retouch,” and it happens before the shutter clicks. As a retoucher reviewing raw files from a shoot you weren’t on, you can usually see in the catchlights and shadow transitions whether the photographer gave you a fighting chance. Files shot in flat or unflattering light will need more aggressive work in post to get the same result, and more aggressive work always risks that plastic look nobody wants.
Step 4: Read What the Model Is Doing With Her Face
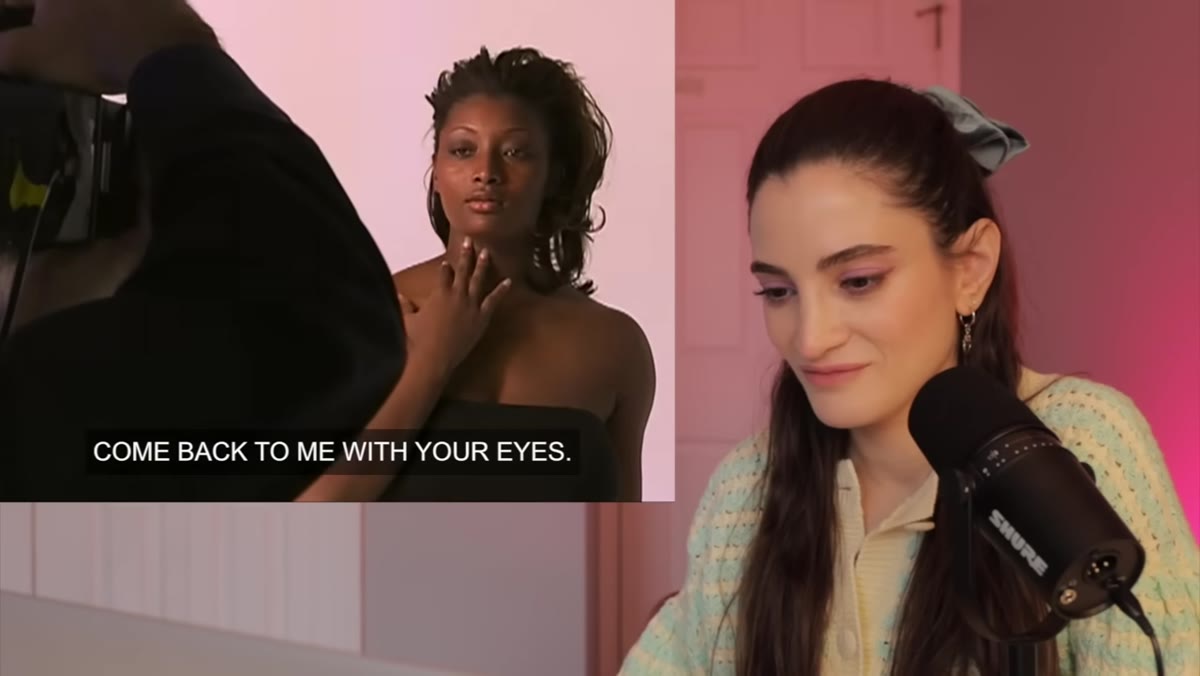 Model Takara working angles during the bare-skin shoot
Jessica highlights how different models respond to the psychological pressure of being bare-faced on camera, and this directly affects what a retoucher inherits. A model who is comfortable and expansive in her expressions gives the photographer – and you – more to work with. A model who is guarded reads as flat and closed, and no amount of skin retouching fixes a disconnected expression. When you’re culling a gallery, prioritize frames where the face is alive before you worry about which frames have the cleanest skin. A genuine expression with a visible pimple will almost always outlast a technically perfect frame with dead eyes. Retouch the best emotional moments, not the easiest skin.
Model Takara working angles during the bare-skin shoot
Jessica highlights how different models respond to the psychological pressure of being bare-faced on camera, and this directly affects what a retoucher inherits. A model who is comfortable and expansive in her expressions gives the photographer – and you – more to work with. A model who is guarded reads as flat and closed, and no amount of skin retouching fixes a disconnected expression. When you’re culling a gallery, prioritize frames where the face is alive before you worry about which frames have the cleanest skin. A genuine expression with a visible pimple will almost always outlast a technically perfect frame with dead eyes. Retouch the best emotional moments, not the easiest skin.
Step 5: Identify What Stays and What Goes Before You Open the Clone Stamp
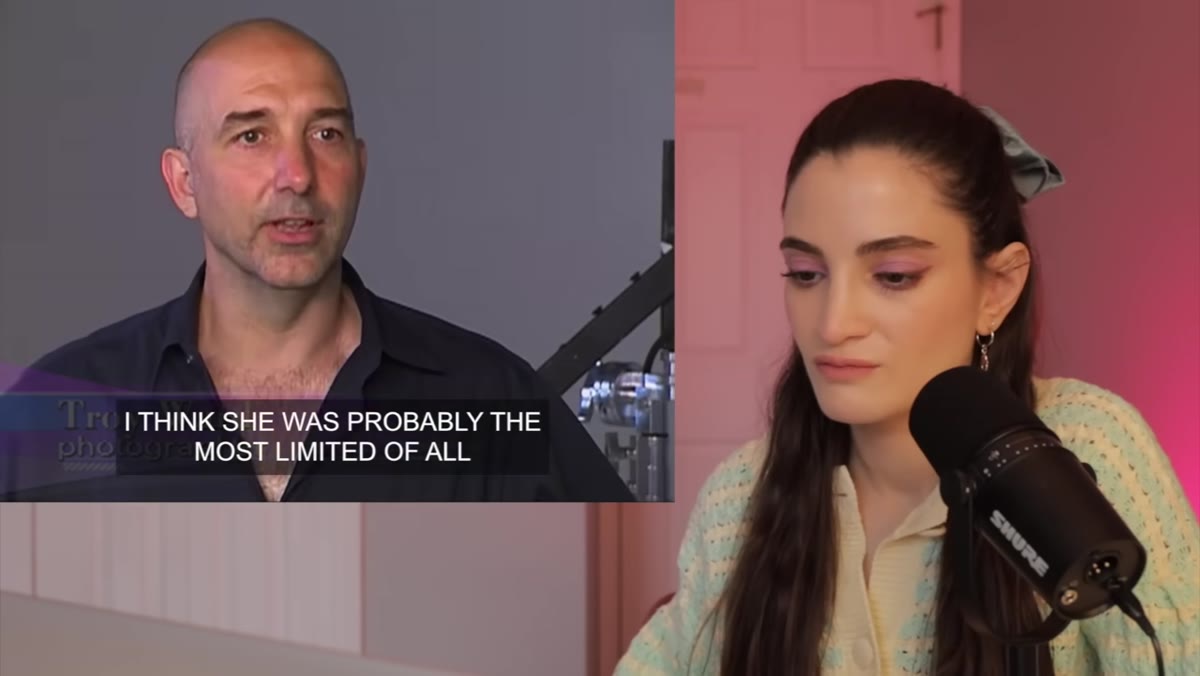 Jennifer’s panel photo shown during judging with noted concerns
The ANTM judging panel is genuinely useful to study as a retoucher because it shows you how images get evaluated by people who know what they’re looking for. When Jennifer’s photo is shown, the judges are not seeing a bad image because of her skin – they’re responding to an overall quality issue in the shot. This is a critical distinction. New retouchers often over-retouch because they’re trying to fix a feeling with a tool that can’t address the actual problem. Before you open the clone stamp, make a list: what in this image is a technical fix (blemish, stray hair, temporary redness), and what is a creative or directorial issue (flat expression, weak composition, poor connection with the lens)? Only retouch what belongs in the first column.
Jennifer’s panel photo shown during judging with noted concerns
The ANTM judging panel is genuinely useful to study as a retoucher because it shows you how images get evaluated by people who know what they’re looking for. When Jennifer’s photo is shown, the judges are not seeing a bad image because of her skin – they’re responding to an overall quality issue in the shot. This is a critical distinction. New retouchers often over-retouch because they’re trying to fix a feeling with a tool that can’t address the actual problem. Before you open the clone stamp, make a list: what in this image is a technical fix (blemish, stray hair, temporary redness), and what is a creative or directorial issue (flat expression, weak composition, poor connection with the lens)? Only retouch what belongs in the first column.
Step 6: Calibrate Your Retouching to the Campaign’s Honesty Level
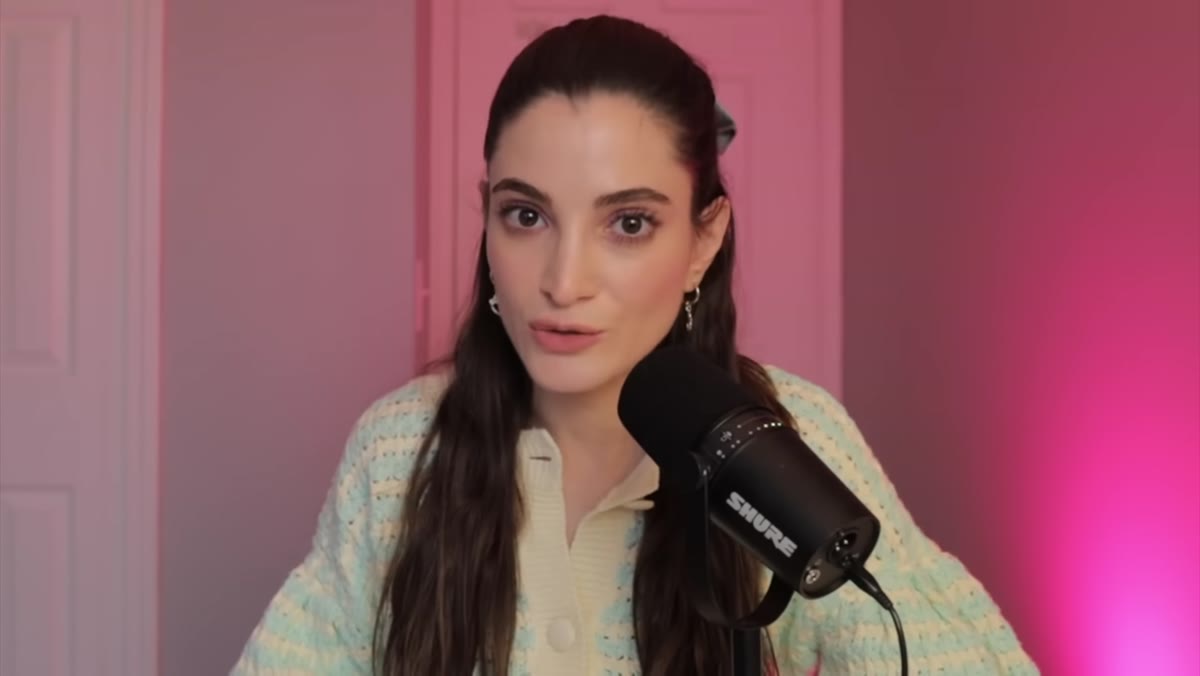 Tyra reacting to unretouched panel photo on America’s Next Top Model
Tyra’s reaction during panel cuts to something retouchers deal with constantly: the difference between “unretouched” as a concept and “unretouched” as a literal instruction. Most “natural” or “clean” beauty campaigns still expect basic retouching. Temporary blemishes get removed. Stray hairs get cleaned up. Color gets corrected. What they don’t want is the full frequency separation treatment that smooths skin into a texture-free surface. Set your retouching in tiers: basic cleanup (always), texture refinement (campaign-dependent), and structural or cosmetic changes (client must explicitly approve). When you treat these as distinct categories rather than a single dial you turn up or down, your work lands more consistently with what clients actually want.
Tyra reacting to unretouched panel photo on America’s Next Top Model
Tyra’s reaction during panel cuts to something retouchers deal with constantly: the difference between “unretouched” as a concept and “unretouched” as a literal instruction. Most “natural” or “clean” beauty campaigns still expect basic retouching. Temporary blemishes get removed. Stray hairs get cleaned up. Color gets corrected. What they don’t want is the full frequency separation treatment that smooths skin into a texture-free surface. Set your retouching in tiers: basic cleanup (always), texture refinement (campaign-dependent), and structural or cosmetic changes (client must explicitly approve). When you treat these as distinct categories rather than a single dial you turn up or down, your work lands more consistently with what clients actually want.
What I Do Differently After Years of Skin Retouching
The piece of this video that I keep returning to is Jessica’s candor about her own skin struggles and how that shapes her approach on set. I had a similar turning point when a model pulled me aside after a shoot and quietly asked if I would take care of something on her chin. She never would have said it in front of the group. That moment changed how I handle the skin conversation entirely. Now I have it one-on-one, early, and I frame it around what the model wants rather than what I plan to do. The technical workflow matters. But the human conversation before any of it is what actually determines whether the final images feel like a collaboration or an exposure.
The single most important thing this video teaches is that retouching is a response to intention, not a default setting you apply to every file. Know the brief. Know the person. Then open Photoshop.
Watch the full tutorial on YouTube
Comments (2)
My workflow just got 10x faster. Not even kidding.
Quality content like this is rare. Keep it up.
Leave a Comment