There’s a pattern I’ve noticed after years of retouching images for beauty brands: the shots that take me forty-five minutes to retouch and the ones that take three hours aren’t separated by the model’s skin, the makeup, or even the photographer’s skill level. They’re separated by the light. When the lighting is doing its job well, the skin already has dimension, the shadows fall cleanly, and my job becomes refinement rather than reconstruction. When it isn’t, I’m essentially trying to sculpt light back into a flat image with a dodge and burn brush, and no amount of frequency separation will fully save it.
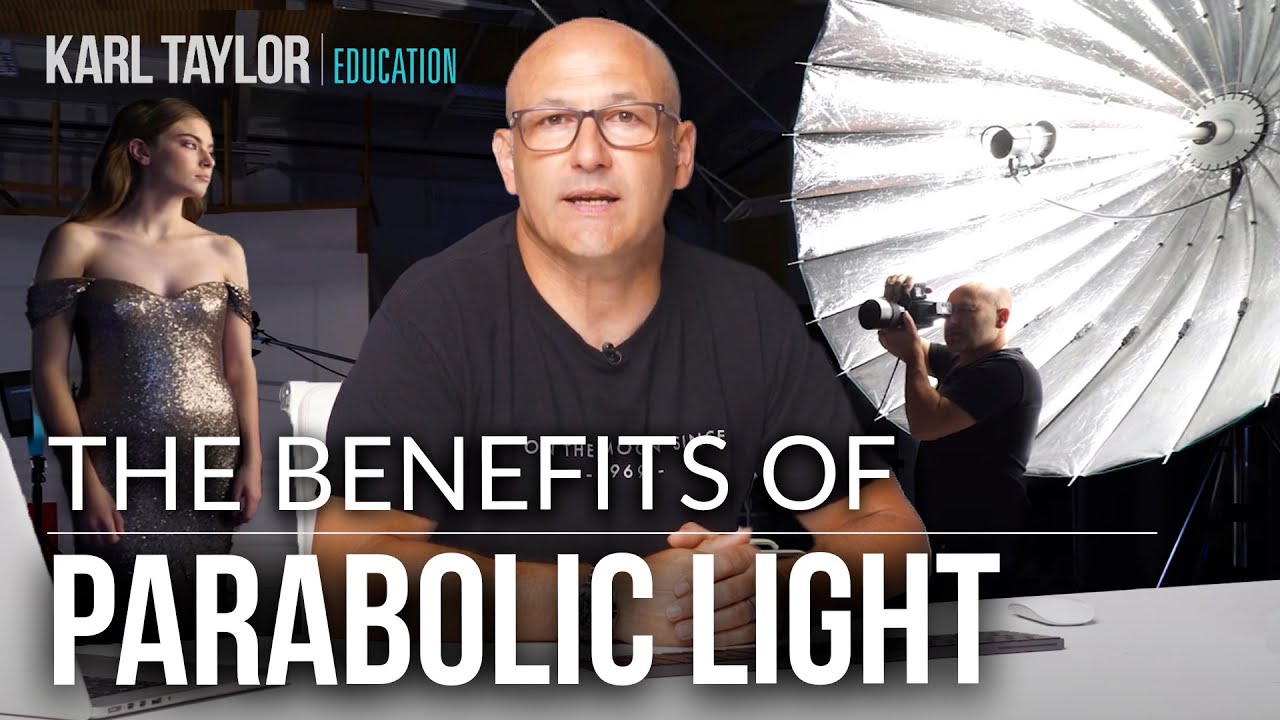
That’s why I keep coming back to this Visual Education tutorial on parabolic lighting. Watch the full tutorial on YouTube - it’s framed for photographers, but as someone who sits on the receiving end of these files, understanding what a parabolic modifier actually does has genuinely changed how I communicate with the photographers I work with, and how I approach the files they send me. The physics of the light explains what I’m seeing in the raw image, and that’s worth knowing.
Step 1: Understand What a Parabolic Modifier Actually Is
 Diagram showing U-shaped parabolic curve with symmetry line
Before anything else, the tutorial grounds us in the geometry, and it’s worth sitting with this for a moment. A parabolic reflector follows a very specific curved shape called a parabola, defined by the property that every point on the curve sits at an equal distance from a central focus point and a fixed reference line. That precision isn’t decorative. It’s what gives the modifier its behavior.
Diagram showing U-shaped parabolic curve with symmetry line
Before anything else, the tutorial grounds us in the geometry, and it’s worth sitting with this for a moment. A parabolic reflector follows a very specific curved shape called a parabola, defined by the property that every point on the curve sits at an equal distance from a central focus point and a fixed reference line. That precision isn’t decorative. It’s what gives the modifier its behavior.
The practical upshot: any light that originates from the focus point bounces off the reflector and travels outward in parallel rays, all moving in the same direction. That’s fundamentally different from a softbox or umbrella, where light scatters in multiple directions and wraps more broadly. The parallel output is what gives parabolic light its characteristic combination of softness and defined edge quality, the thing that makes skin look luminous without going flat.
Step 2: Learn Why True Parabolic Shape Is Non-Negotiable
 Side-by-side comparison of true parabolic shape vs. approximate umbrella shape
The tutorial makes a point I wish more gear marketing would acknowledge: most modifiers that call themselves parabolic aren’t. Calling something parabolic because it’s vaguely deep and curved is like calling something a prime lens because it has a fixed barrel. The shape has to conform precisely to the mathematical definition or the physics simply don’t work the same way.
Side-by-side comparison of true parabolic shape vs. approximate umbrella shape
The tutorial makes a point I wish more gear marketing would acknowledge: most modifiers that call themselves parabolic aren’t. Calling something parabolic because it’s vaguely deep and curved is like calling something a prime lens because it has a fixed barrel. The shape has to conform precisely to the mathematical definition or the physics simply don’t work the same way.
If the curve deviates from a true parabola, reflected light rays no longer travel parallel to the central axis. They scatter inconsistently, and you lose the focused, controllable quality that makes parabolic modifiers worth the investment. When evaluating gear, the tutorial recommends checking whether the manufacturer actually specifies parabolic conformity, not just parabolic-inspired design. The Broncolor Para system is the example used here, and it’s a benchmark worth understanding even if it’s outside your budget, because it shows what the output should look like at its best.
Step 3: Understand Why Flash Head Placement Controls Everything
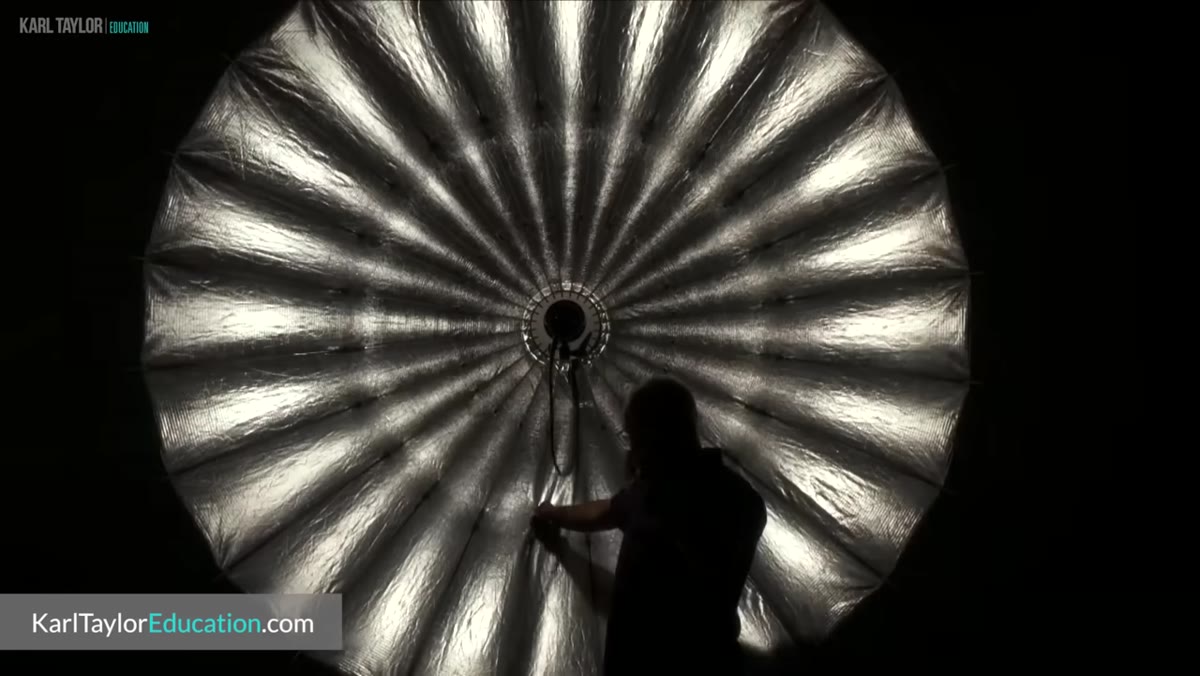 Diagram showing flash head positioned at different depths inside the reflector
This is the part that reframes how I think about the images I receive. Inside a true parabolic modifier, the flash head can be physically moved along the central axis, pulled closer to the reflector’s center or pushed further toward the opening. That single adjustment changes the entire character of the light.
Diagram showing flash head positioned at different depths inside the reflector
This is the part that reframes how I think about the images I receive. Inside a true parabolic modifier, the flash head can be physically moved along the central axis, pulled closer to the reflector’s center or pushed further toward the opening. That single adjustment changes the entire character of the light.
When the head sits further out toward the front, the light source is no longer at the precise focus point, so the reflected rays aren’t perfectly parallel. The result is a softer, more diffused output with lower contrast. Pull the head back toward the center, and the rays tighten into a more focused beam with significantly more contrast and punch. This means one modifier can produce genuinely different light quality depending on how the photographer sets it up, not just different intensity. For retouching purposes, knowing where the head was positioned helps me understand why shadows fall the way they do and whether the contrast I’m seeing in the skin is structural or incidental.
Step 4: Recognize the Light Quality Parabolic Produces on Skin
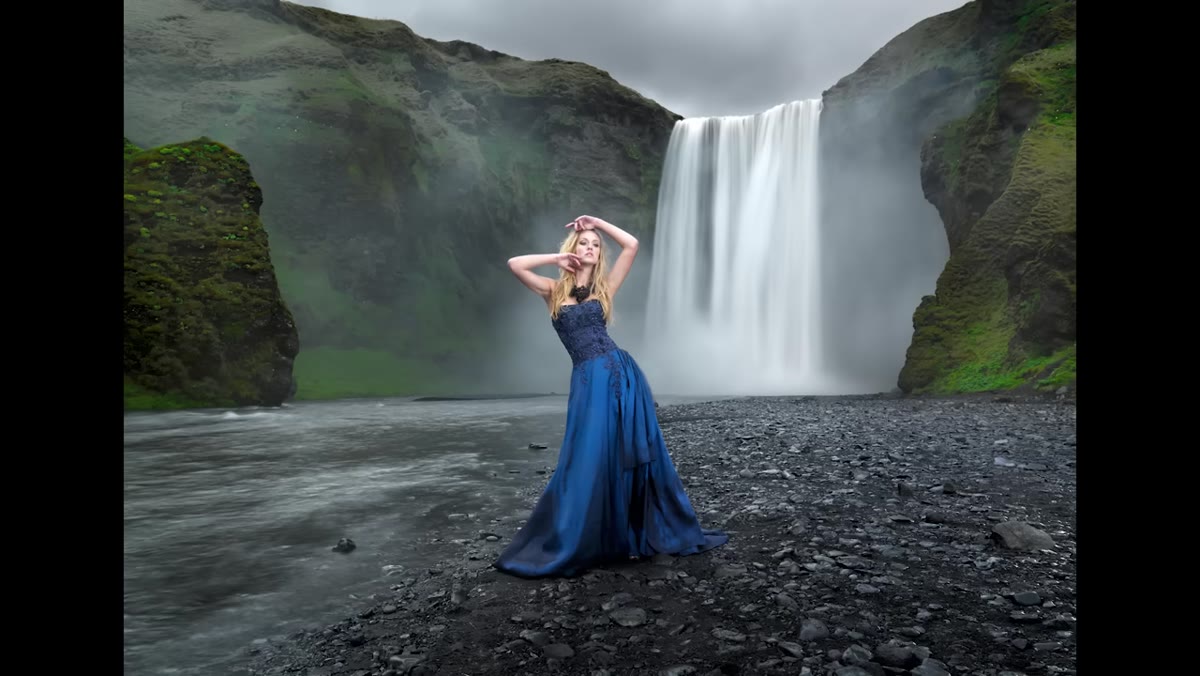 Portrait showing parabolic light on model’s skin with visible sparkle quality
The tutorial describes the output of a true parabolic modifier as having a characteristic “sparkle,” and once you know what to look for, you see it immediately in well-lit beauty images. It’s a quality where specular highlights on the skin have a clean, precise edge rather than blooming softly outward, and the overall image feels both bright and three-dimensional at the same time.
Portrait showing parabolic light on model’s skin with visible sparkle quality
The tutorial describes the output of a true parabolic modifier as having a characteristic “sparkle,” and once you know what to look for, you see it immediately in well-lit beauty images. It’s a quality where specular highlights on the skin have a clean, precise edge rather than blooming softly outward, and the overall image feels both bright and three-dimensional at the same time.
For skin retouching, this is meaningful. The speculars land in predictable places, forehead, cheekbones, the bridge of the nose, and they’re small and defined rather than broad and washed out. That gives me reliable reference points for dodge and burn work. I’m not guessing at where the light wants to create dimension. The modifier has already made that decision with a level of consistency that softer, less focused sources don’t provide. It also means texture work is more straightforward because the light is revealing detail rather than burying it.
Step 5: Understand the Advantage of a Focused Beam for Subject Control
 Studio setup showing parabolic light illuminating subject without spilling onto background
One final practical advantage the tutorial covers: the relatively narrow, directional beam that a parabolic modifier produces means the photographer can light the subject without the light spilling heavily onto the background or surrounding environment. That’s a compositional and color control advantage at the capture stage.
Studio setup showing parabolic light illuminating subject without spilling onto background
One final practical advantage the tutorial covers: the relatively narrow, directional beam that a parabolic modifier produces means the photographer can light the subject without the light spilling heavily onto the background or surrounding environment. That’s a compositional and color control advantage at the capture stage.
For retouchers, this shows up as cleaner separation between subject and background in the raw file. When ambient light floods a set because the modifier is scattering broadly, the background picks up color cast from surrounding surfaces, and the subject’s shadows often go muddy. A well-focused parabolic beam tends to give me files where the background holds its own value independently, and that makes masking and any background work significantly cleaner to execute.
What I’d Add From the Retouching Side
Understanding this lighting doesn’t just make me better at evaluating raw files. It’s changed how I brief photographers before a shoot when I have that kind of input. I now specifically ask whether they’re using a modifier that lets them adjust the focus depth, and I ask to see test shots at different settings before we commit to a full sequence. Getting the light right at capture is always less work than rebuilding it in post, and parabolic lighting, done correctly, tends to produce files that feel like they’re already halfway retouched before I open them in Photoshop.
The one caveat worth naming: this quality of light is directional and contrast-forward, which means it rewards subjects and techniques that suit some dimension and definition. For certain skin conditions or very high-key beauty concepts, the photographer may want to diffuse the output further or pull the head out toward a softer setting. Knowing that option exists, and asking about it, is something retouchers can bring to the conversation.
The single biggest thing this tutorial gave me is a clearer vocabulary for talking about what I’m seeing in a file. “The light feels flat” is useful feedback. “The modifier may not have been fully focused, the speculars are diffuse and the shadows aren’t giving me clear structure to work with” is a conversation that actually leads somewhere.
Watch the full tutorial on YouTube to see the flash head positioning demonstrated visually and to get a clearer sense of the output differences at each setting.
Comments (2)
This saved me so much time on my last edit. Wish I'd found this sooner.
This saved me so much time on my last edit. Wish I'd found this sooner.
Leave a Comment