
There’s a clip from the first cycle of America’s Next Top Model that has lived rent-free in my head since I stumbled across Jessica Kobeissi’s reaction video a few weeks ago. Tyra Banks tells a model, on camera, that her skin texture made the retoucher’s job the hardest of the entire shoot. The implication is clear: natural skin is a problem to be solved. I’ve been retouching beauty work long enough to know that this framing does real damage, not just to models on reality television, but to the everyday clients who come to photographers already convinced their skin needs to be erased before they can look good in a photo.
Watch the full tutorial on YouTube
In this Jessica Kobeissi video, Jessica reacts to the ANTM snake-shoot episode from Cycle 1, and her commentary cuts right to something I think about constantly in my own work: the difference between retouching that serves a person and retouching that flattens them into something unrecognizable. She’s funny and sharp, but underneath the jokes is a genuinely useful framework for thinking about beauty photography and what we owe the people in our frames. Here’s what I pulled out of it, and how I apply it at my own editing desk.
Step 1: Reframe What a “Beauty Shot” Actually Requires
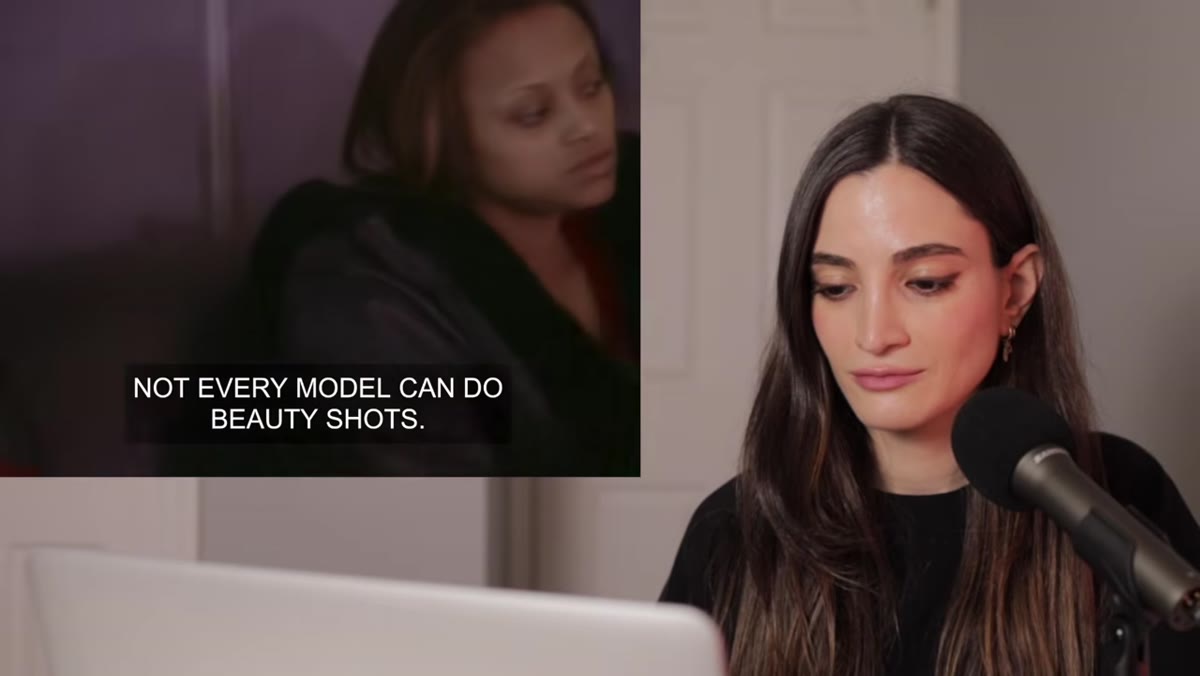 Tyra briefing models on beauty shot expectations
Jessica pushes back hard on the idea that not everyone can do a beauty shot. Technically, she points out, a beauty shot is defined by the lens choice and the framing, not by the subject’s face. The classic focal length is 100mm, which compresses features flattering and keeps backgrounds soft. If you’re shooting beauty work and you’re not already using something in the 85-135mm range, start there. The compression alone will change what you think is possible with a given subject, and it will reduce the pressure you put on retouching to do heavy lifting.
Tyra briefing models on beauty shot expectations
Jessica pushes back hard on the idea that not everyone can do a beauty shot. Technically, she points out, a beauty shot is defined by the lens choice and the framing, not by the subject’s face. The classic focal length is 100mm, which compresses features flattering and keeps backgrounds soft. If you’re shooting beauty work and you’re not already using something in the 85-135mm range, start there. The compression alone will change what you think is possible with a given subject, and it will reduce the pressure you put on retouching to do heavy lifting.
The practical lesson here for retouchers: when a shot comes into your queue and the skin reads as textured or complex, ask first whether that’s a lighting or lens decision that happened before the file landed on your screen. You can only fix so much in post, and more importantly, you shouldn’t try to fix all of it.
Step 2: Understand the Concept Before You Open the File
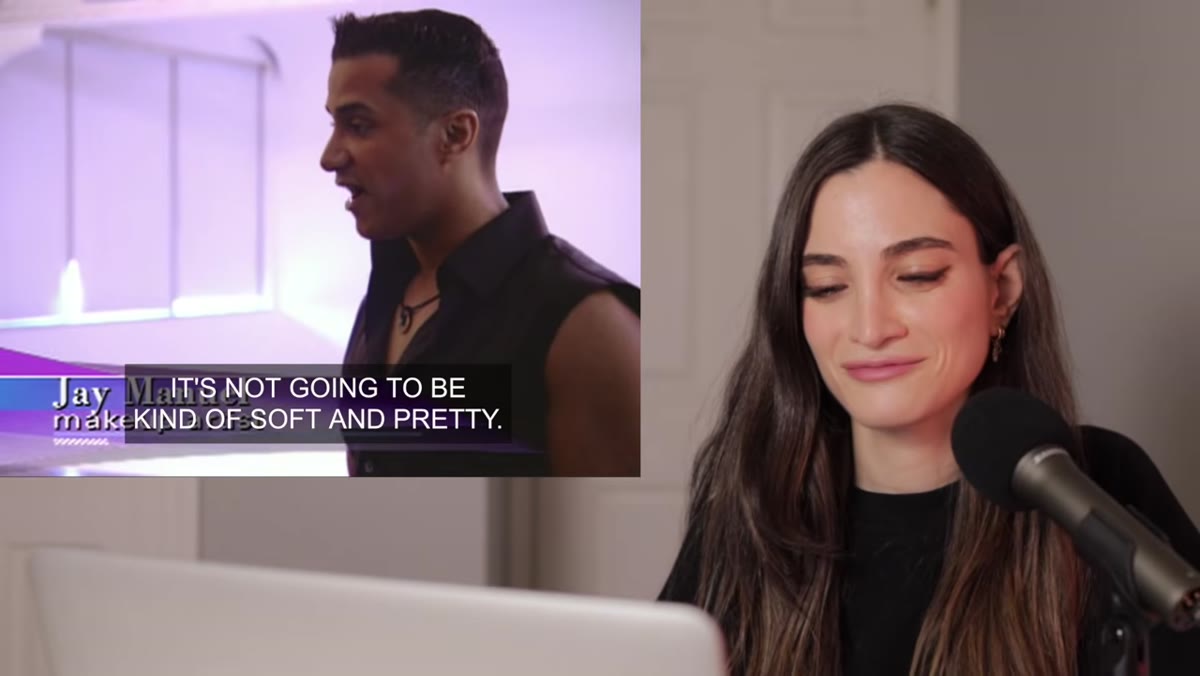 Models receiving edgy beauty concept directions
One thing Jessica highlights is that the shoot wasn’t going for soft and pretty. The brief was edgy, high-concept beauty. That distinction matters enormously for retouching decisions. Soft and pretty beauty work calls for smooth gradients, even skin tones, and carefully reduced texture. Edgy editorial work often wants to keep texture, keep contrast, keep the thing that makes the subject look like a real person under dramatic lighting.
Models receiving edgy beauty concept directions
One thing Jessica highlights is that the shoot wasn’t going for soft and pretty. The brief was edgy, high-concept beauty. That distinction matters enormously for retouching decisions. Soft and pretty beauty work calls for smooth gradients, even skin tones, and carefully reduced texture. Edgy editorial work often wants to keep texture, keep contrast, keep the thing that makes the subject look like a real person under dramatic lighting.
Before I open a file, I try to answer one question: what is this image supposed to feel like? If the photographer was going for something gritty and real, and I come in with heavy frequency separation and a smoothing brush, I’m working against the image. Read the mood first. Let the concept guide every tool decision that follows.
Step 3: Don’t Let Production Pressure Rush Your Skin Work
 Close-up beauty shot with minimal room for error
Jessica makes a sharp observation about how little forgiveness there is in beauty photography. The frame is tight, the focus is on the face, and every retouching decision is visible. This is exactly why rushing skin work backfires. The most common mistake I see in beginner retouching, and honestly one I made myself early on, is using a healing brush or clone stamp too aggressively in one pass. You end up with that plasticky, pore-free look that reads immediately as over-edited.
Close-up beauty shot with minimal room for error
Jessica makes a sharp observation about how little forgiveness there is in beauty photography. The frame is tight, the focus is on the face, and every retouching decision is visible. This is exactly why rushing skin work backfires. The most common mistake I see in beginner retouching, and honestly one I made myself early on, is using a healing brush or clone stamp too aggressively in one pass. You end up with that plasticky, pore-free look that reads immediately as over-edited.
The better approach is to work in multiple light passes. First pass: remove any temporary blemishes or distractions, things that wouldn’t be there on another day. Second pass: address uneven tone using a curves adjustment with a luminosity mask, not a blanket brightening. Third pass: evaluate texture. Decide consciously how much you want to keep, not how much you want to remove.
Step 4: Respect What Skin Texture Is Actually Doing in the Image
 Tyra commenting on model’s skin texture at retouching session
This is the step that Jessica’s video pushed me to articulate more clearly for myself. Tyra framing skin texture as a problem, specifically for a Black woman, is not just culturally loaded. It’s also photographically wrong. Skin texture, especially under good light, creates dimension. It gives the face topography. It’s what separates a portrait from a product shot.
Tyra commenting on model’s skin texture at retouching session
This is the step that Jessica’s video pushed me to articulate more clearly for myself. Tyra framing skin texture as a problem, specifically for a Black woman, is not just culturally loaded. It’s also photographically wrong. Skin texture, especially under good light, creates dimension. It gives the face topography. It’s what separates a portrait from a product shot.
When I’m working on darker skin tones especially, I’ve learned to be more conservative with texture reduction than I would instinctively be. The interaction between light and texture is different across skin tones, and smoothing that reads as subtle on lighter skin can read as waxy and artificial on deeper tones. The test I use: zoom out to 25% and assess. If you can’t read the skin as skin, you’ve gone too far.
Step 5: Keep the Eyes as Your Anchor Point
 Director emphasizing that beauty shots live in the eyes
Jessica notes that the director on set kept returning to the same idea: in beauty photography, everything comes from the eyes. This is as true in post-production as it is on set. I always finish skin work before I touch the eyes, and then I evaluate the eyes last. If the skin is too smooth relative to the sharpness of the iris and lashes, the whole face looks composited. The eyes should be the sharpest, most alive element in the frame.
Director emphasizing that beauty shots live in the eyes
Jessica notes that the director on set kept returning to the same idea: in beauty photography, everything comes from the eyes. This is as true in post-production as it is on set. I always finish skin work before I touch the eyes, and then I evaluate the eyes last. If the skin is too smooth relative to the sharpness of the iris and lashes, the whole face looks composited. The eyes should be the sharpest, most alive element in the frame.
A simple way to check this: duplicate your finished retouch layer, desaturate it, and look at the contrast map. The eyes should read as the brightest point of contrast. If the skin is competing with them, pull back on whatever you did to the midtones in that region.
What I Do Differently After Watching This
Jessica’s video confirmed something I’ve been moving toward in my own workshop curriculum: the ethics of retouching and the technique of retouching are the same conversation. When I train newer retouchers, I now ask them to write one sentence before they start on any beauty file: “This person’s skin is __________, and I want to preserve that while __________ .” Filling in those blanks forces an intentional decision rather than a reflexive one.
I’ve also started pushing back, gently, when clients ask me to make someone’s skin look “perfect.” I ask them what perfect means to them, because the answer usually reveals whether they want clean and healthy, or whether they’ve internalized the same logic Tyra was working with in that ANTM clip. Most of the time, once we name it, they want clean and healthy. That’s a much more achievable goal, and it produces work neither of us will be embarrassed by in five years.
The single most important thing Jessica’s video reinforced for me is this: retouching is not about removing what’s there. It’s about clarifying what was already working. Skin texture, used well, is an asset. Our job is to meet the image where it is, not drag it somewhere else entirely.
Watch the full tutorial on YouTube and pay attention to how Jessica’s instincts as a working photographer shape every comment she makes. She’s not just reacting to drama. She’s teaching.
Comments (3)
Printing this out and pinning it next to my monitor. That good.
Great breakdown. The step-by-step approach really helps.
Applied this to my portfolio shots and the improvement is noticeable.
Leave a Comment