I still have the file. It lives in a folder I’ve never deleted, labeled “DO NOT SHOW ANYONE,” and every time I open Photoshop it’s sitting there, waiting. My first serious retouching attempt on a beauty portrait. The skin looks like it was painted with a foam roller. No dimension, no depth, no life. Just a flat, airbrushed approximation of a human face.
What I was missing wasn’t a better plugin or a fancier frequency separation technique. I was missing dodge and burn. Once I understood it properly, everything else I knew about retouching clicked into place around it.
What Dodge and Burn Is Actually Doing to Your Image
In a darkroom, photographers used to wave their hands or hold a piece of cardboard between the light source and the paper to hold back exposure in certain areas (dodging) or let more light hit specific spots (burning). Photoshop borrowed the name, but the underlying principle is the same: you are painting light and shadow directly onto the image.
Human faces are not flat surfaces. Light wraps around the nose, catches the tops of cheekbones, falls away under the jaw. When we retouch skin heavily, we often flatten those gradients without realizing it. Dodge and burn is how we put them back. We are not retouching blemishes with this technique. We are sculpting form. That distinction matters enormously and it took me an embarrassingly long time to internalize it.
Setting Up Your Layers the Right Way
Skip the actual Dodge and Burn tools in Photoshop’s toolbar. They are destructive and harder to control. Instead, we work on a dedicated 50% gray layer, which lets us paint light and shadow non-destructively and adjust opacity at any point.
Here is the setup I use on every single file:
- Create a new layer above your retouched skin layer.
- Go to Edit > Fill, and fill it with 50% gray.
- Set the blend mode of that layer to Soft Light.
- Lower your brush opacity to 3-5%. This is not a typo. Three percent.
- Use a soft, round brush with hardness set to 0%.
For dodging (lightening), paint with white. For burning (darkening), paint with black. Because the layer is in Soft Light mode, the 50% gray becomes invisible, and only your light and dark brushstrokes read through.
I name this layer “The Godfather” in my action sets, which is my own strange system, but the point is: give it a name that reminds you it is the most powerful layer in your document.
The Slow Pass and the Detail Pass
I work in two distinct passes, and the separation between them has probably saved me more time than any other habit I have.
The first pass is macro. I zoom out to about 25-33% view and look at the overall light structure of the face. Where is the key light hitting? Where should the shadows fall? I use a large, soft brush, sometimes 300-500 pixels on a 3000 pixel wide image, and I build up the broad planes of the face. Forehead, cheekbones, chin. This is the pass that determines whether the final image reads as three-dimensional. Most retouchers skip it because it feels too subtle. It is not subtle. It is the entire foundation.
The second pass is micro. I zoom to 100% and work on smaller tonal inconsistencies. A slightly brighter patch near the nose bridge. A shadow under the lower lip that needs softening. These are 5-10% opacity strokes at most, applied with a brush sized to roughly half the area I am targeting. Here is where precision matters, but precision only works if the macro pass underneath it is solid.
Why Opacity Below 5% Is Not Being Timid
Early on, I thought low opacity meant I was being too careful. A colleague who had been retouching for cosmetics brands for over a decade watched me work once and said, very gently, that my 15% brush strokes were “leaving footprints.” She was right. You could see the individual strokes if you looked at the image from an angle on screen.
When we work at 3-4% opacity, we are not being timid. We are building up tone in a way that mimics how light actually behaves on skin, which is gradually and with variation. Skin does not have hard gradients. Our brushwork should not either. I now set a keyboard shortcut that locks my dodge-and-burn layer brush at 4% maximum and forces me to build up slowly. It is one of the better constraints I have put on my own workflow.
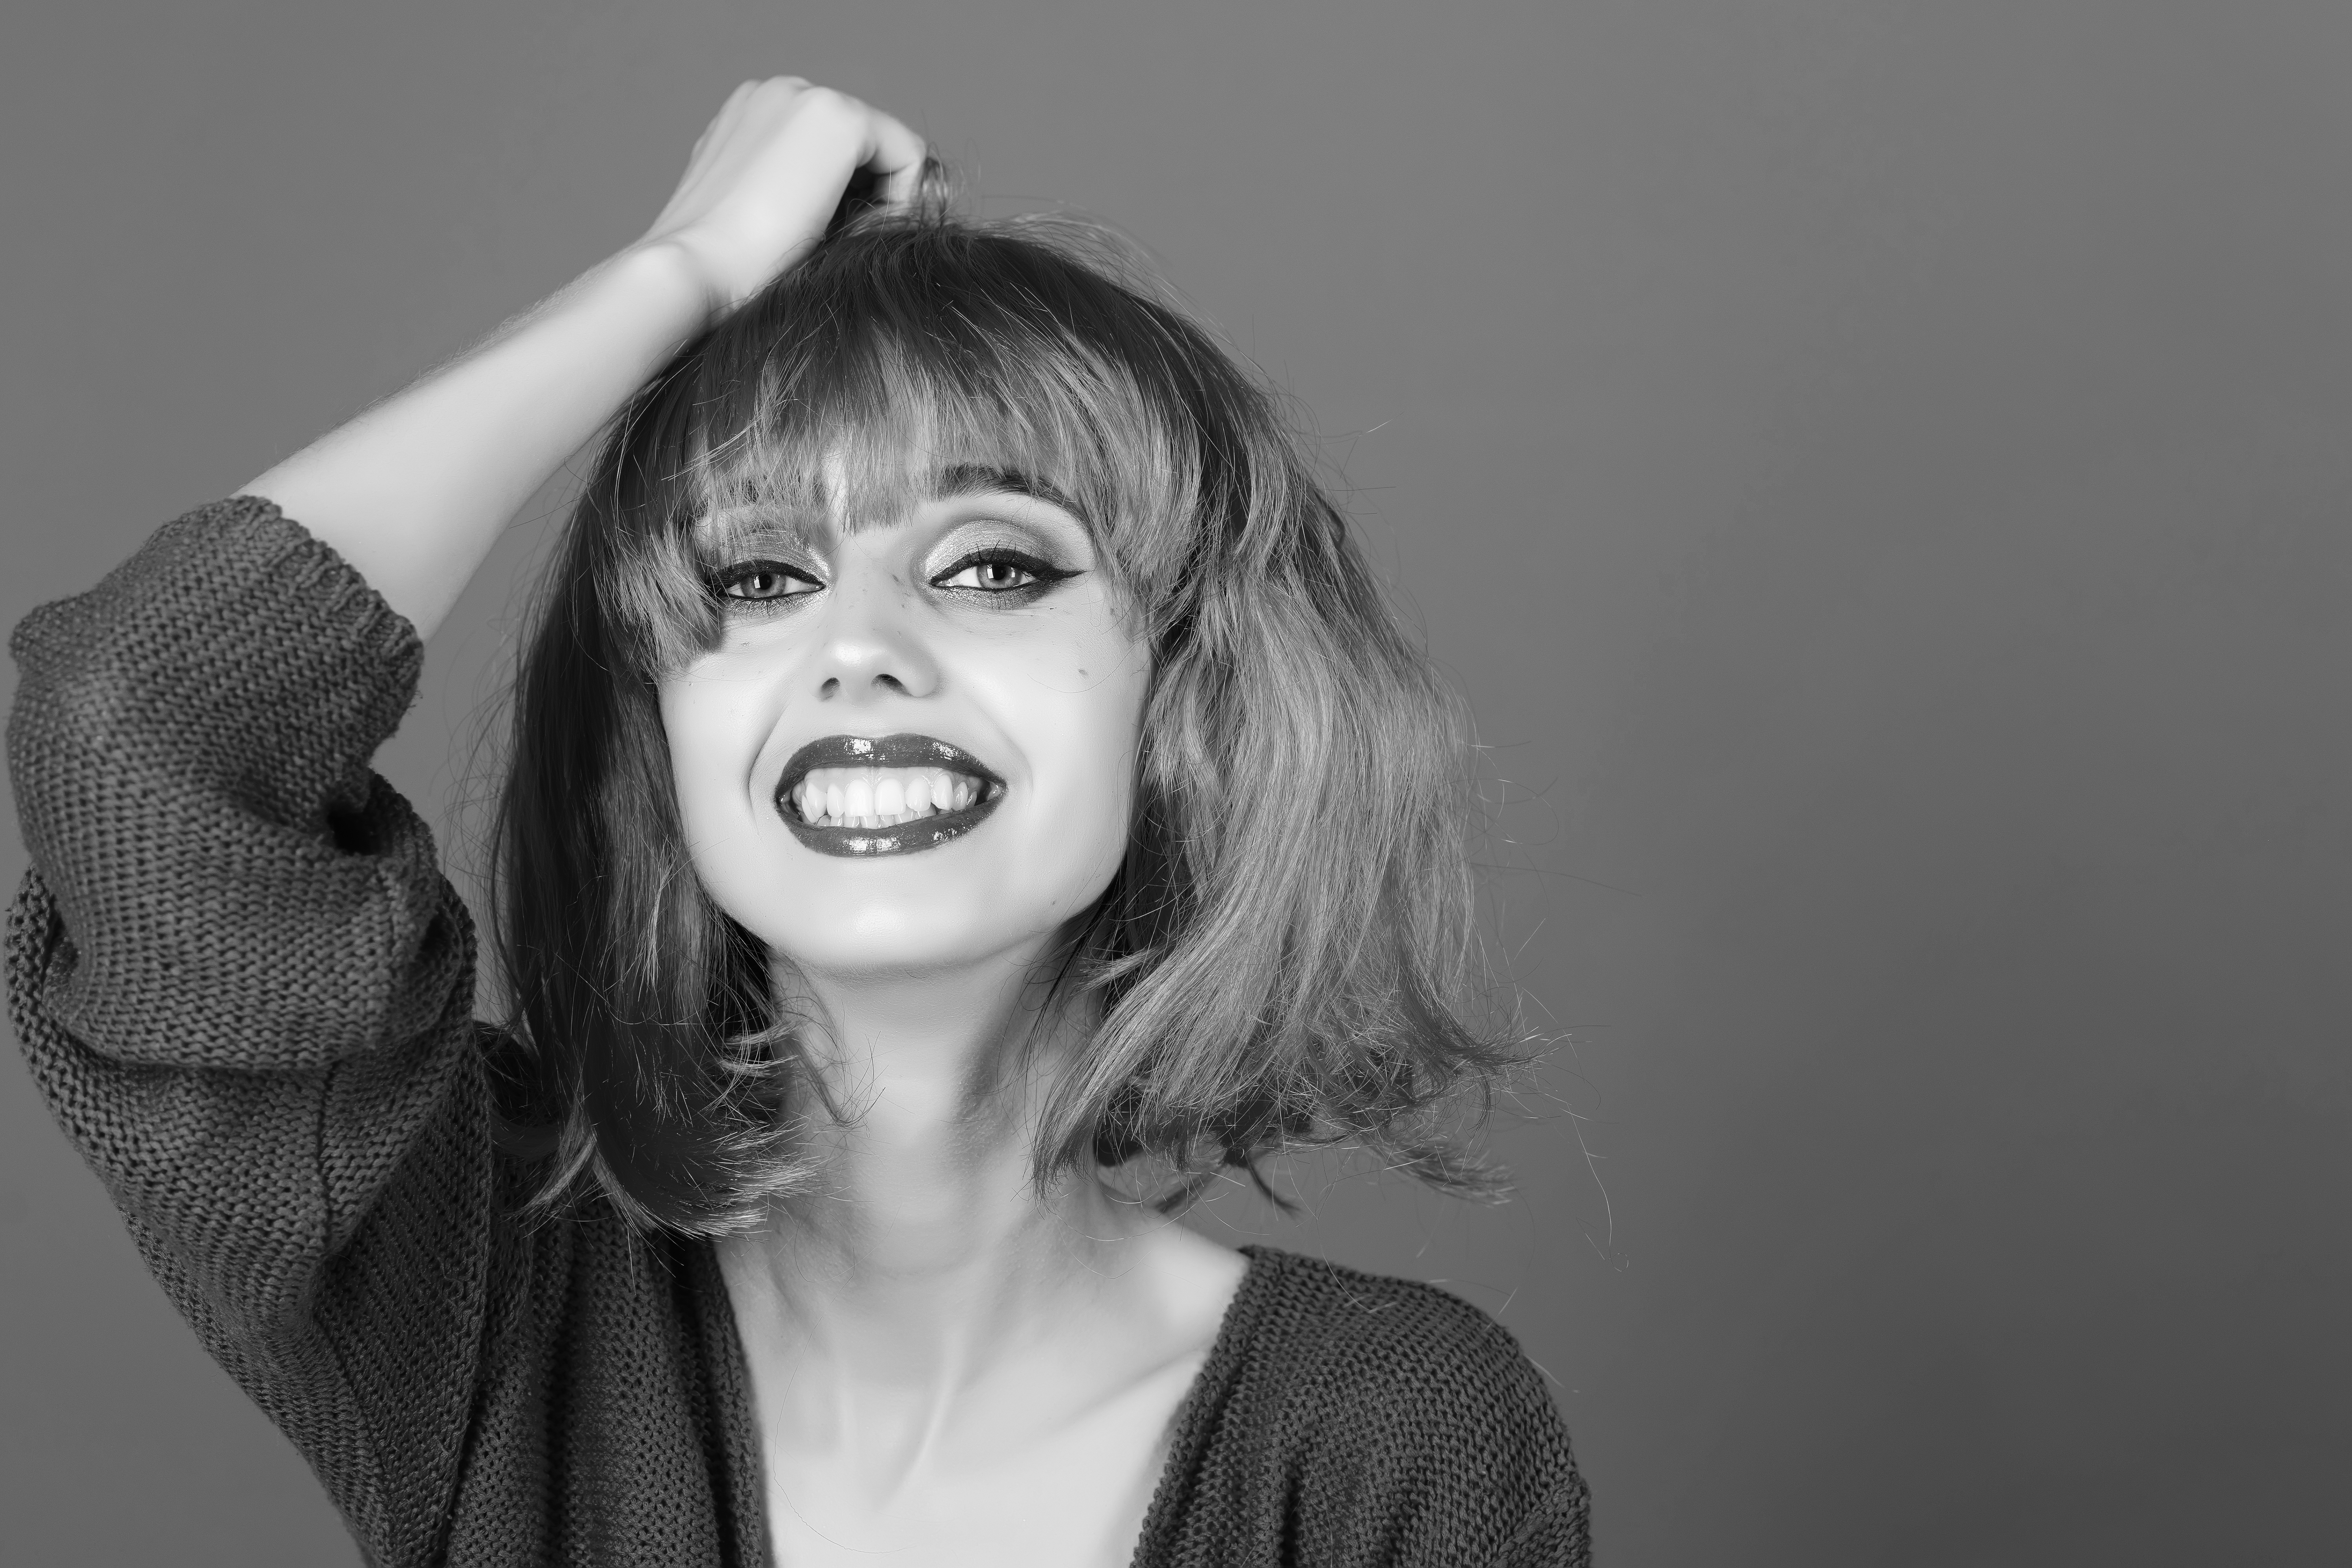
Checking Your Work in Grayscale
Before I call any dodge and burn pass finished, I do a grayscale check. I add a Hue/Saturation adjustment layer above everything, desaturate completely, and evaluate the tonal structure with color removed. This is where you catch streaking, uneven patches, or areas where the burn went too heavy on one side and makes the face look asymmetrical.
The grayscale view also reveals whether your light source is reading consistently. If the image was lit from camera right, the shadows should all lean toward camera left. If your dodge and burn strokes are contradicting the original lighting, the result will feel wrong to viewers even if they cannot explain why.
Once the grayscale check passes, I delete the adjustment layer and do a final opacity reduction on the dodge-and-burn layer itself, usually pulling it back to around 80-85% to keep the effect from reading as processed.
The single most important thing I can tell you about dodge and burn is this: it is not a finishing step, it is a modeling step, and every minute you spend on it is directly improving how real and present your subject looks in the final image.
Comments (2)
The tip about why dodge and burn is the last was the missing piece for me. Thank you.
Simple but effective. Sometimes that's all you need.
Leave a Comment