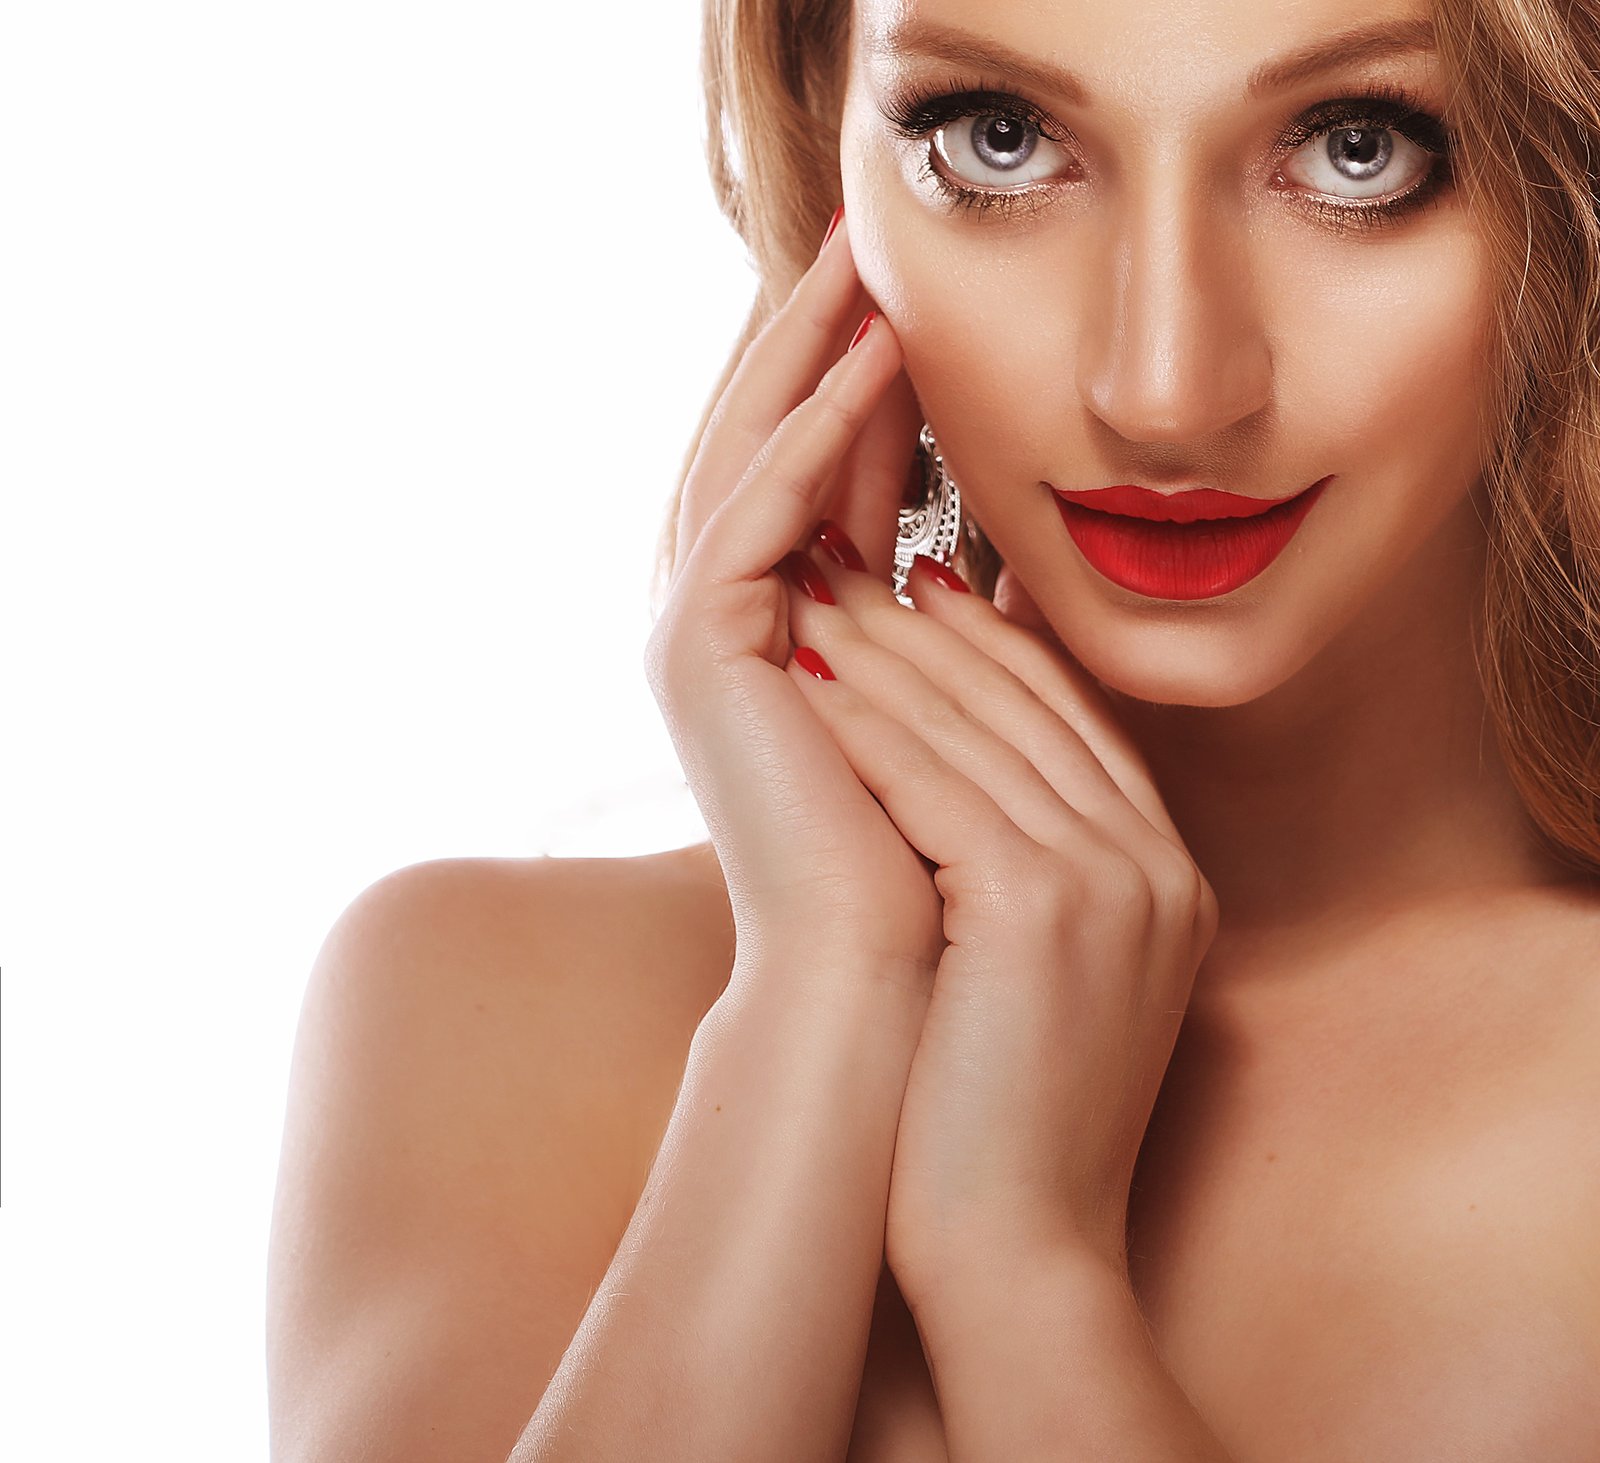
The Problem Isn’t the Eyes. It’s the Light You’re Not Seeing.
A few years into freelancing for beauty brands, I got a note back from an art director that I still think about. She said the eyes in a set of product shots looked “awake but not alive.” I knew exactly what she meant the second I read it, and I also knew I had no idea how to fix it yet.
Eyes are the first thing a viewer’s nervous system registers in a portrait. Before they process the skin, the hair, the composition, they land on the eyes. Which means any flatness, any muddiness, any slightly-off highlight lands there too. The problem most retouchers run into isn’t that they’re doing something wrong to the eyes. It’s that they’re not doing quite enough of the right things, in the right order.
Here’s what’s actually happening optically: a healthy, living eye has distinct zones of reflectivity. The cornea is wet and convex, so it catches specular highlights sharply. The iris has texture, depth, and color variation. The whites (sclera) are not white, not even close, they’re slightly warm, slightly veined, slightly shadowed near the iris. When we flatten any of these zones, or treat them uniformly, the eye reads as two-dimensional. That’s the “alive but not awake” problem in reverse.
Cleaning Up the Whites Without Making Them Toothpaste-White
The single most common mistake I see in workshop students is overworking the sclera. They reach for Hue/Saturation, crank down the reds and yellows, and suddenly the eyes look like they belong on a cartoon character.
Instead, I use a Curves adjustment layer clipped to a soft selection of the whites. Here’s the exact process:
Duplicate your working layer, then use the Lasso tool with a 25-pixel feather to loosely select just the whites. Go to Select, then Select and Mask, and use a 3-4 pixel smooth with 10-15% feather applied. Add a Curves adjustment layer, which will auto-clip to your selection. Pull the midpoint of the curve up no more than 8-10 points. That’s it. That tiny lift in the midtones brings luminosity without blowing out the natural tone.
For redness, I add a second Curves layer and pull the Red channel down by about 5 points in the midtones only. Not the shadows, not the highlights. This desaturates without whitewashing. Opacity on that layer usually lands around 60-70% in my final stack.
Building Iris Depth With Dodge and Burn
The iris is where I spend the most time, usually 15-20 minutes on a high-end beauty shot. I work on a 50% gray layer set to Overlay mode, using a soft brush at 2-5% opacity, white for dodge and black for burn. I name this layer after whatever movie I’m currently obsessed with. Right now everything is named “Dune2-DB.”
I’m looking for three things in the iris: a limbal ring (the dark circle at the outer edge), some micro-texture in the middle zone, and a light source that’s consistent with the rest of the image. If the key light is coming from camera left, the iris should be slightly brighter on the left side. This sounds obvious but it’s the detail that most people skip, and it’s the detail that makes the difference between a retouched eye and a painted one.
Brush size matters here. I use a brush that’s roughly 10-15% of the iris diameter for texture work, and a much larger soft brush (about 3x the iris width) for the overall luminosity shaping.
The Catchlight: Fix It or Add It Carefully
Catchlights are the small specular reflections of the light source in the eye. They are the single fastest way to make an eye feel present. If the original has a soft, undefined catchlight, I sharpen it slightly using a small white brush on a new layer set to Screen, at about 30% opacity, one or two small dots placed at roughly the 10 o’clock or 2 o’clock position depending on the light setup.
If there’s no catchlight at all, I place a 4-6 pixel soft white dot, apply a 0.3 Gaussian blur, and bring the layer opacity down to 20-35%. The goal is to suggest, not to announce. If a viewer can consciously see your catchlight, it’s too strong.
Sharpening Last, and Less Than You Think
Eye retouching collapses if the sharpening step is wrong. After all the adjustment layers, I merge visible to a new layer (Command + Option + Shift + E), run a High Pass filter at 1.8-2.2 pixels, and set that layer to Soft Light at 40-55% opacity, masked to just the iris and lash line.
I use Soft Light instead of Overlay because Overlay at this radius creates a slightly crunchy edge that reads as over-processed. Soft Light gives me the detail enhancement without the artifact. The lash line benefits enormously from this, definition without looking drawn-on.
Early in my career I learned this the hard way. A client looked at a set of portrait edits and told me the subjects looked “plastic.” The eyes were technically sharp, technically bright, but I had sharpened uniformly and lifted the whites too aggressively. The eyes had contrast but no believability. I still have that file.
The thing I remind myself constantly, and what I’d want you to hold onto, is that the goal of eye enhancement isn’t to make eyes look better than real. It’s to make them look as good as they actually looked in person, something the camera almost never captures on its own.
Comments
Leave a Comment