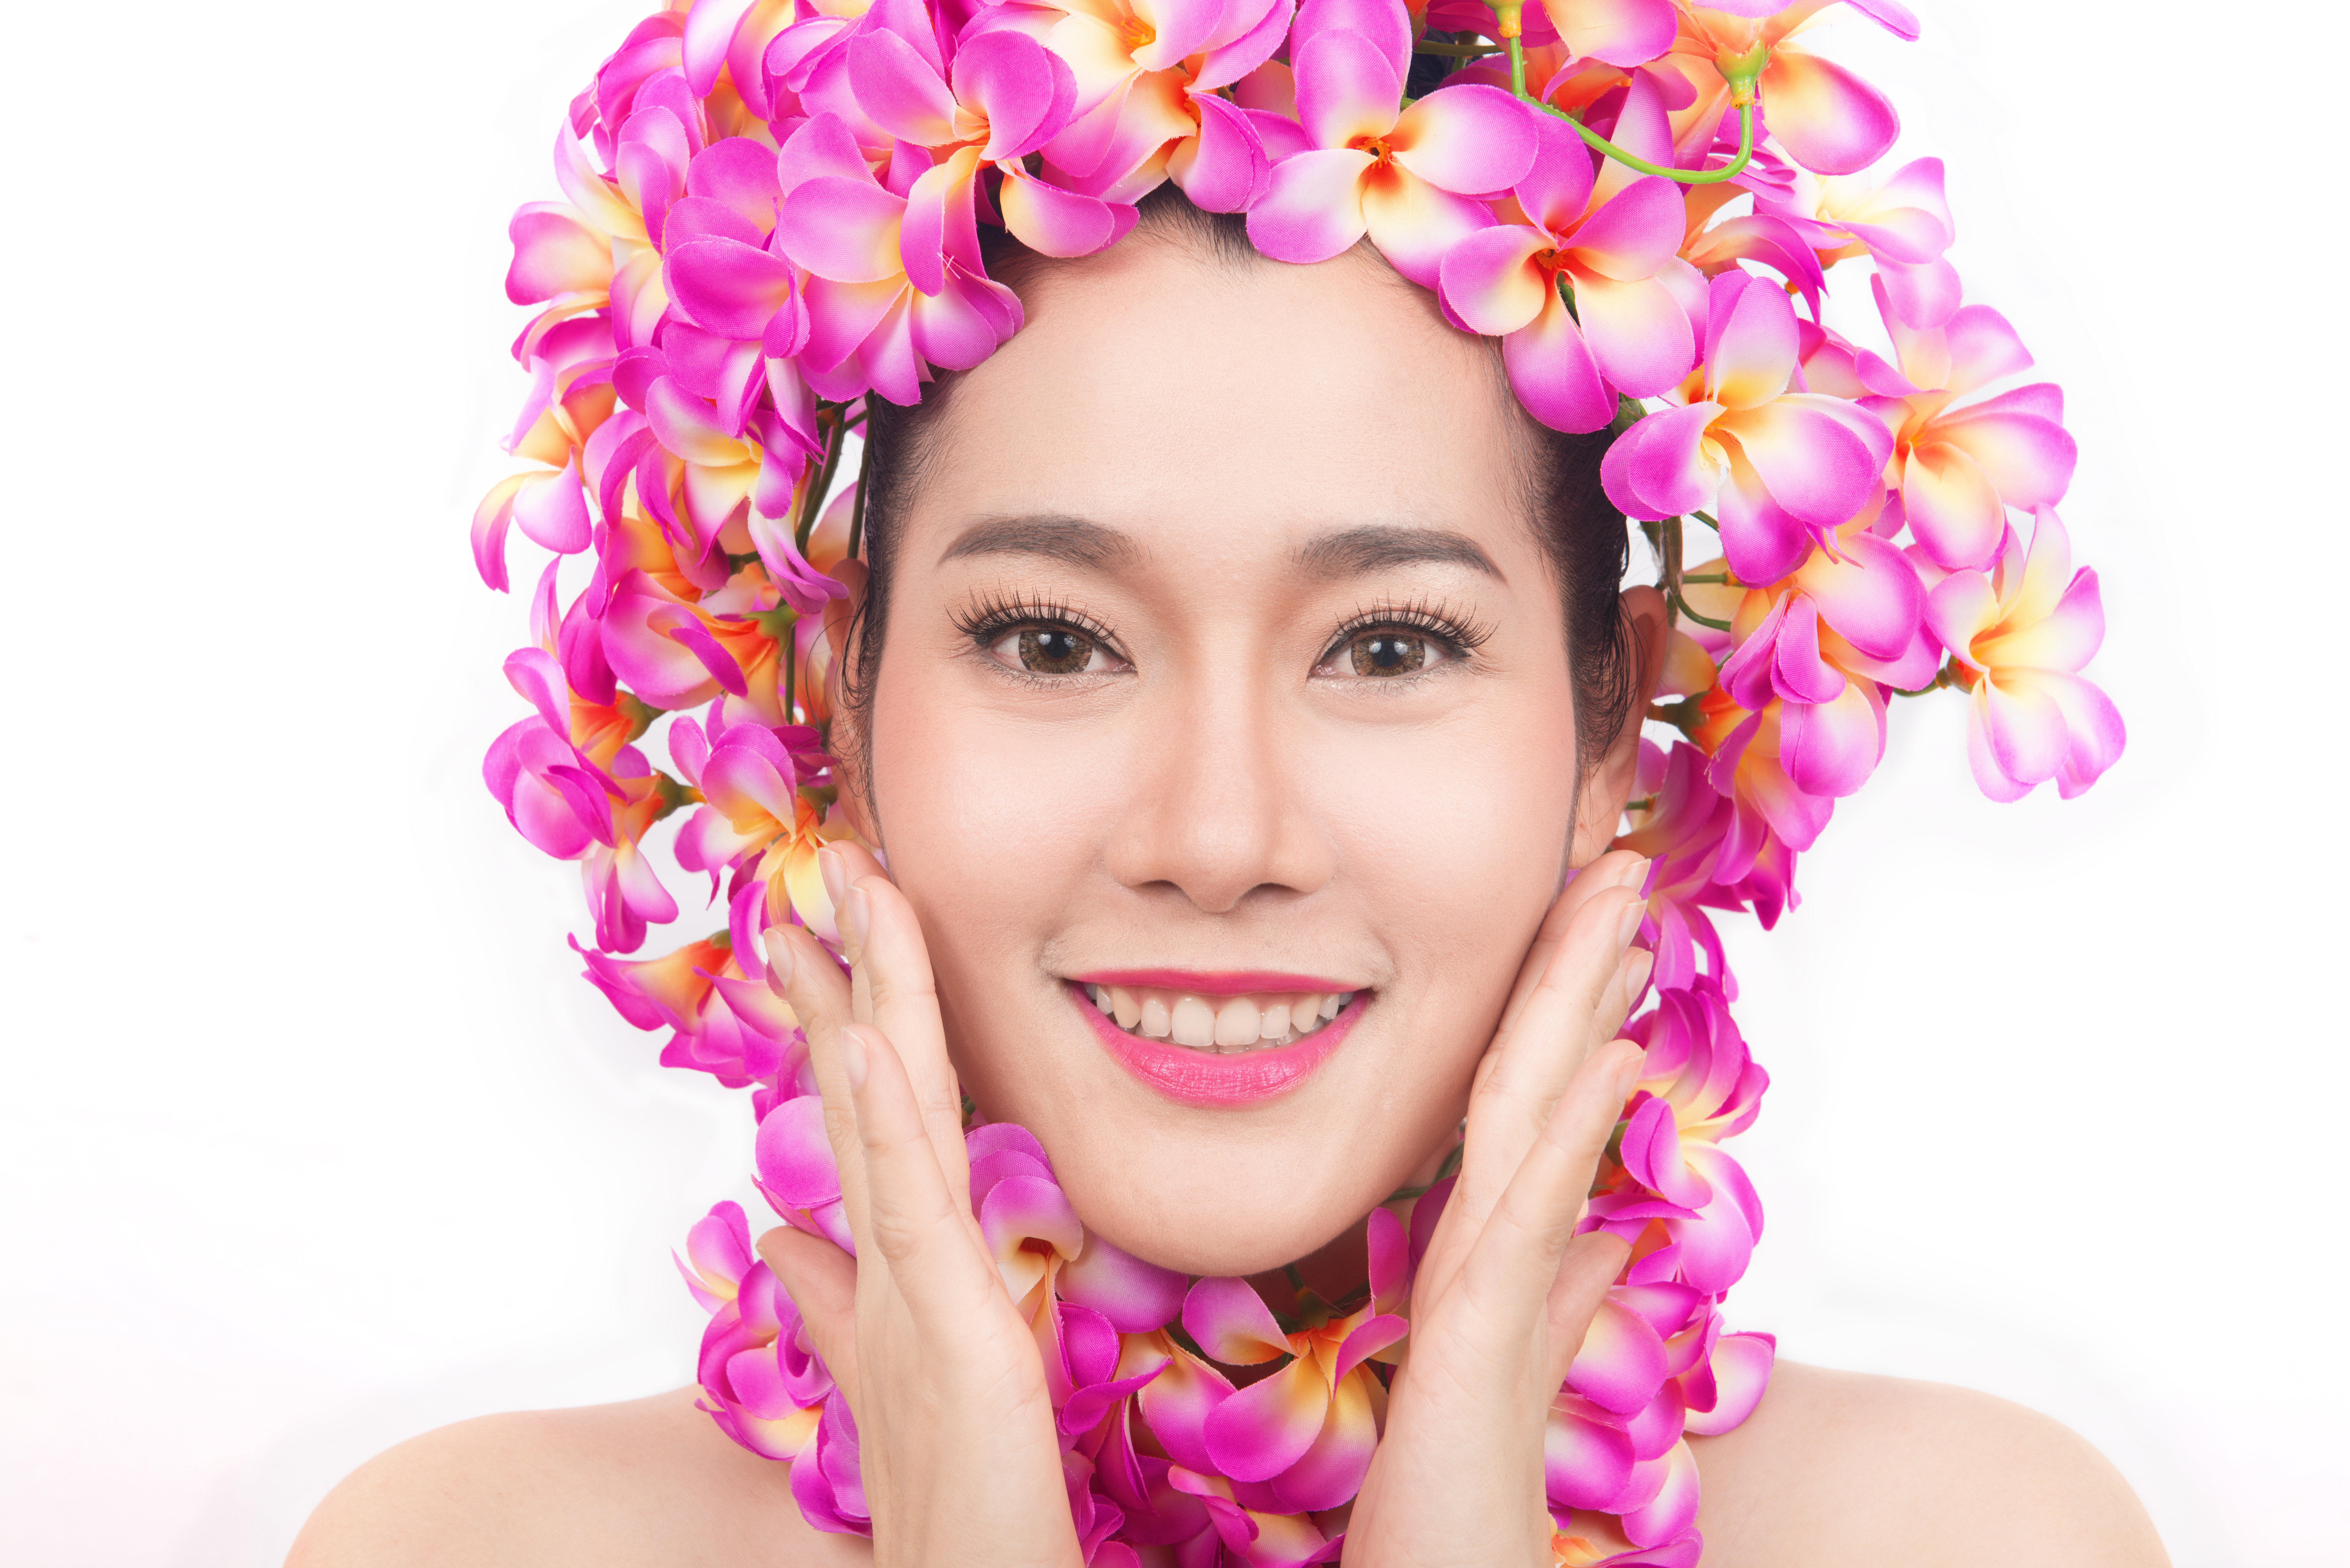
A client once told me my retouching looked “like a wax museum.” She wasn’t wrong. I still have that file saved in a folder called “Humbling Moments,” and I open it maybe once a year to remind myself what over-processing actually looks like when you’re too close to the screen to see it.
Headshots are the trickiest category in portrait retouching, not because the techniques are complicated, but because the margin for error is almost zero. A beauty editorial has room for fantasy. A headshot has to look like the person who walks into that audition or board meeting. The moment it doesn’t, you’ve failed the client, no matter how technically clean the file is.
The Real Problem With Most Headshot Edits
Most over-processed headshots come from one mistake: editing luminosity and texture at the same time. When we blur or clone directly on the base layer, we’re flattening both the tone and the surface detail together. The result is that waxy, plastic quality, skin that reads as airbrushed rather than retouched.
What we actually want to address in a headshot is uneven tone, temporary blemishes, and harsh shadows created by lighting, while leaving the actual texture of the skin intact. Those fine lines, pores, and subtle variations are what make a face read as human. Strip them out and you’ve created a likeness problem, which is the cardinal sin of headshot work.
Breaking the Edit Into Frequency Layers
Frequency separation is the technique that separates these two channels: low frequency (color, tone, and volume) and high frequency (texture and detail). In Photoshop, the setup takes about 90 seconds once you’ve done it a few times.
Duplicate your base layer twice. On the bottom copy, run a Gaussian blur between 4 and 7 pixels, depending on your image resolution. For a standard headshot at 300 dpi, I usually land on 5 pixels. On the top copy, go to Image > Apply Image. Set the layer to your blurred copy, blending mode to Subtract, scale to 2, offset to 128. Change the top layer’s blend mode to Linear Light. Now you have two independent channels to work on.
On the low frequency layer, use a soft brush at 10 to 15 percent opacity to paint in color and even out tone. Think of this as correcting the light, not the skin. On the high frequency layer, use the Clone Stamp at 100 percent opacity with a very small brush to move texture from a clean area over blemishes. You’re transplanting surface detail, not erasing it. The difference in the final result is enormous.
Skin Tone Consistency Before Anything Else
Before I touch texture, I spend the first five minutes of any headshot edit on color correction alone. Uneven skin tone, particularly redness around the nose, jaw, and hairline, reads as “unretouched” to most people, but smoothing it without first correcting the hue makes blemishes look gray and flat rather than gone.
I use a Hue/Saturation adjustment layer masked to just the skin. Targeting the Reds channel, I drop saturation by 15 to 20 points and shift the hue about 3 degrees toward yellow. Then I reduce the opacity of the adjustment layer to 60 to 70 percent so the correction blends rather than overcorrects. This takes maybe four minutes and makes every subsequent step easier because we’re working with a more neutral base.
Dodge and Burn for Structure, Not Drama
Dodge and burn in headshot work is not about contouring. I see a lot of retouchers use it to dramatically reshape a face, and that almost always reads as fake. In headshot editing, dodge and burn has one job: to clean up inconsistent light that the camera caught but the eye wouldn’t have noticed in person.
Create a 50 percent gray layer set to Overlay blend mode. Use a soft round brush at 3 to 5 percent opacity, white to dodge, black to burn. Work in tiny circles. I focus on the under-eye area, the sides of the nose, and any hot spots on the forehead from the key light. The goal is a face that looks like it was lit better, not like it belongs in a different body.
My action set for this is named “Midnight Cowboy,” which tells you nothing useful but makes me happy every time I run it.
Sharpening as the Final Reality Check
The last step is the one most people skip or rush: sharpening before export. Headshots almost always end up on LinkedIn, casting sites, or company websites, meaning they’ll be compressed and resized. If we don’t sharpen for that, the compression does the job for us, and it does it badly.
I use Unsharp Mask rather than Smart Sharpen for headshots: Amount 85 percent, Radius 1.0 pixels, Threshold 3. This sharpens detail without creating halos around hair or jewelry. After sharpening, I zoom out to 33 percent, which is closer to how the image will actually be viewed on screen, and look at the face fresh for 30 seconds. If anything reads as artificial at that size, it has to come out.
Headshot retouching is fundamentally an act of restraint. The less visible your work is, the better you’ve done your job.
Comments (9)
The tip about why your headshot edits look o was the missing piece for me. Thank you.
This saved me so much time on my last edit. Wish I'd found this sooner.
Finally someone explains this in a way that actually makes sense.
Been doing this wrong for years apparently. Thanks for the wake-up call.
Never thought of approaching it this way. Really creative.
Wow, I had no idea you could do this. Mind blown.
This is exactly what I needed today. Been struggling with this for weeks.
The tip about why your headshot edits look o was the missing piece for me. Thank you.
Excellent tutorial. I'd add that from a color grading standpoint, this technique is incredibly versatile.
Leave a Comment