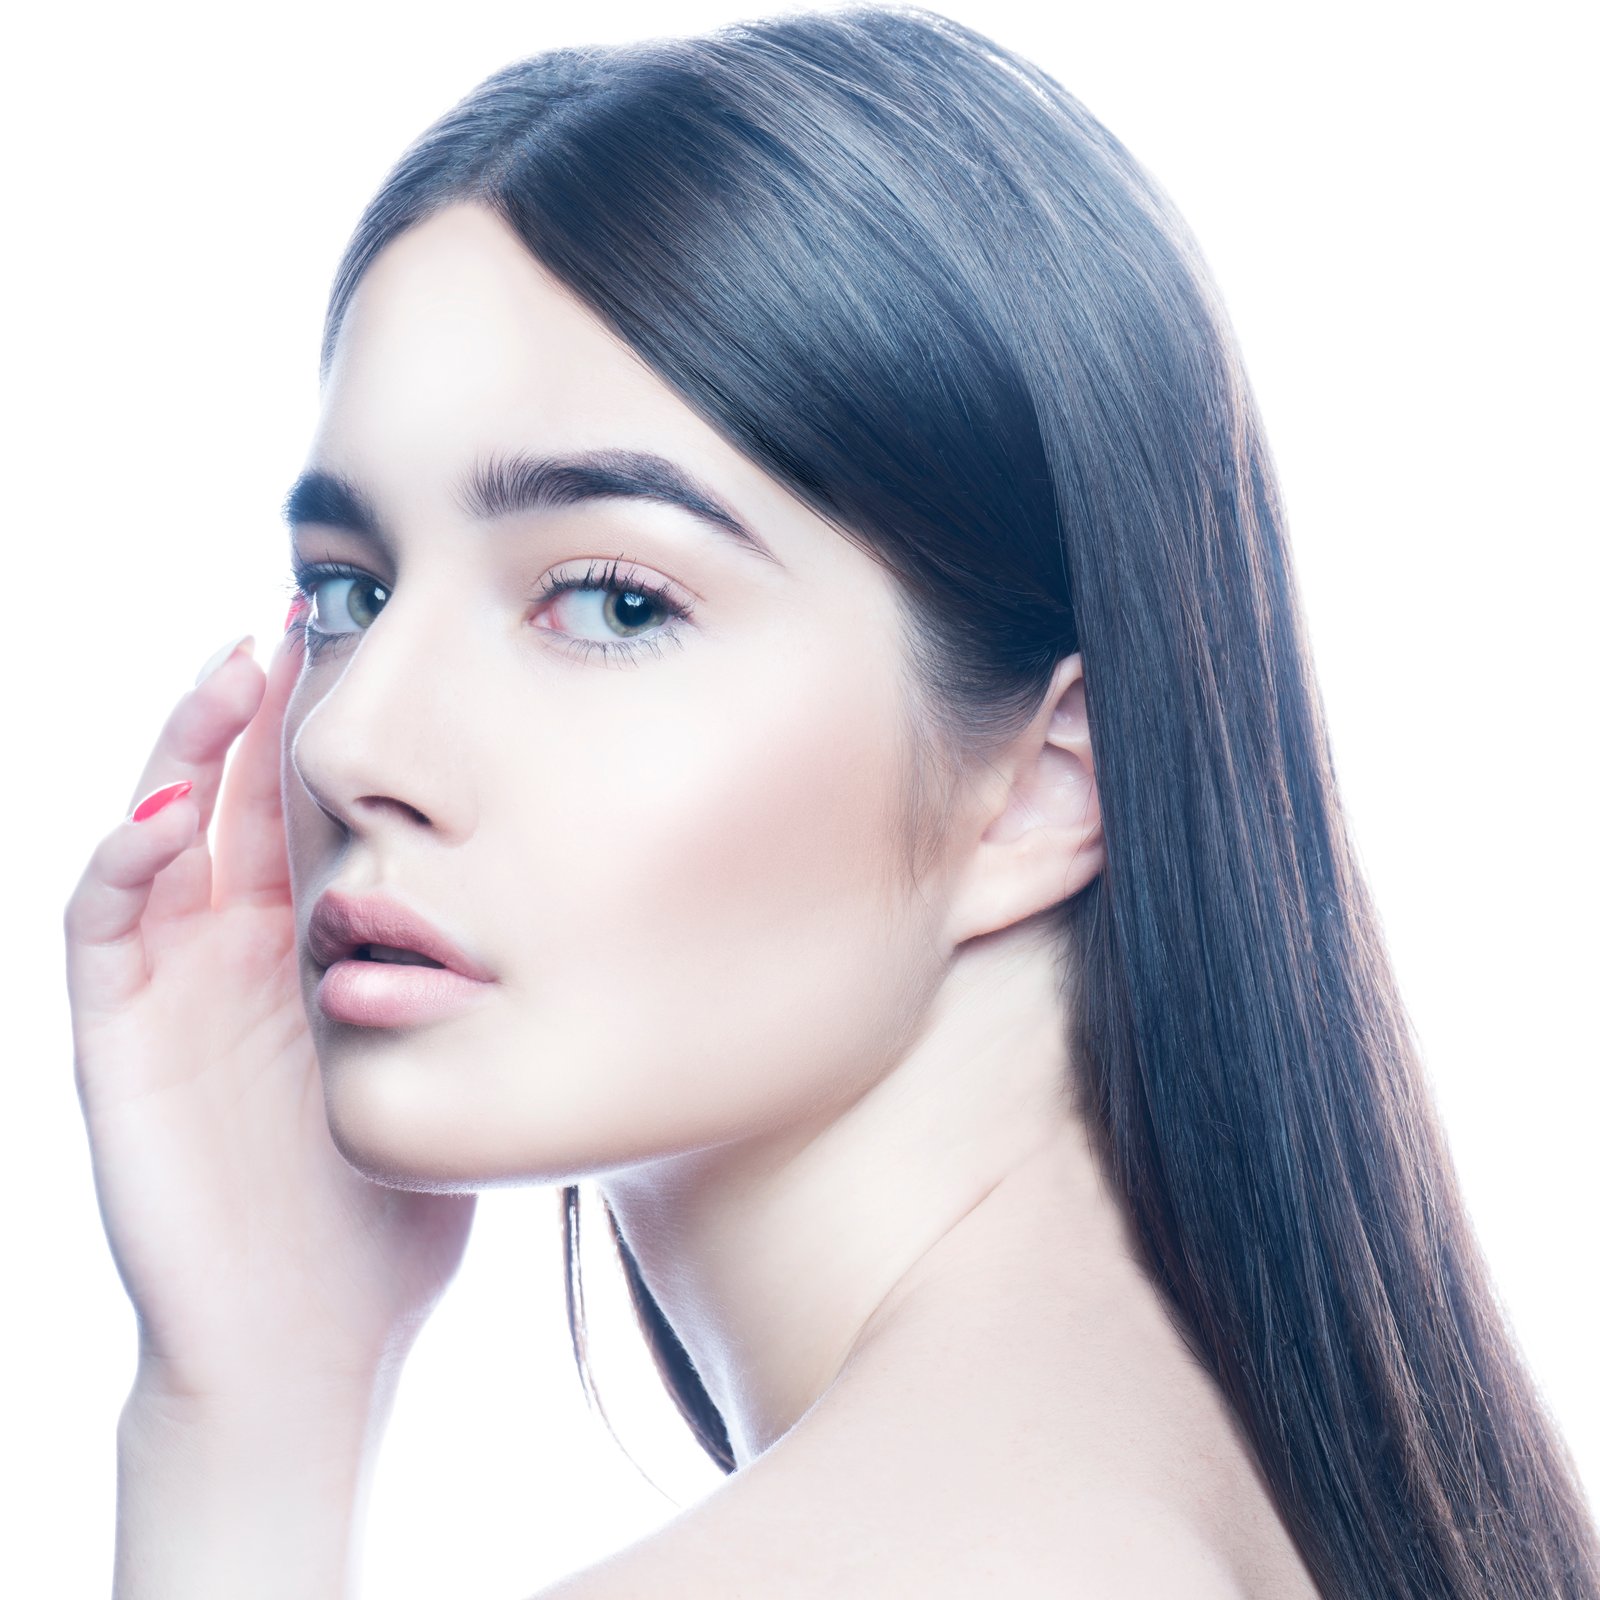
There’s a specific kind of dread that comes with opening a headshot session in Lightroom and realizing the skin on every frame is doing something weird. Not broken, exactly. Just… uneven. Patches of warmth next to patches of cool. Texture that looks fine at 25% zoom and alarming at 100%. Corporate headshots are brutal that way. The subject sat under office fluorescents for thirty minutes, the light shifted twice, and now I’m the one who has to make it look like none of that happened.
I’ve been retouching headshots long enough to know that most editing problems aren’t actually editing problems. They’re decisions that got deferred from the shoot and landed on the retoucher’s desk. Understanding that changes how you approach the file.
What “Even Skin” Actually Means at the Pixel Level
When people say a headshot looks retouched, they usually mean one of two things: the skin is too smooth, or the tones are inconsistent. Both problems have the same root cause. Skin has two distinct layers of visual information sitting on top of each other. There’s the texture layer, which is all the fine detail, pores, and surface grain. Then there’s the tone layer, which carries the color and luminosity. Most beginners try to fix both at once, usually by running a soft brush over the skin and calling it done. That’s where the plastic look comes from.
Frequency separation solves this by letting you work on those two layers independently. In Photoshop, the high-frequency layer holds the texture. The low-frequency layer holds the tone and color. When you retouch on the low-frequency layer only, you can smooth out blotchiness and uneven patches without touching a single pore. The skin still looks like skin because the texture is completely untouched.
The Setup That Actually Works for Headshots
I run frequency separation at a Gaussian blur radius of 6-9 pixels for most headshots shot at 50mm or longer. Wider lenses compress the skin texture differently and sometimes need a lower radius, around 4-5 pixels. The exact number depends on your file’s resolution, so if you’re working with 24-megapixel files at full size, lean toward the higher end.
Here’s the sequence I use. Duplicate your background layer twice. Name the bottom copy “Low Frequency” and the top copy “High Frequency.” Apply Gaussian Blur to the Low Frequency layer first, then select the High Frequency layer. Go to Image, Apply Image. Set the layer to Low Frequency, the blending mode to Subtract, Scale to 2, and Offset to 128. Change the blending mode of the High Frequency layer to Linear Light. Now you have a clean separation.
For the actual retouching, I work on the Low Frequency layer with a large, soft brush set to 10-20% opacity, sampling nearby skin tones and painting over problem areas. The goal is even luminosity, not perfect color. Color correction comes later in a Hue/Saturation or Selective Color adjustment. I keep my Photoshop action for this whole setup named “The Prestige,” which tells you something about how theatrical I find the reveal when it actually works.
Timing and Dodge/Burn: The Step Most People Skip
Frequency separation handles tone and texture. It does not handle the three-dimensional shape of the face. That’s where targeted dodge and burn comes in, and skipping it is why retouched headshots often look flat even when the skin looks clean.
I create a new layer set to Soft Light blending mode and fill it with 50% gray. This becomes my dodge and burn layer. Using a low-opacity brush, around 5-8%, I lighten areas that should catch light and darken areas that should recede. On a headshot, that typically means slightly lifting the center of the forehead, the bridge of the nose, and the tops of the cheekbones. I darken the sides of the nose and the hollows under the cheekbones just slightly. The effect should be invisible at a glance and obvious when you toggle the layer on and off.
This step takes me about 8-12 minutes per headshot and it’s the single biggest difference between a flat corporate portrait and one that looks like it was lit intentionally.
Color Grading Headshots Without Making Everyone Look Like a Filter
Early in my retouching career, a client told me my edits looked “like a beauty magazine but not in a good way.” She meant the skin was too uniform, too warm, too processed. That note stuck with me for years and genuinely changed how I handle color.
Headshots are not beauty campaigns. The person in the photo is trying to look like themselves, just more so. My current approach is to keep skin hue adjustments under 5 degrees in HSL. I use a Curves adjustment to add a tiny amount of warmth in the midtones, never in the shadows. I also keep a Selective Color layer where I can pull cyan out of the reds, which almost always helps Caucasian and East Asian skin tones without touching other colors in the frame. For deeper skin tones, I work with the Red and Yellow sliders together very carefully, because they interact.
The final check is always at export size. I export headshots at 2048 pixels on the long edge for most web and LinkedIn uses, and I view the exported JPEG at 100% before delivering. Problems that hide at full Photoshop resolution show up immediately at web resolution.
The most important thing I can tell you about headshot editing is this: the goal is never a perfect file. The goal is a person who looks like the best, most rested, most confident version of themselves on their best day. Keep that in mind and you’ll know when to stop.
Comments (4)
Been doing this wrong for years apparently. Thanks for the wake-up call.
Quality content like this is rare. Keep it up.
Clear and practical. No fluff. Appreciate that.
Well explained. I think my audience would really benefit from this — mind if I link to it?
Leave a Comment