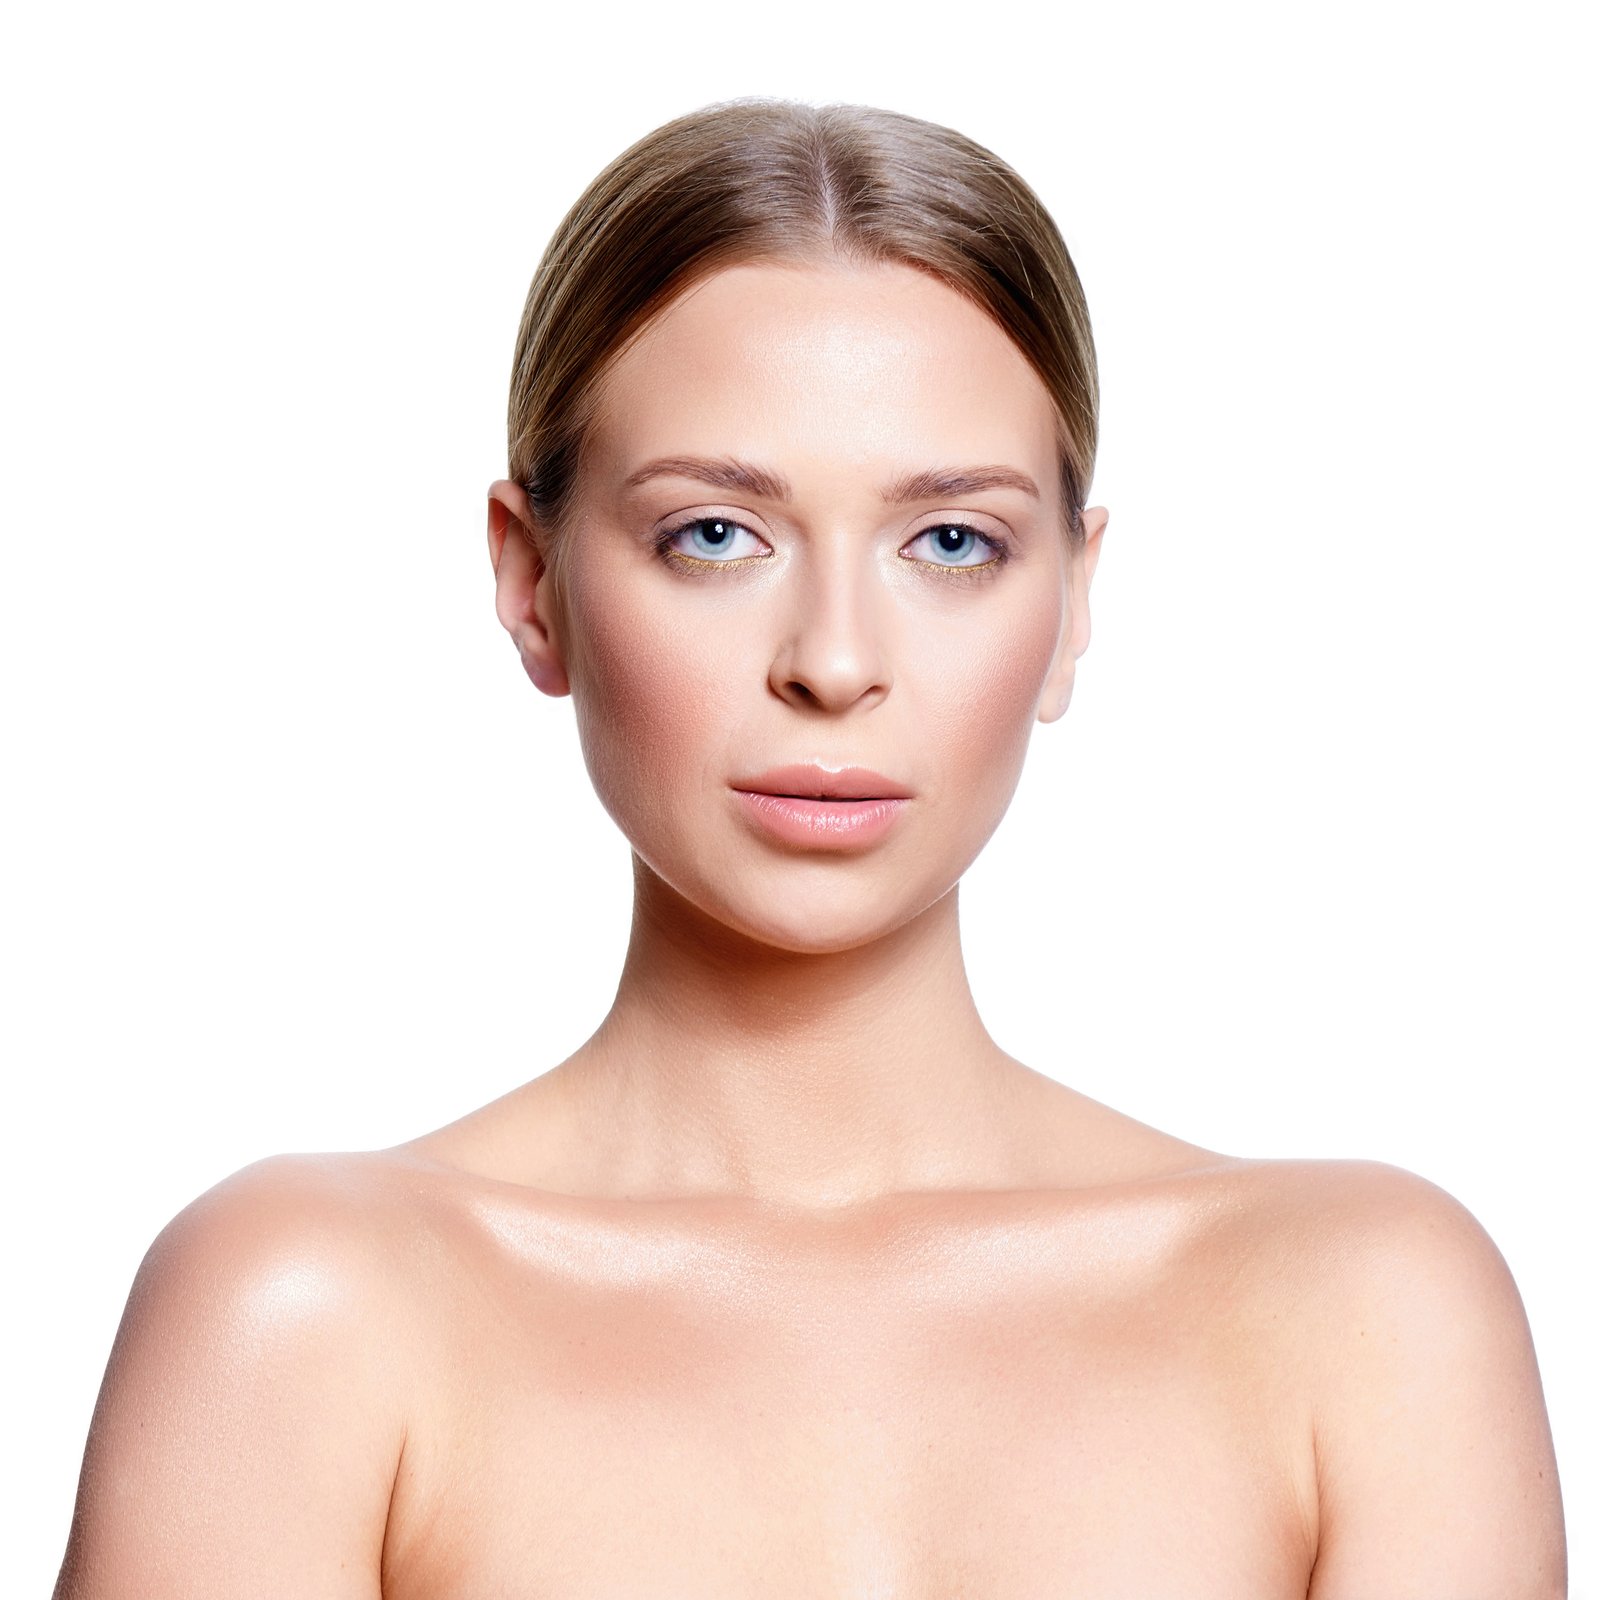
Early in my retouching career, a client sent back a batch of portraits with a note that still stings a little: “These look like wax figures. Can you make them look like real people again?” I had smoothed the skin, evened the tones, removed every shadow I could find. I thought I was doing my job. What I was actually doing was stripping out all the information that makes a face look three-dimensional.
That feedback was the thing that sent me down a long, obsessive road into dodge and burn, and it genuinely changed how I see light on skin.
Why Flat Skin Happens in the First Place
When we retouch portraits, most of our early tools, frequency separation, healing brushes, clone stamp work, operate on local areas. We fix a blemish here, smooth a texture patch there. The problem is that light on a face isn’t local. It wraps. The highlight on a cheekbone matters because of the shadow that falls just below it. Remove one without adjusting the other and the face loses its topography.
Skin also has genuine variation in tone that our brains read as depth and life. A slight warm shadow in a nasolabial fold, a soft bright area on the brow bone, these aren’t flaws. They’re the visual language of a three-dimensional object. When we retouch them away, we’re not cleaning up the image. We’re erasing the translation.
Dodge and burn works by selectively lightening and darkening areas to either reinforce or gently redirect the way light appears to fall across a face. Done well, it’s invisible. Done badly, it looks like someone applied highlight and contour makeup with a soup ladle.
The Setup: Non-Destructive Layers That Give You Full Control
Always work non-destructively. Create two new empty layers above your retouched base: one filled with 50% gray, one filled with 50% gray. Set both to the Overlay blending mode. Name one “Dodge” and one “Burn.” If you want to keep things organized, group them and call the group whatever you like.
On a 50% gray Overlay layer, painting with white lightens and painting with black darkens, but the base 50% gray is completely transparent in Overlay mode, which means your canvas looks untouched until you actually brush something in. This gives you complete flexibility to paint, erase, reduce opacity, or throw the whole layer away without touching a single pixel of your actual image.
For your brush, use a large soft round brush, somewhere between 300 and 600 pixels depending on your canvas size, with Opacity set to 3 to 5% and Flow at 100%. The low opacity is not a typo. You want to build tone in micro-increments. Set your foreground to white when dodging, black when burning.
Reading the Face Before You Touch Anything
This is the step most tutorials skip, and it’s the most important one. Before you pick up the brush, zoom out to 50% and really look at where the light is landing. Identify your key light source. Note the highlight peaks (usually the forehead, the top of the nose, the tops of the cheekbones, the cupid’s bow, the chin). Note where shadow naturally falls: the eye sockets, below the cheekbones, the sides of the nose, under the jaw.
Your job isn’t to invent a lighting situation. Your job is to clean up and clarify the one that already exists. If the photographer lit from camera left, every decision you make on the dodge and burn layers should be consistent with that. Painting a highlight on the shadow side of a face is the fastest way to make a portrait look confused and unnatural.
I spend at least two or three minutes just studying a face before I open my brush. After years of doing this, it still feels like the most valuable minutes in the whole retouch.
The Actual Painting: A Slow Build Over Many Passes
Start with the highlights. Working on your Dodge layer with white at 3 to 5% opacity, begin making gentle circular or cross-hatching strokes along the peak highlight areas. Don’t try to get there in one pass. Build up 10, 15, 20 strokes, checking your progress by toggling the layer on and off.
Then switch to your Burn layer and add depth into the shadow areas using black at the same low opacity. The goal isn’t to darken the shadows dramatically. You’re giving them just enough weight that the highlights have something to push against.
One specific area that rewards careful attention: the transition zone between highlight and shadow on the cheek. This is where you can add enormous depth with very little paint. A few passes of burning into that transition, keeping your strokes parallel to the edge of the shadow, will make a flat cheek suddenly look like it has real structure under it.
Check your work in black and white periodically. Switch the image to a Black and White adjustment layer temporarily and look at your tonal relationships stripped of color. Problems in dodge and burn, especially over-darkening or uneven patches, show up faster in grayscale than in color.
When to Stop (Seriously, Stop)
The most common mistake I see in workshop students is over-working the dodge and burn pass. They keep going until the face looks sculpted, almost theatrical. My rule: if you can clearly see your dodge and burn strokes when you isolate the gray layers, you’ve probably gone too far. At full opacity, those layers should look like soft, foggy clouds of light and shadow. Anything that looks like a brushstroke is too much.
Reduce your Dodge and Burn layer groups to 60 to 70% opacity as a final check. If the effect disappears entirely, add a bit back. If the face still looks natural at 70%, you’re in a good place.
The single most important thing dodge and burn taught me is that retouching isn’t about removal. It’s about clarification. You’re not erasing what the light did to a face. You’re helping it make its point a little more clearly.
Comments (8)
Finally someone explains this in a way that actually makes sense.
Excellent tutorial. I'd add that from a business standpoint, this technique is incredibly versatile.
Solid advice. Especially the part about taking your time with it.
I've been looking for exactly this kind of tutorial. Perfect timing.
Tried this technique this morning. Game changer for real.
Printing this out and pinning it next to my monitor. That good.
Excellent tutorial. I'd add that from a landscape standpoint, this technique is incredibly versatile.
I've been looking for exactly this kind of tutorial. Perfect timing.
Leave a Comment