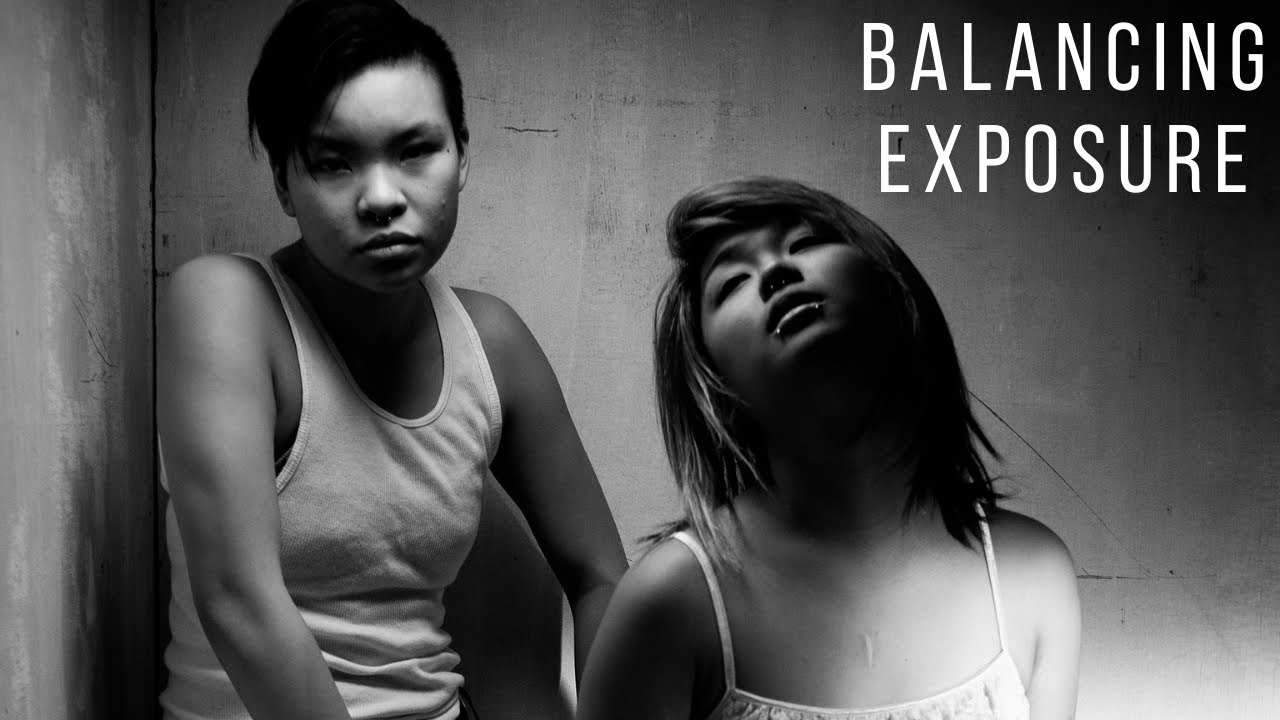
The Art of Color Correction in Portrait Retouching: A Step-by-Step Guide

The Art of Color Correction in Portrait Retouching: A Step-by-Step Guide

The Art of Color Correction in Portrait Retouching: A Step-by-Step Guide I’ve spent years perfecting the subtle art of color correction, and I can tell you that it’s one of the most transformative skills we can develop as portrait retouchers. It’s the difference between a photo that looks okay and one that looks absolutely radiant. Whether you’re editing headshots, bridal portraits, or beauty photography, understanding how to correct and enhance color will elevate your work immediately.

The Essential Guide to Color Correction in Portrait Retouching

The Essential Guide to Color Correction in Portrait Retouching

The Essential Guide to Color Correction in Portrait Retouching When I first started retouching portraits, I noticed that even the most beautifully lit photographs could fall flat without proper color correction. A client would look at their edited image and say, “Something feels off,” even though the skin looked smooth and the composition was perfect. That something was usually color. Color correction is the foundation of professional portrait retouching. It’s what transforms a decent photo into one that feels alive, balanced, and genuinely flattering.

Master Color Correction for Flawless Portrait Retouching

Master Color Correction for Flawless Portrait Retouching

Master Color Correction for Flawless Portrait Retouching Color correction is where the magic happens in portrait retouching. I’ve found that even the most beautifully lit portrait can feel off if the color isn’t right. Whether you’re dealing with unflattering lighting conditions, mixed color temperatures, or just want to enhance skin tones, understanding color correction will transform your work. Let me walk you through the techniques I rely on every day.