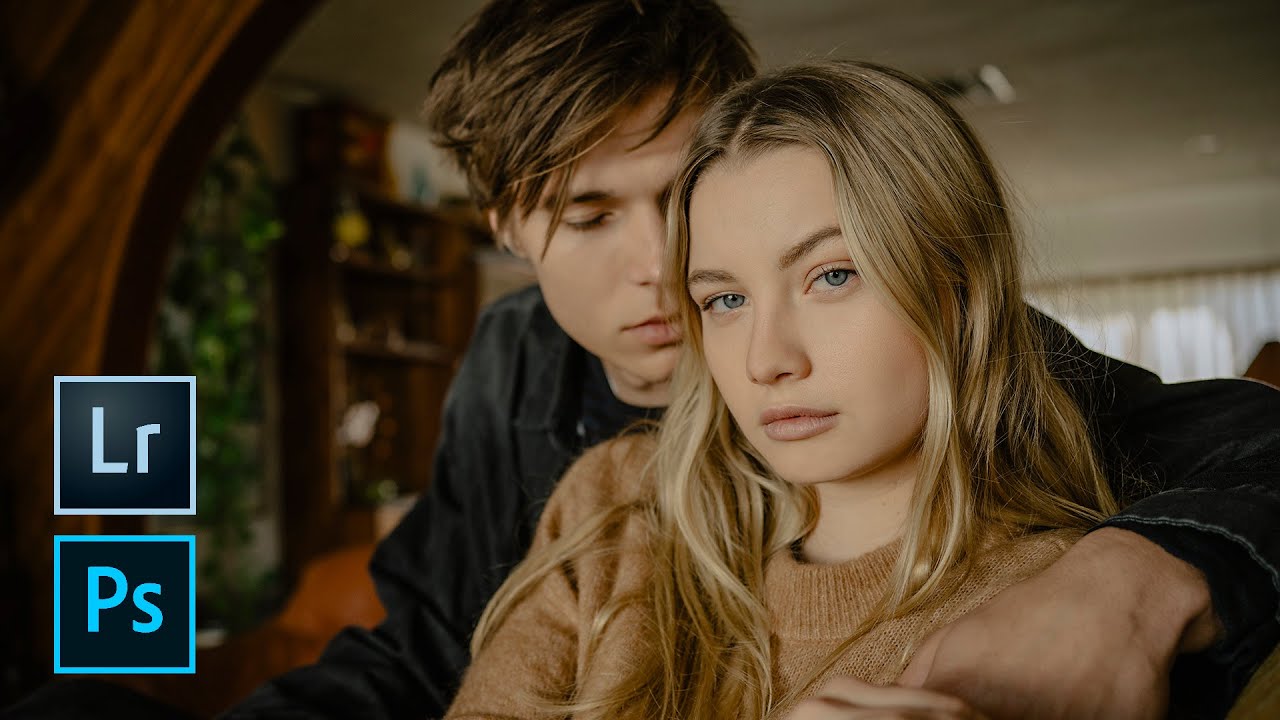
There is a version of a retouched portrait that looks incredible at 100% zoom and completely wrong the moment you step back. I know this because I used to produce that version regularly. Early in my retouching career, a client told me my edits looked “plastic,” and she was not wrong. The skin was smooth the way a vinyl doll is smooth, not the way a real person is smooth. What I was missing was a system. Not just one tool, but a progression of tools used with intention and restraint.
That is exactly what makes this Mango Street tutorial so useful. Watch the full tutorial on YouTube before or alongside this walkthrough. The video covers five distinct methods for skin retouching, starting in Lightroom for a quick non-destructive pass and moving into Photoshop for progressively more targeted work. Whether you are a photographer who lives in Lightroom or a retoucher who never leaves Photoshop, there is a workflow here for your setup.
What follows is my breakdown of each method with the specific settings and logic behind them, so you can apply these techniques without guessing.
Step 1: Remove Obvious Blemishes in Lightroom with the Spot Removal Tool
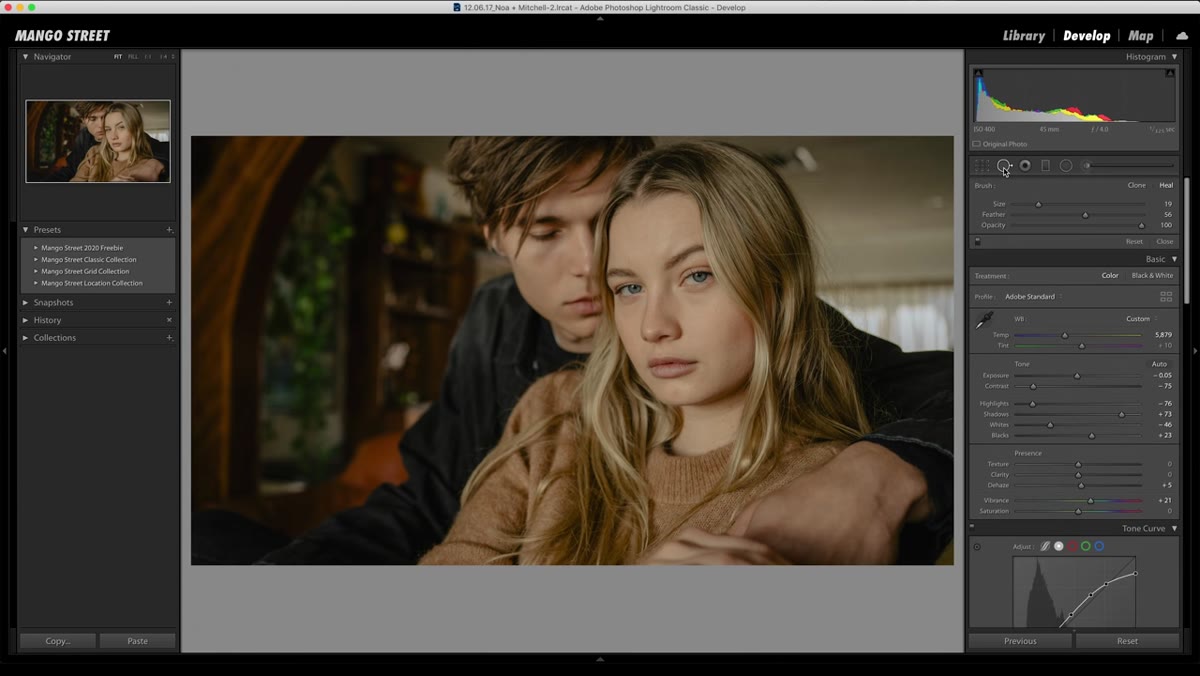 Spot removal tool set to Heal mode on a blemish
Start in Lightroom with the Spot Removal tool, set it to Heal mode rather than Clone, and add a small amount of feather. The Heal setting blends the sampled area into the surrounding texture, which looks more natural than a hard clone. Click directly on a blemish and Lightroom will automatically pull a sample from a nearby area of skin.
Spot removal tool set to Heal mode on a blemish
Start in Lightroom with the Spot Removal tool, set it to Heal mode rather than Clone, and add a small amount of feather. The Heal setting blends the sampled area into the surrounding texture, which looks more natural than a hard clone. Click directly on a blemish and Lightroom will automatically pull a sample from a nearby area of skin.
The automatic sample selection is convenient but not always accurate. If Lightroom grabs a patch of background or a high-contrast area, drag the sample circle manually to a clean area of skin with similar tone and texture. Keep this pass fast. The goal here is removing the most visible problems, not perfecting every pore.
Step 2: Smooth Skin Texture Using the Adjustment Brush and Texture Slider
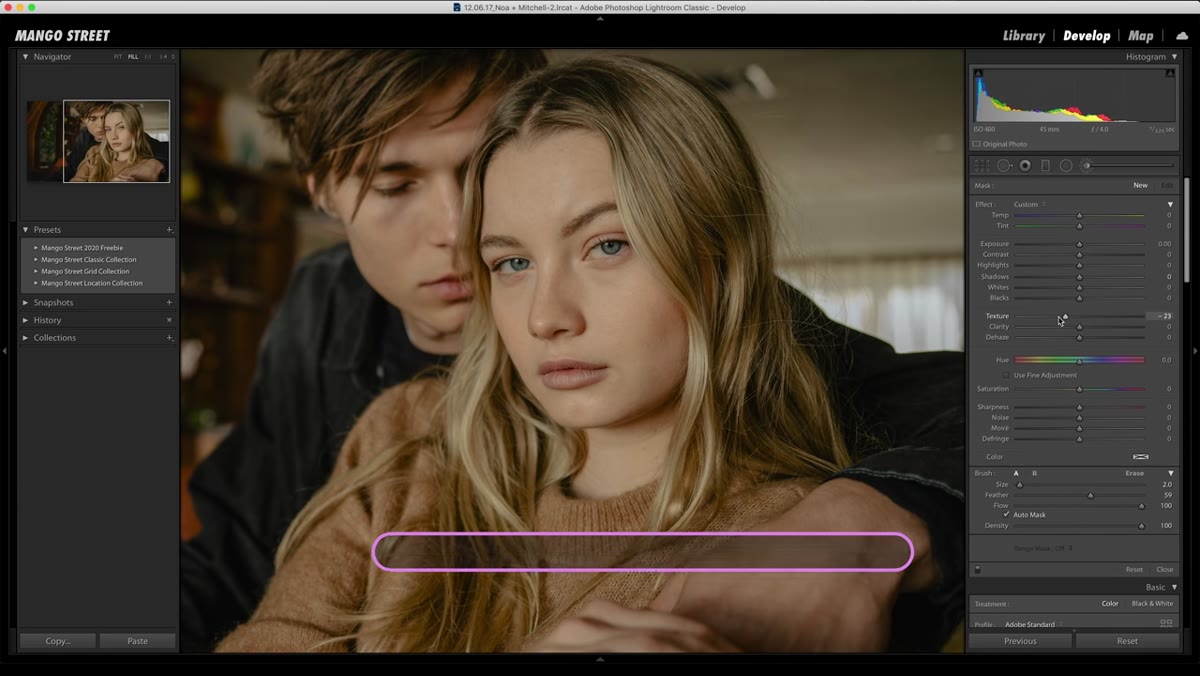 Adjustment brush painted over face, Texture slider at negative 100
With the Spot Removal pass done, grab the Adjustment Brush in Lightroom and pull the Texture slider all the way to negative 100. This extreme value is only temporary. Paint over the skin areas you want to soften, but deliberately skip the eyes, lips, eyebrows, and hairline. Those edges need to stay sharp, and including them in this mask will make the whole face look soft and unreal.
Adjustment brush painted over face, Texture slider at negative 100
With the Spot Removal pass done, grab the Adjustment Brush in Lightroom and pull the Texture slider all the way to negative 100. This extreme value is only temporary. Paint over the skin areas you want to soften, but deliberately skip the eyes, lips, eyebrows, and hairline. Those edges need to stay sharp, and including them in this mask will make the whole face look soft and unreal.
Press O on your keyboard to see the red mask overlay and confirm exactly where you have painted. Once the mask looks right, bring the Texture slider back up from negative 100 to somewhere around negative 30 to negative 50, depending on the image. The final value should smooth without erasing. If you cannot still see individual skin texture, you have gone too far. This is a quick, completely non-destructive method ideal for portrait work that does not require pixel-level precision.
Step 3: Open in Photoshop and Duplicate the Background Layer
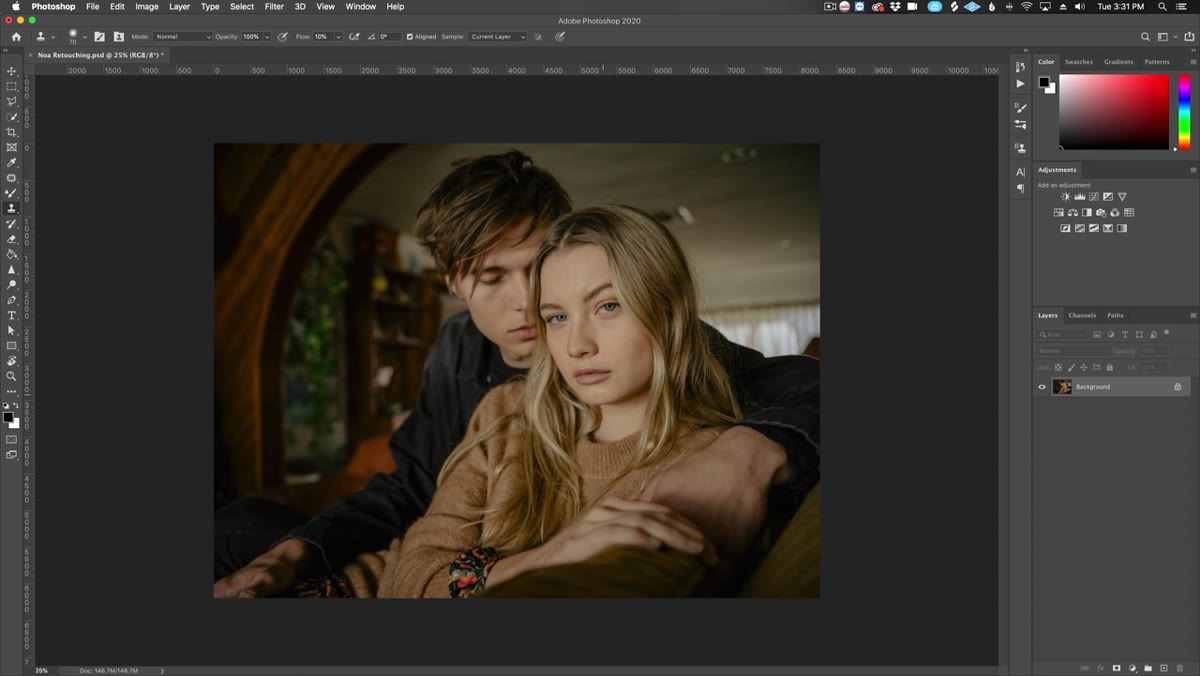 Layers panel showing duplicated background layer
Before touching anything in Photoshop, duplicate your base layer. Select the background in the Layers panel and press Command J (Mac) or Control J (Windows). Every edit from this point forward happens on the duplicate, so your original stays intact at the bottom of the stack. This is non-negotiable if you want a safety net.
Layers panel showing duplicated background layer
Before touching anything in Photoshop, duplicate your base layer. Select the background in the Layers panel and press Command J (Mac) or Control J (Windows). Every edit from this point forward happens on the duplicate, so your original stays intact at the bottom of the stack. This is non-negotiable if you want a safety net.
For images that have already gone through basic color grading or a preset, this is your starting point in Photoshop. You are not color correcting here, you are retouching, and keeping those concerns on separate layers prevents you from conflating the two.
Step 4: Remove Blemishes with the Patch Tool
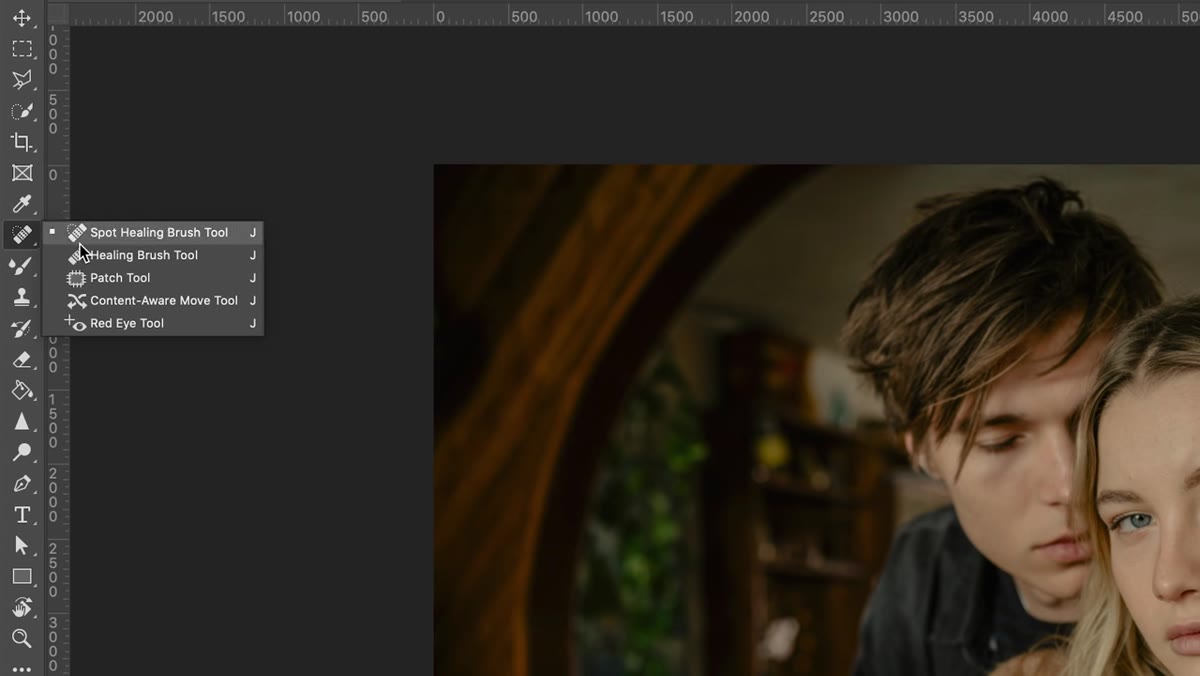 Patch tool selected, circle drawn around a blemish
In the Tools panel, click and hold on the Spot Healing Brush to reveal the Patch tool underneath. Set Patch to Normal, make sure Source is selected, and set Diffusion to 5. These settings tell Photoshop to blend the sampled area smoothly into its destination, rather than dropping it in as a hard copy.
Patch tool selected, circle drawn around a blemish
In the Tools panel, click and hold on the Spot Healing Brush to reveal the Patch tool underneath. Set Patch to Normal, make sure Source is selected, and set Diffusion to 5. These settings tell Photoshop to blend the sampled area smoothly into its destination, rather than dropping it in as a hard copy.
Draw a loose selection around a single blemish, then click and drag from inside that selection to a clean area of nearby skin. Release the mouse and Photoshop blends the sample in, matching the surrounding tone and texture. Work one blemish at a time with small selections. The Patch tool degrades in quality when you try to cover too large an area in a single drag. A useful calibration tip from the video: the same tool erases an Apple laptop logo cleanly, which gives you a real sense of how well it handles blending when the settings are right.
One important retouching boundary worth keeping in mind: remove temporary blemishes, not defining features. A breakout is temporary. A mole, a birthmark, or a scar that has been there for decades is part of a person’s face. The line between helpful and harmful retouching lives right there.
Step 5: Use the Clone Stamp on a Separate Layer for Detail Work
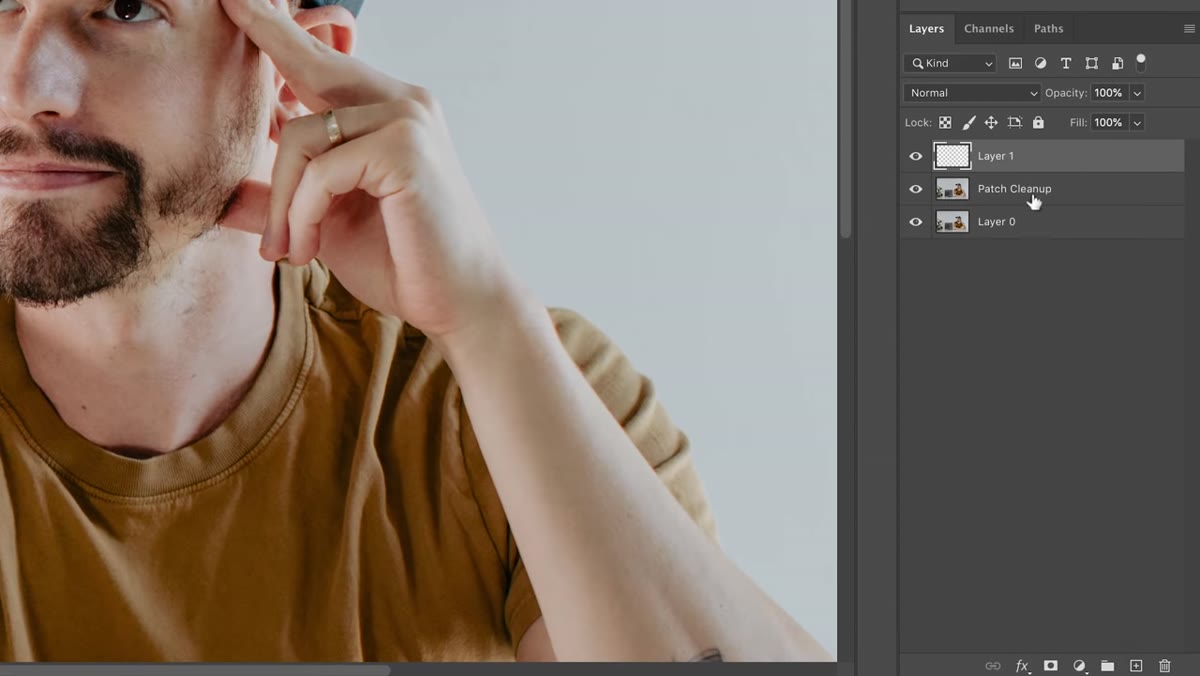 Clone stamp on new layer, flow set to 20 percent
Create a new empty layer above your duplicate and name it something you will recognize later. Set the Clone Stamp tool’s Flow to around 20 percent. Low flow means each stroke deposits only a small amount of sampled data, so you can build coverage gradually rather than stamping a hard copy of skin onto the problem area. In the tool options bar, set Sample to Current and Below so the Clone Stamp reads the layers beneath without flattening.
Clone stamp on new layer, flow set to 20 percent
Create a new empty layer above your duplicate and name it something you will recognize later. Set the Clone Stamp tool’s Flow to around 20 percent. Low flow means each stroke deposits only a small amount of sampled data, so you can build coverage gradually rather than stamping a hard copy of skin onto the problem area. In the tool options bar, set Sample to Current and Below so the Clone Stamp reads the layers beneath without flattening.
Hold Option (Mac) or Alt (Windows) and click on a clean patch of skin close to the area you want to fix. Then paint over the problem area with short, light strokes. The low flow lets you control how much correction you are applying. This method is particularly good for under-eye areas and fine lines where the texture is delicate and other tools tend to smear. Zoom in to place your strokes carefully, then zoom out frequently to check that the area reads naturally at full view distance.
What I Do Differently After Years of Beauty Work
The tutorial covers each tool well, but there is one habit I have built on top of this workflow that saves me from the plastic-skin trap: I do a final sanity check by toggling my retouch layers on and off at a zoomed-out view, usually 25 to 33 percent. At full zoom you are too close to judge. Skin that looks beautifully smooth at 100 percent can look completely texture-free at print or screen size. I also keep my texture slider adjustments lighter than feels necessary in the moment. You can always go back and push further. You cannot un-smooth skin that has already been approved by a client.
The single most important thing this tutorial reinforces is that restraint is a technical skill, not just an aesthetic preference. The tools themselves are not what produce plastic-looking skin. Over-application does. Start with a light hand, zoom out often, and let the image tell you when it has had enough.
Watch the full tutorial on YouTube to see each method demonstrated in real time on actual portraits. Seeing the before-and-after at each stage is worth the watch even if you feel comfortable with the tools described here.
Comments
Leave a Comment