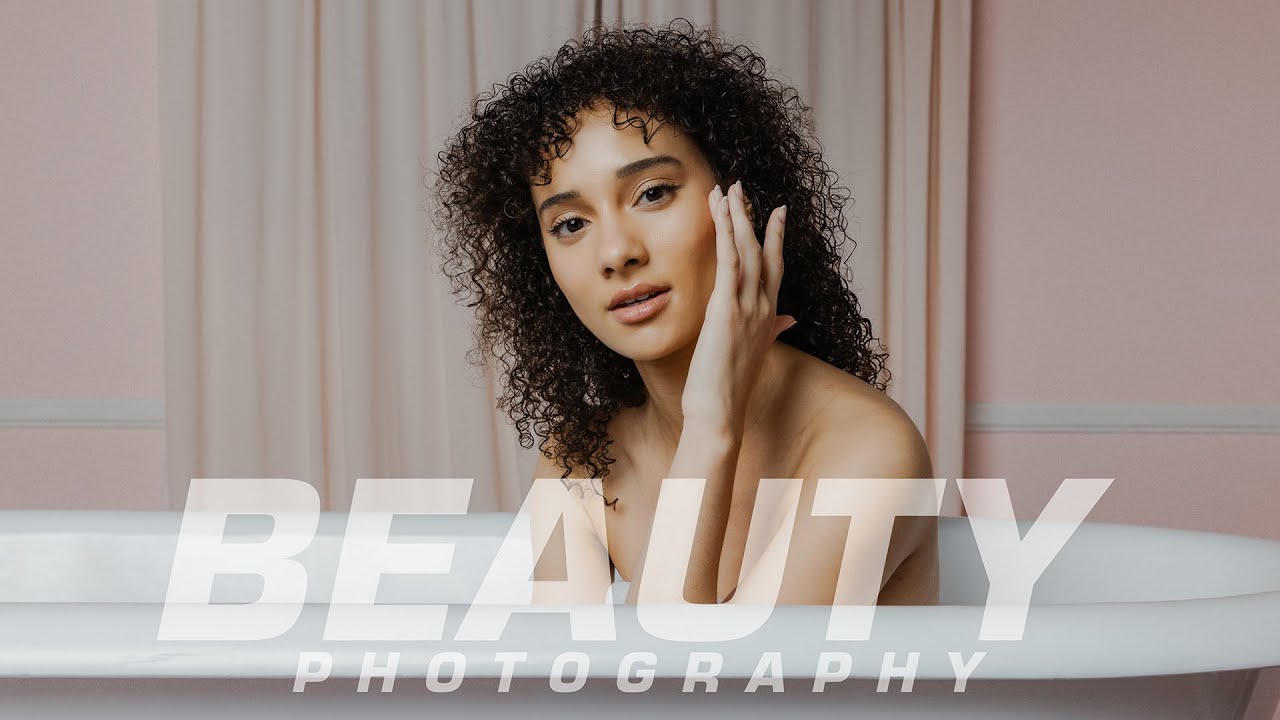
Beauty photography sits in a strange category for those of us who came up through other genres. I spent years editing wedding portraits before I made the full switch to beauty work, and even then, the lighting logic felt like a completely different language. So when I came across Mango Street’s video documenting their first real attempt at beauty photography, I watched it twice. Not because it reinvents anything, but because watching someone work through a new genre honestly, including the nerves, the gear choices, and the mid-shoot pivots, is often more useful than a polished masterclass that skips the decision-making.
Watch the full tutorial on YouTube
What makes this walkthrough worth your time is the combination of practical lighting decisions and a retouching workflow that prioritizes speed without completely sacrificing skin texture. The shoot was driven by a real client brief, natural beauty imagery for a stock photography library, which means the creative choices weren’t arbitrary. Every decision had a constraint behind it. That’s exactly the kind of context that makes a tutorial translate to actual working conditions.
Step 1: Anchor Your Shoot to a Real Brief
 Rachel referencing the beauty brief on her phone during the shoot
Before a single frame is captured, Mango Street’s Rachel keeps the client brief pulled up on her phone throughout the shoot. This sounds minor, but it’s one of the most underrated habits in beauty photography. A “natural beauty” brief rules out heavy shadows, dramatic contrast, and anything that reads as high-fashion editorial. Having that reference visible means you’re making compositional calls in real time rather than discovering the mismatch in post.
Rachel referencing the beauty brief on her phone during the shoot
Before a single frame is captured, Mango Street’s Rachel keeps the client brief pulled up on her phone throughout the shoot. This sounds minor, but it’s one of the most underrated habits in beauty photography. A “natural beauty” brief rules out heavy shadows, dramatic contrast, and anything that reads as high-fashion editorial. Having that reference visible means you’re making compositional calls in real time rather than discovering the mismatch in post.
If you’re shooting for stock or a brand brief, print it or pin it somewhere visible. Reviewing it between setups takes ten seconds and saves you from delivering a full gallery that misses the tone entirely.
Step 2: Test Both Diffusion Options Before Committing
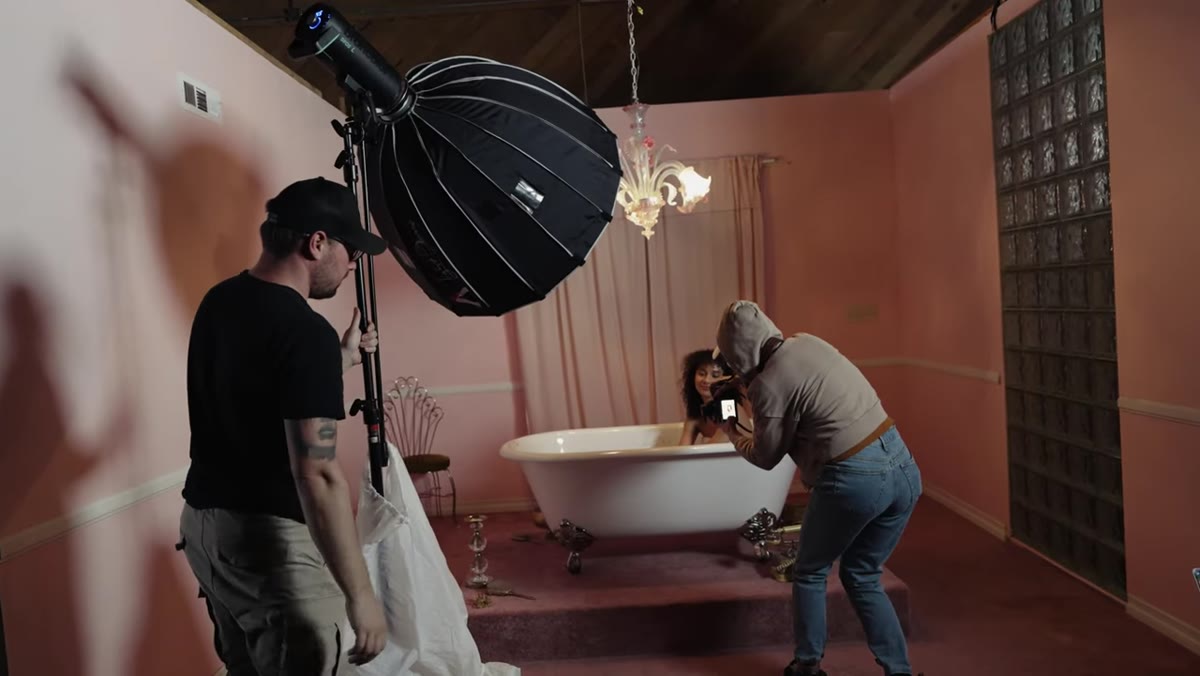 Comparing the Aperture Light Dome and umbrella reflector setups side by side
For this shoot, two modifiers were tested with a Broncolor Siros L strobe: a light dome from Aperture and a shoot-through umbrella used as a reflector. The umbrella-as-reflector won. The reasoning is simple – umbrella light wraps slightly differently than a dome, producing a softer, more flattering quality that works especially well for close-in beauty frames.
Comparing the Aperture Light Dome and umbrella reflector setups side by side
For this shoot, two modifiers were tested with a Broncolor Siros L strobe: a light dome from Aperture and a shoot-through umbrella used as a reflector. The umbrella-as-reflector won. The reasoning is simple – umbrella light wraps slightly differently than a dome, producing a softer, more flattering quality that works especially well for close-in beauty frames.
This is worth testing in your own studio even if you have a preferred modifier. The same strobe can produce noticeably different skin rendering depending on how the light is diffused and bounced. Spend fifteen minutes at the start of a new project comparing your options on a test subject. You’ll make better decisions faster once you see the difference on a face rather than just knowing it theoretically.
Step 3: Apply Your Base Preset, Then Lift the Shadows
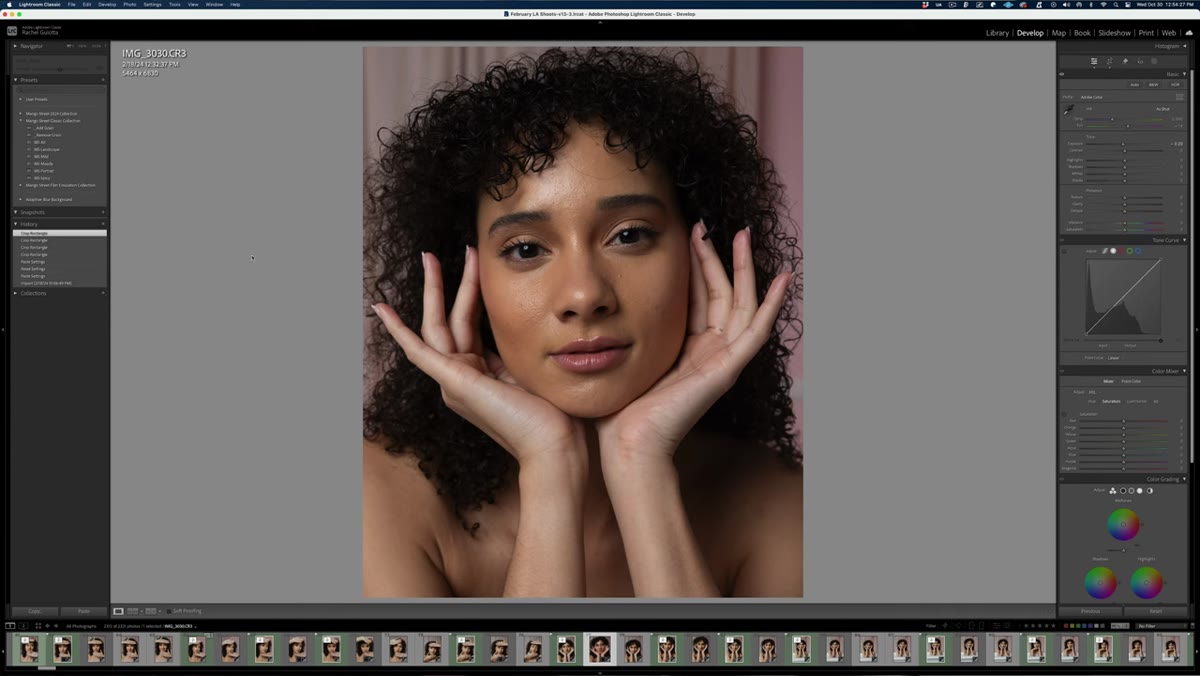 Applying the MS Portrait preset in Lightroom with shadow slider adjustment
Once the selects are pulled into Lightroom, the first move is applying a portrait preset to set the overall tone. In the video, that’s their own MS Portrait preset from their Classic Collection. The specific preset matters less than the principle: start with a consistent tonal base so you’re not making foundational decisions from scratch on every image.
Applying the MS Portrait preset in Lightroom with shadow slider adjustment
Once the selects are pulled into Lightroom, the first move is applying a portrait preset to set the overall tone. In the video, that’s their own MS Portrait preset from their Classic Collection. The specific preset matters less than the principle: start with a consistent tonal base so you’re not making foundational decisions from scratch on every image.
After the preset drops in, the one manual adjustment is raising the Shadows slider. In beauty work, crushed shadows in the face read as unflattering and harsh, especially under the eyes and along the sides of the nose. Lifting shadows gently opens up the face without flattening the image. Think of it as preserving dimension while removing harshness. You don’t need to go heavy here – even a subtle push of 15 to 25 points often does the work.
Step 4: Move to Luminar 4 for AI Skin Retouching
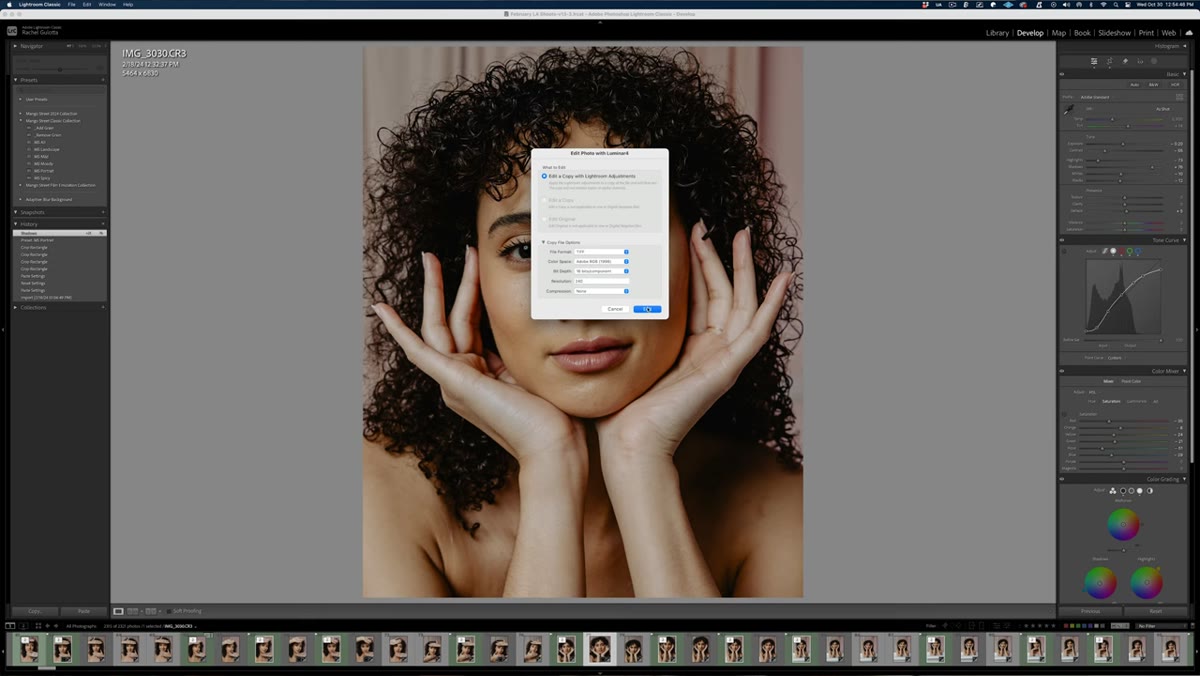 Luminar 4 Portrait section open with AI Skin Enhancer slider raised
Rather than spending time with frequency separation or manual healing in Photoshop, the workflow here jumps directly into Luminar 4 for skin work. Inside the Portrait section, the AI Skin Enhancer slider handles the initial smoothing, and the Skin Defects Removal checkbox is enabled alongside it. Together, these two settings address both overall texture and specific blemishes.
Luminar 4 Portrait section open with AI Skin Enhancer slider raised
Rather than spending time with frequency separation or manual healing in Photoshop, the workflow here jumps directly into Luminar 4 for skin work. Inside the Portrait section, the AI Skin Enhancer slider handles the initial smoothing, and the Skin Defects Removal checkbox is enabled alongside it. Together, these two settings address both overall texture and specific blemishes.
What I appreciate about this approach for stock and brand work is the speed-to-quality ratio. The AI reads skin tone and texture contextually rather than applying a blanket blur, which means you get smoothing that respects pore structure. You’re not after the poreless, lit-from-within look that trend cycles in and out. Natural beauty briefs want skin that looks healthy, not processed. Keep the slider conservative – somewhere in the 40 to 65 range is usually enough to clean up distractions without crossing into that plastic territory clients notice immediately.
Step 5: Refine With the Portrait Enhancer Tab
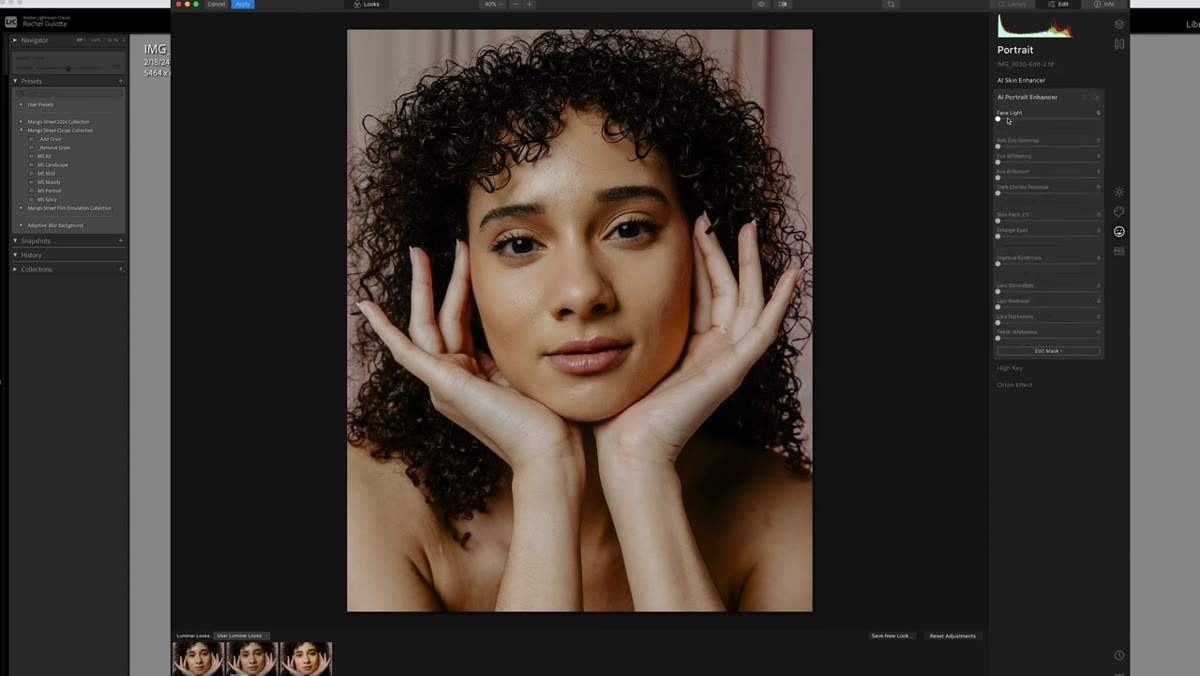 Portrait Enhancer tab open in Luminar 4 with facial feature adjustments visible
Luminar 4’s Portrait Enhancer tab goes beyond skin and lets you make targeted adjustments to facial features. Used subtly, this can help with eye brightening or slight lip saturation without sending the image into over-retouched territory.
Portrait Enhancer tab open in Luminar 4 with facial feature adjustments visible
Luminar 4’s Portrait Enhancer tab goes beyond skin and lets you make targeted adjustments to facial features. Used subtly, this can help with eye brightening or slight lip saturation without sending the image into over-retouched territory.
The key with any facial feature tool is restraint. Beauty photography lives or dies on believability. Make your adjustments, then reduce the effect by at least 30 percent from wherever your instinct lands. Then compare it to the unretouched version. If you can immediately see the edit, it’s too much. Once you’ve dialed in a combination that works, save it as a named look inside Luminar so you can apply the same treatment to the rest of the gallery in seconds.
Step 6: Return to Lightroom for Final Spot Cleanup
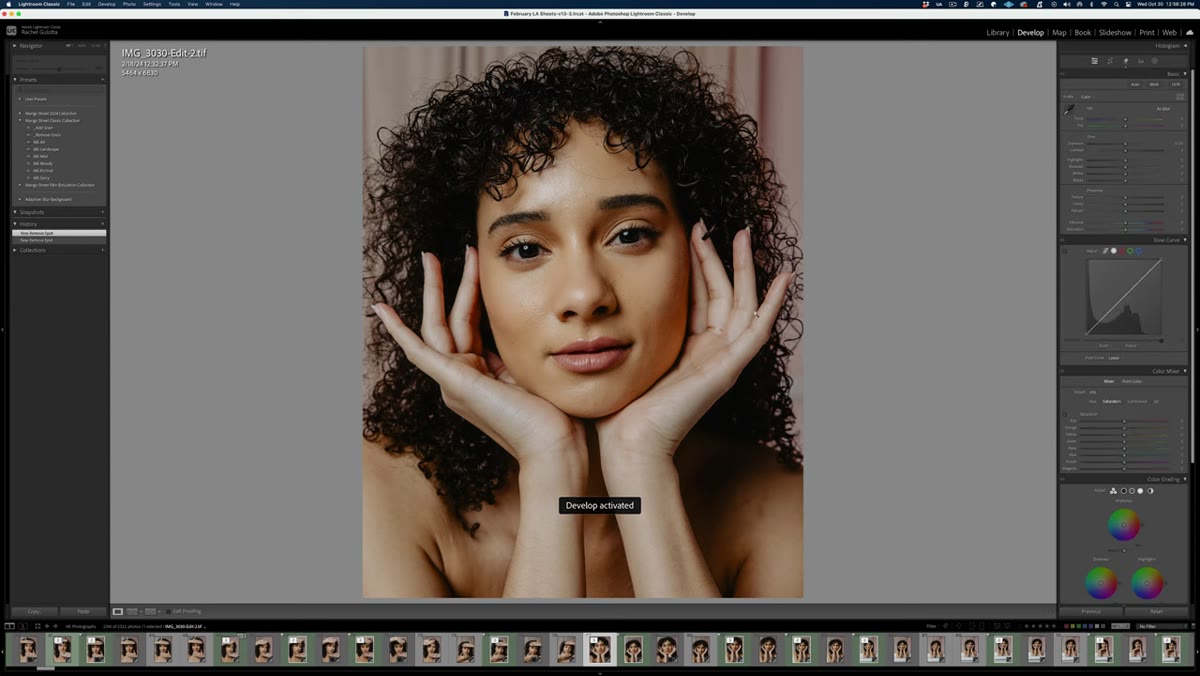 Lightroom Spot Removal tool active over a close-up portrait frame
After Luminar handles the heavy skin work, the image goes back into Lightroom for final cleanup using the Spot Removal tool. This is the right order of operations. AI-based smoothing can occasionally create softness around the edges of a blemish rather than eliminating it cleanly. Catching those stragglers with the Spot Removal tool at the end is faster than trying to work around them earlier.
Lightroom Spot Removal tool active over a close-up portrait frame
After Luminar handles the heavy skin work, the image goes back into Lightroom for final cleanup using the Spot Removal tool. This is the right order of operations. AI-based smoothing can occasionally create softness around the edges of a blemish rather than eliminating it cleanly. Catching those stragglers with the Spot Removal tool at the end is faster than trying to work around them earlier.
Keep your brush size tight and your feathering moderate. In beauty close-ups, sloppy spot removal shows up clearly, especially around the mouth, chin, and forehead where light hits flatly.
What I’d Add From My Own Workflow
The Luminar AI approach works well for quick turnarounds, and I use it myself for stock and lower-tier commercial work. But when a beauty client is paying for a hero image, I still go into Photoshop and run a light pass of frequency separation after the Luminar step. The AI smoothing can occasionally blend skin tones slightly across boundaries – along the jawline or near the hairline – and frequency separation lets me correct that without redoing the texture work. Think of Luminar as your 80 percent solution and frequency separation as the final 20 when stakes are higher.
Also worth noting: bringing a physical prop to give your model something to interact with, in this case a face serum and brush, is one of the simplest ways to get natural expressions in beauty work. Hands and objects create movement and intention in the frame. Idle hands in beauty shots almost always look awkward. A small prop solves this without any posing instruction.
The single most useful thing this tutorial reinforced for me is that a defined brief is your creative anchor, not a limitation. When you know exactly what “natural beauty” means to the client, every lighting and retouching decision becomes faster and more confident. Shooting without a reference is where beauty work goes sideways.
Watch the full tutorial on YouTube and pay attention to how the brief shapes the choices from setup through final edit. That through line is the real lesson here.
Comments (3)
Clear and practical. No fluff. Appreciate that.
This is exactly what I needed today. Been struggling with this for weeks.
Finally someone explains this in a way that actually makes sense.
Leave a Comment