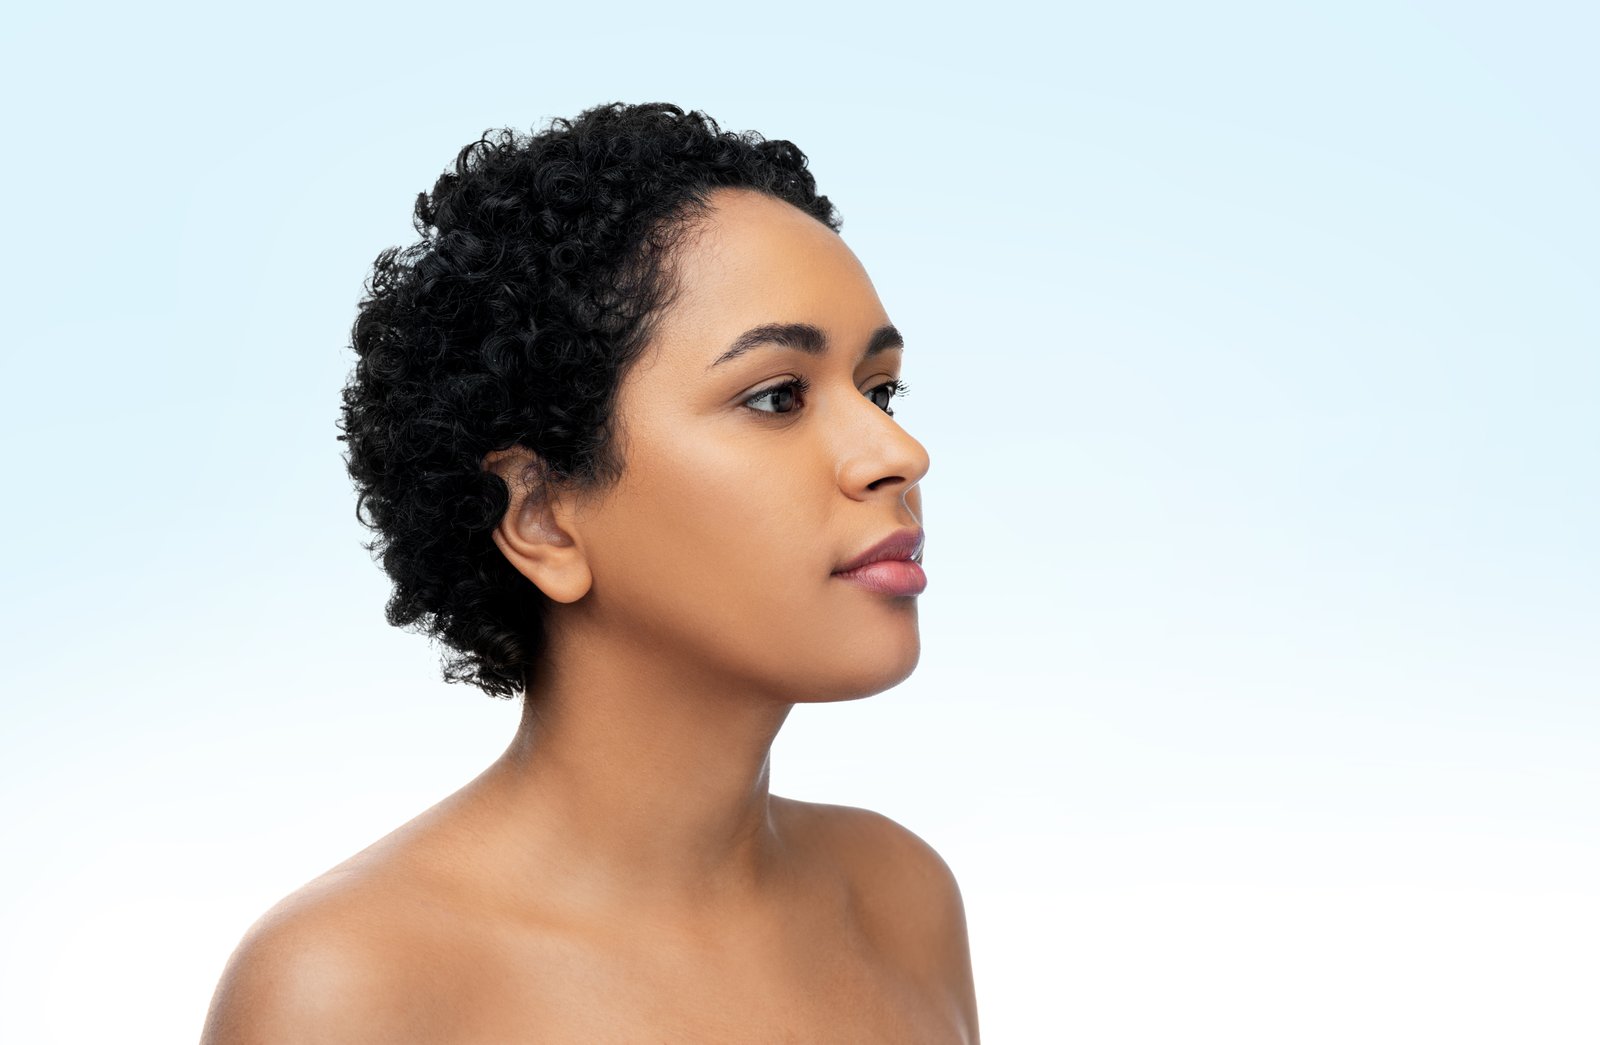
Early in my retouching career, a bride emailed me three days after her wedding to say her portraits looked “like a video game character.” I had smoothed her skin with a heavy-handed Gaussian blur pass, wiped out every pore, and delivered what I thought was polished, professional work. It was not. That email is the reason I spent the next year learning frequency separation properly, and it’s the reason I still teach it as the first real technique in every workshop I run.
If your retouching ever lands in that uncanny valley, where the skin looks smooth but somehow wrong, frequency separation is almost certainly the tool you’re missing.
What Your Image Actually Contains (and Why That Matters)
Every photograph of skin carries two completely separate kinds of visual information layered on top of each other. The first is texture: pores, fine lines, hair, the micro-surface of skin. The second is tone and color: the redness around a nose, an uneven patch under the eyes, the shadow pooling along the jaw. When you retouch skin with a single healing brush pass or a simple blur, you are editing both of those things at once. That’s why results go plastic so fast. You soften a blemish, but you also erase the pore structure around it, and suddenly the skin reads as fake even if no one can name exactly why.
Frequency separation is the technique of splitting those two layers apart so you can edit tone without touching texture, and edit texture without shifting color. It’s not a filter or a preset. It’s a structure you build in your file, and once you understand it, it changes how you see every skin problem you’re asked to fix.
Setting It Up in Photoshop, Step by Step
Duplicate your background layer twice. Name the bottom copy “Low Frequency” and the top copy “High Frequency.” These names matter for staying organized, especially on a file with 15 or 20 layers.
On the Low Frequency layer, go to Filter > Blur > Gaussian Blur. For most portrait work shot at a standard beauty distance, I use a radius between 4 and 7 pixels. If your image is high-resolution, say 50 megapixels from a medium format camera, push that up to 10 or 12. The goal is to blur until the texture disappears but the shapes of light and shadow remain readable.
Now select your High Frequency layer and go to Image > Apply Image. Set the layer to your Low Frequency layer, the blending mode to Subtract, the Scale to 2, and the Offset to 128. Click OK. Then change the blend mode of the High Frequency layer itself to Linear Light. At this point your image should look exactly as it did before you started, but you’re now working with two independent layers.
The Low Frequency layer holds all your color and tone information. Use a soft round brush at 10 to 20 percent opacity with the Lasso tool for selections, and paint or clone on this layer to even out skin tone, reduce redness, and blend shadows. The High Frequency layer holds only texture. Use the Clone Stamp tool here, set to Current Layer only, to move pore structure and repair blemishes without disturbing the color underneath.
The Setting Nobody Talks About
Most tutorials tell you to set Gaussian Blur to a fixed number and move on. The number that actually matters is specific to your image, and getting it wrong is the most common reason frequency separation results still look off.
Zoom in to 100 percent on your subject’s cheek. Apply the blur, then toggle the layer on and off. You want the blur radius set to the minimum amount that fully removes the texture. If you can still see pore structure on the Low Frequency layer, your radius is too low, and any tonal work you do on that layer will accidentally affect texture. If your radius is too high, you lose the subtle gradients that make skin look three-dimensional.
I keep a Photoshop action I call “The Godfather” that runs the full setup and stops at the Gaussian Blur dialog so I can dial it in fresh for every file. The action runs in about four seconds. Setting the blur correctly by eye takes maybe thirty seconds more. That thirty seconds is not optional.
When Frequency Separation Is the Wrong Tool
Frequency separation does not fix everything, and reaching for it on the wrong problem costs time. It is not a good solution for heavy color grading, significant reshaping, or removing large distracting elements like clothing wrinkles or background objects. It is also genuinely overkill for quick social media edits where the final output is 1080 pixels wide. I use it for beauty campaigns, editorial work, and any portrait where the client will be examining the skin closely, which in practice means anything printed larger than 8x10 or featured in a close-up crop.
For fast commercial turnaround, I often combine a light frequency separation pass with Lightroom’s texture and clarity sliders adjusted at negative values, applied selectively with a brush mask. That combination gets me 80 percent of the result in 20 percent of the time, and nobody can tell the difference at web resolution.
The Layer That Keeps Me Honest
I still have a PSD file from about ten years ago saved on an external drive. It’s a portrait I retouched in my first year, before I understood any of this, and the skin looks like it was modeled out of wax. I open it once in a while, not to cringe, but because it’s a useful reminder that technique is learnable. Every single thing that makes that file look wrong is a problem that frequency separation would have prevented.
The technique is not magic, and it won’t save a badly lit photograph. But for well-shot portraits where skin texture is worth preserving, it is the cleanest way to do work that holds up at full resolution, on a large monitor, in front of a client who is looking hard at every pixel.
Comments
Leave a Comment