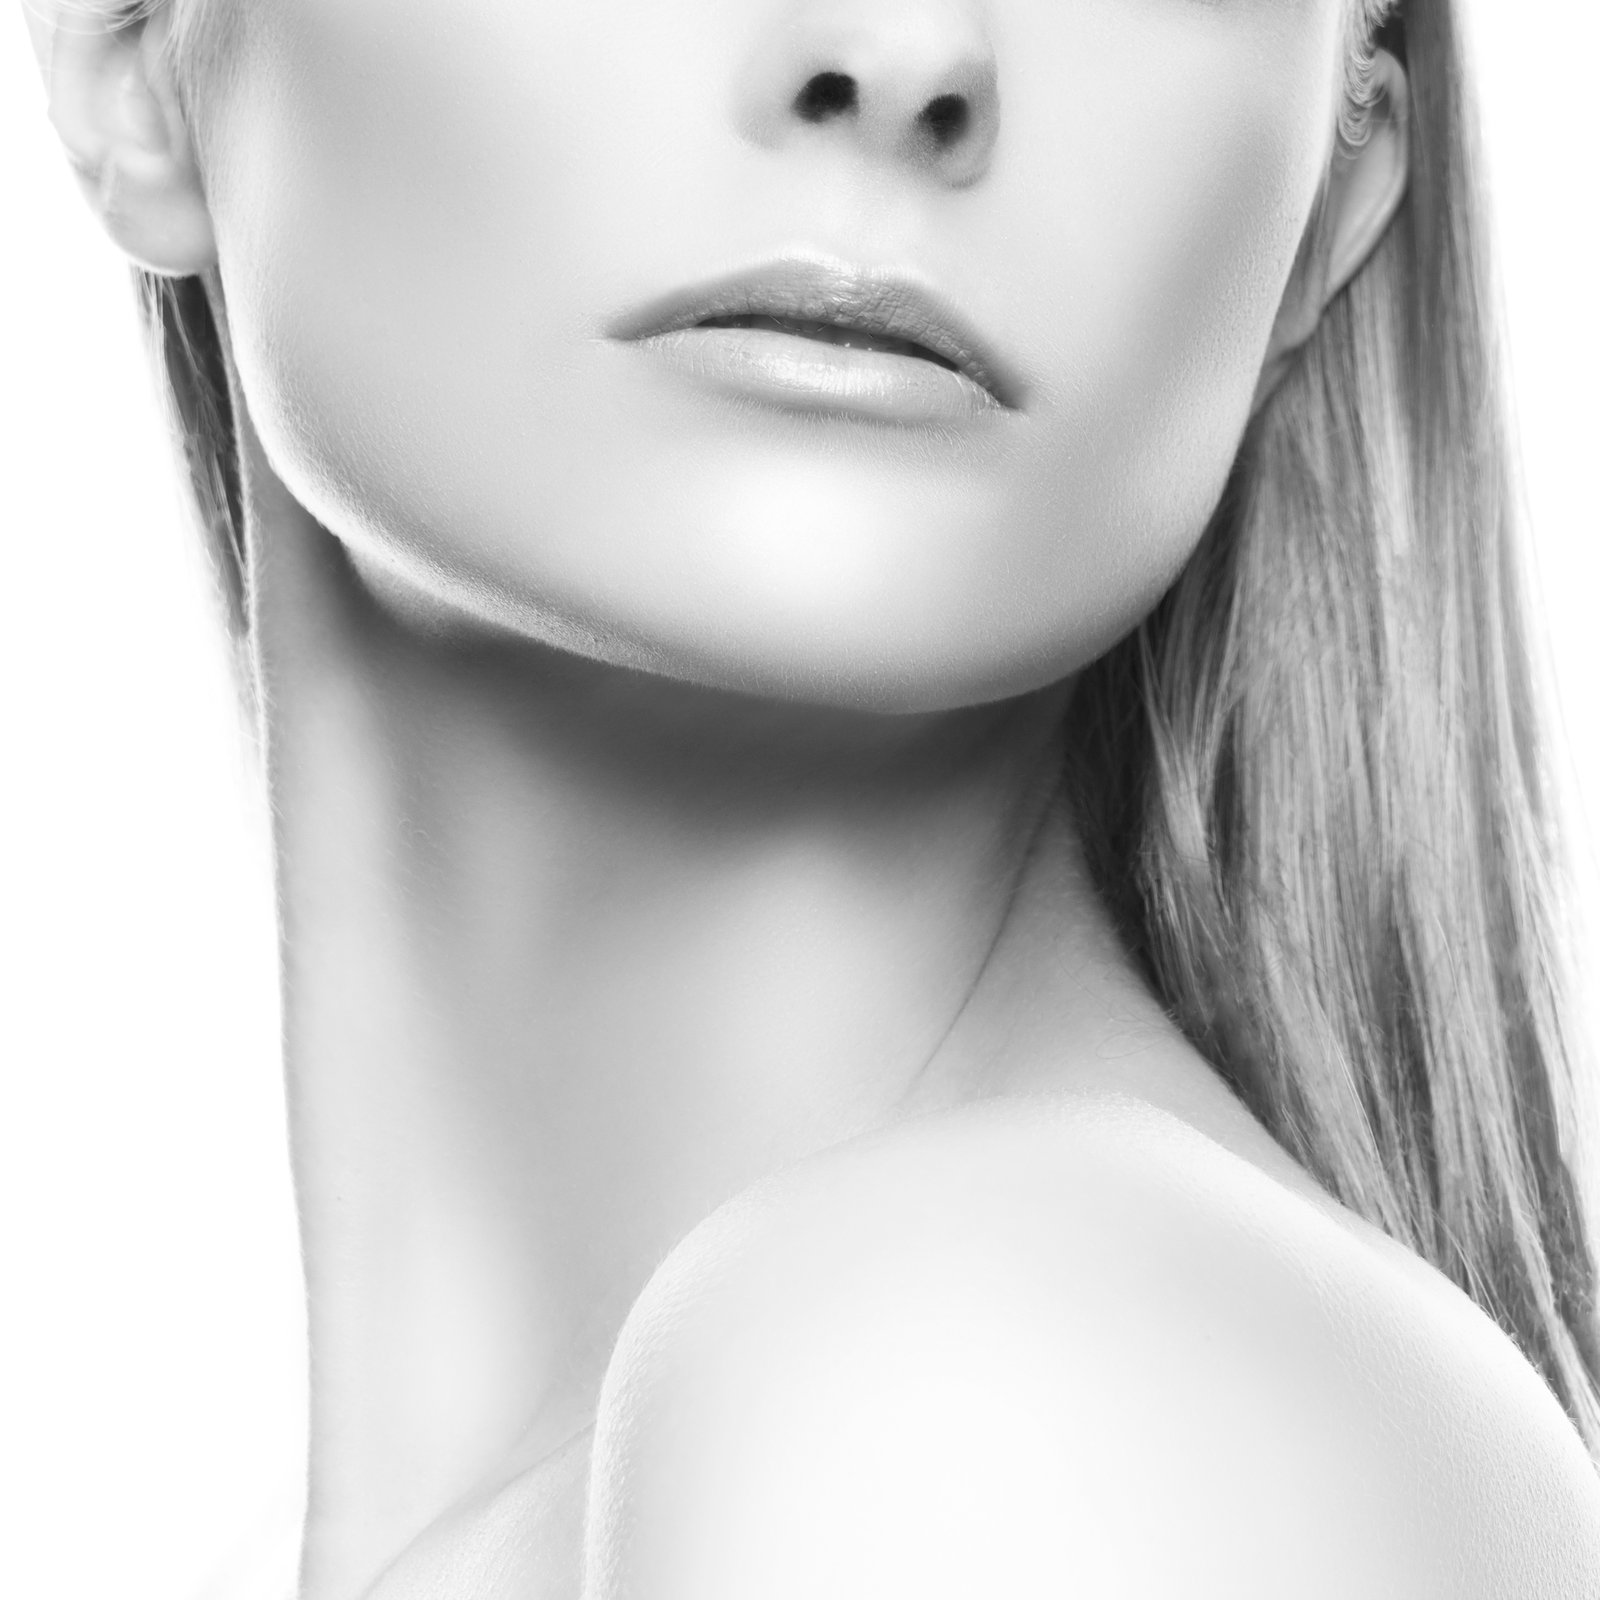
A few years into my retouching career, a client sent me an email I still think about. She’d hired me to retouch a headshot series for her brand campaign, and after I delivered the files, she wrote back to say the skin looked “a little like rubber.” Not bad, exactly. Just wrong. Like the faces belonged to very convincing mannequins.
I had softened every blemish, every pore, every shadow, until the texture was completely gone. The color was beautiful. The tone was even. But there was nothing left that looked like a real human face, because I had retouched the skin’s texture right along with its color. That’s the fundamental mistake most people make before they understand frequency separation, and it’s the exact problem this technique was designed to solve.
Why Skin Has Two Problems at Once
Skin is carrying two kinds of visual information simultaneously. There’s the broad tonal and color information, the blush across a cheekbone, the warmth of an undertone, the slight shadow under the jaw. And then there’s the fine detail: pores, fine lines, the tiny hairs at a hairline, the texture that tells your eye this is a living person and not a painting.
When you use a standard healing brush or blur the skin with a filter, you’re hitting both layers at once. You smooth the redness, but you also smooth the pores. You even out the skin tone, but you erase the texture that makes the result believable.
Frequency separation solves this by splitting those two types of information onto two separate layers. Low frequency carries the big tonal and color data. High frequency carries the texture and fine detail. Once they’re separated, you can retouch the color and tone without touching the texture, and vice versa.
Setting Up the Separation in Photoshop
Here’s how I do it, and I’ll give you the exact numbers I use rather than vague guidelines.
Start with your base image flattened to a single layer. Duplicate it twice. Name the bottom copy “Low Freq” and the top copy “High Freq.”
Select the Low Freq layer. Go to Filter, Blur, Gaussian Blur. For high-resolution files, which for me means anything shot at 45 megapixels and above, I use a radius of 4.0 pixels. For standard resolution files in the 24-megapixel range, I use 2.5 pixels. You want the blur to completely smooth the skin texture without losing the overall shapes of the face. If you can still see pores, add more blur.
Now select the High Freq layer. Go to Image, Apply Image. In the dialog, set the Layer to your Low Freq layer, the Blending to Subtract, the Scale to 2, and the Offset to 128. Click OK. Then change the High Freq layer’s blend mode to Linear Light. If your separation is set up correctly, the composite should look exactly like your original image. Nothing should shift visually.
I have a Photoshop action that does all of this automatically. I named it “The Shining,” because applying it always feels a little like opening a door to something you can’t unsee once you know it’s there.
Working the Low Frequency Layer First
This is where almost all of your skin retouching should live. On the Low Freq layer, you can use a soft, low-opacity brush set to the Mixer Brush or even a standard brush in Darken or Lighten mode to balance uneven redness, smooth transitions between shadow and light, and correct discoloration from blemishes without touching texture at all.
I keep my brush flow between 10 and 20 percent and sample colors from nearby healthy skin. Take your time here. A session on one portrait might involve 20 minutes of very slow, careful work on this single layer. The payoff is that the texture layer above is doing all the work of keeping the result looking real, so you don’t have to fight against plastic-looking skin the way you would if you were working destructively.
For blemish removal specifically, I still use the Healing Brush on the High Freq layer to remove raised texture or scarring, but only for things that are genuinely structural. Active breakouts with both discoloration and texture get addressed on both layers. A flat red mark gets handled on Low Freq only.
The Mistake That Costs People Hours
The most common error I see from people learning this technique is over-working the High Freq layer. It’s counterintuitive, because texture feels like the thing that needs fixing. A large pore looks like a texture problem. Visible fine lines look like a texture problem. But most of what bothers people about skin in a photograph is actually a lighting and color uniformity issue, and that lives on the Low Freq layer.
When I first started teaching workshops, I’d ask students to do their first retouch before I showed them anything, just to see their instincts. Almost every single person went straight to the texture and started stamping and healing. Then I’d show them what three minutes of careful work on the Low Freq layer alone could do, and the room would go quiet in a way that I’ve come to love.
When to Leave Texture Alone Entirely
Not every shoot calls for aggressive frequency separation work on the texture layer. Beauty campaigns often require it. Corporate headshots almost never do. Editorial work depends entirely on the brief.
My rule is that I never retouch texture I wasn’t specifically asked to retouch, and I never retouch so much that the subject’s face stops resembling the subject’s face. Real skin has pores. Real skin has variation. A light touch on the Low Freq layer, a few targeted healing strokes on High Freq for active blemishes only, and you will almost always land in a place that looks polished without looking processed.
The client who called my edits rubbery actually taught me more than any course I’ve taken: the goal of retouching is not to remove all evidence of a human face. It’s to make the face look like the best version of itself on its best day.
Comments (10)
I tried this on a client project yesterday and the results were way better than expected.
Printing this out and pinning it next to my monitor. That good.
Would love to see a follow-up going deeper into this topic.
Really solid breakdown. This pairs perfectly with the compositing work I've been writing about.
This is the kind of content that keeps me coming back.
Clear and practical. No fluff. Appreciate that.
Love this. I referenced a similar technique in one of my recent posts. Always good to see other perspectives.
Applied this to my portfolio shots and the improvement is noticeable.
The tip about frequency separation actually was the missing piece for me. Thank you.
Simple but effective. Sometimes that's all you need.
Leave a Comment