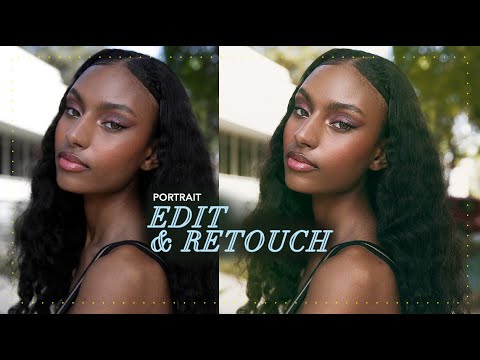
There’s a particular kind of client feedback that sticks with you. Mine came early in my retouching career, when someone looked at a portrait I’d spent two hours on and said the skin looked “like a wax figure.” She wasn’t wrong. I’d been painting over everything with the healing brush, obliterating texture, smoothing out all the natural variation that makes skin look like skin. That comment sent me down a long road of learning, and frequency separation became the technique that finally changed how my work looked.
What I appreciate about watching other retouchers work through a full portrait is seeing the actual decision-making, not just the finished result. In this Jessica Kobeissi tutorial, she does exactly that. She opens Photoshop and edits from scratch, no prepared notes, talking through her process as she works. It’s the kind of unscripted workflow video that shows you how a working professional actually thinks at the computer, not just which buttons to press.
What follows is my breakdown of her approach, with enough specifics that you can follow along in your own Photoshop session. I’ve added a few notes from my own practice where her workflow connects to things I’ve learned the harder way.
Step 1: Open the Image and Run Your Frequency Separation Action
 Photoshop open with portrait image loaded on screen
The first thing Jessica does after opening her image is go straight to her frequency separation action. If you don’t have one set up yet, this is worth doing before anything else. Frequency separation splits your image into two layers: a low frequency layer that holds color and tone, and a high frequency layer that holds texture and fine detail. The power of this is that you can smooth out uneven skin tone on the low frequency layer without touching the texture layer at all, which is what keeps skin looking natural rather than airbrushed.
Photoshop open with portrait image loaded on screen
The first thing Jessica does after opening her image is go straight to her frequency separation action. If you don’t have one set up yet, this is worth doing before anything else. Frequency separation splits your image into two layers: a low frequency layer that holds color and tone, and a high frequency layer that holds texture and fine detail. The power of this is that you can smooth out uneven skin tone on the low frequency layer without touching the texture layer at all, which is what keeps skin looking natural rather than airbrushed.
To build this action yourself, duplicate your background layer twice. On the bottom copy, apply a Gaussian blur strong enough to remove all visible texture but keep the broad color shapes. On the top copy, go to Image, Apply Image, and use the blurred layer as your source with the Subtract blending mode (scale 2, offset 128). Set that layer’s blend mode to Linear Light. When the two layers are combined, you get back your original image. Now group them, name them clearly, and save the whole sequence as an action. Jessica has clearly done this enough times that it’s the first thing she reaches for.
Step 2: Duplicate the Low Frequency Layer Before You Touch It
 Low frequency layer being duplicated in the Layers panel
Before painting on anything, Jessica duplicates the low frequency layer. This is a non-destructive habit that more retouchers should build in early. Working on a duplicate means you can always reduce the opacity of your changes, toggle visibility to compare, or throw the whole layer away if you overdo it. It costs you nothing and saves you from the feeling of having painted yourself into a corner.
Low frequency layer being duplicated in the Layers panel
Before painting on anything, Jessica duplicates the low frequency layer. This is a non-destructive habit that more retouchers should build in early. Working on a duplicate means you can always reduce the opacity of your changes, toggle visibility to compare, or throw the whole layer away if you overdo it. It costs you nothing and saves you from the feeling of having painted yourself into a corner.
Once your duplicate is ready, this is your working layer for color and tone corrections. You’ll use the healing brush or clone stamp here to blend out discoloration, redness, shadows under the eyes, and uneven patches. Because texture lives on a completely separate layer, whatever you do here won’t affect the pores, fine lines, or surface detail of the skin. You’re working on tone only.
Step 3: Hide the Texture Layer to See Your Tone Work Clearly
 High frequency texture layer toggled off in Layers panel
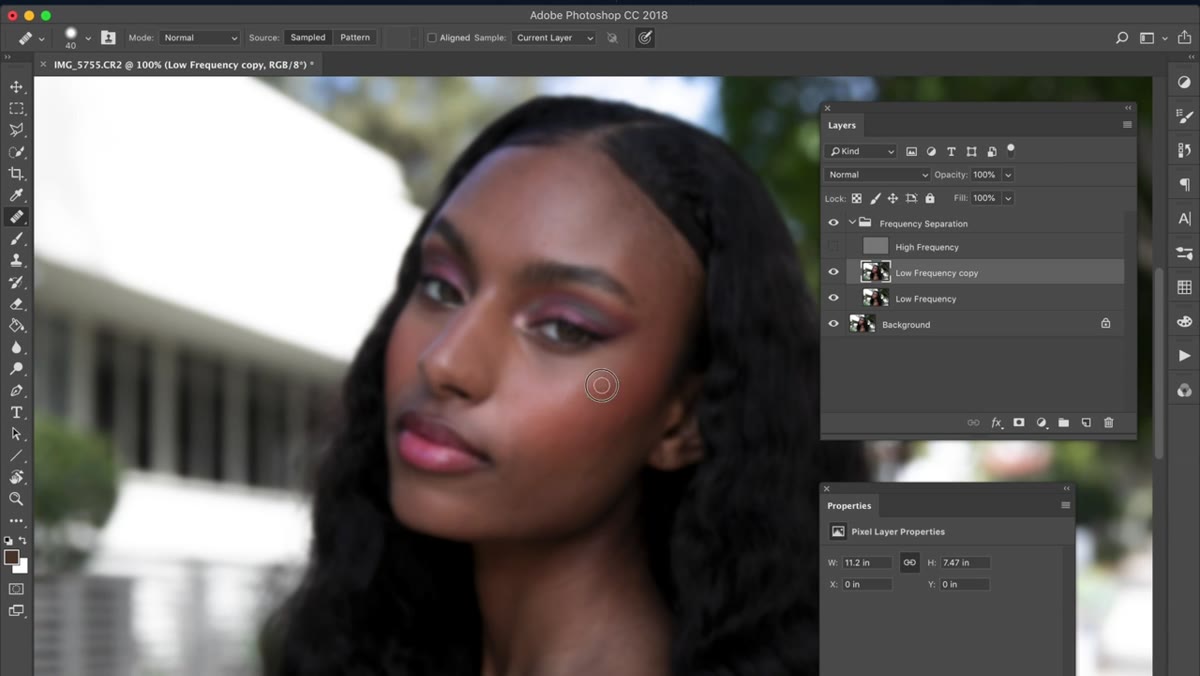
Jessica mentions that while she’s working on the low frequency layer, she’ll sometimes turn off the texture layer to see her tone corrections more clearly. This is a small habit with a big payoff. When texture is visible, your eye naturally gets pulled toward it, and it can be hard to judge whether you’ve actually evened out the underlying color.
High frequency texture layer toggled off in Layers panel
Jessica mentions that while she’s working on the low frequency layer, she’ll sometimes turn off the texture layer to see her tone corrections more clearly. This is a small habit with a big payoff. When texture is visible, your eye naturally gets pulled toward it, and it can be hard to judge whether you’ve actually evened out the underlying color.
Turn off the high frequency layer and zoom into the skin. What you’re looking for is a relatively smooth, even gradation of tone across the face, without sharp patches of red, grey, or yellow. If you see those, this is the moment to address them, before you turn texture back on. Blend with a low-opacity healing brush set to Sample Current Layer, and build up your corrections gradually. When you switch the texture layer back on, the skin should look retouched without looking erased.
Step 4: Work the Healing Brush Directly on Skin Without Destroying Texture
 Healing brush being used on low frequency skin layer
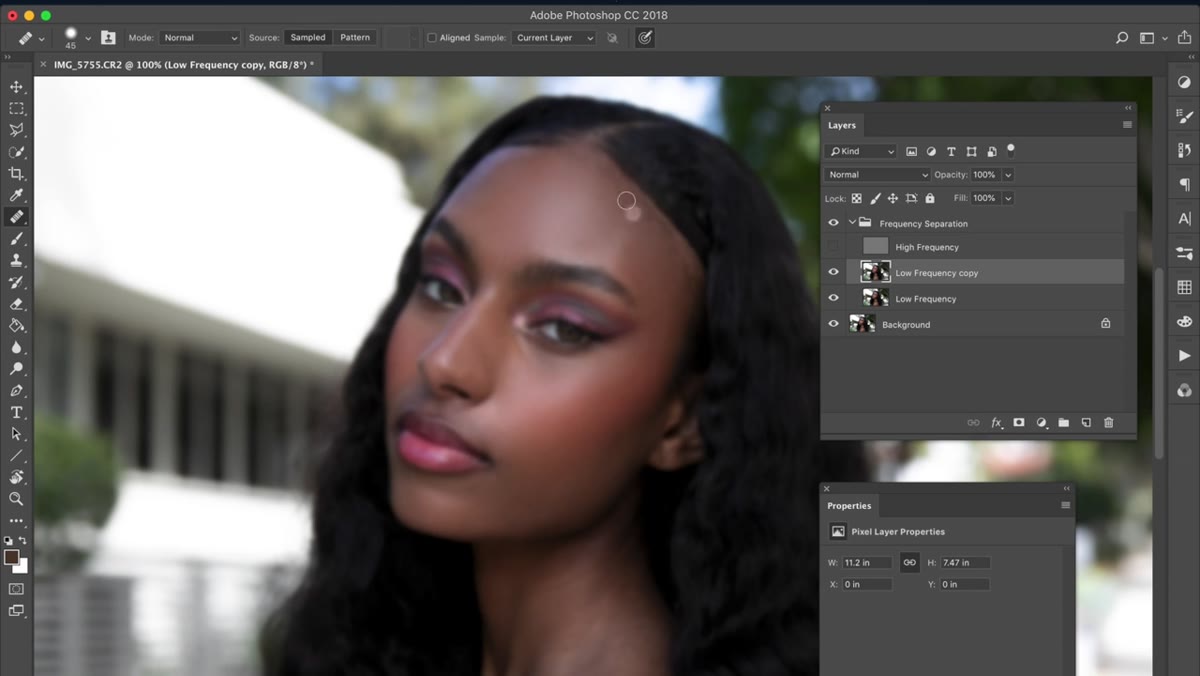
Jessica reflects on how she started out using the healing brush directly on the full composite image and only later moved to frequency separation. The difference is significant. When you heal on a flattened or merged layer, you’re blending both tone and texture simultaneously, which often creates that smeared, overdone look. On the low frequency layer alone, the healing brush is doing exactly the job it’s designed for: matching surrounding tone and color without touching surface detail.
Healing brush being used on low frequency skin layer
Jessica reflects on how she started out using the healing brush directly on the full composite image and only later moved to frequency separation. The difference is significant. When you heal on a flattened or merged layer, you’re blending both tone and texture simultaneously, which often creates that smeared, overdone look. On the low frequency layer alone, the healing brush is doing exactly the job it’s designed for: matching surrounding tone and color without touching surface detail.
Keep your brush size small to medium relative to the area you’re working on. Use a soft edge, around 0% hardness, and keep opacity somewhere between 15% and 30% for gradual, buildable corrections. The goal is not to eliminate every variation in the skin but to reduce the kind of harsh contrast that reads as blemish or discoloration. Work in small strokes and check your progress by toggling the texture layer on and off periodically.
Step 5: Recognize When Dodge and Burn Would Serve the Work Better
 Full portrait visible with retouching partially complete
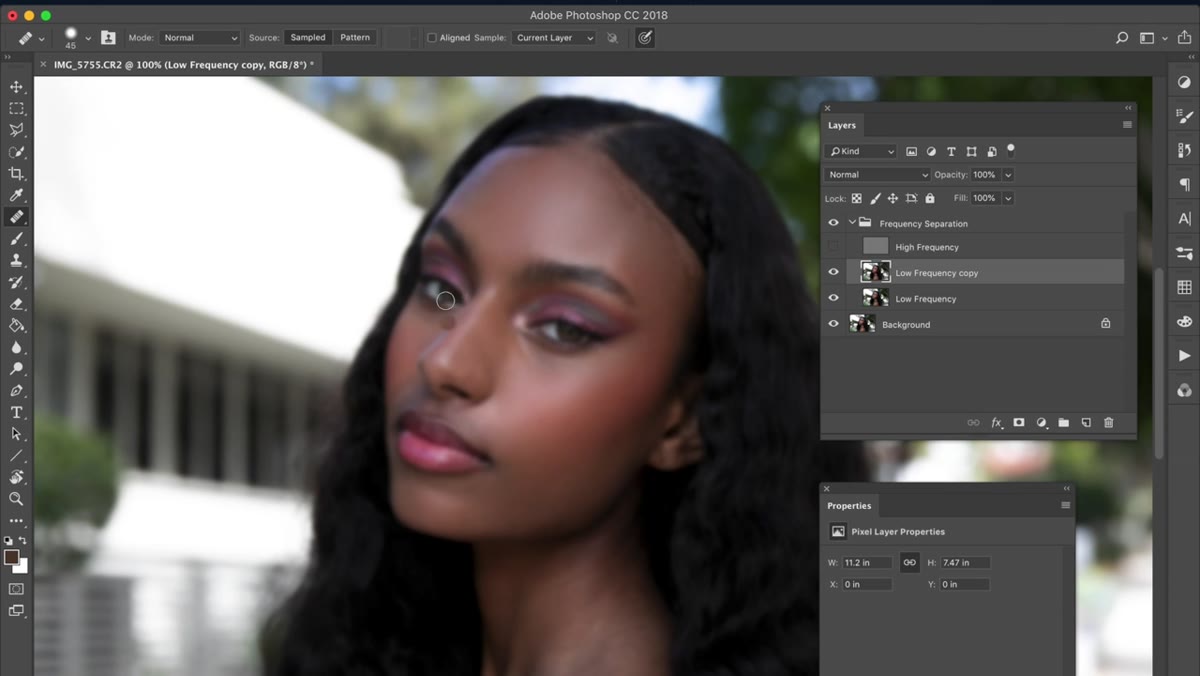
One of the more honest moments in the tutorial is when Jessica talks about dodge and burn. She’s been experimenting with it, but she’s candid that it’s technically demanding and time-consuming to learn well. She also makes a useful distinction: dodge and burn matters most for close-up beauty and macro work, where the camera is inches from the skin and every shadow and highlight reads as three-dimensional form. For the kind of portrait work she primarily does, frequency separation handles the heavy lifting.
Full portrait visible with retouching partially complete
One of the more honest moments in the tutorial is when Jessica talks about dodge and burn. She’s been experimenting with it, but she’s candid that it’s technically demanding and time-consuming to learn well. She also makes a useful distinction: dodge and burn matters most for close-up beauty and macro work, where the camera is inches from the skin and every shadow and highlight reads as three-dimensional form. For the kind of portrait work she primarily does, frequency separation handles the heavy lifting.
This is worth keeping in mind for your own practice. If your work is editorial portraits, headshots, or lifestyle photography, frequency separation will likely cover 80% of what you need. If you’re shooting cosmetics campaigns or any work where the face fills the entire frame at high resolution, dodge and burn becomes more important. Knowing which technique suits your actual workload saves you from feeling like you’re always behind on learning the “right” method.
What I’d Add From My Own Practice
Frequency separation is not a shortcut. The biggest mistake I see newer retouchers make is treating the action as a kind of automatic fix, running it and then painting too heavily on the low frequency layer until all the tonal life is gone. The technique works because it separates the problem, not because it removes the need for a careful eye.
I’d also suggest building a second action specifically for a soft light dodge and burn layer stack, even if you’re not ready to use it on every image. Having it available means you can drop in a gentle dodge and burn pass on top of your frequency separation work for images where the lighting created unflattering shadows around the nose or chin. The two approaches complement each other more than they compete.
The single most important thing this tutorial reinforces is to slow down in the early stages. The work Jessica does on that low frequency layer, careful, patient, low-opacity passes, is what makes the final result look like it wasn’t touched at all. That’s the goal every time.
Watch the full tutorial on YouTube to see Jessica’s complete unscripted workflow from start to finish.
Comments
Leave a Comment