
There is a particular kind of dread that comes with opening a portrait file and seeing skin that needs serious work. Not “dust off a blemish” work. Real texture, real unevenness, real light that caught every pore. Early in my retouching career I handled that dread badly. I’d over-smooth, over-blur, and hand back something that looked more like a vinyl doll than a person. A client once told me the skin looked “plastic.” She wasn’t wrong. That note sent me down a long road of learning how to actually retouch skin rather than erase it.
Frequency separation is the technique that eventually turned things around for me, and I’ve been refining my approach to it ever since. So when I sat down with this Watch the full tutorial on YouTube episode from Jessica Kobeissi’s “Retouch and Chill” series, I wasn’t watching to learn the concept from scratch. I was watching the way I read another chef’s recipe: looking for the small decisions, the sequencing, the judgment calls that separate a technically correct result from a beautiful one. Jessica is retouching a portrait of her friend Leah, shot on a Canon 5D Mark IV with a 24-70mm lens, and the image is exactly the kind of work-horse beauty portrait that lands in my inbox every week from brand clients.
What follows is my step-by-step breakdown of how she approaches the retouch, rebuilt in the kind of language you can actually follow at your own desk.
Step 1: Open the Image and Run Your Frequency Separation Action
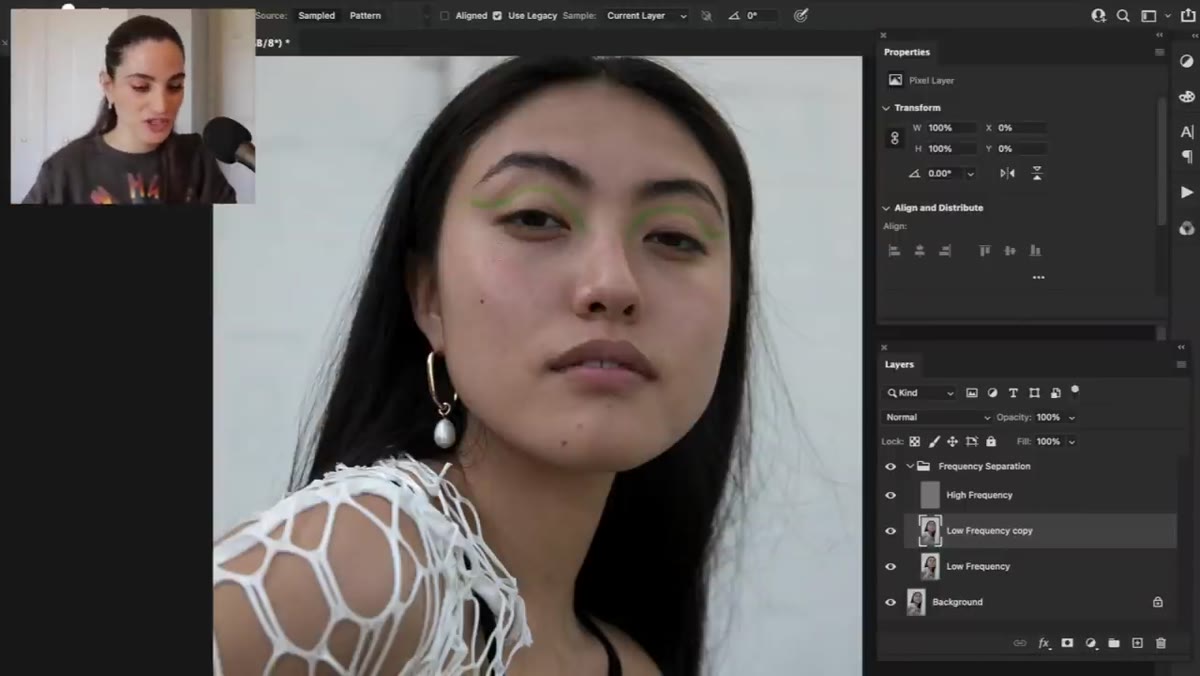 Frequency separation action applied to portrait in Photoshop
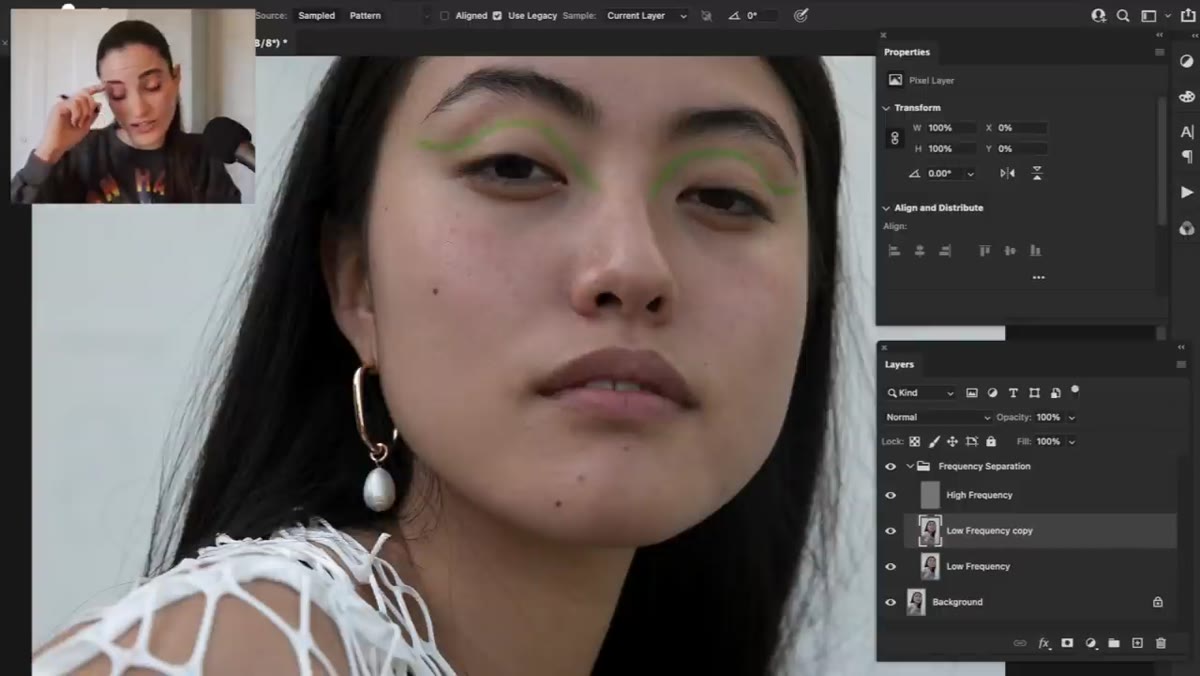
Before any healing or smoothing begins, Jessica applies a frequency separation action to the file. If you haven’t built one yet, the short version is this: frequency separation splits the image onto two layers. The low-frequency layer holds color and tone. The high-frequency layer holds texture and detail. Working on them independently is what lets us smooth skin without wiping out the pores underneath.
Frequency separation action applied to portrait in Photoshop
Before any healing or smoothing begins, Jessica applies a frequency separation action to the file. If you haven’t built one yet, the short version is this: frequency separation splits the image onto two layers. The low-frequency layer holds color and tone. The high-frequency layer holds texture and detail. Working on them independently is what lets us smooth skin without wiping out the pores underneath.
Set this up as a Photoshop action so you’re not rebuilding it every session. I have mine saved under the name “Chinatown” because I name all my actions after movies and it keeps things fun. The key settings when building the action: use Apply Image with the low-frequency layer blurred (Gaussian Blur, typically 2-4 pixels for beauty work), then subtract and scale the result to isolate texture on the high-frequency layer. Once the action runs, you should see a nearly-grey texture layer on top and a soft, blurry color layer underneath.
Step 2: Work the High-Frequency Layer to Fix Texture Inconsistencies
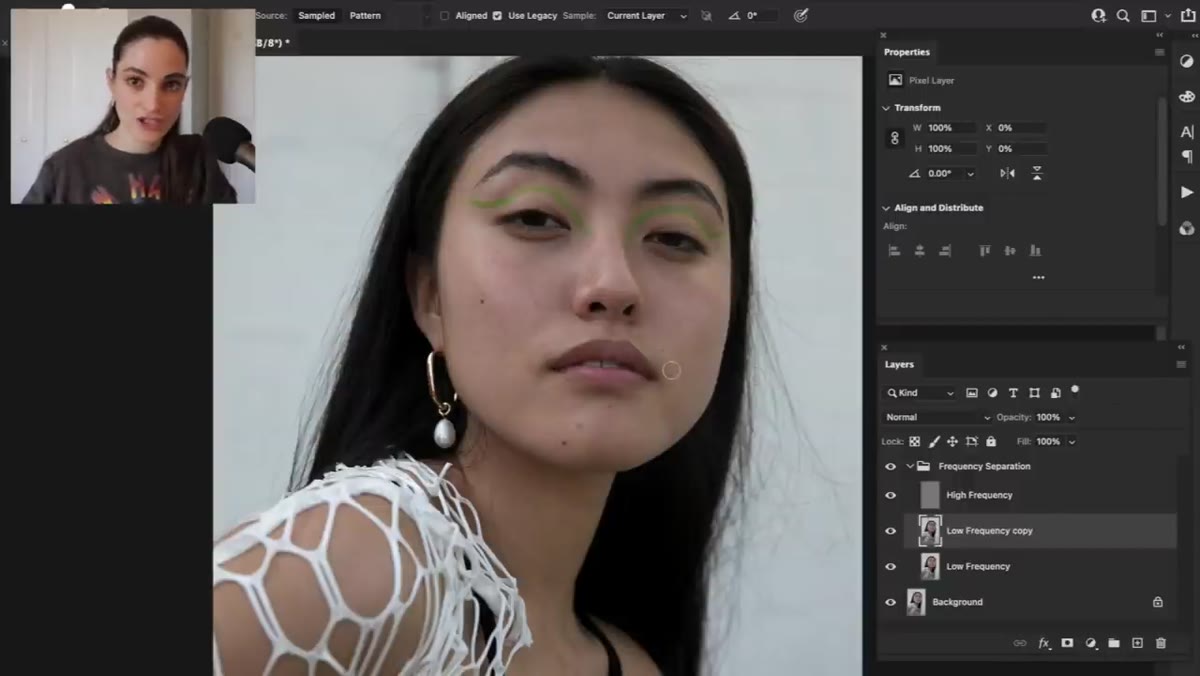 High-frequency texture layer selected in Photoshop layers panel
With the high-frequency layer selected, use the Clone Stamp tool at low opacity to even out texture that looks dramatically different from one area of skin to the next. The goal here is not to remove texture. It’s to make it consistent. Skin that has smooth patches next to rough patches reads as retouched even if nothing else was touched. Sampling from nearby skin keeps the direction and scale of the texture believable.
High-frequency texture layer selected in Photoshop layers panel
With the high-frequency layer selected, use the Clone Stamp tool at low opacity to even out texture that looks dramatically different from one area of skin to the next. The goal here is not to remove texture. It’s to make it consistent. Skin that has smooth patches next to rough patches reads as retouched even if nothing else was touched. Sampling from nearby skin keeps the direction and scale of the texture believable.
Work in short strokes. Reset your sample point often. I use a brush hardness around 50 percent and keep my opacity under 30 percent so I’m building the correction gradually. If you can see exactly what you did in a single stroke, you went too hard.
Step 3: Smooth Tone and Color on the Low-Frequency Layer
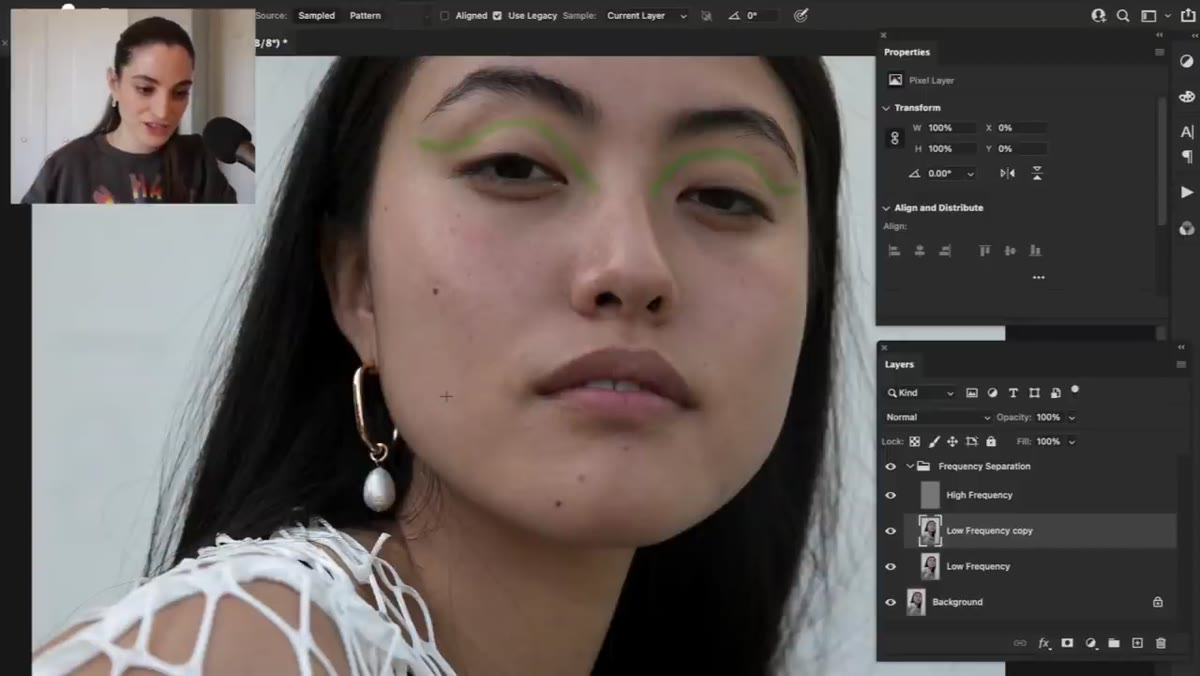 Low-frequency color layer showing blurred skin tones
Switch to the low-frequency layer. This is where you address blotchiness, redness, and uneven skin tone without touching the texture you just worked on. Use the Mixer Brush or a large, soft Clone Stamp to blend areas of color together. You’re essentially painting tone across the skin the way a makeup artist would blend foundation, working outward from the center of any problem area.
Low-frequency color layer showing blurred skin tones
Switch to the low-frequency layer. This is where you address blotchiness, redness, and uneven skin tone without touching the texture you just worked on. Use the Mixer Brush or a large, soft Clone Stamp to blend areas of color together. You’re essentially painting tone across the skin the way a makeup artist would blend foundation, working outward from the center of any problem area.
Keep checking by toggling the high-frequency layer on and off. It’s easy to over-blend the low-frequency layer because it looks so smooth without the texture sitting on top of it. If you toggle back and something looks greasy or flat, pull back. The two layers have to work together, and the texture layer will reveal any sins.
Step 4: Dodge and Burn for Dimension
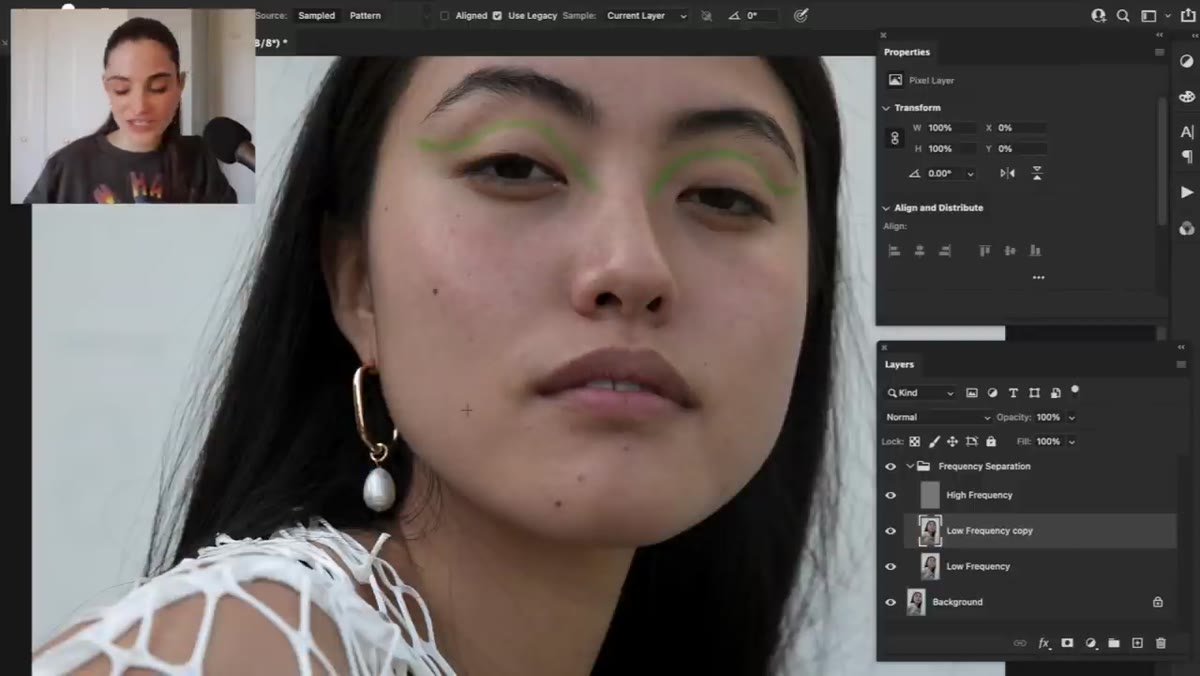 Dodge and Burn layer added above frequency separation layers
Once the skin is evened out, a portrait can start to look a little flat. Jessica brings dimension back with a dedicated Dodge and Burn layer. Create a new layer, fill it with 50 percent grey, set the blending mode to Soft Light, and paint with a soft white brush at very low opacity (3-5 percent) to dodge, and a soft black brush to burn.
Dodge and Burn layer added above frequency separation layers
Once the skin is evened out, a portrait can start to look a little flat. Jessica brings dimension back with a dedicated Dodge and Burn layer. Create a new layer, fill it with 50 percent grey, set the blending mode to Soft Light, and paint with a soft white brush at very low opacity (3-5 percent) to dodge, and a soft black brush to burn.
Follow the natural light in the image. Wherever the light source is already catching a plane of the face, a little dodging emphasizes it. Wherever there’s natural shadow under the cheekbone or along the jaw, a little burning deepens it. This is the step that makes a retouch look like the photographer just got perfect light rather than like someone spent an hour in Photoshop.
Step 5: Final Skin Check on a Merged Layer
 Zoomed-out view of retouched portrait for final review
Before moving to any color work or final adjustments, Jessica steps back for a full-image skin check. Merge a flattened copy to a new layer at the top of your stack (Ctrl+Alt+Shift+E on Windows, Cmd+Option+Shift+E on Mac) and zoom out to roughly 50 percent. Skin problems that disappear at 100 percent zoom will reappear at print size, and problems you missed at 100 percent will jump out at 50 percent.
Zoomed-out view of retouched portrait for final review
Before moving to any color work or final adjustments, Jessica steps back for a full-image skin check. Merge a flattened copy to a new layer at the top of your stack (Ctrl+Alt+Shift+E on Windows, Cmd+Option+Shift+E on Mac) and zoom out to roughly 50 percent. Skin problems that disappear at 100 percent zoom will reappear at print size, and problems you missed at 100 percent will jump out at 50 percent.
Look for tonal bands, unnatural smoothness along jaw edges, or any areas where texture suddenly stops. Mark them with the notes tool or a quick red brush stroke on a separate layer, then zoom back in and fix. This review pass has saved me from embarrassing deliverables more times than I can count.
What I’d Add from My Own Workflow
Jessica’s workflow is clean and efficient, which is exactly what you need when you’re retouching regularly for clients. The one thing I layer on top of this approach is a luminosity mask pass before the dodge and burn step. Specifically, I’ll pull a highlights luminosity mask and use it to target my dodging so I’m only brightening areas that already have light hitting them. It keeps the dimension from looking painted and gives the skin a more natural glow, which matters especially in beauty work where the final image is scrutinized at large sizes.
If you’re newer to luminosity masks, Photoshop’s Select menu under “Color Range” with the Highlights option is a decent starting point. There are also panel-based tools like Lumenzia that make the selection process faster once you’re ready to invest in them.
The single thing worth carrying out of this tutorial is the discipline of separating texture from tone before you touch anything. Most over-retouched skin fails because someone tried to fix color and texture at the same time with one blurry brush, and the skin lost what made it look real. Frequency separation forces you to solve those problems separately, and when you do, the results hold up at every zoom level and in every viewing context.
Watch the full tutorial on YouTube and watch how Jessica makes decisions in real time. The technique is teachable. The judgment is what you pick up from watching someone experienced move through a file.
Comments
Leave a Comment