Hair Retouching in Portrait Photography: My Step-by-Step Approach
Hair retouching intimidates a lot of my clients when they first come to me. I get it—it’s detailed work that can quickly look overdone if you’re not careful. But I promise you, once we break this down into manageable steps, you’ll find it’s one of the most rewarding parts of portrait editing. Let me walk you through exactly how I approach every hair retouching project.
Why Hair Matters More Than You Think
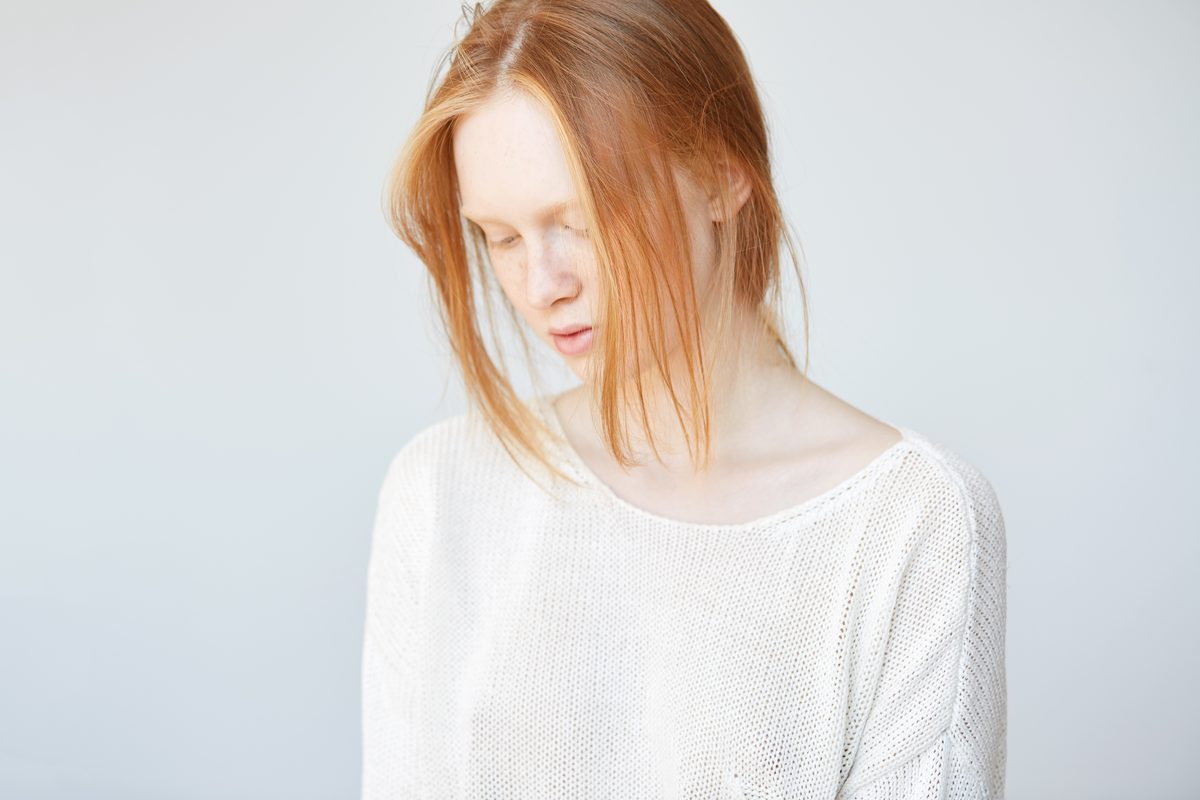
Before we get technical, let’s talk about why we’re even doing this. Hair frames the face and sets the mood of your portrait. A stray flyaway or dull-looking strands can pull attention away from the eyes and skin you’ve already spent time perfecting. When we retouch hair thoughtfully, we’re not changing the subject—we’re simply cleaning up what the camera captured and enhancing what’s already there.
Start With Non-Destructive Editing
I always begin on a new layer. I create a duplicate of my background layer and label it “Hair Retouch” so I can toggle it on and off to compare my work. This is non-negotiable for me. If something goes wrong, I haven’t touched my original image.
For most of my work, I use Photoshop’s Clone Stamp tool set to “Content-Aware” with about 30-40% opacity. This lets me build up corrections gradually rather than making one heavy-handed pass. I find this creates more natural results than aggressive single strokes.
The Three-Phase Approach I Use
Phase One: Remove Distractions
First, I identify what needs to go. Flyaways, stray hairs across the face, lint, and dandruff are my targets here. I zoom to 100% magnification and work section by section. I sample from clean hair areas nearby—never from a spot that looks damaged or thin. The goal is invisibility. If someone can see the retouching, I haven’t done it right.
Phase Two: Enhance Texture and Dimension
Once distractions are gone, I focus on making the hair look vibrant. If the hair looks flat or dull in certain areas, I use the Dodge tool (set to Midtones, 15-25% exposure) to subtly brighten highlights. Then I use the Burn tool in the same areas to deepen shadows in the hair, creating that dimensional, healthy look.
I do this sparingly. We’re talking 2-3 passes in strategic areas, not overhauling the entire head.
Phase Three: Address Specific Problem Areas
Thin or sparse areas need special attention. Rather than trying to clone in thick coverage (which looks fake), I use a small brush with the Healing tool to even out density. If there’s a bald spot or significant thinning, I sample from a similar-looking area and apply it with very low opacity—sometimes just 10-15%. Multiple light passes always beat one heavy pass.
My Favorite Settings for Consistency
- Clone Stamp Tool: Content-Aware mode, 30% opacity, soft brush with 75% hardness
- Zoom Level: 100% for detailed work, 50% for checking overall balance
- Sample Area: Always slightly offset from the problem area to avoid repeating patterns
The Golden Rule: Step Back Often
Every few minutes, I zoom out to 50% and assess the whole head. This prevents me from getting lost in details and over-retouching. I also compare with the original by toggling my layer on and off. If the difference is subtle but positive, I’m on the right track.
Wrapping Up
Hair retouching doesn’t require special talent—it requires patience and the right approach. We’re not transforming hair; we’re refining what’s already there. Take your time, work in layers, and remember that less is almost always more.
What hair challenges do you face most often? I’d love to hear what brings you here, and I’m always happy to troubleshoot specific situations in future posts.
Comments
Leave a Comment