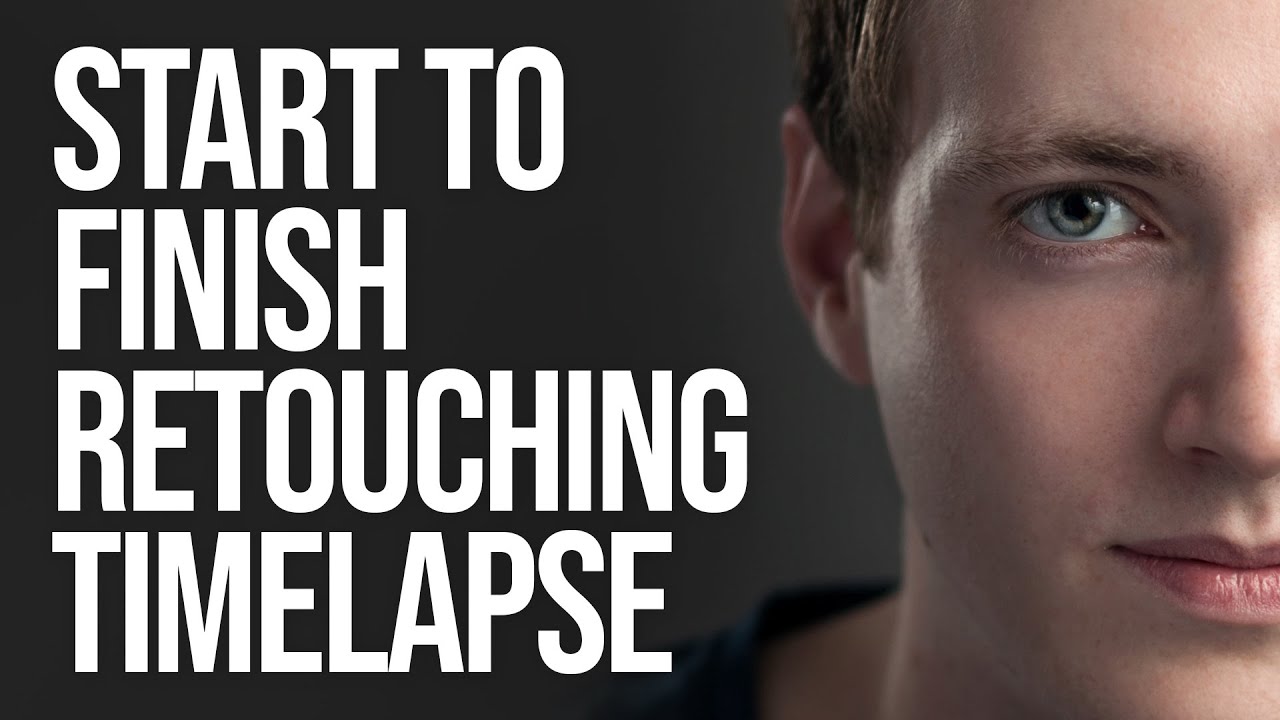
There is a particular kind of client who emails you the morning after delivery to say the portraits look “a little overdone.” I got that email early in my retouching career, and it stung more than I want to admit. The problem was not that I was working too hard on the skin. The problem was that I had no real workflow. I was just pushing sliders around until something looked smooth, and smooth is not the same as natural. What I needed was to watch someone methodical, someone who treated retouching like a craft with a deliberate sequence, and then actually break apart what they were doing step by step.
Watch the full tutorial on YouTube
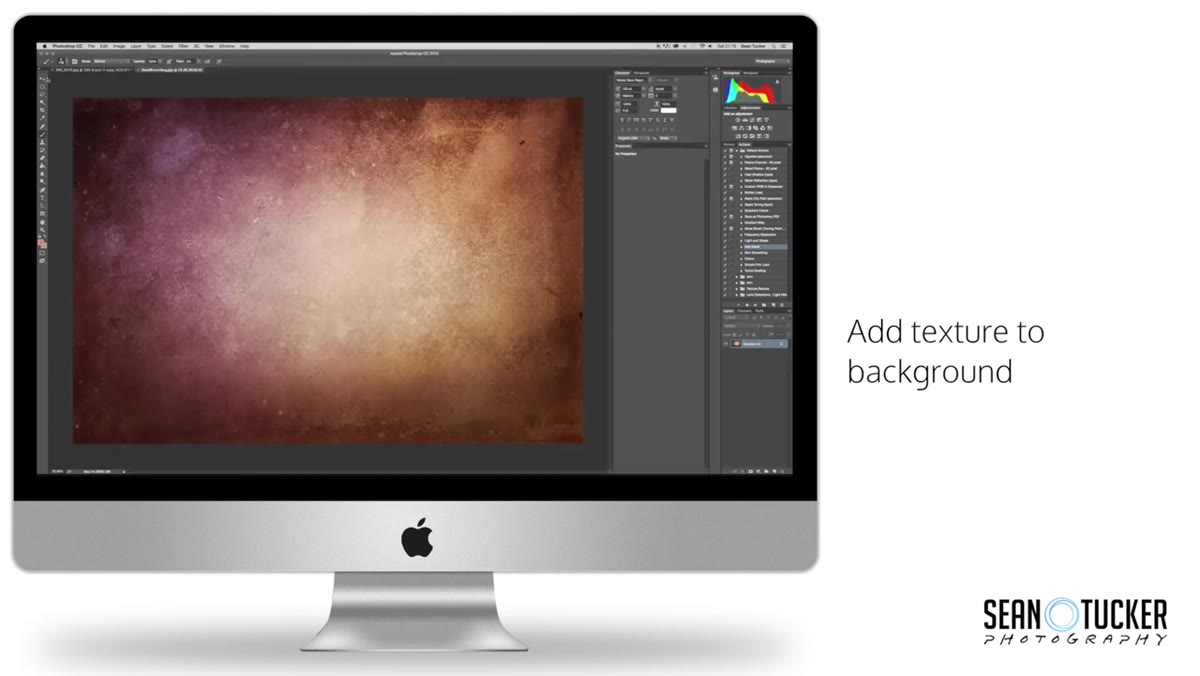
In this Sean Tucker tutorial, the work is presented as a timelapse, which means you are watching the full arc of a professional headshot retouch compressed into a few minutes. That format is genuinely useful because you see the order of decisions, not just the final result. Tucker is a photographer and educator whose work tends to be thoughtful rather than flashy, and his retouching philosophy reflects that. Below, I have pulled apart what is happening on screen and rebuilt it as a step-by-step guide you can sit down and actually follow.
Step 1: Assess the Image Before Touching Anything
 Raw portrait open in Photoshop before any editing begins
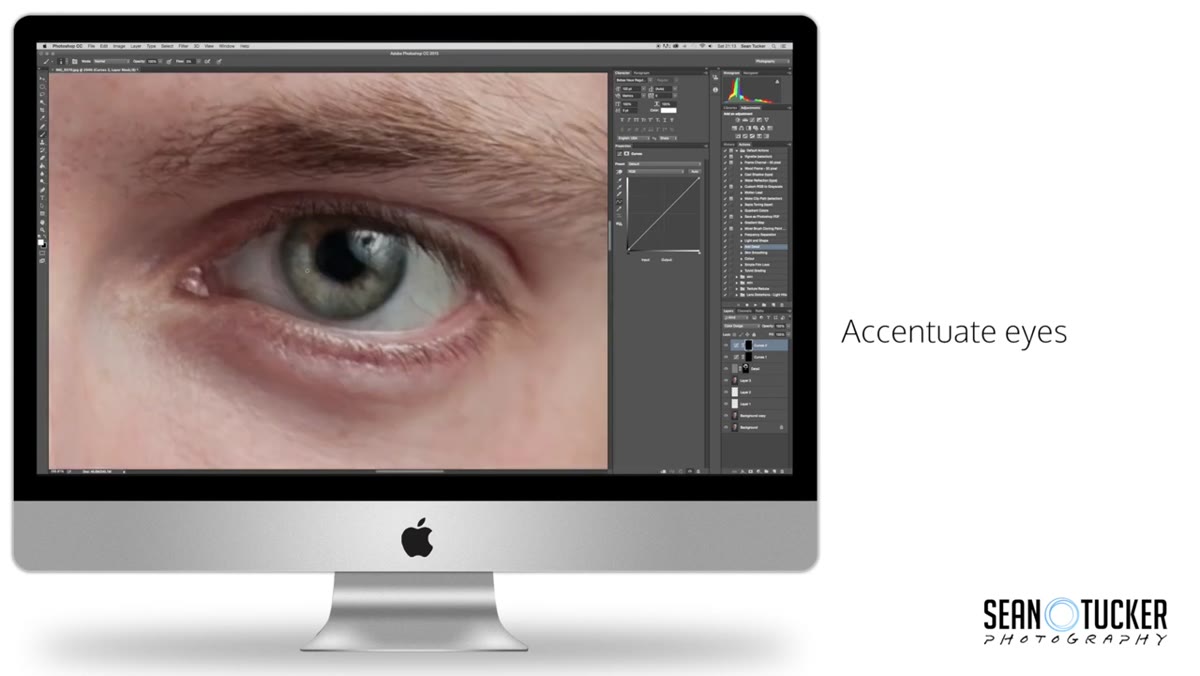
Before a single adjustment layer gets added, we need to look. Open your image and zoom to 100 percent. Study the skin in good light. Where are the actual problem areas, and where is your eye just being hypercritical? I use this moment to make a mental (or literal) list: uneven skin tone across the forehead, a catchlight that needs cleaning up, a stray hair crossing the eye. When you know what you are fixing, you stop fixing things that were never broken. This is the step that prevents the “plastic” look, because you are targeting specific issues rather than globally smoothing everything into oblivion.
Raw portrait open in Photoshop before any editing begins
Before a single adjustment layer gets added, we need to look. Open your image and zoom to 100 percent. Study the skin in good light. Where are the actual problem areas, and where is your eye just being hypercritical? I use this moment to make a mental (or literal) list: uneven skin tone across the forehead, a catchlight that needs cleaning up, a stray hair crossing the eye. When you know what you are fixing, you stop fixing things that were never broken. This is the step that prevents the “plastic” look, because you are targeting specific issues rather than globally smoothing everything into oblivion.
Step 2: Duplicate Your Background Layer and Set Up a Non-Destructive Structure
 Layers panel showing background layer being duplicated
Always work on a copy. Duplicate your background layer immediately (Cmd/Ctrl + J) and label it clearly. From here, the goal is to keep every major category of work on its own layer or layer group. Think of it as separating your concerns: one group for overall tone and color, one for skin texture work, one for cleanup. This structure means you can dial back any single element without starting over. Watching Tucker’s timelapse, you can see the layers panel building out methodically, which is a signal that the organization is deliberate from the very first move.
Layers panel showing background layer being duplicated
Always work on a copy. Duplicate your background layer immediately (Cmd/Ctrl + J) and label it clearly. From here, the goal is to keep every major category of work on its own layer or layer group. Think of it as separating your concerns: one group for overall tone and color, one for skin texture work, one for cleanup. This structure means you can dial back any single element without starting over. Watching Tucker’s timelapse, you can see the layers panel building out methodically, which is a signal that the organization is deliberate from the very first move.
Step 3: Global Color and Tone Corrections First
 Curves or Levels adjustment layer being applied to the full image
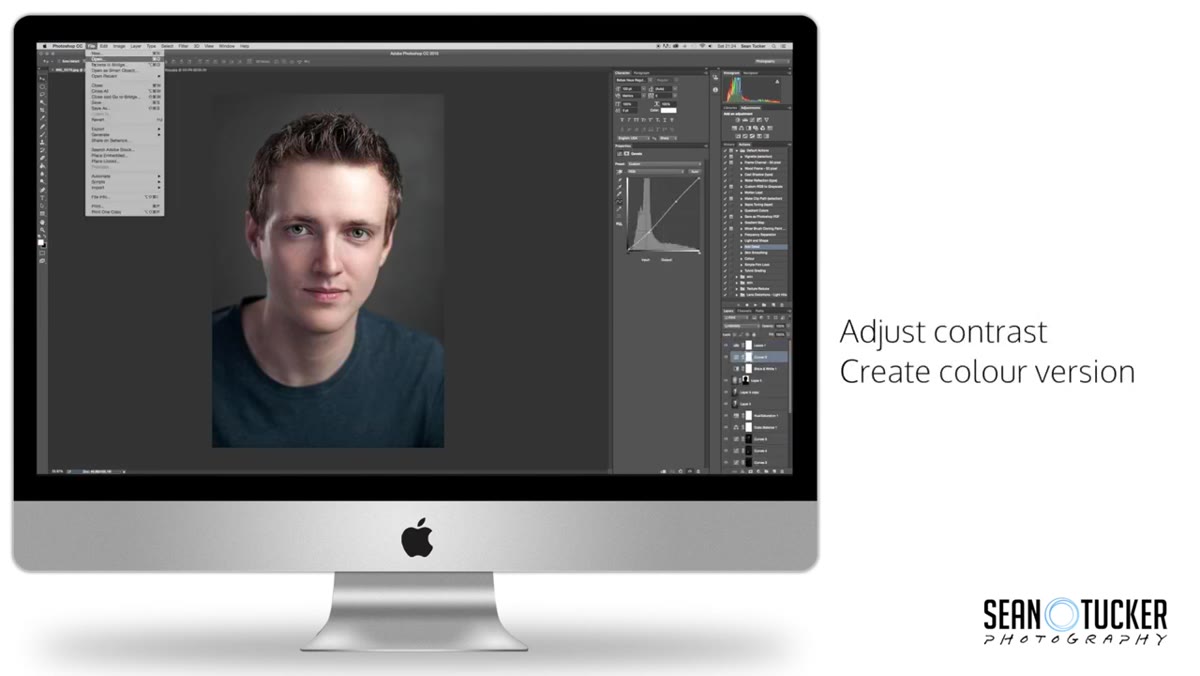
Resist the urge to dive into skin work before the overall exposure and color balance are right. Add a Curves adjustment layer and correct the tonal range so that the shadows have detail, the highlights are not blown, and the midtones feel natural. Then check your white balance. Skin that looks ruddy or too cool is often a color temperature problem, not a skin problem, and if you try to fix it by painting over the complexion, you will make more work for yourself. We fix the global image first, then we address what remains.
Curves or Levels adjustment layer being applied to the full image
Resist the urge to dive into skin work before the overall exposure and color balance are right. Add a Curves adjustment layer and correct the tonal range so that the shadows have detail, the highlights are not blown, and the midtones feel natural. Then check your white balance. Skin that looks ruddy or too cool is often a color temperature problem, not a skin problem, and if you try to fix it by painting over the complexion, you will make more work for yourself. We fix the global image first, then we address what remains.
Step 4: Heal and Clone Out Temporary Blemishes
 Healing Brush tool active, removing blemishes on skin
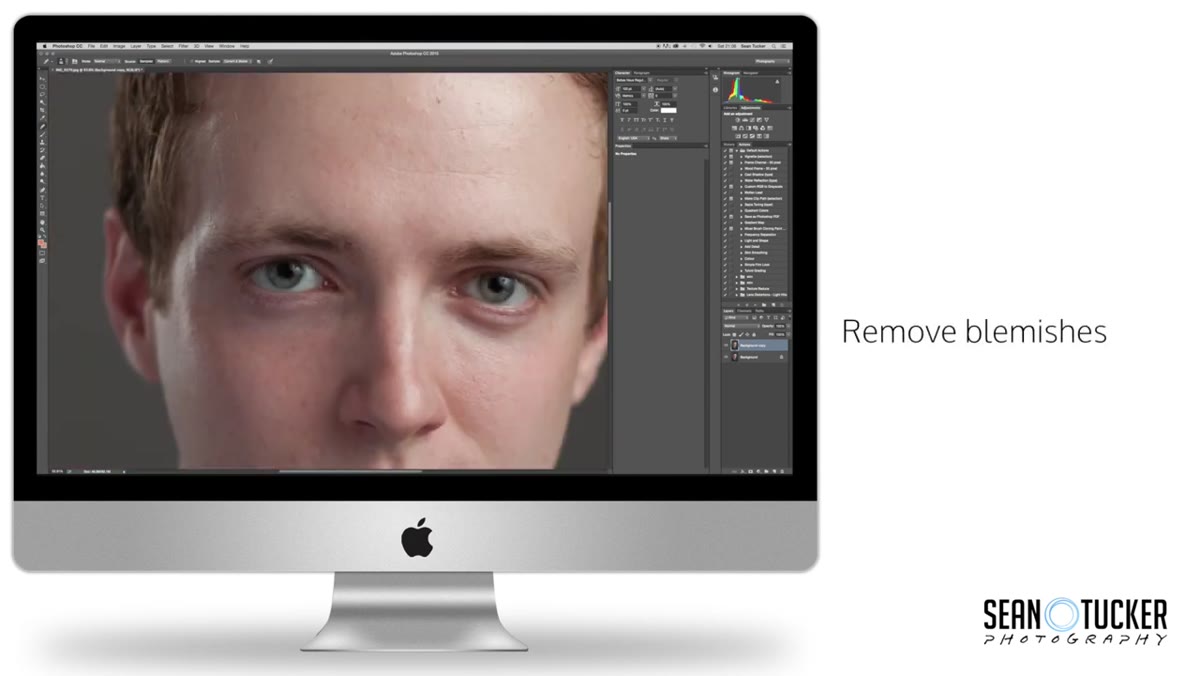
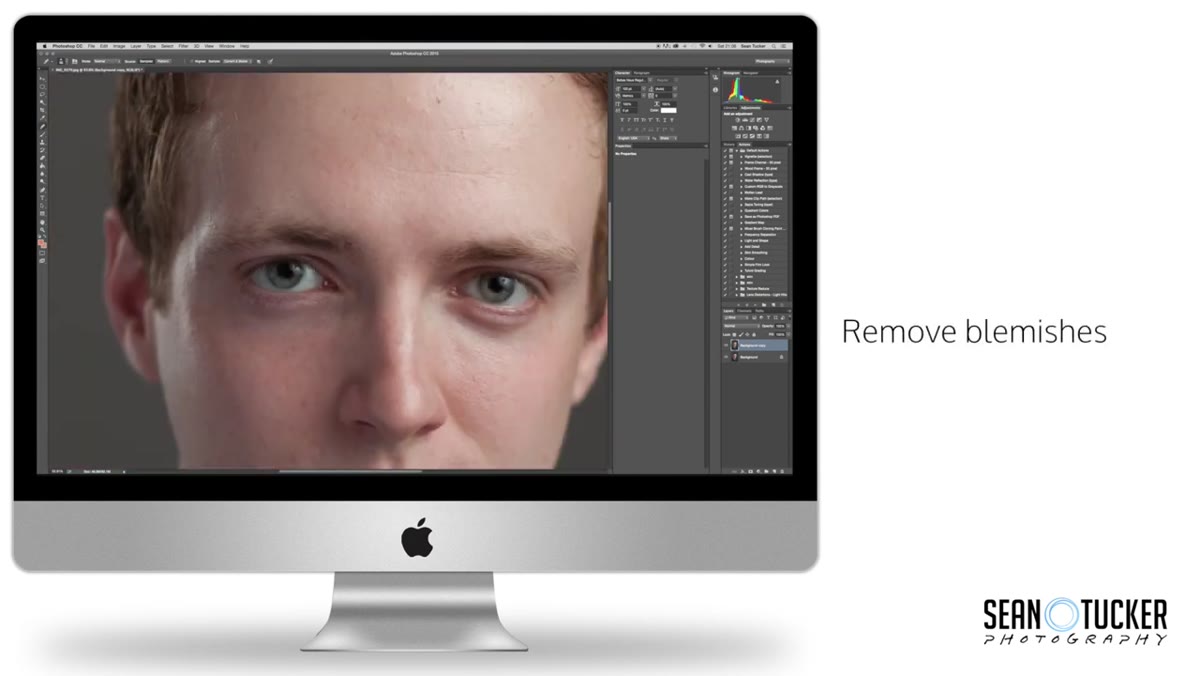
On a new blank layer, use the Healing Brush (not the Spot Healing Brush if you can help it, because you want control over the source point) to remove anything that is temporary: a blemish, a shaving nick, a stray eyelash on the cheek. Set your tool to “Current and Below” so it samples from the layers underneath without flattening your file. Work at a zoom level between 100 and 150 percent. The important distinction here is between temporary features and permanent ones. We remove the blemish. We do not remove the texture, the pores, or the character that makes the face look like a real human being.
Healing Brush tool active, removing blemishes on skin
On a new blank layer, use the Healing Brush (not the Spot Healing Brush if you can help it, because you want control over the source point) to remove anything that is temporary: a blemish, a shaving nick, a stray eyelash on the cheek. Set your tool to “Current and Below” so it samples from the layers underneath without flattening your file. Work at a zoom level between 100 and 150 percent. The important distinction here is between temporary features and permanent ones. We remove the blemish. We do not remove the texture, the pores, or the character that makes the face look like a real human being.
Step 5: Frequency Separation for Skin Evening
 Frequency separation layers set up, painting on low-frequency layer
This is where a lot of retouchers either do their best work or go too far. Frequency separation splits your image into two layers: one that holds texture (the high-frequency layer) and one that holds color and tone (the low-frequency layer). You work on each independently. On the low-frequency layer, use a soft brush at low opacity, sampling nearby skin tones, to blend out uneven patches of color. You are essentially evening out the underlying canvas without disturbing the texture that sits above it. If you paint on the wrong layer, you will either smear the texture or leave the color unevenly patchy. Take your time here. Subtle strokes. Multiple passes.
Frequency separation layers set up, painting on low-frequency layer
This is where a lot of retouchers either do their best work or go too far. Frequency separation splits your image into two layers: one that holds texture (the high-frequency layer) and one that holds color and tone (the low-frequency layer). You work on each independently. On the low-frequency layer, use a soft brush at low opacity, sampling nearby skin tones, to blend out uneven patches of color. You are essentially evening out the underlying canvas without disturbing the texture that sits above it. If you paint on the wrong layer, you will either smear the texture or leave the color unevenly patchy. Take your time here. Subtle strokes. Multiple passes.
Step 6: Dodge and Burn for Dimension and Final Sculpting
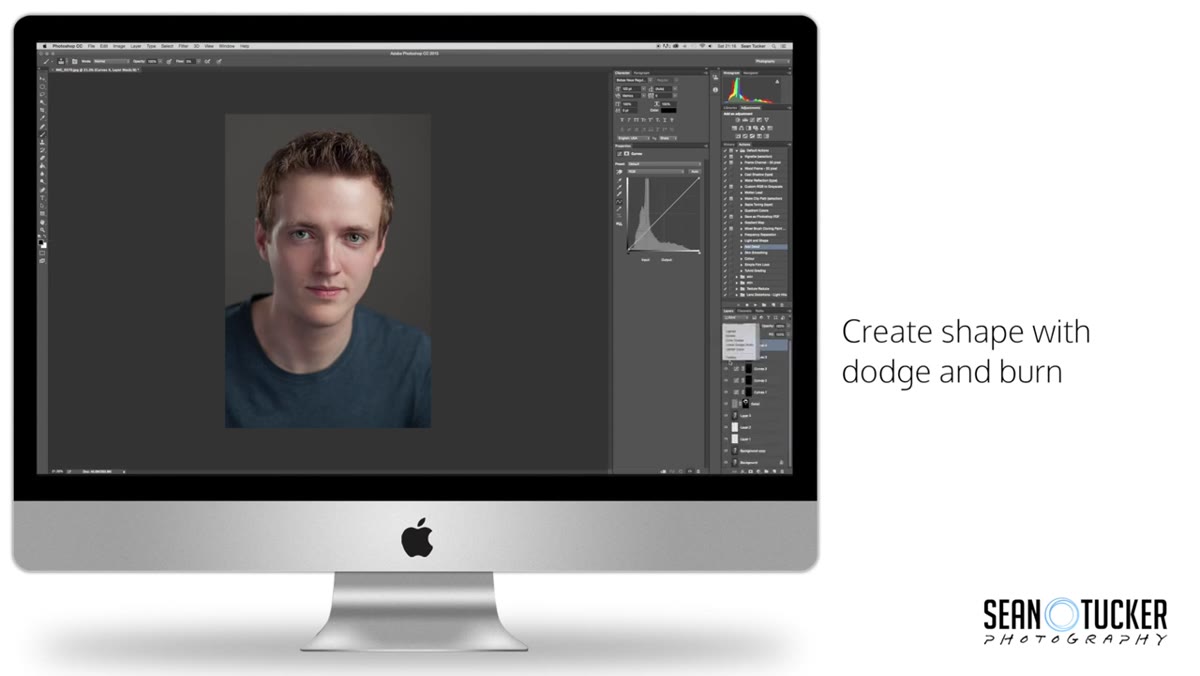
 Dodge and Burn on a gray overlay layer, refining facial structure
Create a new layer, fill it with 50 percent gray, and set the blend mode to Soft Light. Now use the Dodge and Burn tools at a very low exposure (3 to 7 percent) to gently sculpt light and shadow. This is not about changing the shape of someone’s face. It is about cleaning up the micro-contrast so the skin reads as healthy and three-dimensional rather than flat. Brighten the areas that would naturally catch light. Deepen areas where shadow pools. Tucker’s work here is careful and slow, even in timelapse, which tells you something about how much patience this step requires.
Dodge and Burn on a gray overlay layer, refining facial structure
Create a new layer, fill it with 50 percent gray, and set the blend mode to Soft Light. Now use the Dodge and Burn tools at a very low exposure (3 to 7 percent) to gently sculpt light and shadow. This is not about changing the shape of someone’s face. It is about cleaning up the micro-contrast so the skin reads as healthy and three-dimensional rather than flat. Brighten the areas that would naturally catch light. Deepen areas where shadow pools. Tucker’s work here is careful and slow, even in timelapse, which tells you something about how much patience this step requires.
Step 7: Final Check With a Zoom-Out and Saturation Review
Before you call it done, zoom out to see the portrait at roughly the size a viewer will actually see it. Add a temporary Hue/Saturation adjustment layer, crank the Saturation up by about 50 points, and look hard at the skin. Over-retouched areas often reveal themselves as weirdly uniform patches when saturation is boosted. If you see them, go back and soften your earlier work. Then delete the adjustment layer and do one final check at 100 percent. If the skin still has pores, the eyes still have depth, and the person in the image still looks like themselves, you are done.
What I Add to This Workflow
One thing I have built into my own process that is not explicit in the timelapse is a before/after toggle check every 15 minutes or so. I use a simple action (mine is called “The Shining,” because all my actions are named after movies) that toggles visibility on all my working layers so I can see the original image. It is very easy to drift when you are zoomed in for an hour. Pulling back to compare against the original recalibrates your eye and, more than once, has saved me from delivering something that looked overcooled or over-smoothed without me realizing it.
The single most valuable thing a timelapse like this teaches us is sequence. Good retouching is not a collection of tricks. It is a series of decisions made in the right order, each one building on the last. Global corrections before local ones. Cleanup before texture work. Sculpting after everything else is settled. Get the order right, and the final image tends to take care of itself.
Watch the full tutorial on YouTube and watch the layers panel as much as you watch the image. That is where the real lesson is.
Comments (2)
Bookmarked. Coming back to this one for sure.
Great article! I actually covered something related on my site — the landscape angle is really complementary to this.
Leave a Comment