Most retouching tutorials assume a narrow range of skin types — usually fair to medium-toned, smooth skin. But real clients come with every possible combination of skin tone, texture, and type. Your retouching approach needs to adapt.
Here’s what I’ve learned from retouching portraits across a wide range of skin types.
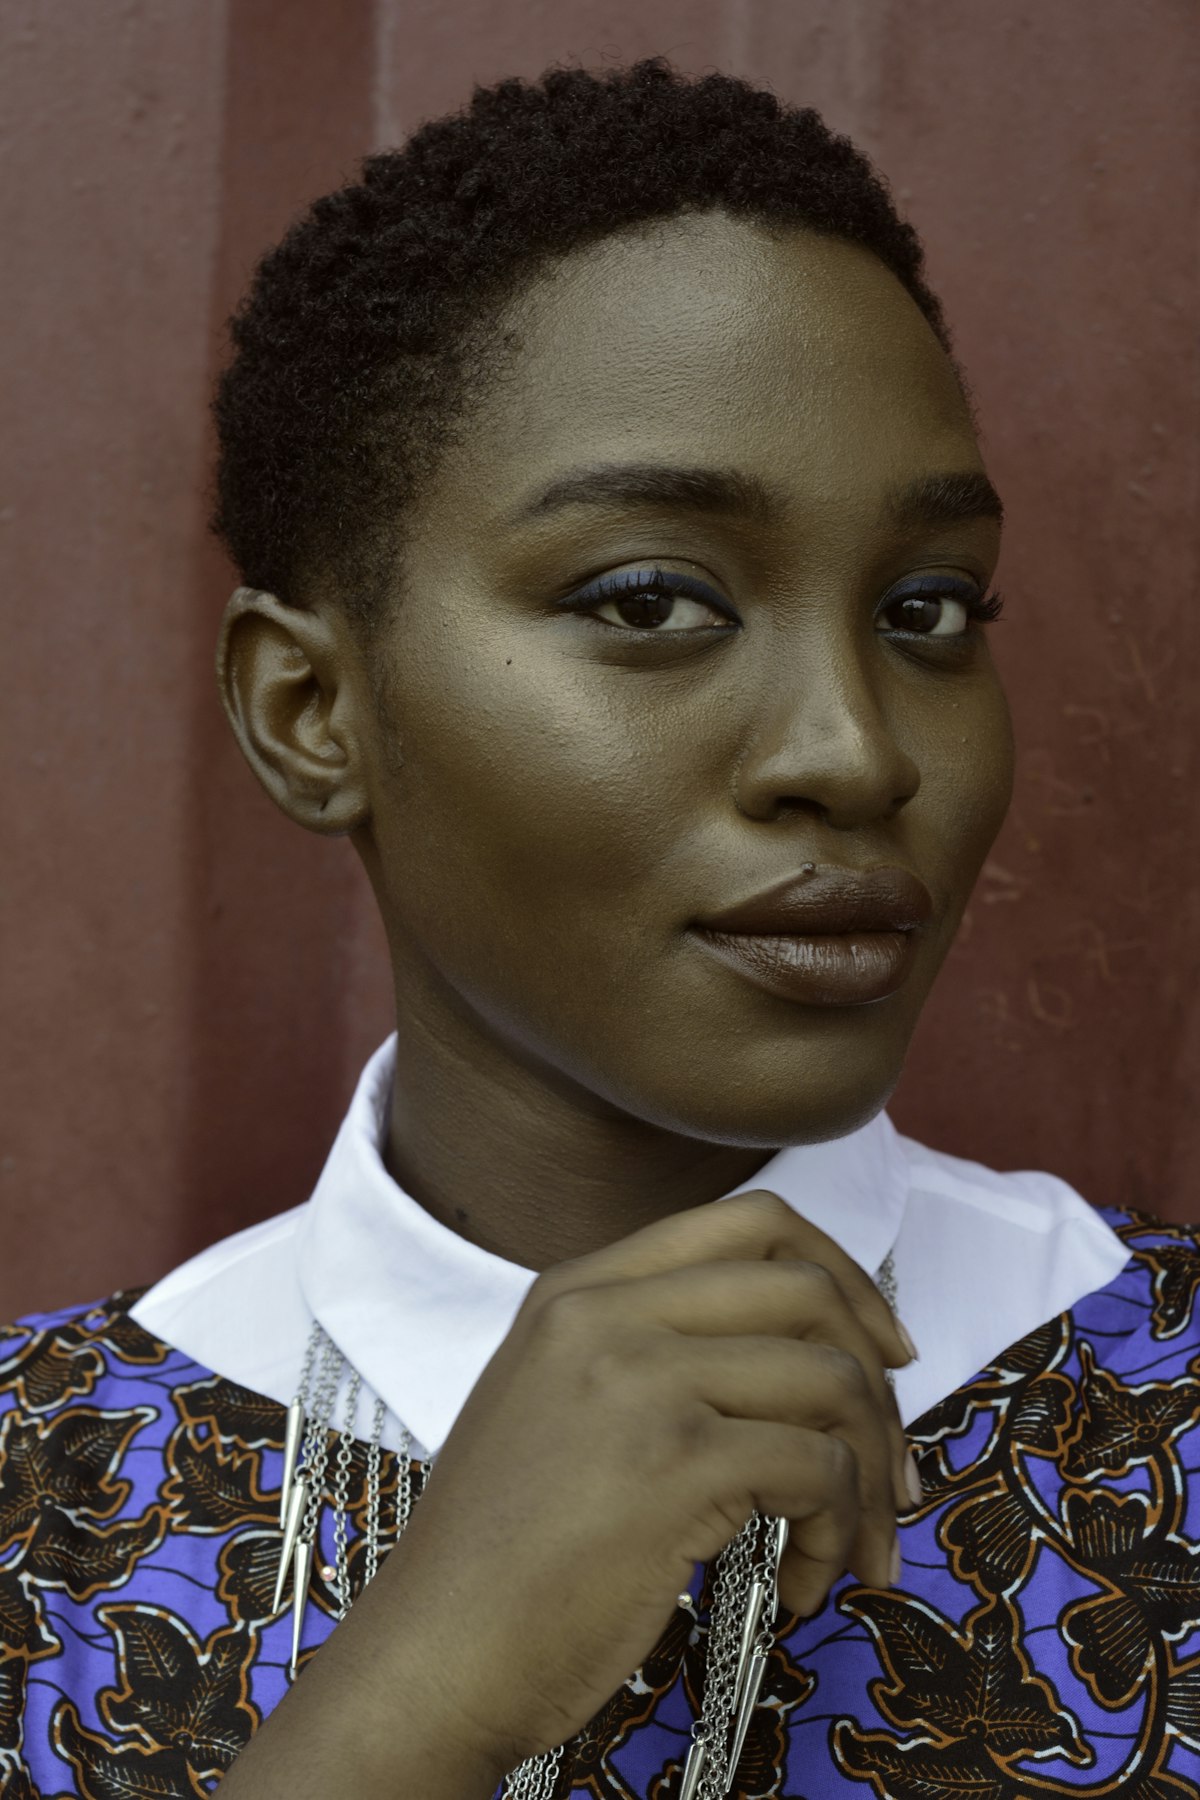
Darker Skin Tones
Darker skin has unique characteristics that affect how you retouch.
Specular highlights are more visible. Darker skin reflects light differently, creating stronger, more distinct highlights especially on the forehead, nose, and cheekbones. Don’t automatically flatten these — they add dimension and richness. If they’re too strong, reduce them with a targeted burn pass rather than eliminating them.
Color correction needs care. The biggest technical mistake retouchers make with dark skin is shifting it toward gray or desaturated tones. Dark skin has rich undertones — red, golden, blue-brown — that should be preserved. When you’re doing frequency separation or color correction, constantly check that you’re maintaining the warmth and depth of the original tone.
Monitor calibration is critical. Many monitors don’t accurately display the subtle tonal differences in darker skin. If your monitor isn’t calibrated, you might be making destructive edits without realizing it. At minimum, check your work on multiple screens.
Very Fair Skin
Fair skin presents different challenges.
Redness is more visible. Blood vessels, flushing, and rosacea show more prominently on fair skin. You’ll likely spend more time on color correction — specifically, neutralizing unwanted red and pink tones.
Veins can show through. Under-eye veins, temple veins, and neck veins are often visible in fair-skinned subjects. The Color blend mode technique works well here: sample nearby skin and paint over the vein at low opacity.
Overexposure risk. Fair skin can lose texture in highlights very easily. Check your texture layer carefully in the brightest areas of the face.
Oily vs Dry Skin
Oily skin produces strong specular highlights and visible pores. When retouching oily skin:
- Reduce shine on a separate layer using the Clone Stamp at low opacity, sampling matte skin areas
- Don’t eliminate all shine — completely matte skin looks powdered and flat
- Pore texture is typically more prominent and should be preserved, not smoothed away
Dry or textured skin may have visible flaking, rough patches, or pronounced lines. This requires a lighter touch:
- Frequency separation with minimal blur radius (4-6 pixels) to avoid smearing texture
- Healing individual flakes rather than blurring over areas
- Careful dodge and burn to minimize the shadow that skin texture catches
Mature Skin
Retouching mature skin is about preserving character while presenting the person at their best.
- Keep wrinkles but reduce their depth by about 30-50% using a dodge pass on the shadows within the lines
- Even out age spots and discoloration on the color layer during frequency separation
- Don’t over-smooth — skin that’s too smooth on a mature face creates an uncanny mismatch between the skin and features like eyes, hair, and bone structure
Skin Conditions
Subjects with acne, rosacea, vitiligo, eczema, or scarring require a conversation before you start retouching. Ask the client what they want. Some people want their skin condition minimized. Others consider it part of their identity and don’t want it touched.
Never assume. Ask clearly and respectfully.
The Universal Rule
Regardless of skin type: always zoom to 100% and check your work against the original. Toggle the before/after. If any area looks plastic, smeared, or tonally shifted from the original, you’ve gone too far. The goal is always the same — the person should look like themselves, just on a great day.
Comments (4)
I tried this on my last shoot and the difference was noticeable immediately.
Tried the first three steps and already saw improvement. Can't wait to nail the rest.
Used this technique for a wedding shoot last week. Client was thrilled.
So well written. You make technical stuff actually enjoyable to read.
Leave a Comment