There’s a moment in almost every beauty retouching project where the background just isn’t working. The studio wall is too flat, the location shot has distracting elements, and stock photos feel like stock photos no matter how well you blend them. I spent a long time solving this problem with Photoshop alone, layering textures and painting light, and the results were fine. Fine is not what we’re going for. What I actually wanted were environments that felt cinematic, dimensional, and completely under my control. That’s what pulled me toward 3D.
I’ll be honest: I resisted it for years. Blender has a learning curve that felt steep when I was already juggling client deadlines and workshop prep. Then I came across Watch the full tutorial on YouTube from photographer and digital artist Serge Ramelli, and something clicked. His approach to Unreal Engine 5 is genuinely beginner-friendly, and more importantly, it’s fast. The kind of fast that fits into a freelance workflow.
What follows is my breakdown of his tutorial, translated for people who come from a photography and retouching background rather than a game development one. If you’ve never opened a 3D application in your life, this is a reasonable place to start.
Step 1: Create Your Epic Games Account and Download the Launcher
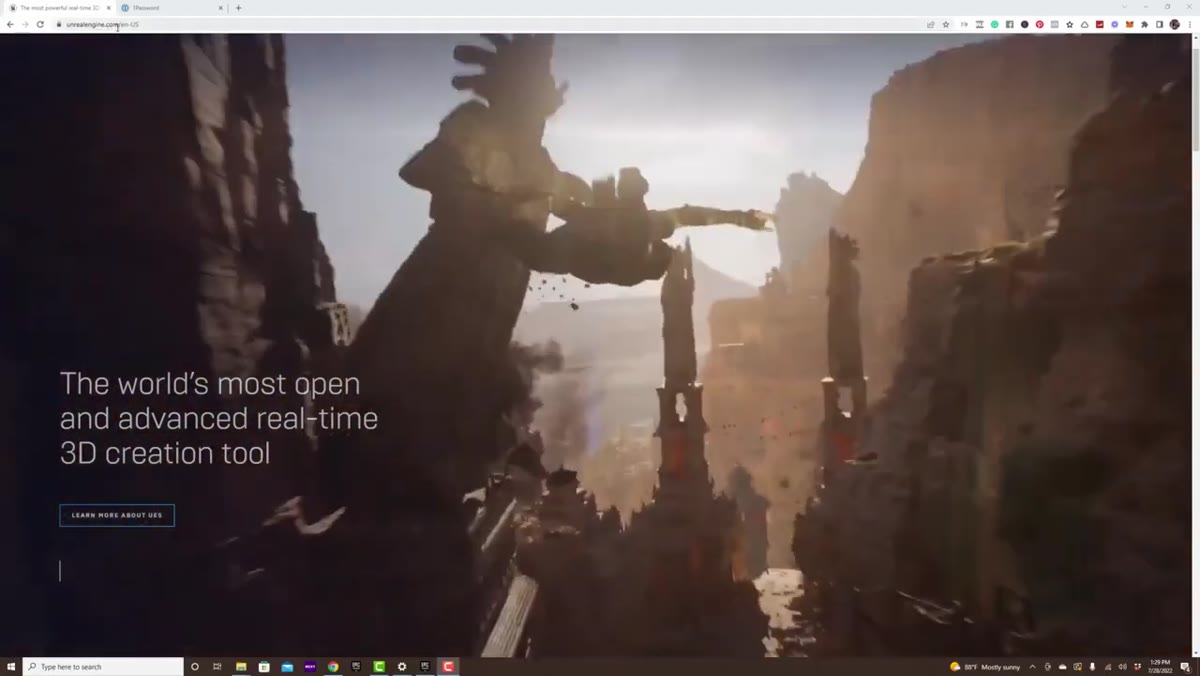 Epic Games website showing download button for launcher
Before anything else, head to unrealengine.com and create a free Epic Games account. Serge makes an important point here: Unreal Engine is completely free for photographers, retouchers, and anyone creating visual content rather than commercial games. The royalty structure only becomes relevant if you ship a game that earns over a million dollars, which is probably not the immediate concern for most of us compositing beauty shots.
Epic Games website showing download button for launcher
Before anything else, head to unrealengine.com and create a free Epic Games account. Serge makes an important point here: Unreal Engine is completely free for photographers, retouchers, and anyone creating visual content rather than commercial games. The royalty structure only becomes relevant if you ship a game that earns over a million dollars, which is probably not the immediate concern for most of us compositing beauty shots.
Once your account is set up, download the Epic Games Launcher. Think of it like Adobe Creative Cloud - it’s the hub that manages your Unreal Engine installation rather than the software itself. The launcher is a small download; the engine is where you’ll need patience and drive space.
Step 2: Install the Latest Version of Unreal Engine 5
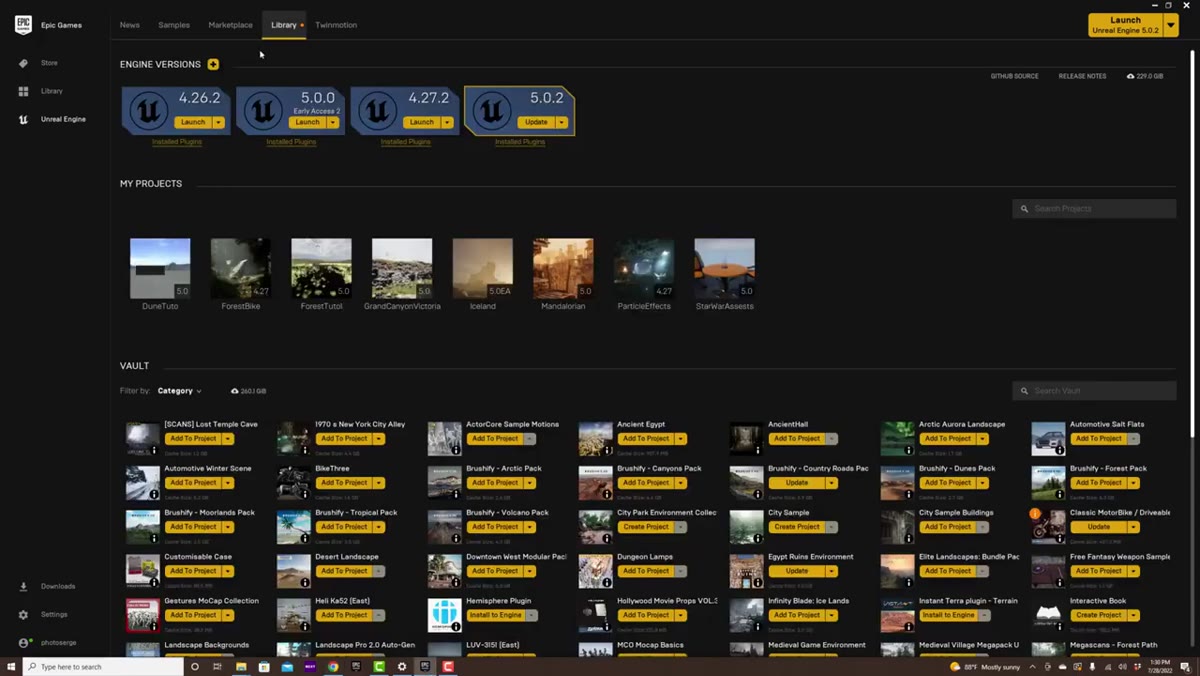 Epic Games Launcher library showing engine version install options
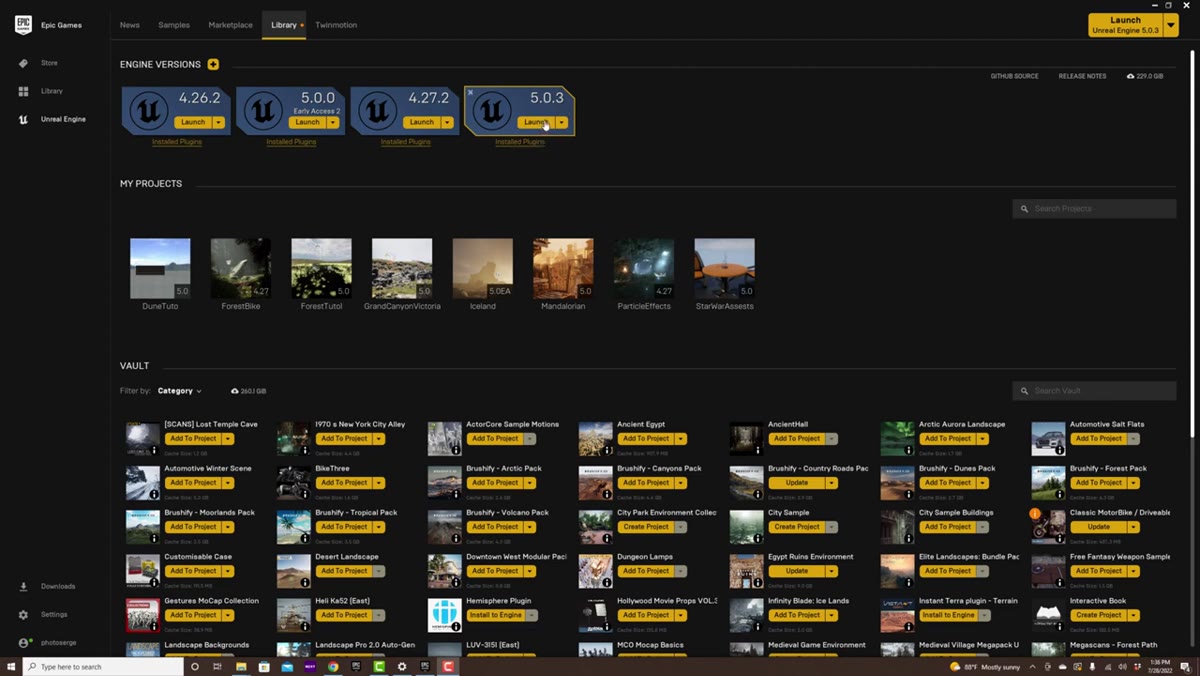
Inside the launcher, navigate to the Library tab. You’ll see an Engine Versions section with a plus button. Click it, and then make sure you select the highest version number available, not whatever defaults in. Serge emphasizes keeping the engine updated, and from a stability standpoint this matters the same way keeping Photoshop current matters - bug fixes and performance improvements are real.
Epic Games Launcher library showing engine version install options
Inside the launcher, navigate to the Library tab. You’ll see an Engine Versions section with a plus button. Click it, and then make sure you select the highest version number available, not whatever defaults in. Serge emphasizes keeping the engine updated, and from a stability standpoint this matters the same way keeping Photoshop current matters - bug fixes and performance improvements are real.
The installation is large, so start it and step away. Use that time to download the starter project files Serge provides under his video. Those files include pre-converted 3D assets and custom dune environments he built specifically for the tutorial scene, and you’ll need them before moving forward.
Step 3: Download and Unzip the Starter Project Files
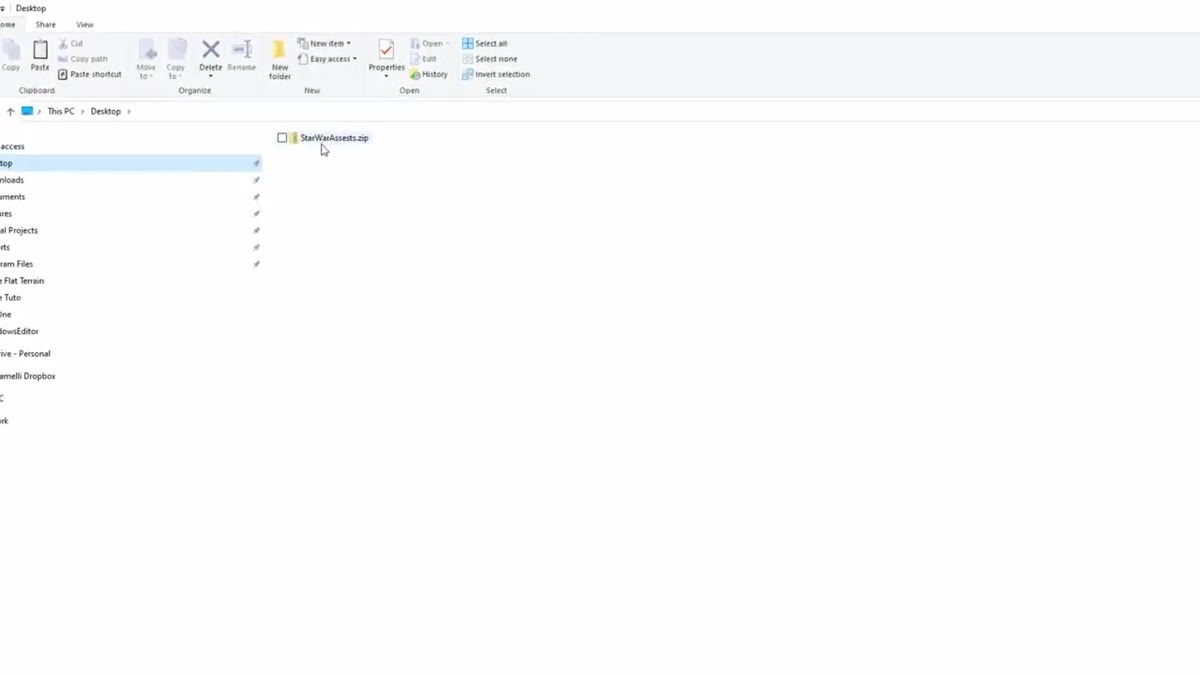 Desktop showing Star Wars asset zip file ready to open
Serge built a complete Star Wars-inspired desert scene as the teaching environment for this tutorial. He sourced a Mandalorian spacecraft model from Sketchfab, converted it into Unreal Engine’s format, re-textured it, and combined it with custom sand dunes created in a specialized landscape tool. All of that work is packaged for you in a zip file linked beneath his video.
Desktop showing Star Wars asset zip file ready to open
Serge built a complete Star Wars-inspired desert scene as the teaching environment for this tutorial. He sourced a Mandalorian spacecraft model from Sketchfab, converted it into Unreal Engine’s format, re-textured it, and combined it with custom sand dunes created in a specialized landscape tool. All of that work is packaged for you in a zip file linked beneath his video.
Download that file to your desktop and unzip it before launching Unreal Engine. Starting from a pre-built scene rather than a blank project is genuinely the right call for beginners. It removes about a dozen intermediate steps and lets you focus on learning navigation, lighting, and rendering rather than asset management. Think of it the way I think about Photoshop templates when I’m teaching workshops: starting with structure means students actually learn the technique instead of spending the session on setup.
Step 4: Open the Project in Unreal Engine
 Unreal Engine launcher with project files ready to open
Rather than launching Unreal Engine and starting a blank project, you’ll open it directly through the downloaded project files. Double-click the project file from your unzipped folder, and Unreal Engine will launch with the desert scene already loaded. The first load can take a few minutes as shaders compile - this is normal and only happens once.
Unreal Engine launcher with project files ready to open
Rather than launching Unreal Engine and starting a blank project, you’ll open it directly through the downloaded project files. Double-click the project file from your unzipped folder, and Unreal Engine will launch with the desert scene already loaded. The first load can take a few minutes as shaders compile - this is normal and only happens once.
When the scene opens, take a moment to orient yourself without touching anything. You’ll see a viewport showing the 3D environment, a content browser at the bottom, and panels on either side. The layout feels unfamiliar if you’re used to Photoshop’s workspace, but the logic is similar: layers become objects, adjustment panels become detail panels, and the canvas becomes a navigable 3D space.
Step 5: Navigate the 3D Viewport
 Unreal Engine viewport displaying the desert dune scene
Navigation in Unreal Engine uses right-click-hold combined with WASD keys to fly through the scene, which Serge walks through early in the tutorial. Hold the right mouse button and use W to move forward, S to move back, A and D to strafe left and right. Scroll wheel adjusts your movement speed, which matters a lot once you’re working in large environments.
Unreal Engine viewport displaying the desert dune scene
Navigation in Unreal Engine uses right-click-hold combined with WASD keys to fly through the scene, which Serge walks through early in the tutorial. Hold the right mouse button and use W to move forward, S to move back, A and D to strafe left and right. Scroll wheel adjusts your movement speed, which matters a lot once you’re working in large environments.
For retouchers coming from a flat-canvas background, this is the biggest mental shift. You’re not moving a brush across a surface - you’re physically moving a camera through a space. Once it clicks, it’s intuitive. Give yourself ten minutes just flying around the scene before trying to change anything.
Step 6: Understand the Scene as a Compositing Playground
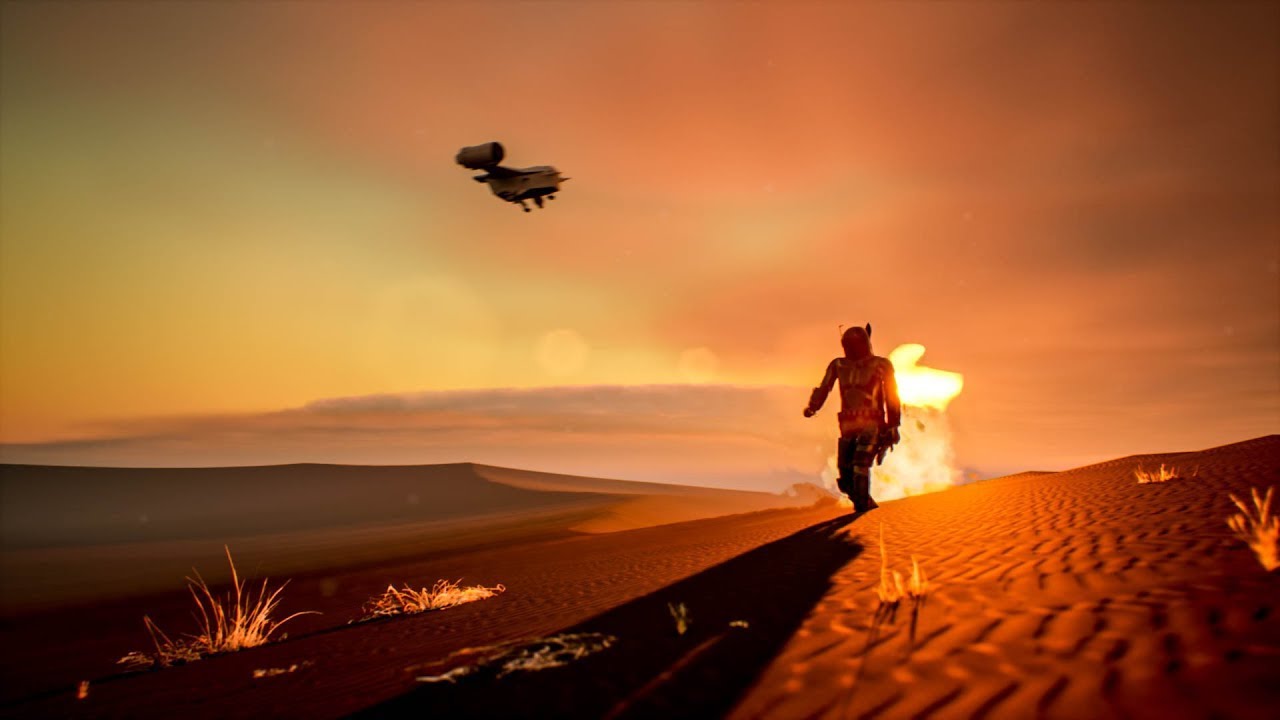
 Completed Star Wars scene showing spaceship, dunes, and dramatic sky
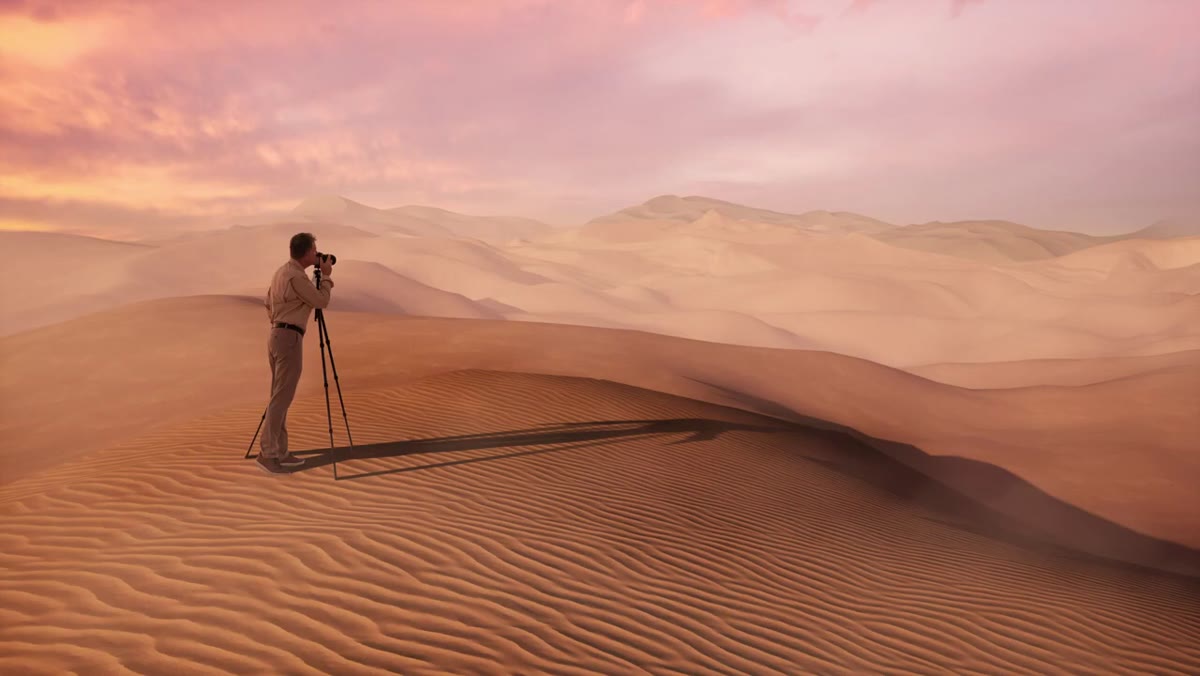
The scene Serge built demonstrates exactly the kind of environment that solves the background problem I described at the start. There’s a spacecraft, layered sand dunes, and a dramatic sky, all rendered in real time. The key insight for photographers is this: Unreal Engine renders light the way real light behaves. Shadows fall correctly, atmospheric haze creates depth, and if you move the sun position, everything in the scene responds.
Completed Star Wars scene showing spaceship, dunes, and dramatic sky
The scene Serge built demonstrates exactly the kind of environment that solves the background problem I described at the start. There’s a spacecraft, layered sand dunes, and a dramatic sky, all rendered in real time. The key insight for photographers is this: Unreal Engine renders light the way real light behaves. Shadows fall correctly, atmospheric haze creates depth, and if you move the sun position, everything in the scene responds.
For beauty compositing, this means you can match the lighting in your 3D background to the lighting on your subject with a level of precision that stock images never allow. You build the background, render a still, bring it into Photoshop, and composite your portrait on top. The result reads as a single image because the physics of the light are consistent.
What I’d Add from My Own Experience
Serge’s tutorial is built around a cinematic scene, but the same workflow applies to simpler environments. My first Unreal experiment after watching this was a plain concrete room with one practical light source - something I could use as a neutral backdrop for editorial beauty work. It took less than an hour to set up using the navigation and scene basics from this tutorial, and it gave me a background I could tweak infinitely without paying for studio time.
If you’re coming from retouching, the other thing worth knowing is that Unreal’s rendered output works beautifully as a starting point for frequency separation work. The texture reads as natural, the tonal range is wide, and it composites cleanly. It doesn’t replace photography, but it extends what’s possible when the shoot didn’t give you everything you needed.
The single most valuable thing Serge communicates in this tutorial is that real-time 3D doesn’t require years of technical study before it becomes useful. Download his starter files, follow the steps, and within an afternoon you’ll have rendered your first environment. That’s a shorter path than I expected, and it’s changed how I approach projects where the background is a problem to solve rather than a given.
Watch the full tutorial on YouTube and download Serge’s starter files from the description beneath his video - the project files are what make this beginner-accessible.
Comments (8)
Shared this with my photography group. Everyone loved it.
I've watched a dozen tutorials on this and yours is the clearest by far.
Well explained. I think my audience would really benefit from this — mind if I link to it?
This should be required reading for anyone starting out.
This is the kind of content that keeps me coming back.
This is going in my reference folder. Incredibly useful.
Would love to see a follow-up going deeper into this topic.
Excellent tutorial. I'd add that from a lighting standpoint, this technique is incredibly versatile.
Leave a Comment