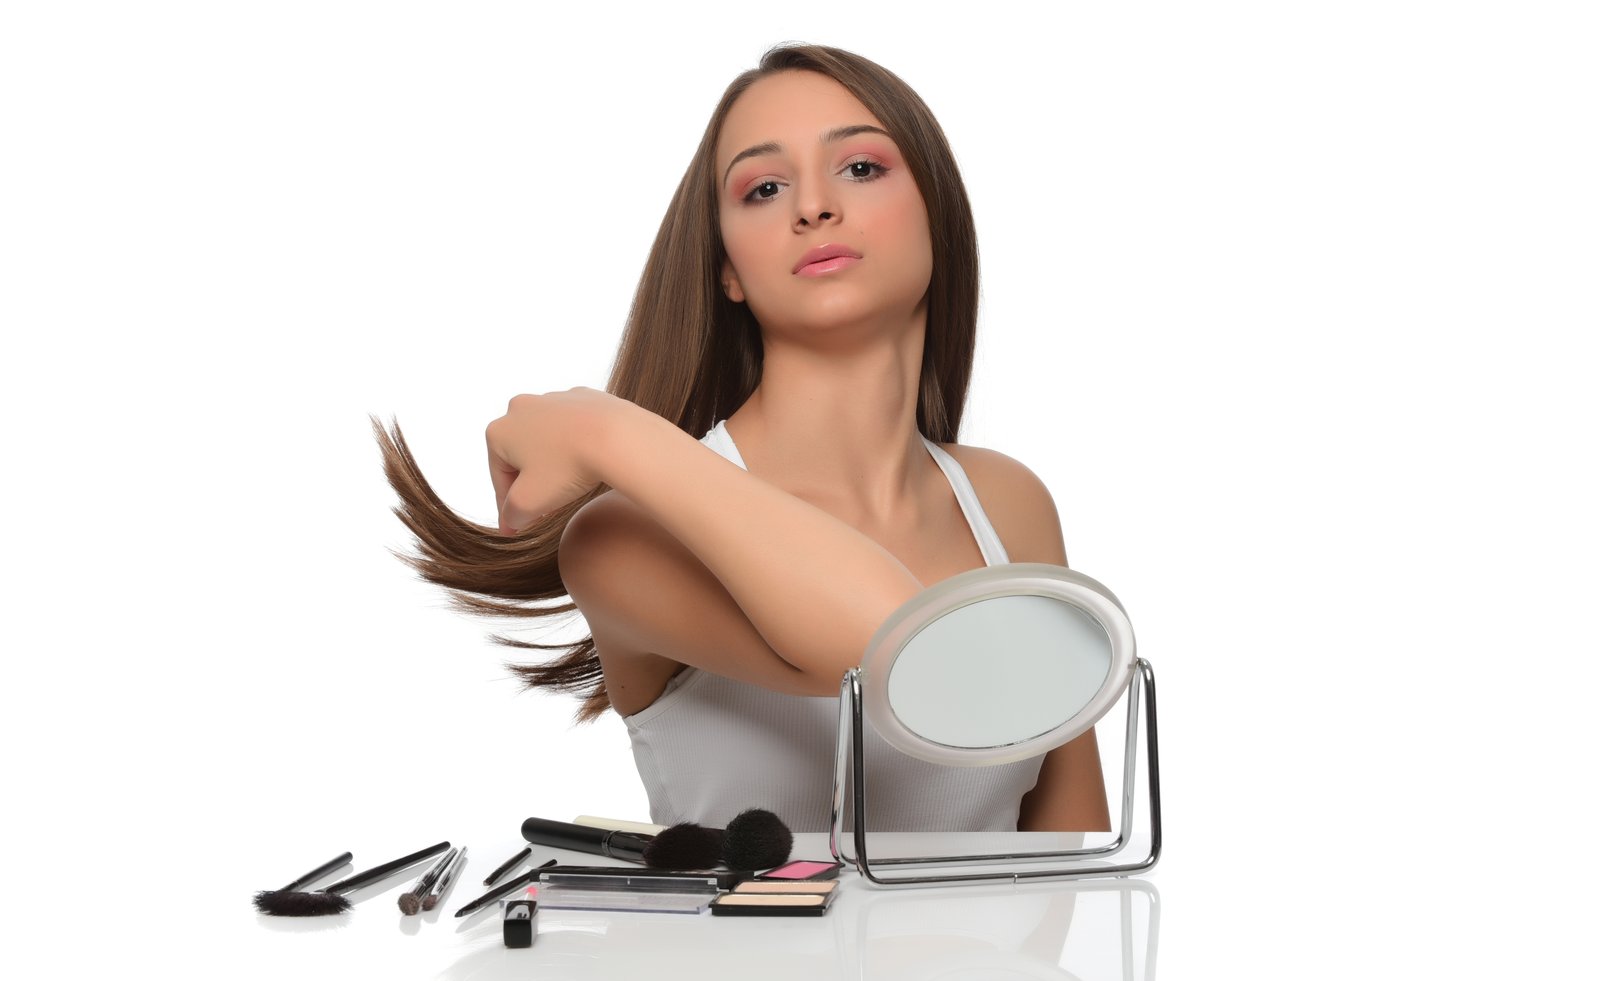
There’s a specific kind of dread that comes from zooming into a strand of hair at 200% and realizing you’ve just turned a real person’s curls into a painted helmet. I know that feeling well. Early in my retouching career, after years of shooting weddings and trying to teach myself Photoshop between weekend events, I sent a client a set of beauty portraits I was genuinely proud of. She wrote back two words: “too plastic.” She wasn’t wrong. I had clone-stamped flyaways into oblivion, smoothed every wisp, and produced something that looked less like a photograph and more like a wax figure. I kept that file. It lives in a folder called “Before I Knew Better” and I still open it sometimes.
Hair retouching is the place where most retouchers either level up or give up, because hair is structurally unlike anything else in a portrait. Skin has logic to it. Hair does not cooperate.
Why Hair Is So Technically Unforgiving
The reason hair retouching is difficult isn’t about taste or style. It’s physics. Hair sits at the boundary between subject and background, which means any edit you make lives in a zone where luminosity, color, and edge contrast are all in flux simultaneously. Flyaways catch light differently from the main body of hair. Semi-transparent strands let background color bleed through, so they’re not just a hair color problem. They’re a composite problem.
When you use the Clone Stamp or Healing Brush on these edge areas, the tool samples pixels that include both the hair and background in their average. The result is that smeared, waxy look that clients notice even if they can’t name it. The tool isn’t failing because you’re using it wrong. It’s failing because it was designed for surfaces with consistent texture, and hair edges aren’t that.
The Stack I Actually Use for Flyaway Cleanup
My workflow for flyaway removal has three stages, and I never skip any of them even when I’m in a hurry.
First, I do a loose pass with the Healing Brush set to “Darken” blend mode for stray light hairs over a dark background, or “Lighten” for dark strays over a pale or blown-out background. Sampling from a clean area of similar background, not hair. This handles maybe 60% of the problem without touching a single hair pixel.
Second, I use the Clone Stamp at 15 to 20% opacity on a new empty layer, with “Sample All Layers” checked. I work in the direction the hair is growing, never across it. Short strokes, not long drags. If a flyaway curves, my stroke curves with it. This takes more time than a single swipe, but it’s the difference between invisible and obvious.
Third, and this is the step most people skip, I add a layer mask to that clone layer and paint back any areas where I’ve inadvertently softened real texture. Gaussian Blur at 0.3 pixels on the mask edge keeps the correction from looking hard-cut.
For stubborn groups of flyaways, especially around the crown where they catch rim light, I’ll bring in Photoshop’s Mixer Brush tool set to “Wet” at 10%, “Load” at 1%, and “Mix” at 90%. This blends rather than replaces, and it preserves the luminosity variation that makes hair look real.
Filling Gaps and Rebuilding Density
Thinning edges and gaps near the part line are a different problem from flyaways, and they need a different approach. This is where I see retouchers reach for liquify too fast, and liquify on hair almost always looks like liquify on hair.
My preferred method is to find a donor section of hair in the same frame with matching curl pattern and light direction. I copy it to a new layer, transform it into position with the Warp tool (keeping distortion under 15 degrees to avoid obvious warping artifacts), and then blend it in using a gradient mask that goes from 100% opacity at the root to 0% opacity about two-thirds of the way down the strand. The transition zone is where the work lives. I’ll often lower the layer’s overall opacity to 70 or 75% and then use a soft brush at 20% to paint back opacity only where I need density, not across the whole patch.
If there’s no clean donor section available, I use the “The Godfather” action I built years ago, which creates a frequency separation split at radius 7, letting me paint new strands on the low-frequency layer with a 1 or 2 pixel brush in a matching hair color without touching the texture layer at all.
Matching Tone Across the Full Head
This one is underrated. Even after perfect structural cleanup, hair can read as patchy if the tonal range isn’t consistent. The mass of the hair will typically have a midtone anchor, a highlight zone, and a shadow zone. After any cloning or blending work, I do a final check with a Curves adjustment layer clipped to the hair corrections, pulling the midpoint slightly toward the dominant tone of the surrounding hair.
For darker hair especially, I’ll use a Hue/Saturation layer clipped the same way, desaturating the reds by 8 to 12 points in the reds channel. Clone work tends to pick up warmth from surrounding pixels, and that slight red cast is a giveaway even when the shape of the correction looks perfect.
One Thing That Changed How I Work
After years of retouching, the single shift that improved my hair work most wasn’t a new tool or a tutorial. It was slowing down my zoom level. I had been working at 100 to 200% because that’s where I could see the problem clearly. But hair retouching decisions need to be evaluated at 50%, because that’s closer to how a client, an art director, or someone scrolling a feed will actually see the image. I now do my work zoomed in, but I evaluate every 10 to 15 strokes at print-view zoom. Corrections that looked perfect at 200% reveal themselves as over-worked the moment I pull back.
The goal in hair retouching is never to remove evidence that there was hair there. The goal is to remove evidence that there was a retoucher there.
Comments
Leave a Comment