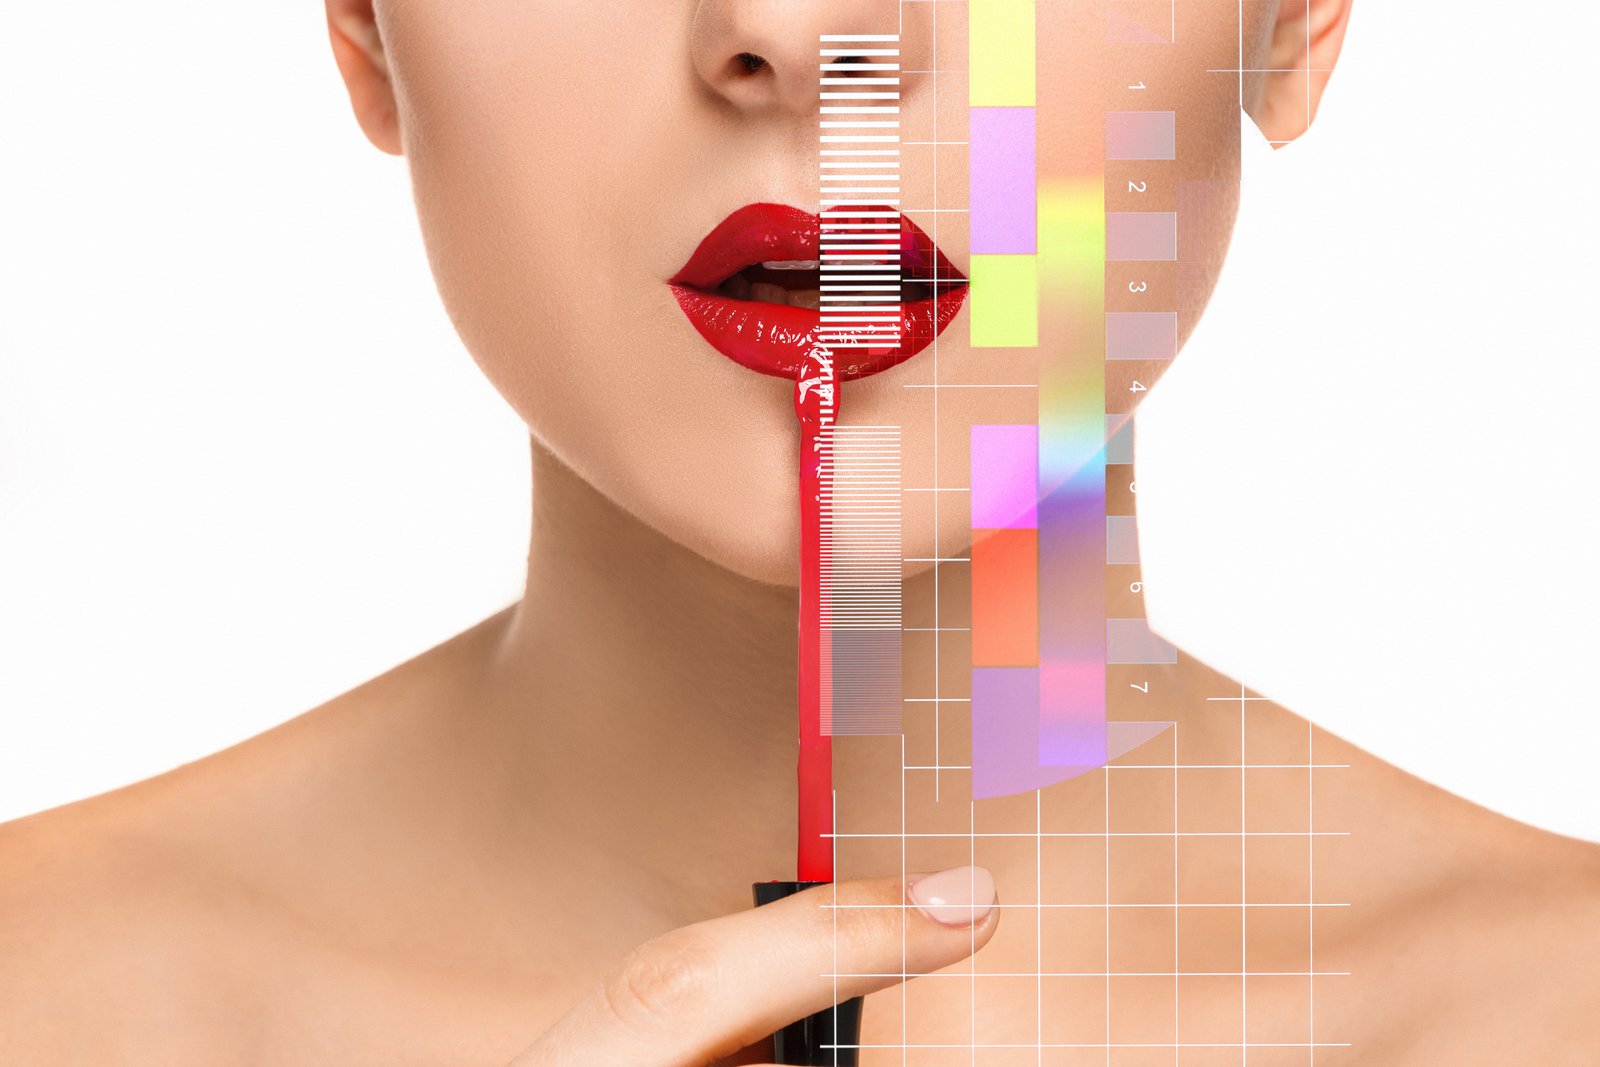
I still have the file. Tucked in a folder called “Before I Knew Better,” it’s a portrait of a bride I shot about eight years ago, retouched with what I then thought was impressive confidence. Her skin glows, sure. It also looks like she’s wearing a latex mask. No pores. No texture. A smooth, luminous nothing where a real human face used to be.
She was gracious about it. Her mother was less so.
That file is the reason I spent the better part of a year learning frequency separation properly, not from YouTube tutorials that wave their hands over the hard parts, but from grinding through technique until I understood what the tool was actually doing to pixels. Now it’s the first thing I teach in my workshops, because it’s the thing that separates retouching that reads as “polished” from retouching that reads as “edited.”
What Frequency Separation Is Actually Doing
Most retouching disasters come from the same root cause: we treat skin as a flat surface when it’s actually two separate layers of information sitting on top of each other. There’s the texture layer, which holds all the fine detail. Pores, fine hairs, subtle skin grain. And there’s the tone and color layer, which holds the blotchiness, redness, uneven patches, and shadows that make skin look inconsistent.
When you clone-stamp or heal directly on a merged image, you’re smearing both layers at once. That’s how you get the latex look. Frequency separation lets us split those two layers apart so we can smooth the color without touching the texture, and fix the texture without disturbing the color. The math behind it involves blur radii and linear light blending modes, but the practical result is this: you can paint away a red patch without erasing a single pore.
The Setup That Actually Works (Settings Included)
Open your portrait in Photoshop. Duplicate the background layer twice. Name the bottom copy “Low Frequency” and the top copy “High Frequency.” These names matter; I named mine after movies for years until I realized that working at 2am, “Blade Runner” and “Casablanca” mean nothing to me.
On the Low Frequency layer, go to Filter, Blur, Gaussian Blur. For a high-resolution file, typically 24 megapixels or above, I use a radius between 4 and 8 pixels. You want the blur heavy enough that all the fine skin texture disappears but the overall tones and shapes remain. For web-resolution files under 2000 pixels on the long edge, drop that radius to 1.5 to 2 pixels.
Now for the High Frequency layer. With it selected, go to Image, Apply Image. In the dialog, set the Layer to your Low Frequency layer, the Blending Mode to Subtract, Scale to 2, and Offset to 128. Click OK. Then change this layer’s blending mode in the Layers panel to Linear Light. Your image should look exactly as it did before. If it doesn’t, something’s off in those Apply Image settings, so back up and check them.
Group those two layers together and name the group. You now have a reusable structure. I actually save this as a Photoshop action so I can run it with a single keystroke on every new file.
Working the Low Frequency Layer Without Destroying It
This is where most people make their second mistake. They grab a brush and start painting, which creates obvious, blurry smears of color. Instead, use the Patch Tool or the Clone Stamp Tool, both set to Current Layer only, with the opacity dropped to somewhere between 20 and 40 percent.
Work in small sections. Sample from nearby skin that has similar lighting, not from across the face. For redness around the nose or chin, I often use a soft round brush set to Hue blending mode at around 15 percent opacity and paint with a sampled neutral skin tone. This shifts the hue without touching the luminosity, which keeps the light reading natural.
Spend the majority of your time here. A well-worked Low Frequency layer does 80 percent of the heavy lifting, and the High Frequency layer rarely needs much more than a targeted heal on a specific blemish or scar.
When the High Frequency Layer Needs Attention
The High Frequency layer is where you fix isolated texture problems: a deep pore that caught shadow badly, a small scar, or a strand of hair that landed across the cheek. Use the Healing Brush at 100 percent opacity with a small, hard-edged brush, sampling from clean nearby texture.
What you should never do on this layer is paint broadly with a soft brush. Soft brushes on the High Frequency layer create a ghost-like halo of averaged texture that is immediately visible and almost impossible to correct without starting over. Small, specific, targeted. That’s the entire philosophy.
The Check That Keeps Your Work Honest
Before I flatten anything, I do a sanity check that took me an embarrassingly long time to develop: I toggle my edit layers off and on while zoomed to 100 percent, and I look specifically at the transition zones. The edge of the jaw. The area around the nostrils. The under-eye. These are the places where bad retouching announces itself loudest, because the light changes fastest there and any smearing of texture becomes obvious.
I also zoom out to 25 percent and look at the overall skin tone. If any area reads lighter or more saturated than the surrounding skin, the Low Frequency work needs more blending.
The goal isn’t perfect skin. The goal is skin that looks like it belongs to the person you photographed, just on a very good day. When you nail that distinction, clients stop saying their edits look “off” and start asking how you did it.
Comments
Leave a Comment