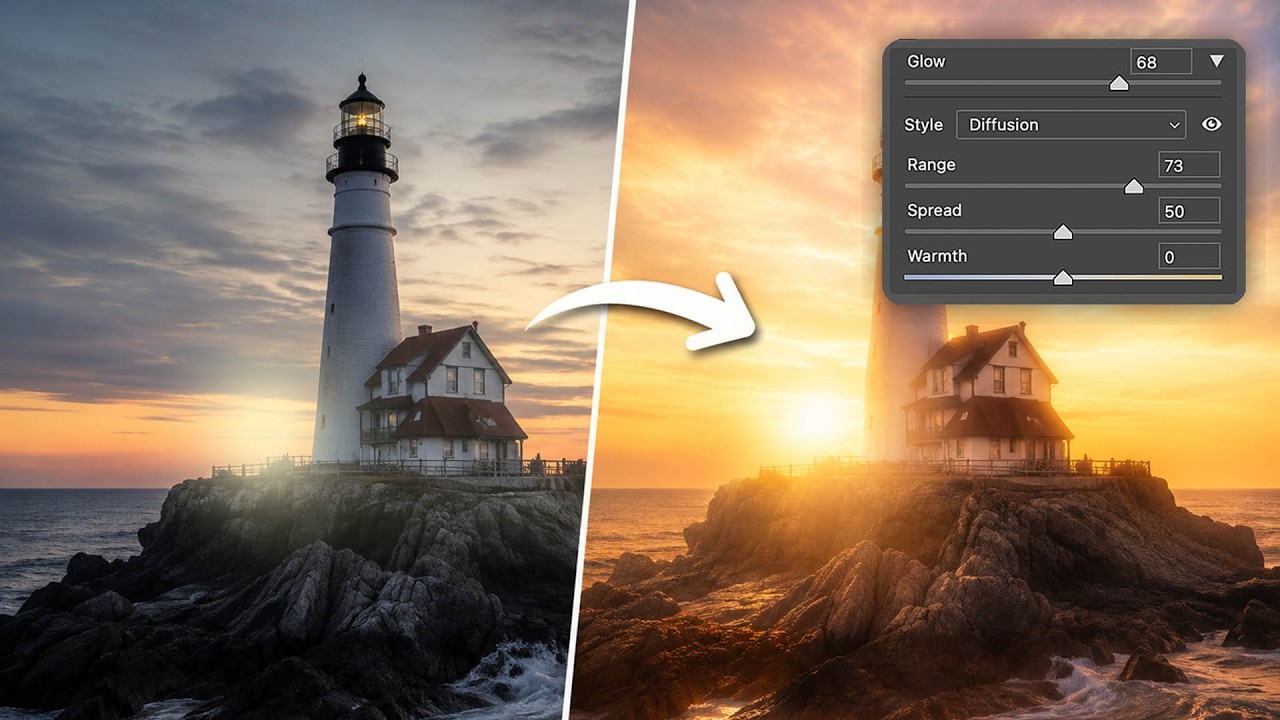
The Glow Effect Just Got Easier: A Step-by-Step Guide to Adobe Camera Raw's New Glow Tool

The Glow Effect Just Got Easier: A Step-by-Step Guide to Adobe Camera Raw's New Glow Tool

There’s a certain kind of soft luminosity in beauty photography that clients always ask for and can never quite describe. They’ll send a reference image and say something like “can you make it feel like that?” What they’re pointing at, nine times out of ten, is some version of the glow effect - that gentle, diffused light that makes skin look lit from within rather than just lit from outside. I’ve been chasing that look since my early retouching days, and for a long time it meant stacking duplicate layers, blurring them, changing blend modes, masking carefully, and hoping the whole thing held together when I flattened it.
Lightroom's Intersect Mask Tool Explained: The Selection Trick That Actually Works

Lightroom's Intersect Mask Tool Explained: The Selection Trick That Actually Works

There’s a feature sitting inside Lightroom’s masking panel that I ignored for way too long because I assumed I understood it. Intersect. It sounds logical enough, right? Two things overlapping. But every time I tried to use it, the result didn’t behave the way I expected, and I’d fall back on subtracting with a brush like I always had. It wasn’t until I watched Watch the full tutorial on YouTube by Matt Kloskowski that the logic finally clicked for me in a way I could actually apply to client work.